
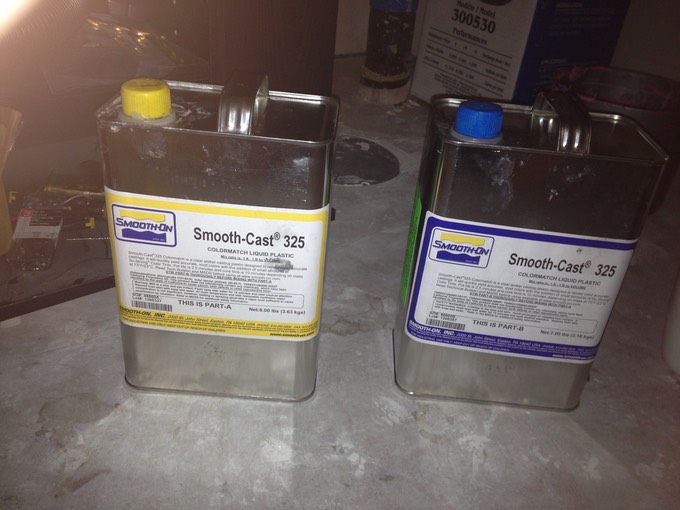
The material I chose to cast the helmet in is called Smooth Cast 325. It's a liquid plastic (resin) that has a very quick cure time of approximately 10 minutes.
I found it to be great for 3 reasons:
1) it's mass sensitive (meaning the more of it there is, the quicker it cures);
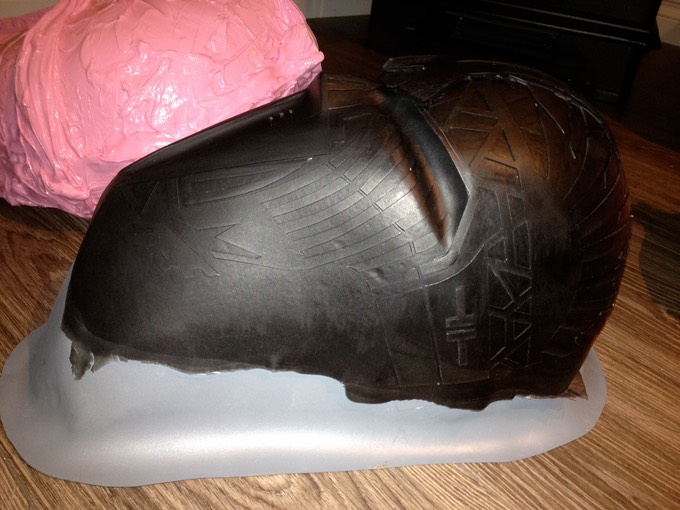
2) special pigment paste can be added to it during mixing, allowing you to make the plastic whatever colour you want. I loved the black hair cell ABS look of the inside of versions 1 and 2, so I wanted version 3 to be black on the inside also;
3) after the plastic has cured, it remains very flexible (almost rubbery) for several hours, allowing you to trim excess material quite effortlessly with scissors and a utility knife. After a few hours however, it becomes rock hard and nearly impossible to trim with hand tools.
I've read on various forums that this type of resin (or any type of resin, for that matter) is very difficult to paint, and this troubled me. Smooth-On's website states that one of the easiest ways to paint their resins is to "powder coat" the silicone mold with baby powder prior to pouring resin. (There are other methods, however this way seemed most manageable.) Pourable resins tend to have very smooth oily surfaces when cured, and powder coating the inside of the mold causes the plastic to take on a "rougher" matte finish, which takes paint better. More on painting later.
So, I decided to give this a try. I sprayed the release agent inside the molds, waited 5 minutes for the propellant to evaporate, and then shook some baby powder in.
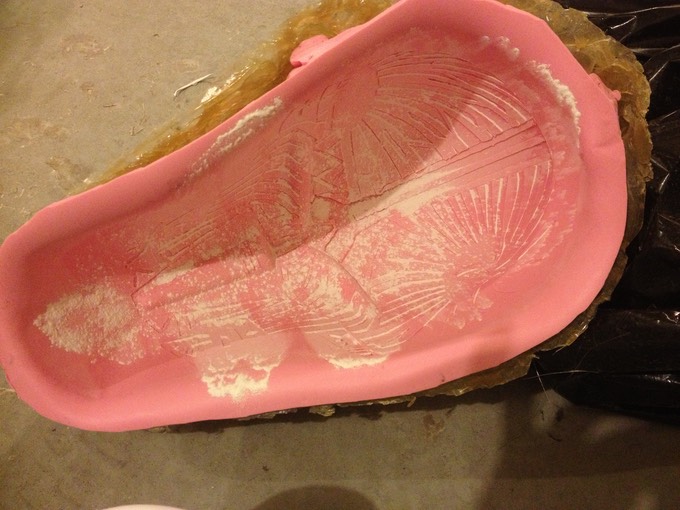
I used an air compressor to blow excess powder out, creating a thin uniform coat of the stuff inside the mold.
Next, I measured out some part B of the resin into a plastic cup, added a few drops of the SO-Strong black pigment, and stirred it for a solid minute with a popsicle stick (good thing I stocked up on these, because I ended up going through A LOT!) I measured out an equal amount of part A into another cup, stirred this for a minute, and then mixed A and B into a separate cup.
(NOTE: There is a "shake well before use" sticker on both cans; however, i found that if you shake, you get a ton of tiny bubbles in both solutions. If you mix the two parts right away, the bubbles will get trapped during slush casting, and the plastic will come out looking like Nestle Aero chocolate. So, if you "shake well", then you best let it sit for a while before mixing the two together. Even after letting it sit, you should stir both separately before mixing them together.)
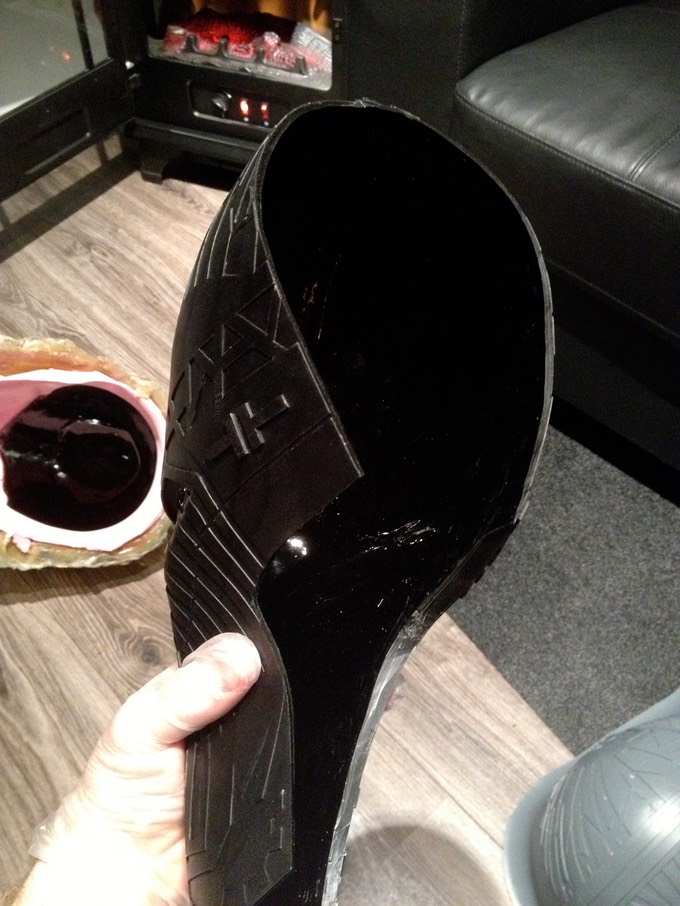
Once I poured the plastic inside, I turned and tilted the mold in my hands for 10 minutes, making sure all parts that I wanted to cover were covered. Also, notice how it only did half the mask; that's because I used a small amount to test it out. Rather than spread a small amount across the entire surface area (which runs the rist of air bubbles and cracking), I concentrated on covering the middle first.
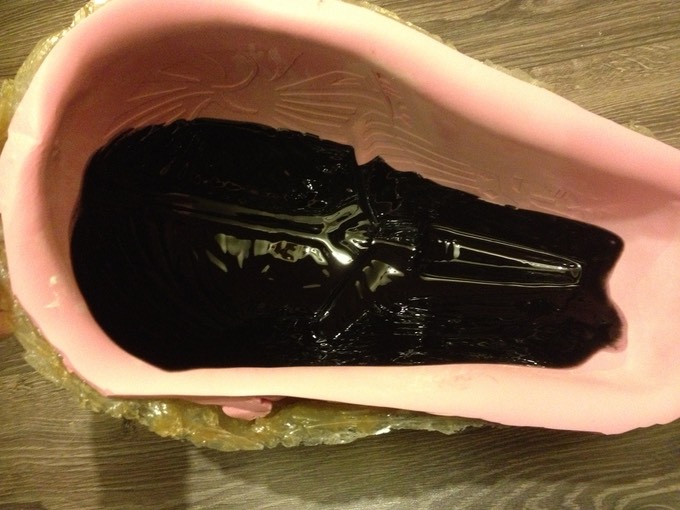
The second and third pour covered the rest. (For the back cap - left - I used a very tiny amount of resin, and only did one pour).
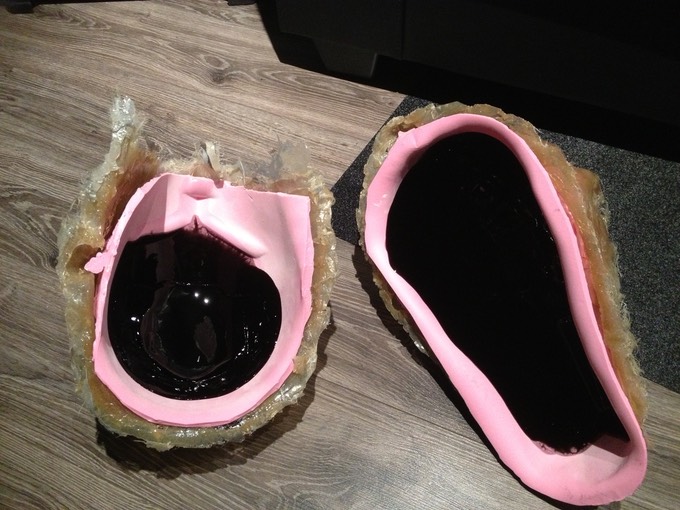
Once the plastic hardened sufficiently to be handled, I pulled it out of the mold, and trimmed the edges with my trusty Bondo-covered utility knife.
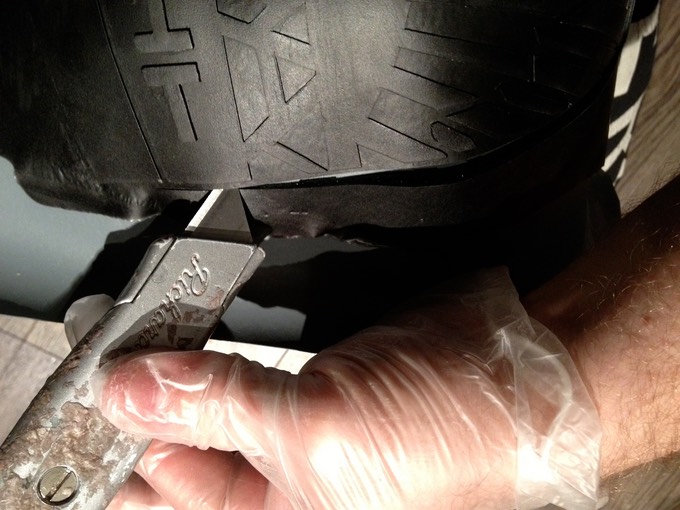
As I mentioned earlier, the plastic is VERY rubbery for several hours when first cast, and can easily succumb to gravity's deforming effects if left to its own devices!
I positioned the pieces over the master molds so that the mask and back cap could cure to the correct form.
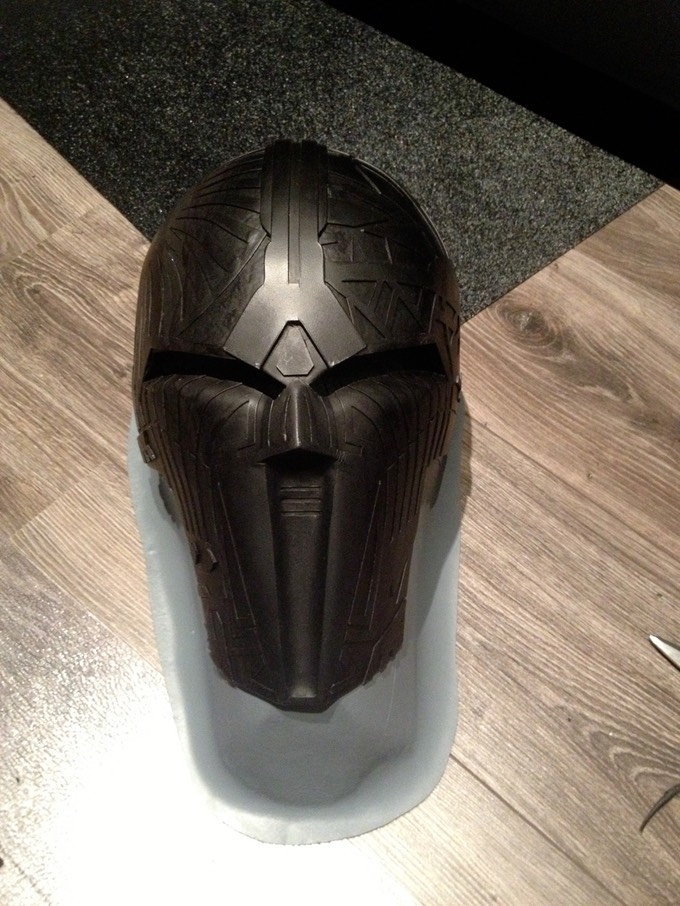
Several hours later, both pieces were completely cured, with just the right amount of elasticity! The material is a lot heavier than the previously used ABS, and feels much sturdier. It is not indestructible, however; where ABS warps and "white-lines" when bent past its threshold, resin simply cracks. Take a look.
* * * * * * *
- Rotocasting