Since you never see any shoulder armour on the Sith Acolytes in any of the SWTOR trailers, I can only assume it's there under the robe, considering they have armour just about everywhere else. This lack of reference gave me the creative license to come up with my own design.
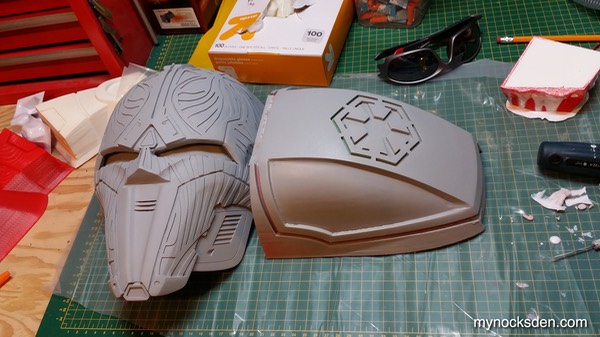
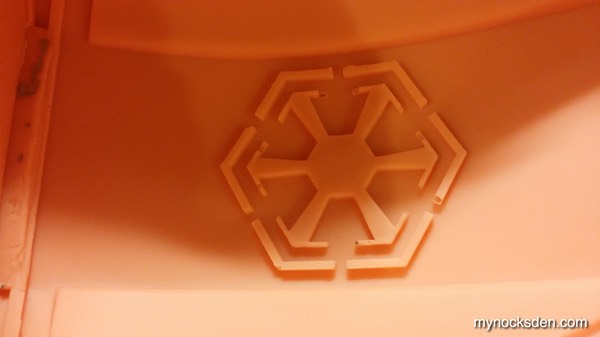
I began by recycling my old, V3 mask back plate mold, and cutting out the imperial insignia.
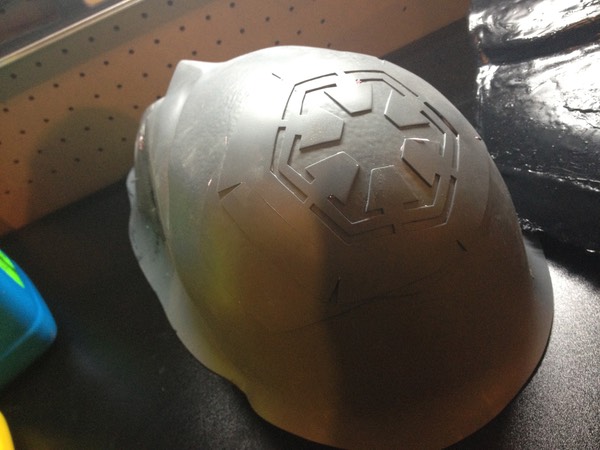
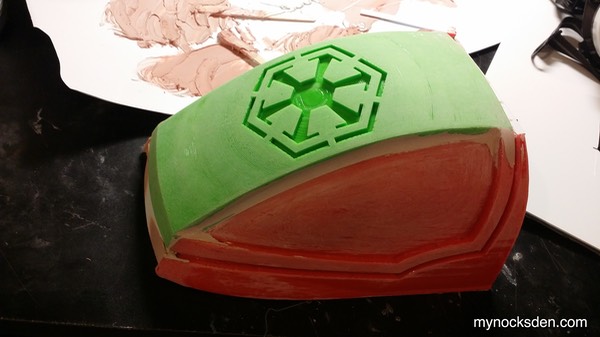
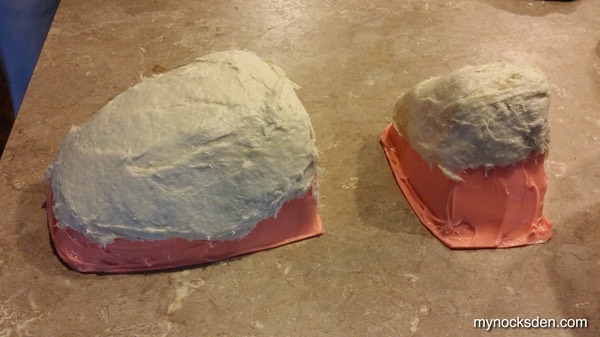
I then used another vacuum formed shell of my V1 Sith Acolyte Bondo mold to use as the base for the shoulder plate, since its curvature is ideal for the desired shape.

Next, I simply glued a few strips of EVA foam along the perimeter of the piece to create a raised edge. Notice that the armour plate has L-R symmetry, so once it is cast, the mold will be used to create pieces for both shoulders.
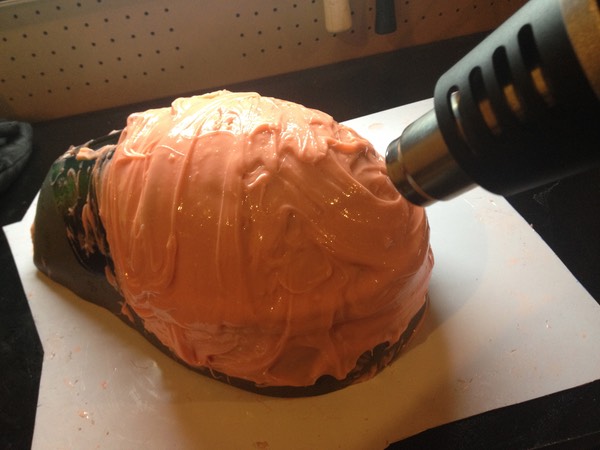
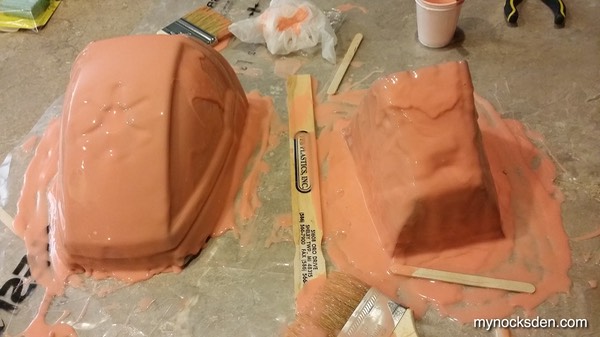
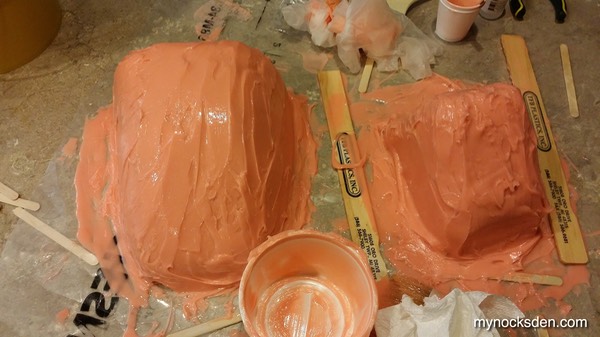
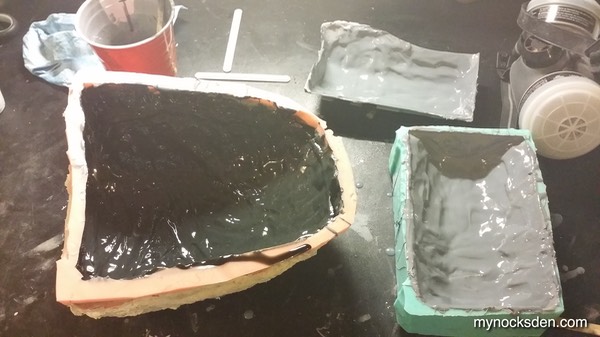
I decided to skip the sealing of the foam because the pieces I used are quite small, and can be sanded smooth within seconds on the final cast, saving a ton of time in the end. I then proceeded with Rebound 25 using methods discussed here, here, and here. Once again, I sped up the initial curing of the first coat to the tacky stage with a heat gun; the second coat thickened with Thi-Vex was left to cure naturally.
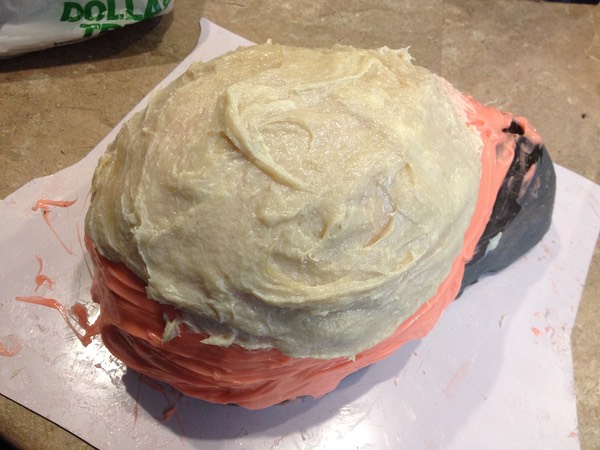
Next, I applied some Plasti-Paste 1 to create a rigid mother mold (method discussed here).
After demolding, I sprayed the inside of the mold with mold release, set up my mesh 325 aluminum powder and ONYX resin, and cold cast the piece using the method discussed here.
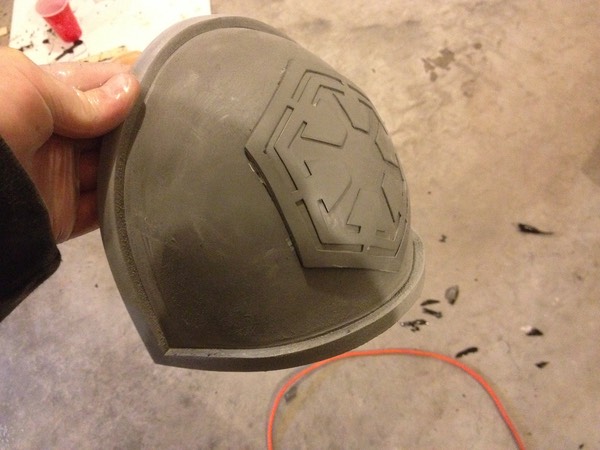
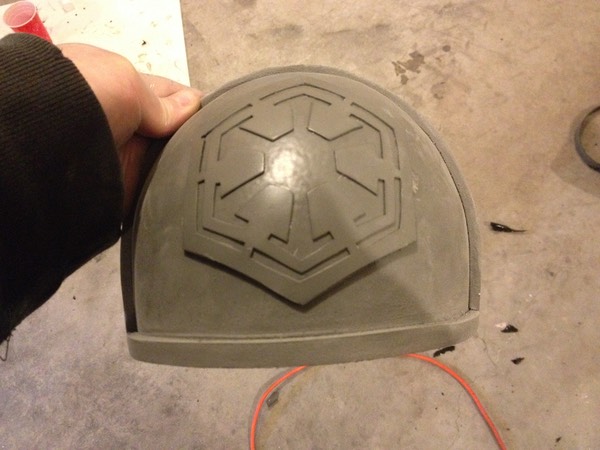
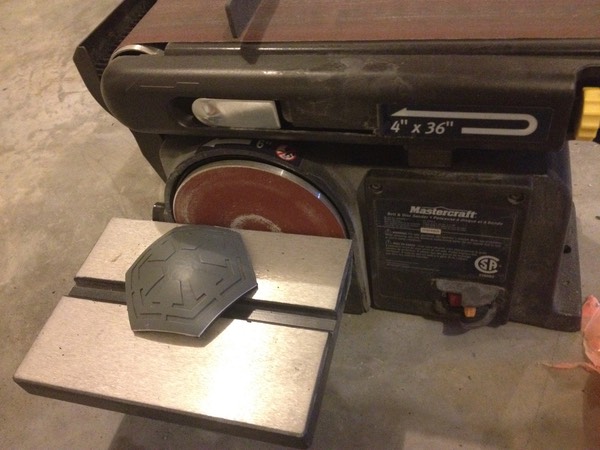
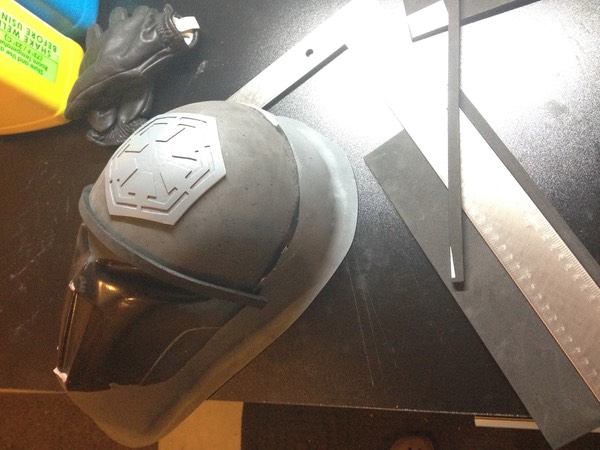
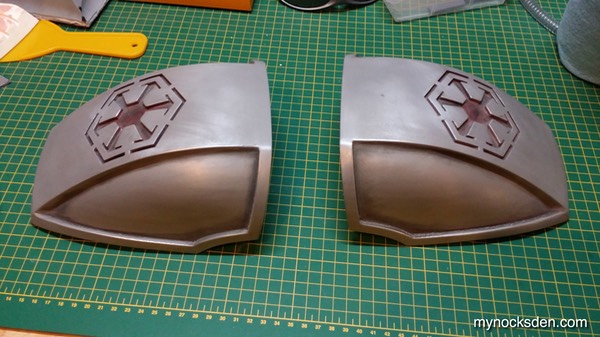
After sanding down the raised "foam" edges, rubbing the thing with steel wool, and applying battle damage with a Dremel, I painted the weathering on which completed the pauldron!
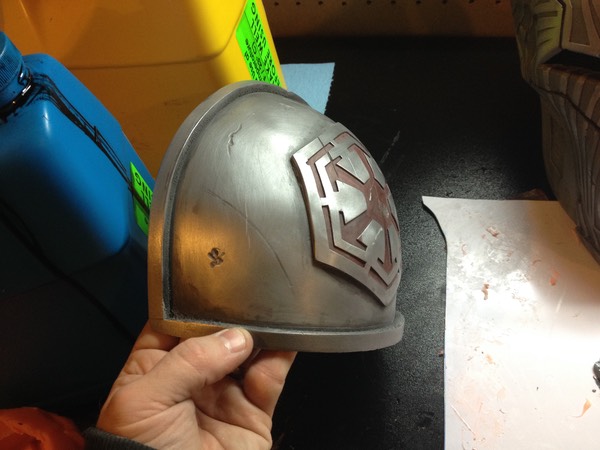

Even though it is Sith Empire specific due to the logo, it is not a "Sith Acolyte only" piece; it can work for any number Sith Empire-era costumes from Star Wars.
Almost a year later…
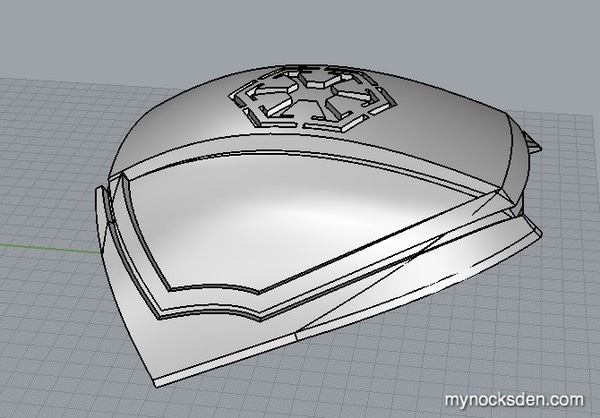
In the reference material both Sith and Jedi have wide shoulders; this probably is due to the shape of the pauldrons being more angular than bell-like. Having been CAD modelling and 3D printing for about a year, I decided to CAD model a new style pauldron that would widen the shoulders for a look more true to the reference material.
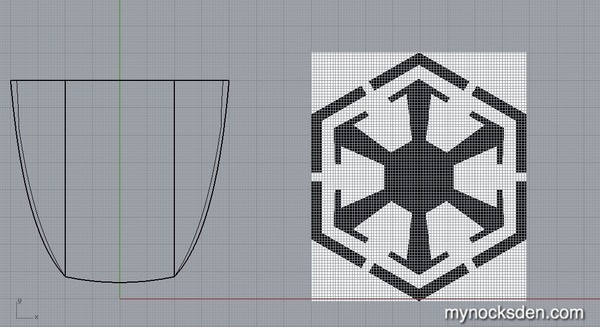
I began first by drawing basic curve shapes to get the basic outline in Rhino; I also imported a Sith Empire symbol JPEG, traced it, and pulled it out into 3D.
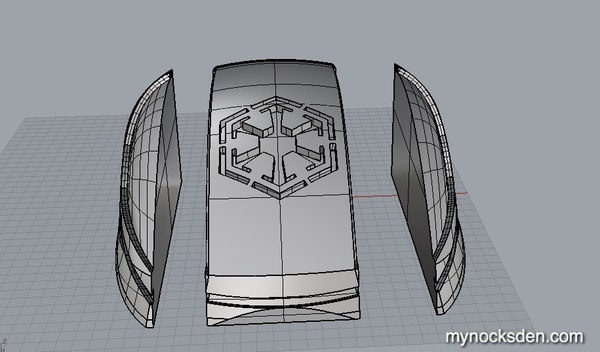
After several hours of modelling, I had the pauldron done. Since it is L-R symmetrical, I would only need to prototype one, which I could then use to mold and cast as set from. I split the model into several pieces (due to the size, it needed to be printed in sections), and exported each piece as an STL file.
Several dozen hours later, I had all the pieces printed and ready to be assembled.
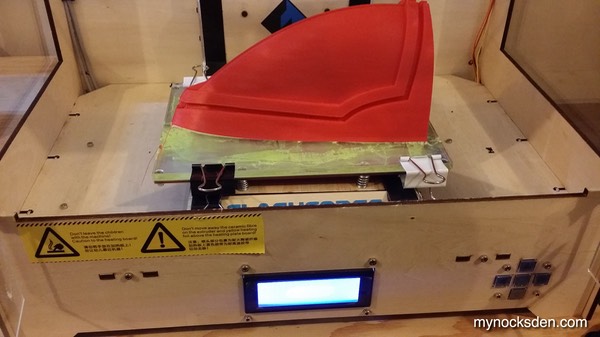
I had a nightmare of a time printing this piece, and literally had to print it 4 times: the first two attempts curled at the corners due to poor Kapton tape adhesion. On the third attempt, I left the printer unattended too long, and it ran out of filament 12 hours into the print, running the last 4 hours on empty. The fourth attempt was the charm.
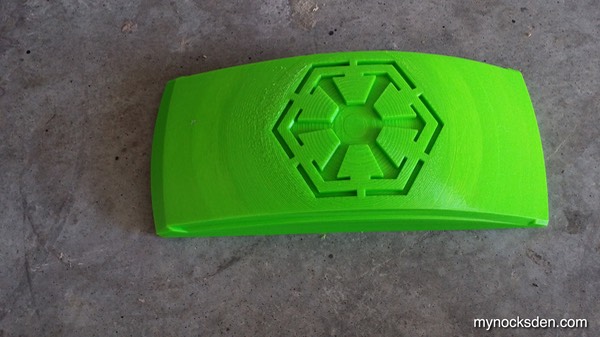
Next, I glued the parts together, sanded the striation down using 120 grit sandpaper, and used Bondo to fill i the seams.
I then used Bondo spot putty to smooth out the model, sanded this down, primed, puttied again, etc, until all sections were curvy and smooth, and ready for molding.

I then coated the model with SuperSeal, and applied the first layer or Rebound 25. I think I may have gotten a bad batch of the silicone, because I noticed that it was a lot more viscous than normal, even without the thickening agent Thi-Vex. (Pauldron on the left in next photo.)
I applied another layer two hours later, and a final layer thickened with Thi-Vex after that and left it sit overnight.
The next day, I sprayed the outside with mold release, and used Plasti-Paste to build a support shell.
Demolding revealed a slightly disappointing result: some of the detail was damaged by trapped air bubbles, which should not have happened given how careful I was applying the first layer. I think the silicone itself is to blame; it was definitely much thicker than Rebound 25 normally is, and because of the viscosity couldn’t degas itself properly.
Finally, using SmoothCast 65D and aluminum powder for the print layer, and plain 65D for the inner two layers, I cold cast the pauldrons one by one (on the left).
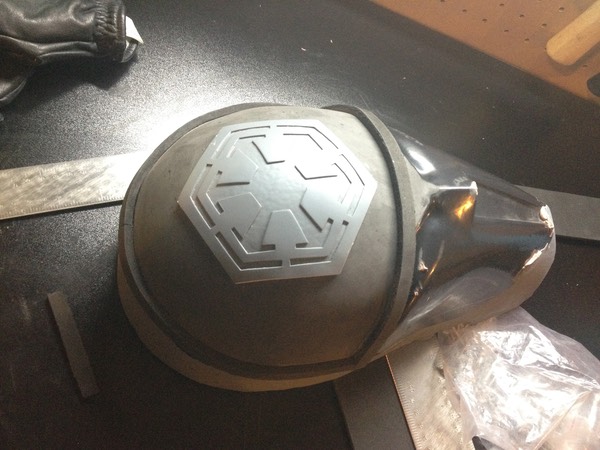
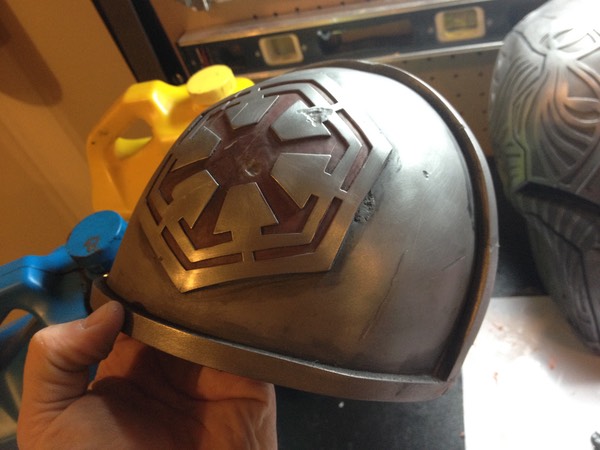
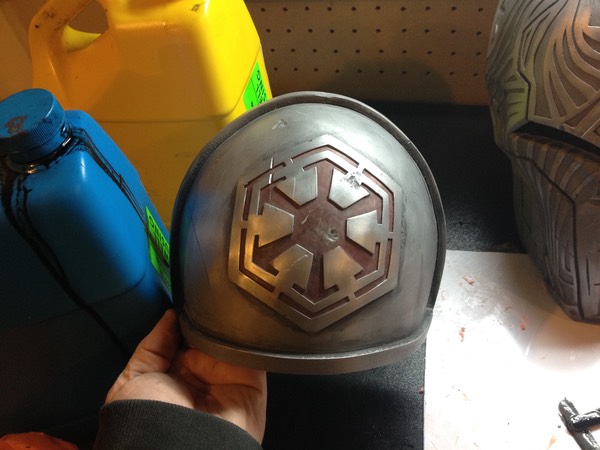
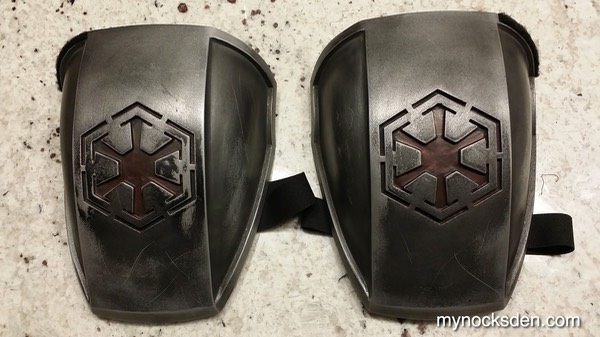
I then trimmed the casts, polished them up with steel wool, painted the Imperial emblems a custom dark red (Testor’s paint mix)…
...and weathered the whole thing using black acrylic paint.
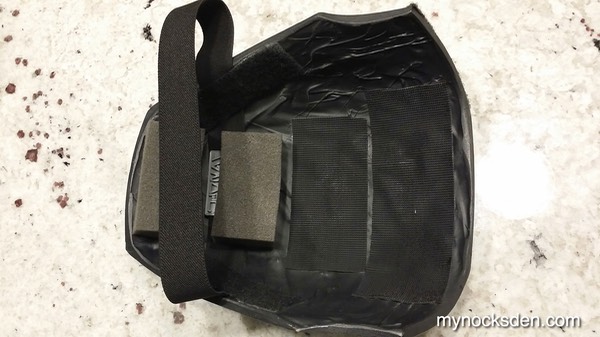
To make the pauldrons wearable, I glued in an elastic strap using superglue, and stuck two long pieces of industrial strength sticky-back velcro across the ends of the strap to secure them to the pauldrons. I glued in some foam pads at the ends to lift the pieces off the shoulders a bit, which would ultimately widen the entire upper frame of the costume. Lastly, I glued some hooky strips of industrial strength velcro behind the foam; these would correspond to fuzzy velcro strips sewn onto the shoulders of the undershirt, which would hold the pauldrons firmly in place during wear.
Thanks for looking!
* * * * * * *