Version 1
Below is a video briefly summarizing the Sith Acolyte chest plate version 1 build. Scroll down for a more detailed account.
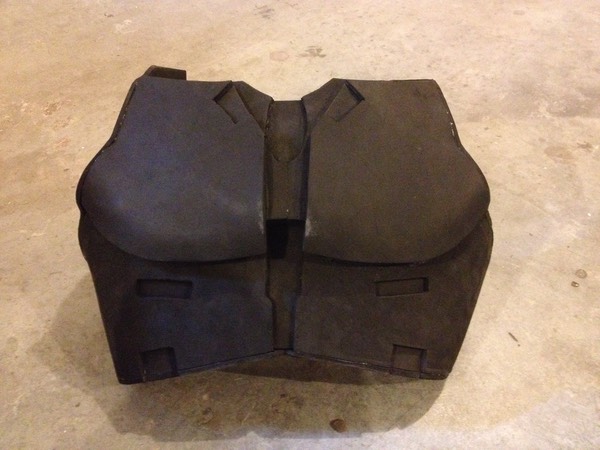
The chest plate was by far the most intimidating piece to tackle, and is actually the single thing responsible for me putting off the armour for so long. I didn't know how to start building it; do I use clay? Sculpey? Bondo? Insulation foam boards? It took me months to build up the courage to tackle it.
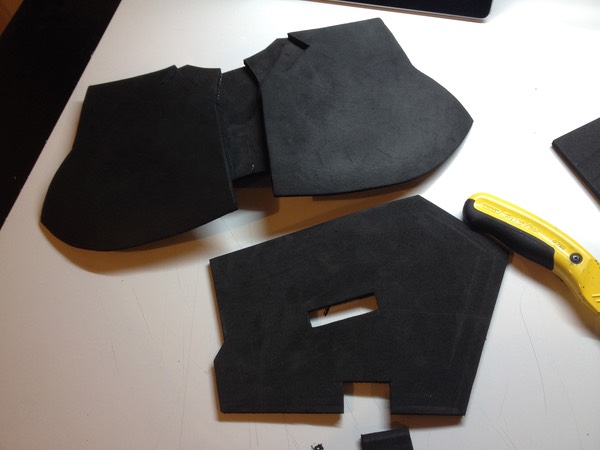
In the end, I decided to give it a try by using simple hobby foam sheets from Michael's.
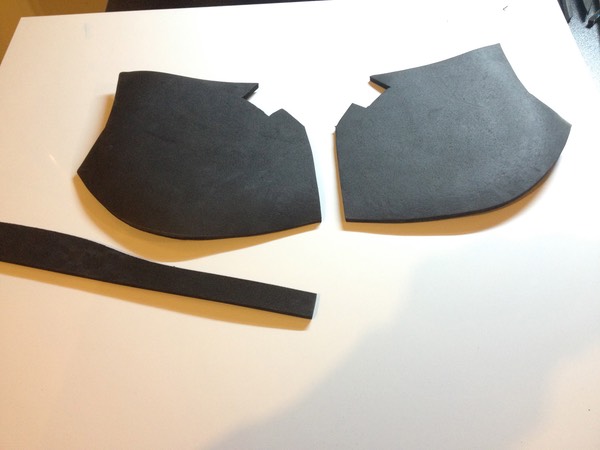
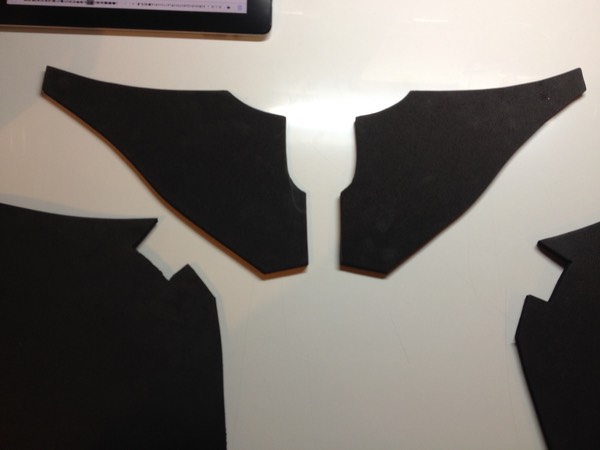
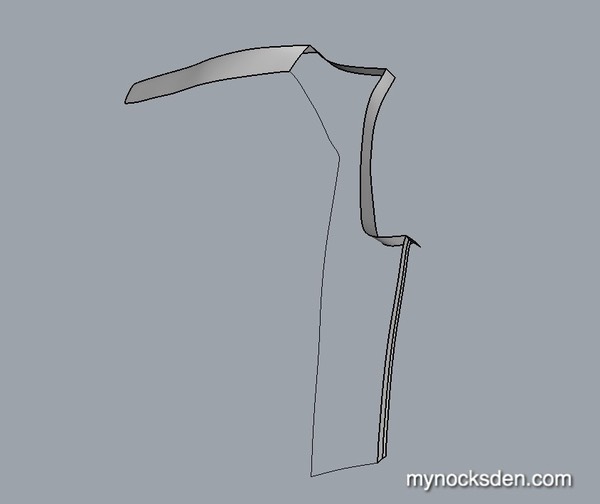
I began by drawing out basic shapes on computer paper, and then tracing these outlines onto the foam sheets.
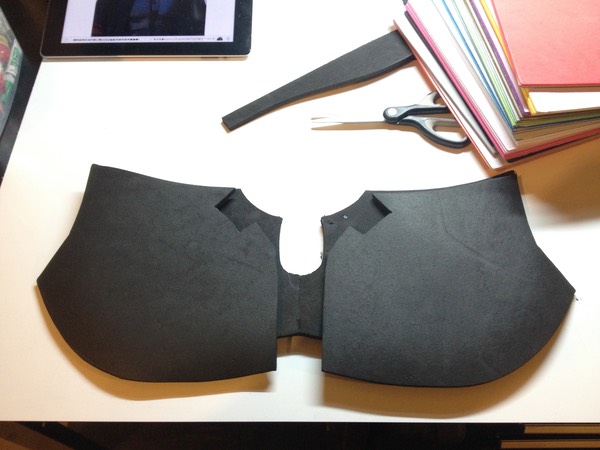
I began gluing the sheets together using superglue. (I use the cheap dollar store kind, and always clean out their stock whenever I'm there; I've even gotten teacher's discount even though I told them I am not a teacher lol).
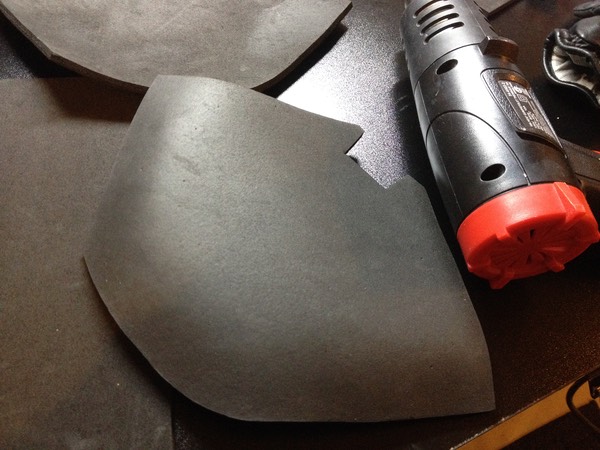
I began building the underside support with various shapes, building up the curvature.
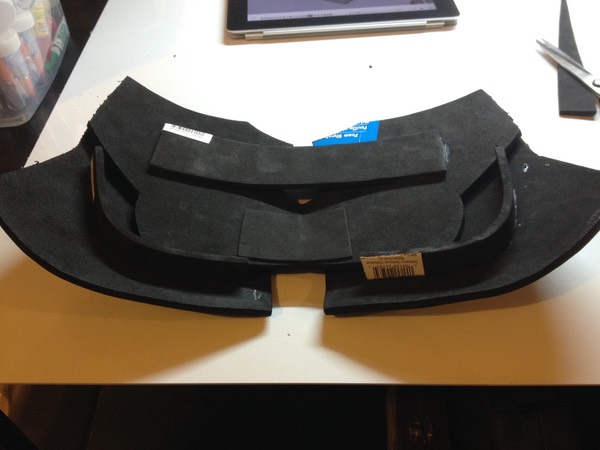
I glued ABS plastic strips on one side, waited for it to cure, then bent the chest plate, gluing the other end of the strip in, creating tension and curvature in the whole structure. I built up the walls (on the sides) with more foam, using hot glue to hold everything in place.
And, this is where the mistakes begin.
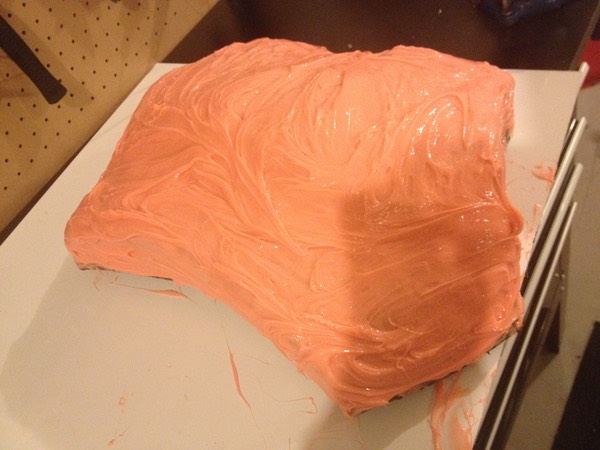
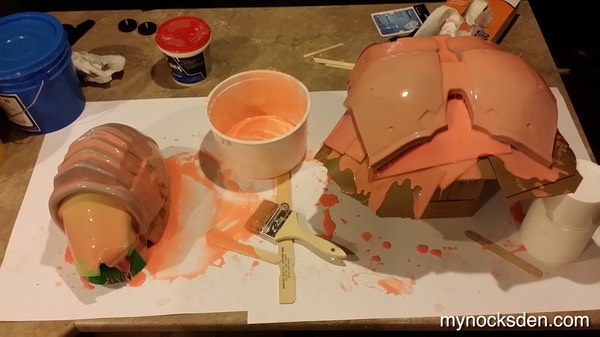
I needed to seal the foam before silicone casting. I read that PlastiDip is good for this, so I bought a can, testing it out on a small piece of foam. From the test, I could see I would need to apply many coats to completely seal it, so that's what I set out to do.
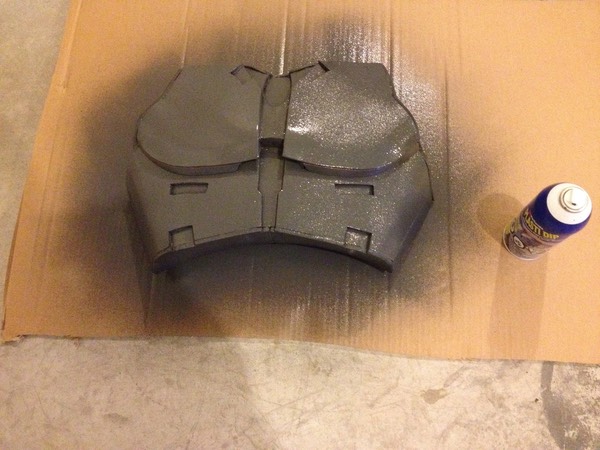
However, after 3 coats, it became clear that the method wasn't working as well as I had hoped, as I still had a fairly porous surface to work with. In retrospect, I should have moved on to doing my first throw-away silicone mold, but decided to paint on coat of ONYX resin I use for making my masks instead. I thought that by building up layers of ONYX I would created a hard enough surface to work with directly, but this turned out to be a fool's hope.
So, after applying the resin, I ended up with a disgusting mess like this:
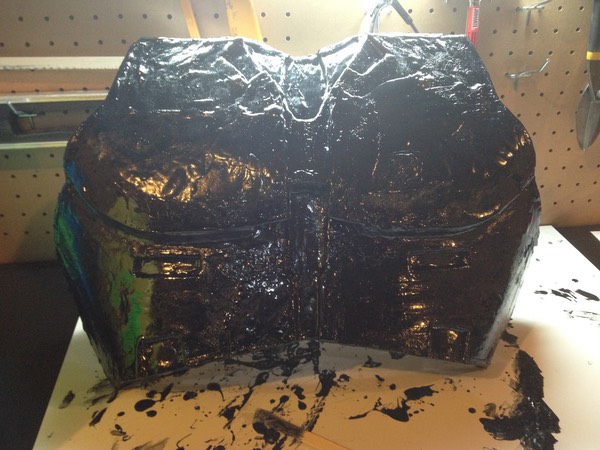
I tried sanding it as intended, only to find out that the resin was too thin and too brittle.
FAIL.
In hindsight, PlastiDip was a waste of time and money in this instance; after building a satisfactory foam model, I should have applied a THIN THIN THIN layer of casting resin (ONYX, SC65D, SC325, etc) to seal the pores, and then cast the thing in silicone to transfer the shape to a more workable medium (like ONYX, or 65D, or BONDO) to complete the mold.
Anyway, at this point, I did a throw-away silicone mold, used ONYX for the cast (since it was the only thing I had at the time), and ended up with two, hideous-looking identical Orc brothers.
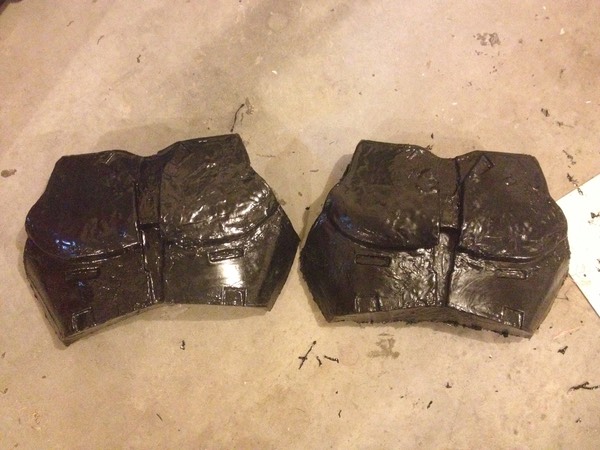
(Another mistake I made is that I used ONYX, instead of waiting for a supply of a softer, more sander/Dremel/elbow grease-friendly Smooth Cast 65D to arrive.)
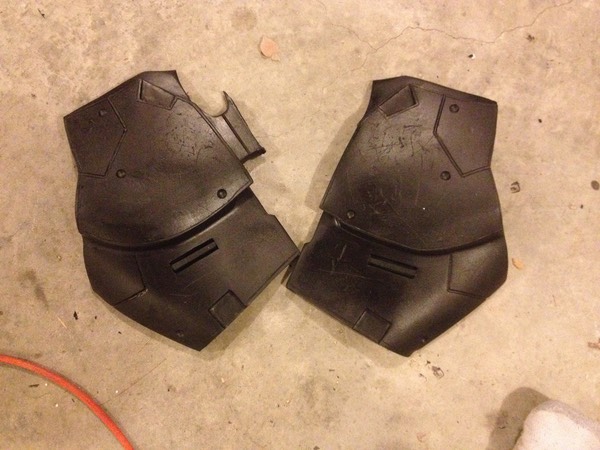
Next came the tedious process of sanding, grinding and carving to get rid of the wrinkles and arrive at the correct shape and smoothness.
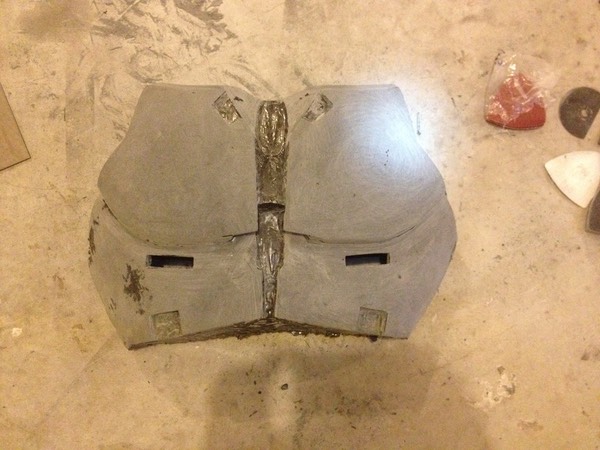
This took many days in the garage; I used Bondo to fill in trouble spots, and then sanded, ground and carved some more to arrive at this.
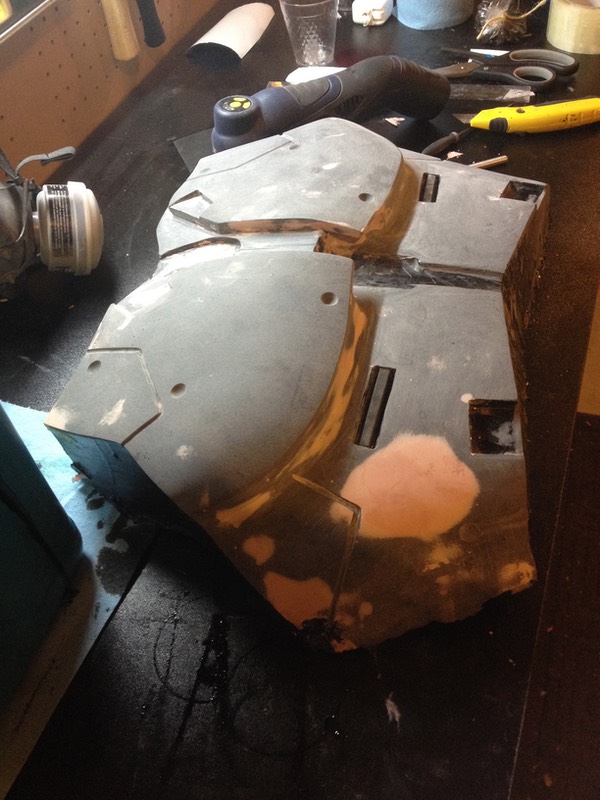
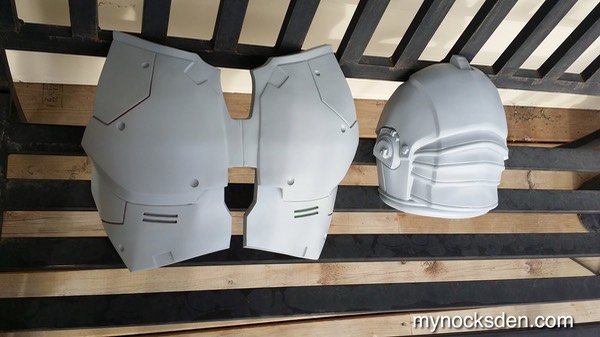
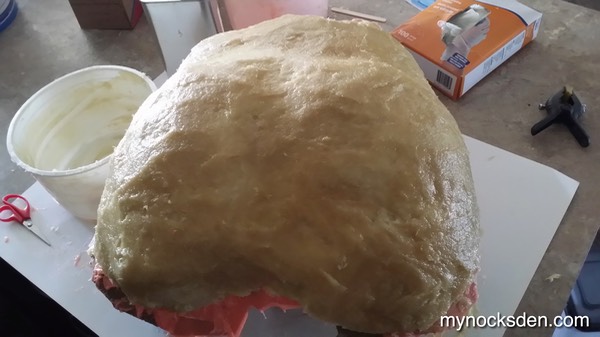
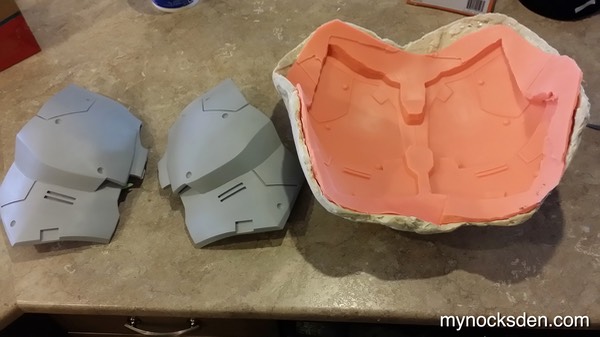
Finally, after priming and letting it dry, I had a finished master that was ready for the second and final Silicone mold.
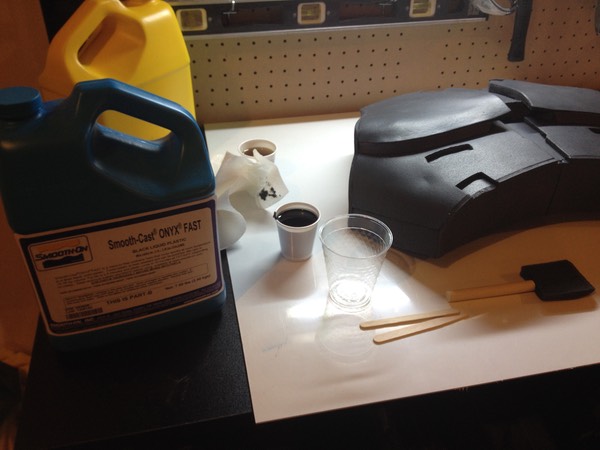
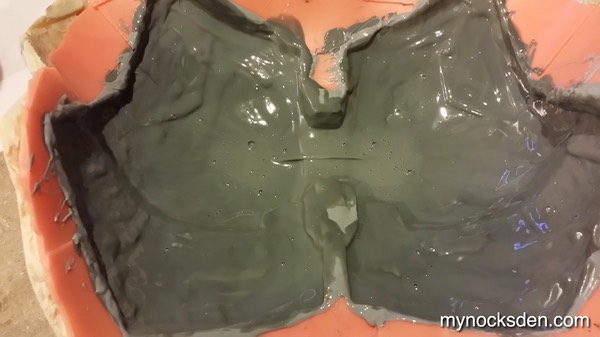
Using Rebound 25, I did a thin detail coat, and sped up curing using a heat gun.
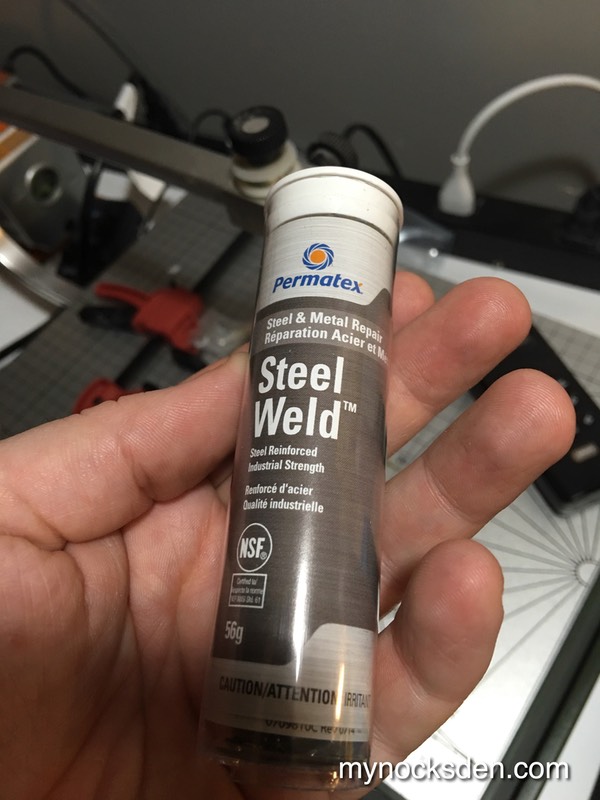
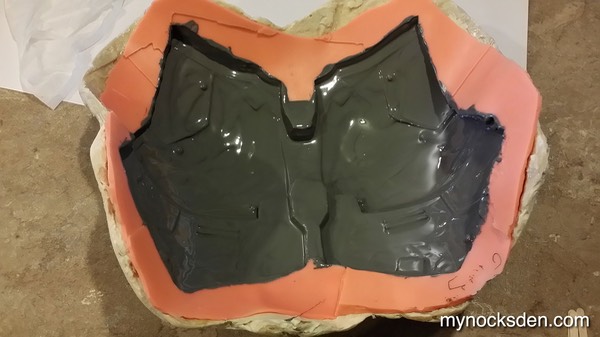
Two subsequent coats were thickened with Thi-Vex II, and let cure over night. Once the final coat was dry, I used bondo to create the mother mold, since I ran out of PlastiPaste and was too impatient to wait for a new batch.
The detail was captured flawlessly!
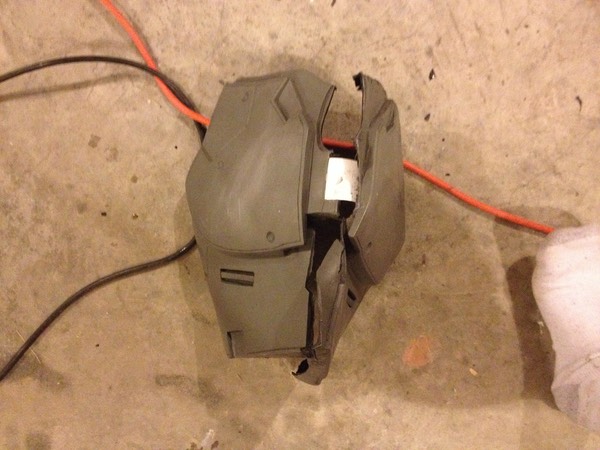
Here come a few more FAILS.
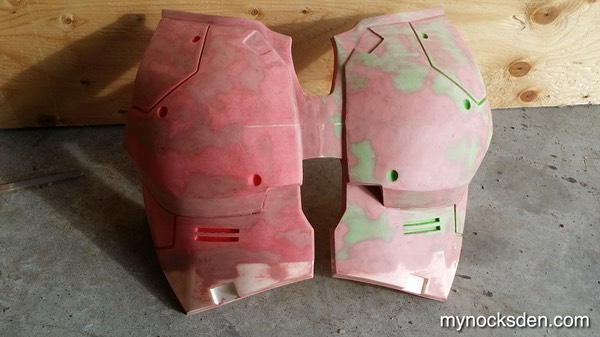
Since ONYX was the only resin I had, I decided to use it for casting the chest plate. I knew this would be a bad idea due to how brittle it is, but I did it anyway. After an hour of sanding, and trimming, I applied a little too much pressure in the weakest part of the armour, and BOOM!
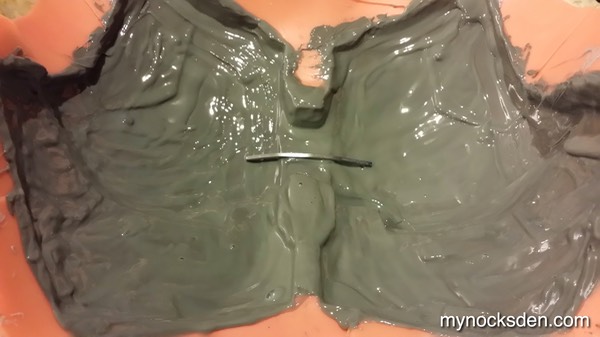
Next, I decided to mix in some aluminum (which usually softens the pull) on the first layer, do a few more layers, and burying a piece of thick .08 ABS plastic in the middle for strength.
FAIL again, though this time it was my fault, as I purposefully tried bending the thing too much.
Luckily, my shipment of 65D arrived the next day and I was able to do a proper pull.
For the outer layer, I used ONYX mixed with less aluminum than I would normally use for cold casting let's say Revan's mask.
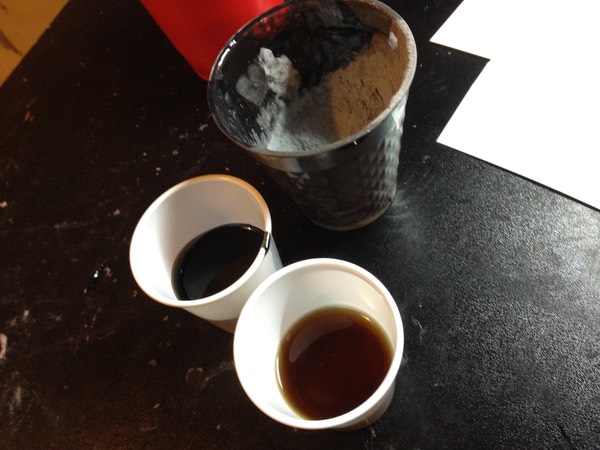
Unlike Revan that needs to look metal, the reference material shows the Sith Acolyte Chest plate as a really dark, almost black with an almost leathery texture. Adding a small quantity of aluminum adds that nice shine to the surface, while allowing a lot of ONYX's natural black to come through.
The subsequent layers were poured using 65D pigmented black (which results in a purpley/gray colour). 65D is softer, a lot more flexible, and therefore perfect for this piece.
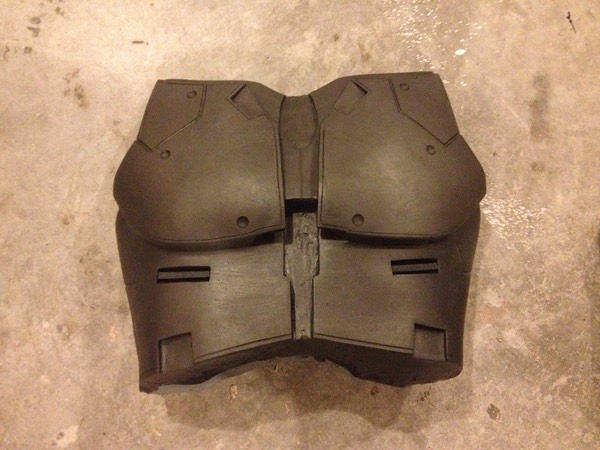
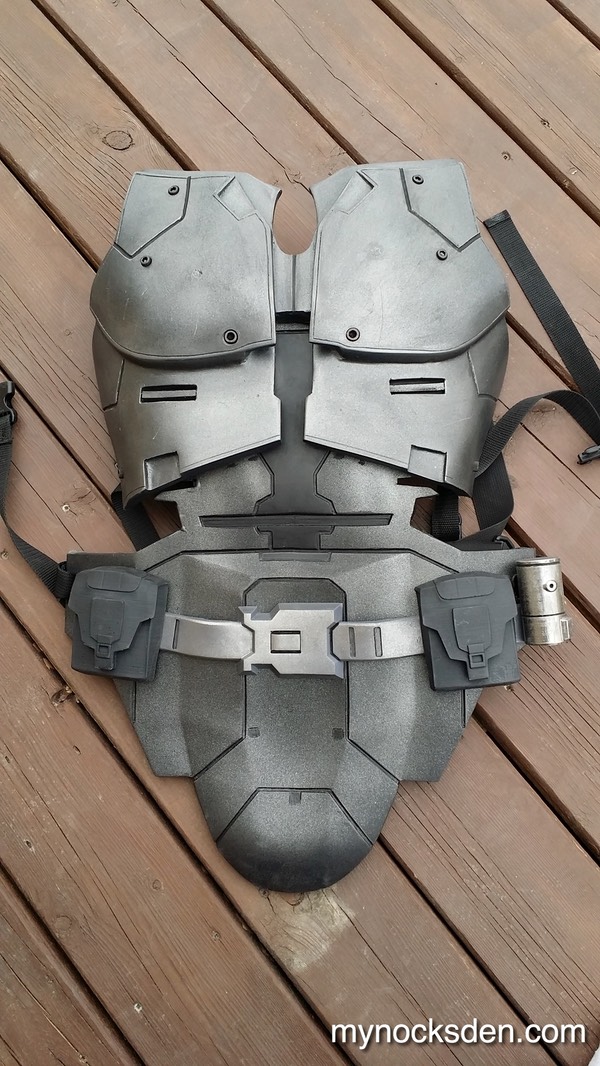
And, after trimming, sanding the edges, rubbing with steel wool (with a little bit of black paint for effect), the chest plate was finally completed.
A few days later, while working on other pieces of the Sith Acolyte Armor, I decided to add some cuts and scrapes, and further weather the plate using black Krylon and Dupli-Color paints, followed by lots of steel wool. I also trimmed the bottom a bit more using my belt sander, shortening the overall height of the piece to be more accurate to the reference material.

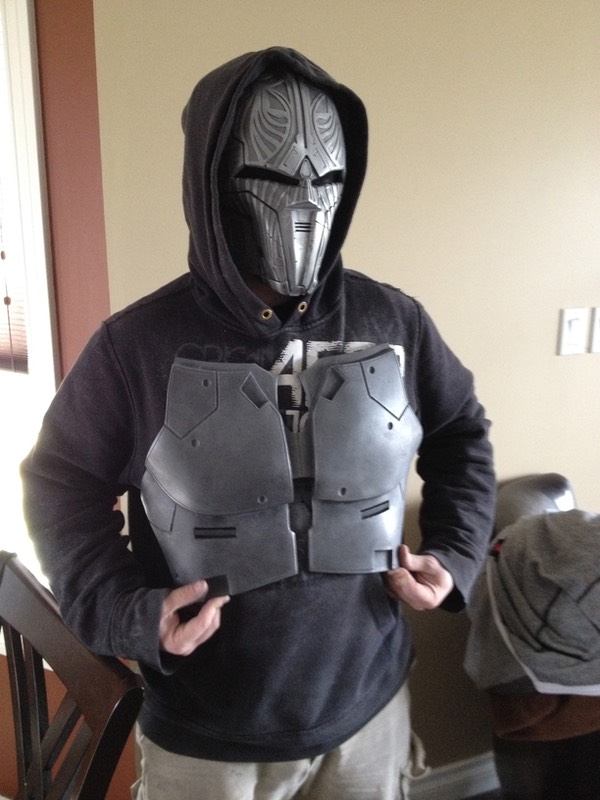
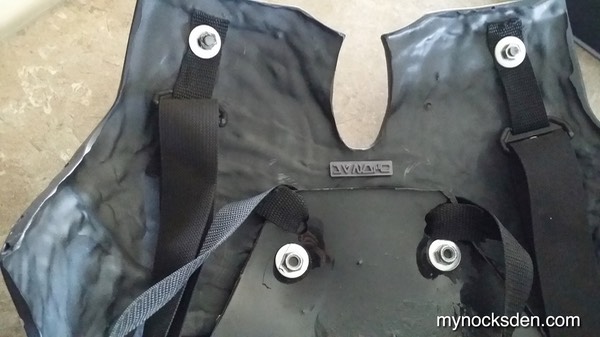
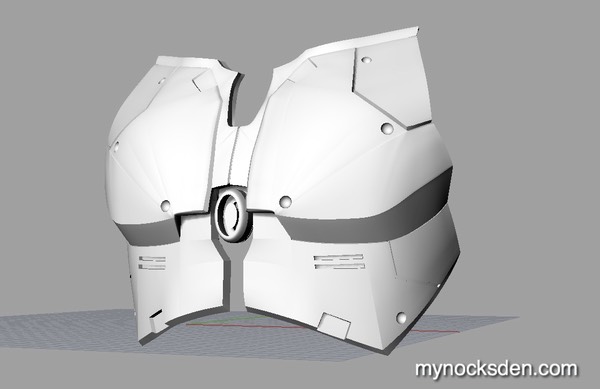
Almost a year and a half later, we have a repainted chest plate assembled with the rest of the torso. In the reference material, the six round indents in the chest plate actually what look like contain hex bolts. This was a welcome discovery as it solved my long-pondered issue of how to make this chest piece wearable. Combining form with function, I got some hex bolts, drove them through the chest plate, and used them to attach my strapping system.
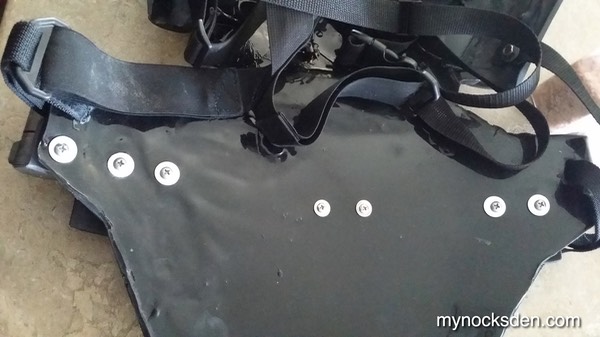
The strapping system consists of 1” nylon straps with snap buckles sewn onto the ends, and suspenders attached to two straps bolted down to the chest plate at the top, and to the sides of the COD plate at the bottom. I will take some more photos of this soon, as I’ve received quite a few emails asking to show just how this section is assembled.
Lastly, the COD plate is bolted to the chest plate in the centre, which holds the two pieces in place, preventing them from rubbing against one another.
Version 2
After the release of the SWTOR trailer “Sacrifice” in June of 2015, I decided to go back and redo the chest plate, this time with the help of 3D printing. So, I set out to model the chest plate in 3D using my go-to CAD modelling software called Rhinoceros.
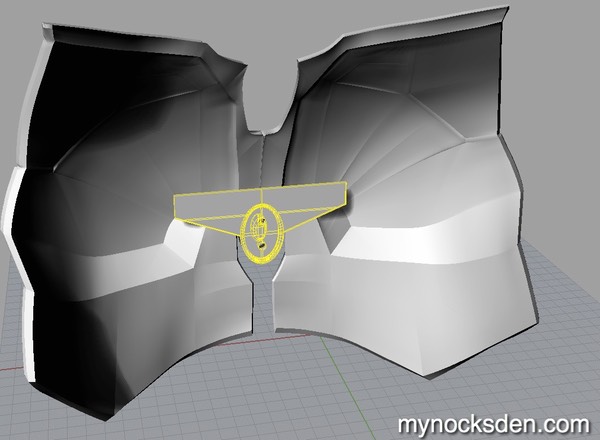
Since the chest plate for the Old Republic Jedi is the same, I would be able to use it for my upcoming Jedi armor build; I would just need to model the little glowing oval at the solar plexus, which would be no problem.
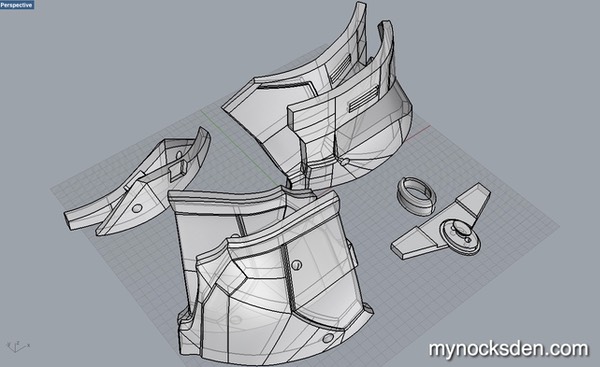
I modelled only one half of the chest plate, and in the end mirrored it to create to other half.
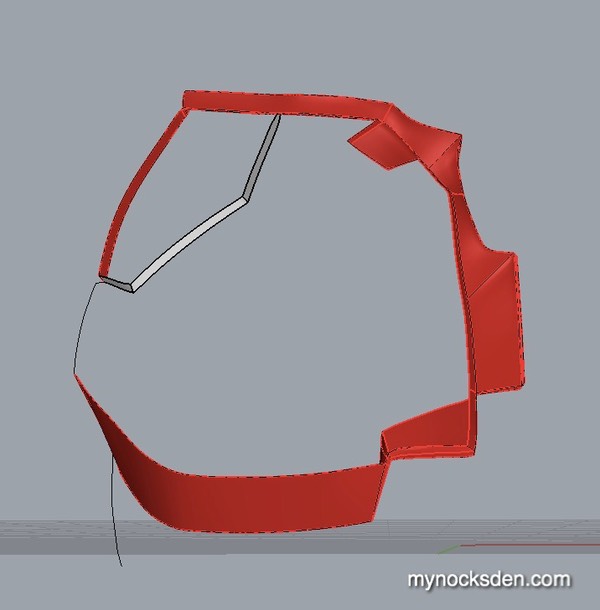

Once the model was given thickness and made water tight, the next step would be to split it into smaller sections for 3D printing.
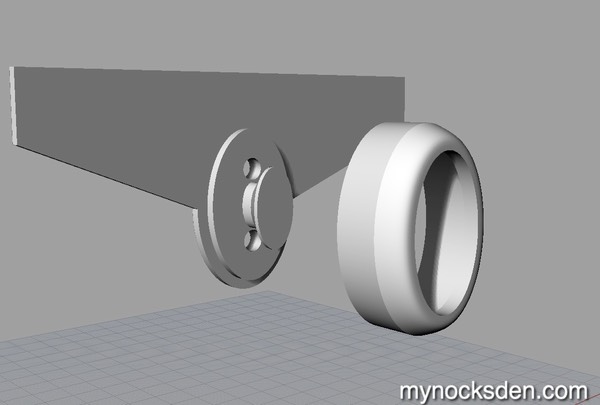
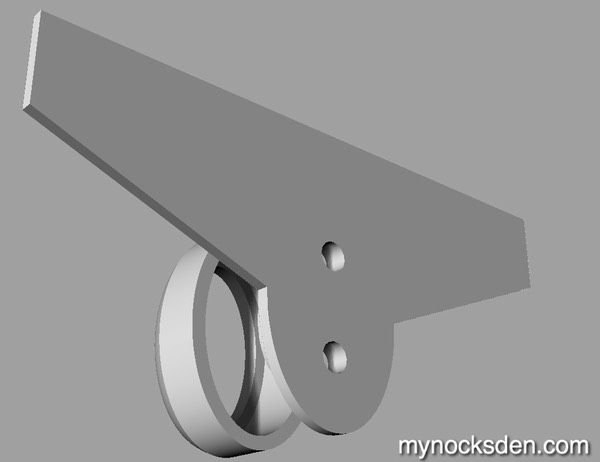
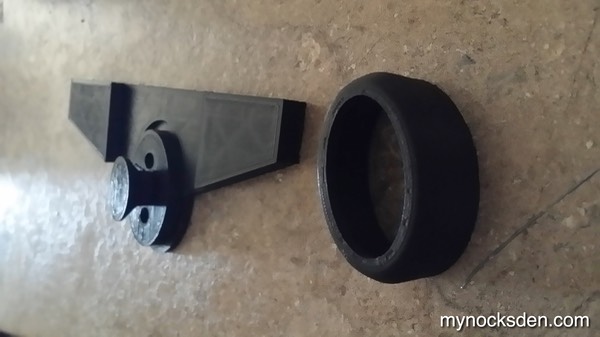
As before, my end goal is to have this piece made from 65D resin infused with aluminum powder. The Jedi version will come with a 3D printed centre oval housing, which will be comprised of two pieces that will snap together as seen in the screenshots below. The assembly will be hollow to allow for installation of LED lights.
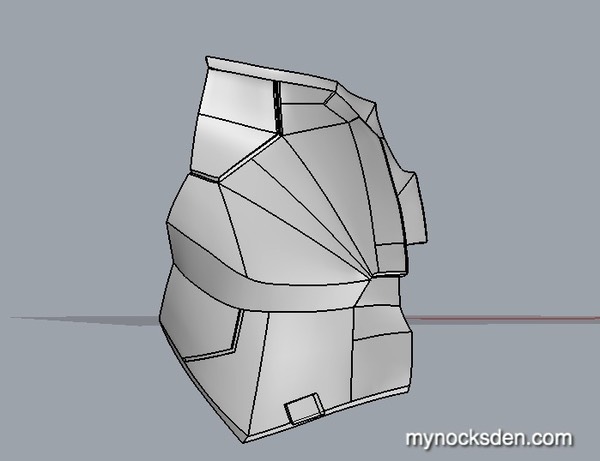
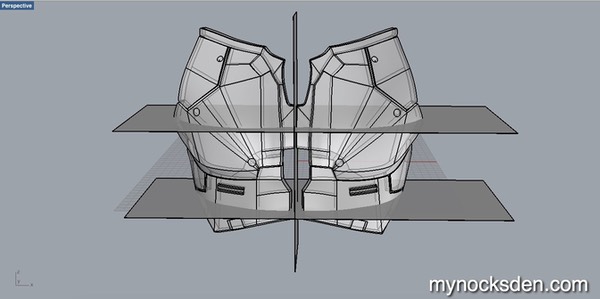
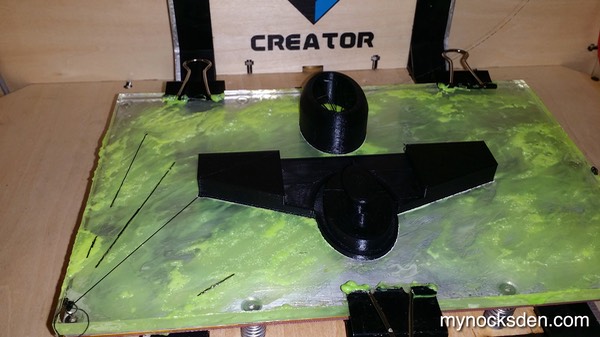
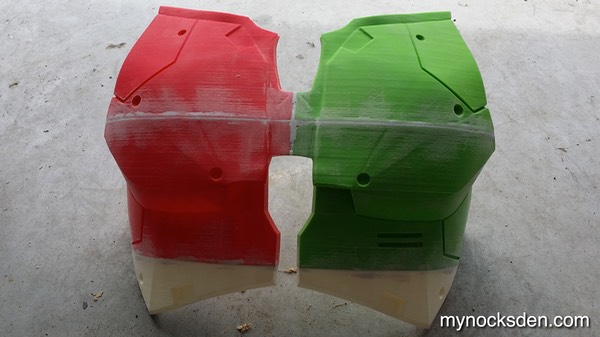
Next, I split the model into sections for 3D printing, exported the STL files, generated the G-code with ReplicatorG, and printed the parts on my FlashForge machines.
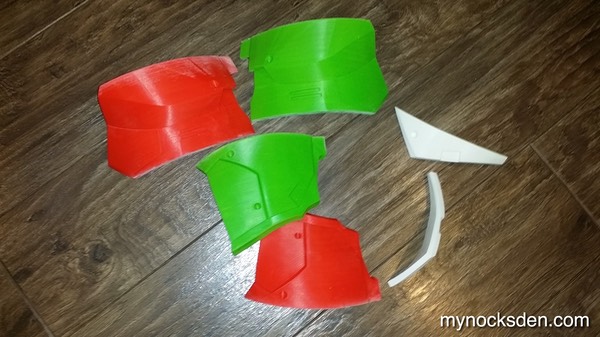
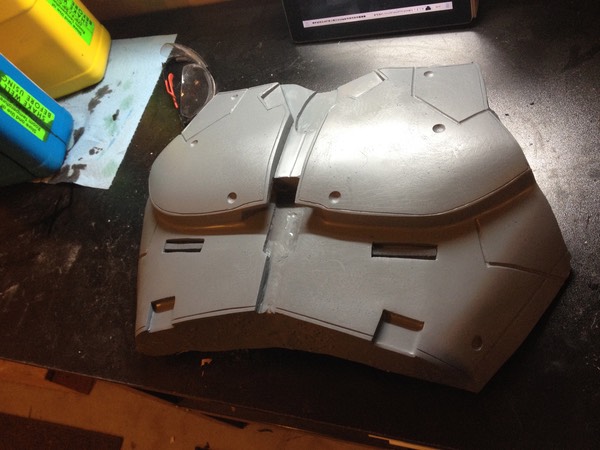
I used some epoxy putty to assemble the chest pieces…
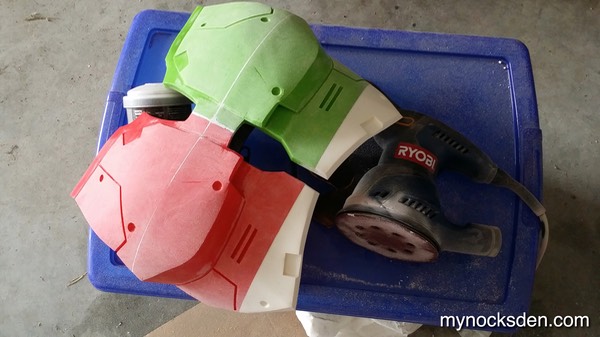
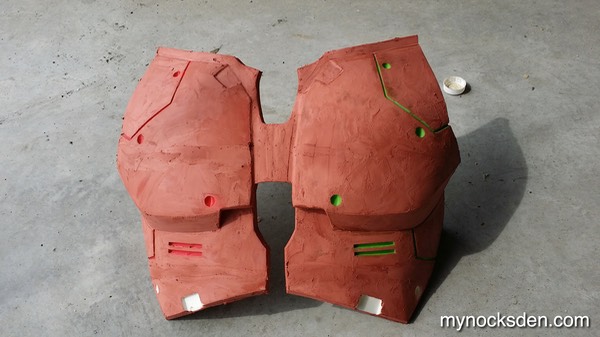
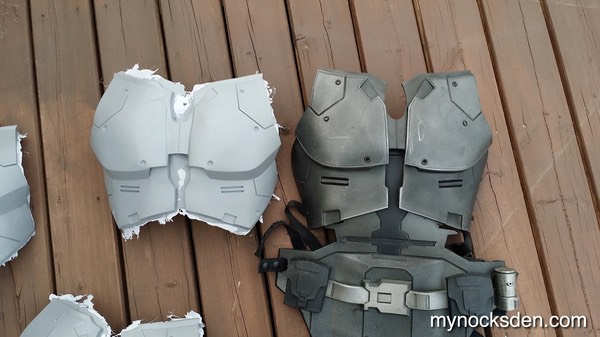
…and began the long and tedious process of smoothing out the surface. This involved power sanding the piece, applying Bondo spot putty, sanding, priming, and repeating the process until the surface was smooth and ready for molding.
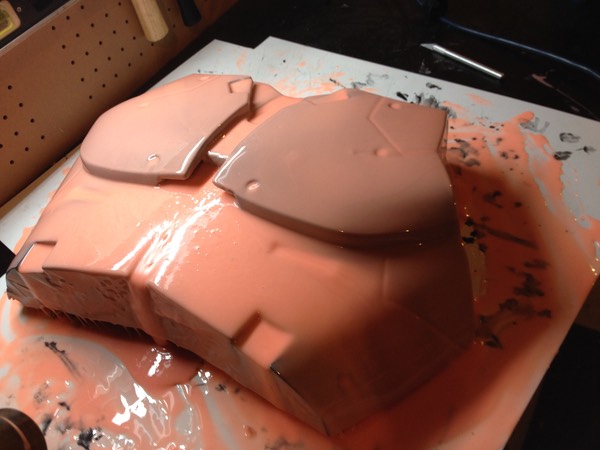
I then set up the finished chest plate master by propping it up on some foam sheets, coated everything with a sealing agent called Superseal, and applied silicone in layers, giving sufficient time for each layer to become tacky to the touch before applying the next.
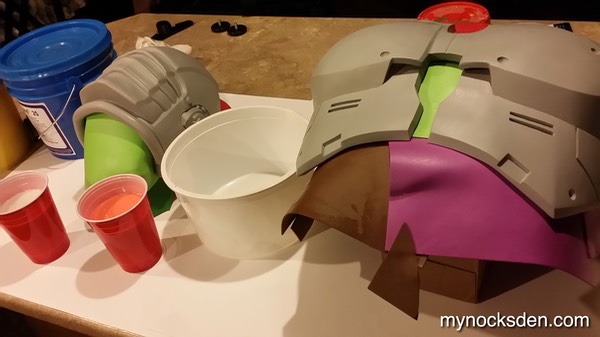
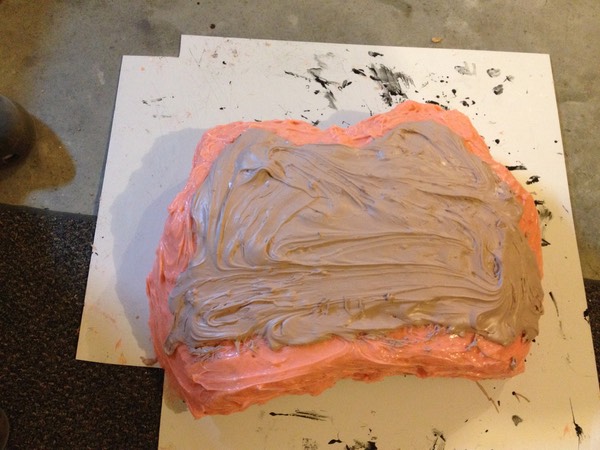
The last two silicone layers where thickened with Thi-Vex to give the mold thickness and strength, and once these cured, Plasti-Paste was used to create the support shell.
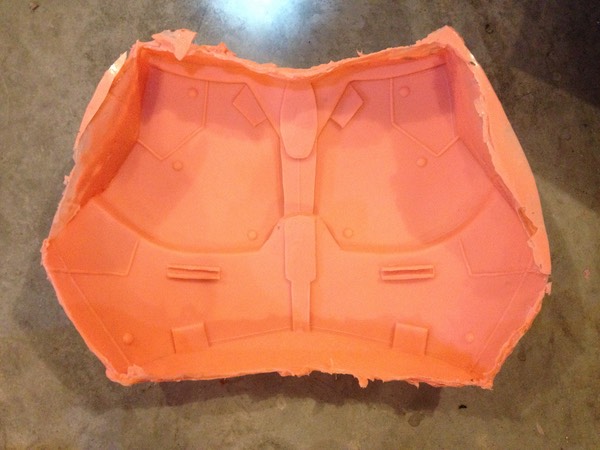
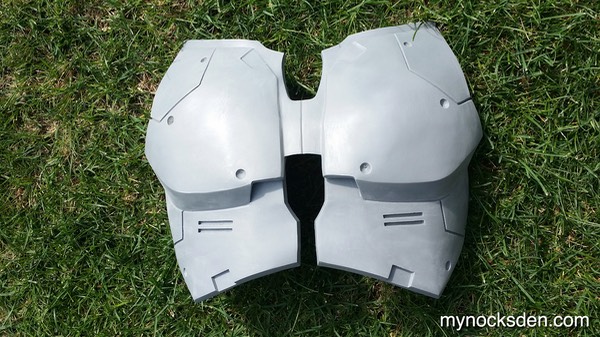
Once everything cured, I demolded the chest master, which ended up cracking along the middle ridge - the structural weak point of the whole thing.
I then cold cast the chest plate using the same method and materials as described above...
… taking the time to reinforce the middle section with a steel rod in between layers.
Once the chest place was cast, i posed it next to the old one for comparison.
Thanks for looking!
* * * * * * *