Here are the photos of the rough plasticine sculpt during various stages of sculpting. Plasticine?! Yeah, why not! The great thing about plasticine is that it's super easy to work with (much easier and cleaner than clay), and can be softened in seconds by throwing it into a sink full of warm water. The best thing about plasticine however, is that it's cheap and reusable.
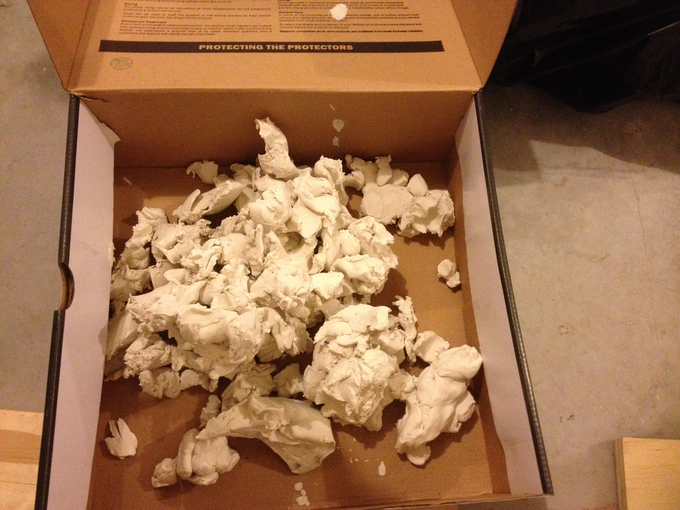
Win!
Anyway...
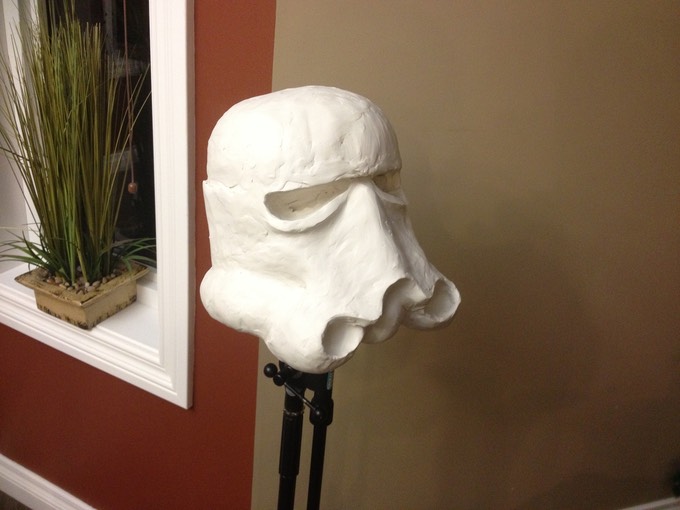
Rough: I used a small foam ball I purchased at Michael's as the base to sculpt around.
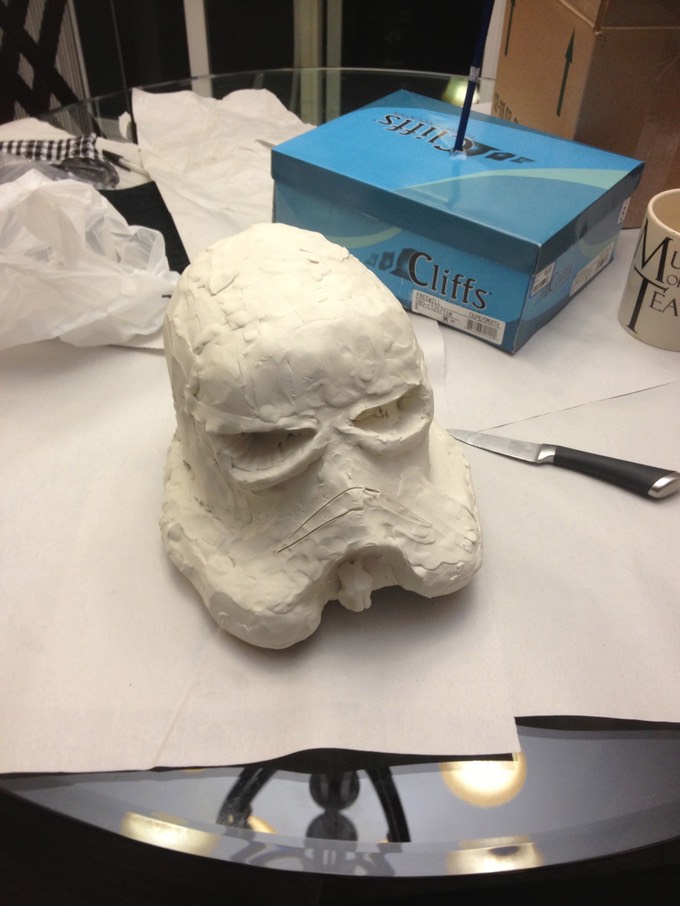
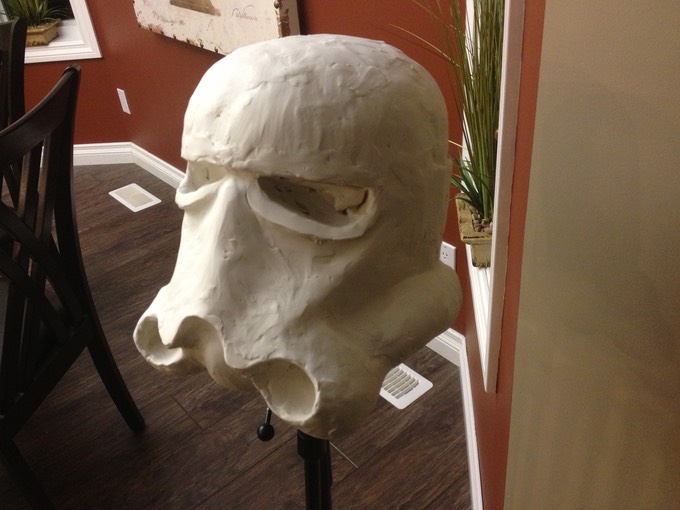
More refined: This thing got really heavy very quickly. The bottom of the sculpt started getting squished under all the weight, so keeping it on the table became counterproductive. I was trying to figure out a solution, when I remembered an old microphone stand I've been meaning to give/throw away for 5 years. The Force had other plans for it, it seems, because….
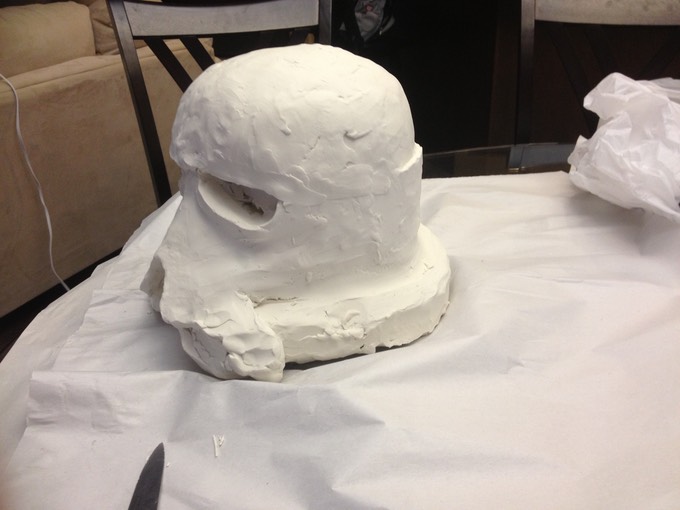
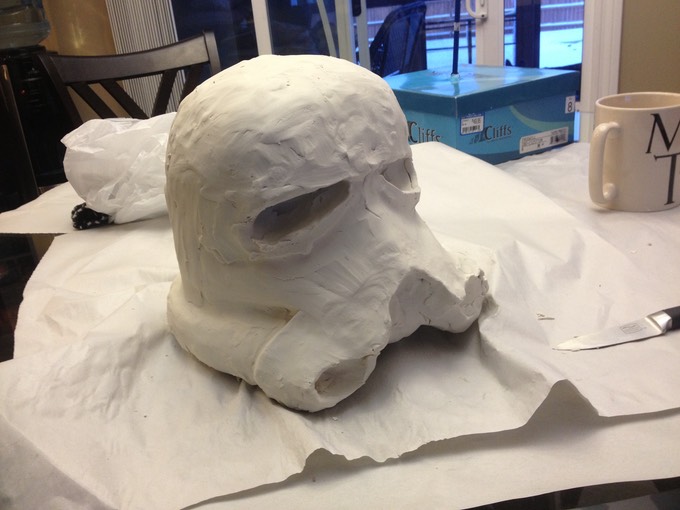
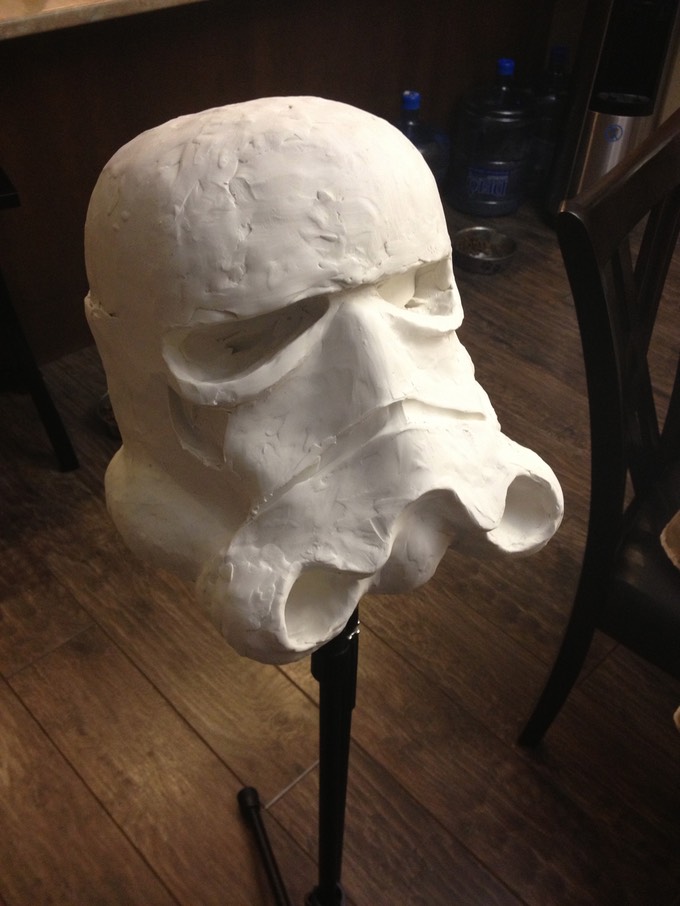
Final rough sculpt: After several days of working on it (20 minutes here, 20 minutes there), I was satisfied with the overall shape and definition.
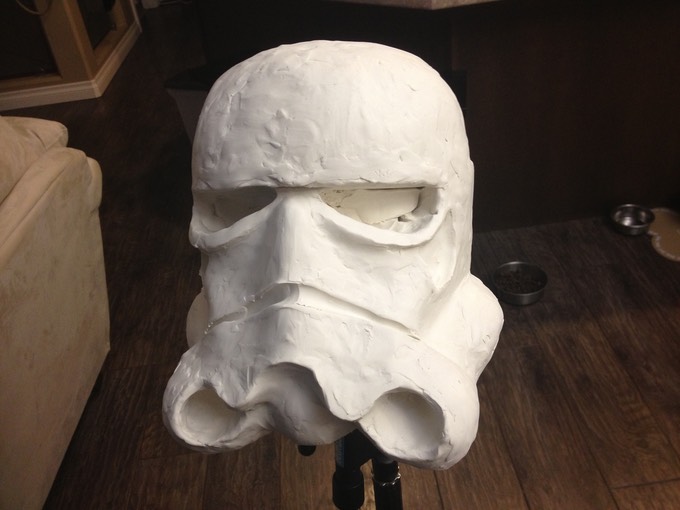
The next step will be to harden the surface and create a female mold for positive casting. The positive cast will then be smoothed out, and made into a mold for vacuum forming. The ears and aerators will be done separately.
* * * * * * *
- Stage 1: Initial Sculpting
Stage 2: Hardening the Initial Sculpt