Star Wars the Old Republic has no shortage of cool helmets, and one of my favourites is the Mandalorian Hunter helmet.
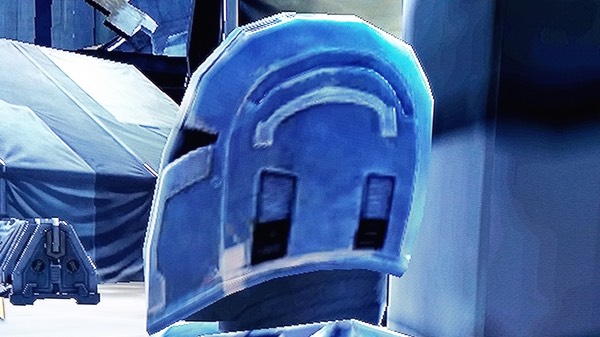

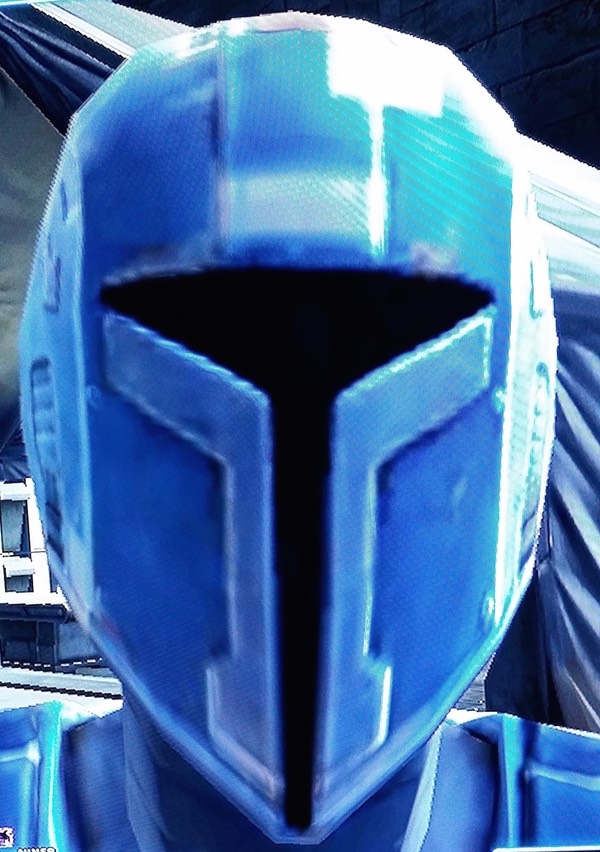
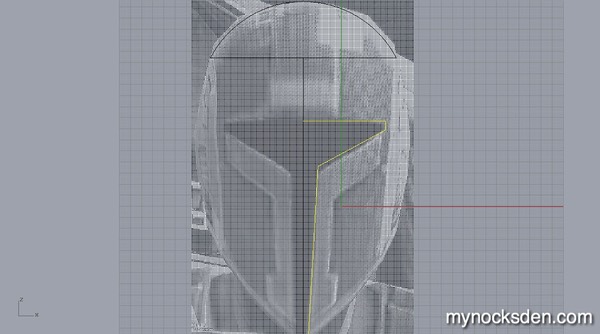
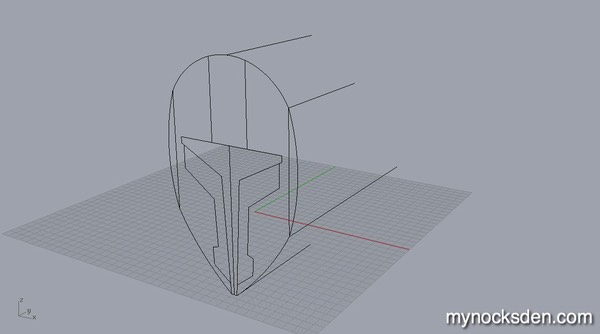
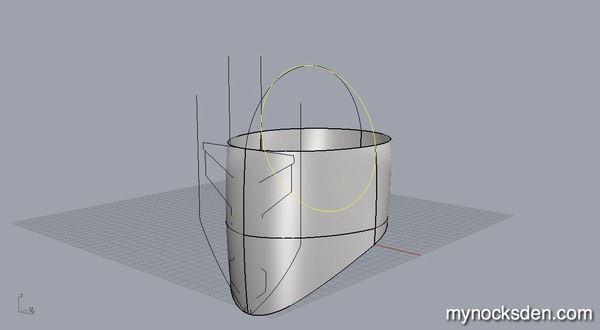
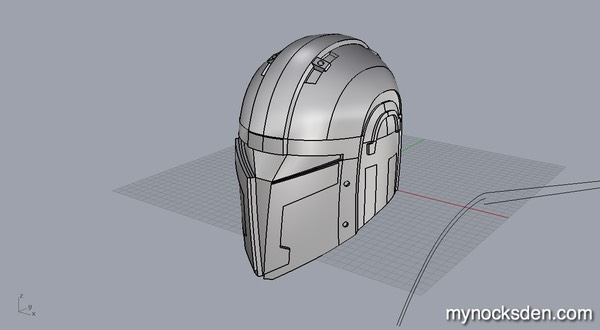
The model itself (as well as the maps applied to it) is pretty low resolution, so right from the start I knew I would have to exercise some degree of artistic license in making this helmet. I began by taking a screenshot, and importing it into Rhino. I traced all major details and outlines with curves in 2D...
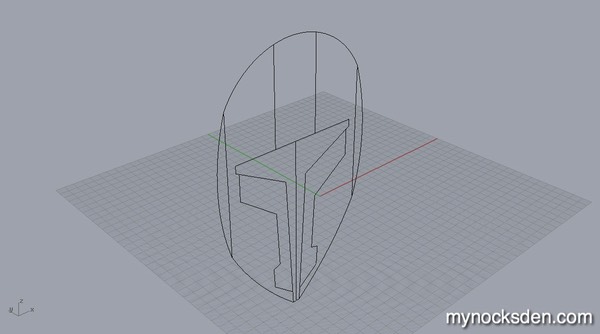
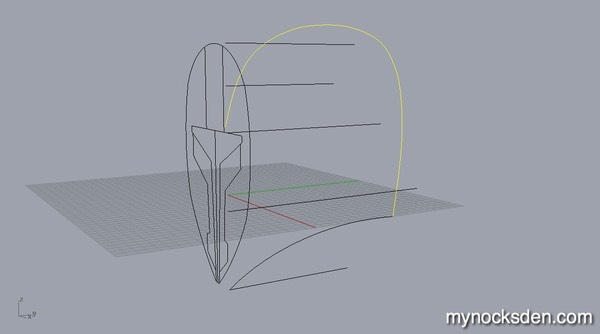
… and began pulling them out into 3D. I then drew additional curves, and used these to build rough surfaces.
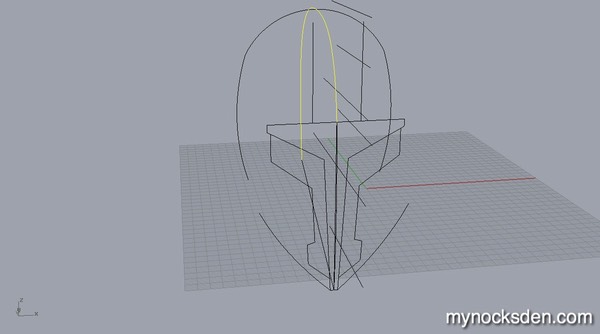
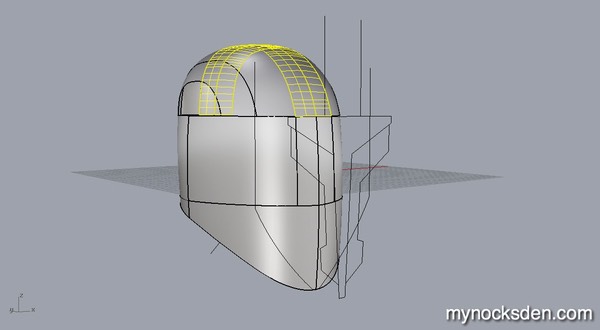
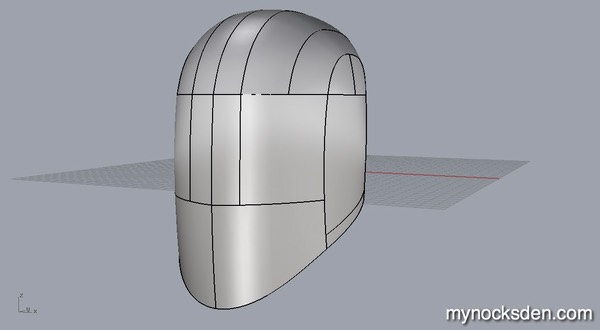
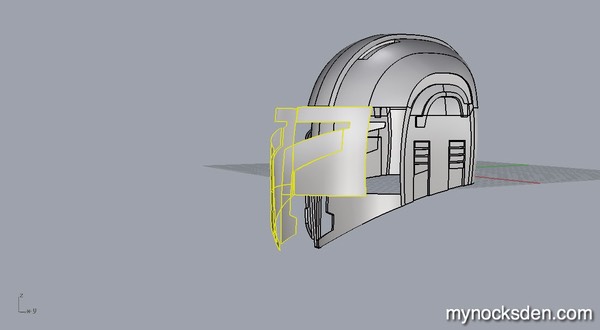
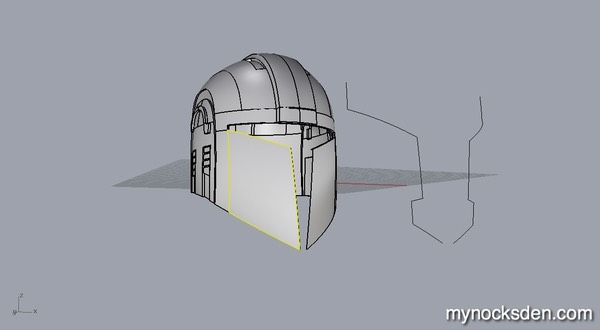
Once the main shape was done, I started adding detail.
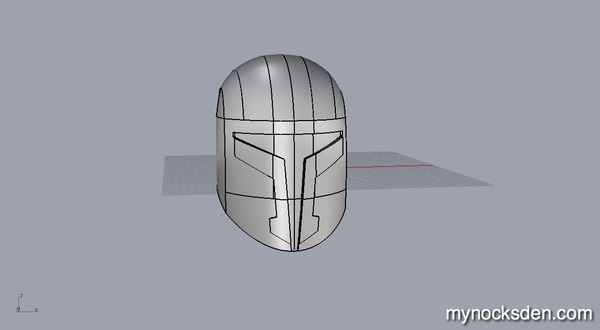
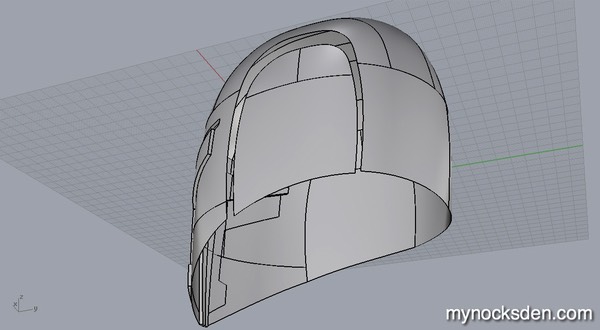
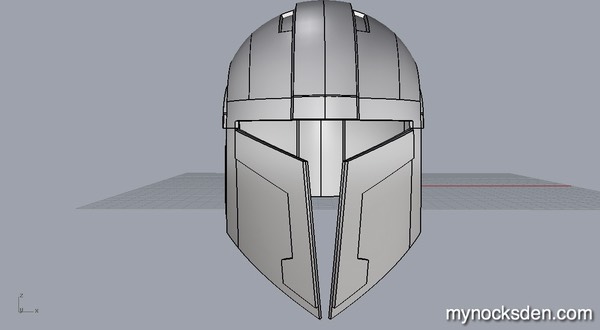
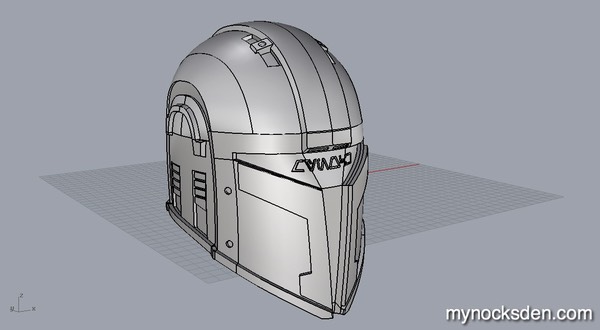
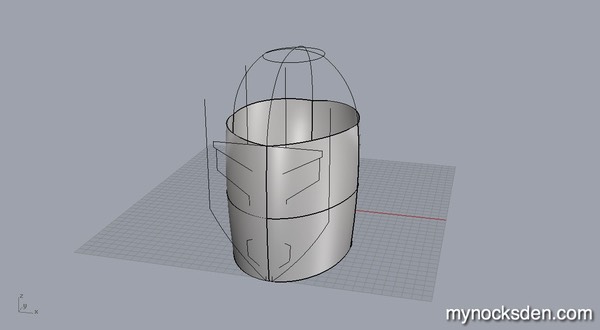
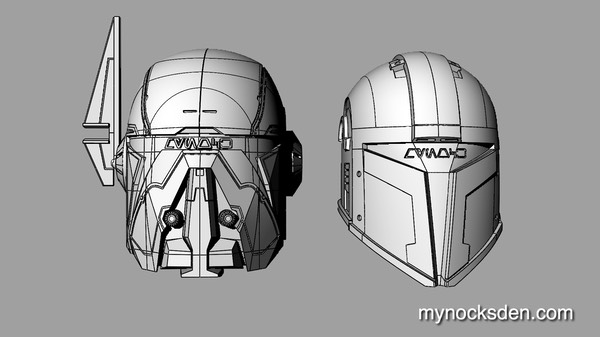
Before long, the helmet was done, properly shelled out (given thickness), and made water-tight, ensuring there are no gaps or bad joints in anywhere between the surfaces.
I sized the helmet to similar dimensions as my Shae Vizla helmet before splitting it up for 3D printing.
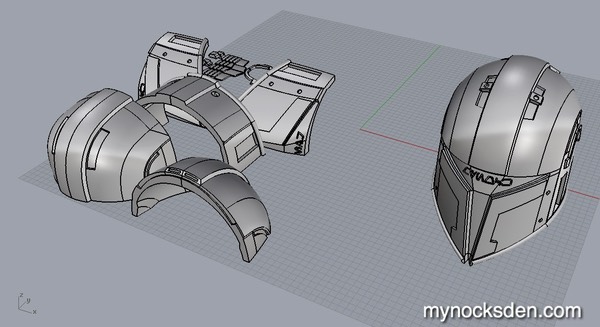
Once all the parts were printed...
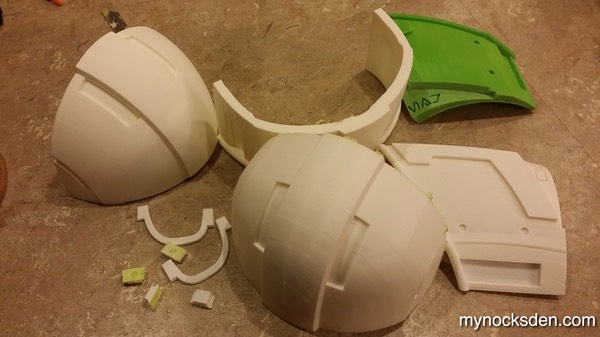
…I assembled the helmet, and realized that I may have made it a little too small. The thickness of the 3D printed parts was about 1cm in some places, so it was a very tight test fit. Granted, the final cast would be much thinner-walled, and would likely fit OK, but I wanted to make sure that it was large enough to accommodate padding and electronics. So, went back to CAD, sized it up a bit, and reprinted all the parts.
I lightly glued the pieces together using superglue, and filled the seams in using epoxy putty.
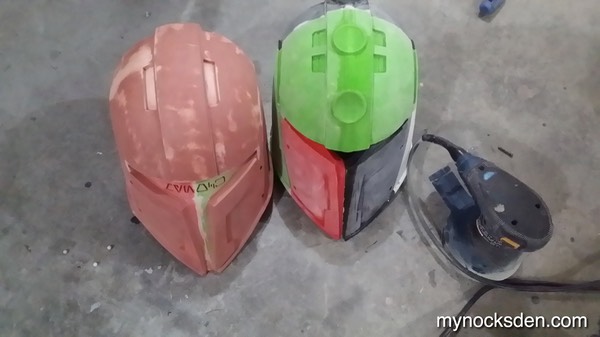
This time, the test fit went much better. Below, the smaller helmet is in the photo on the left, and the larger re-print on the right.
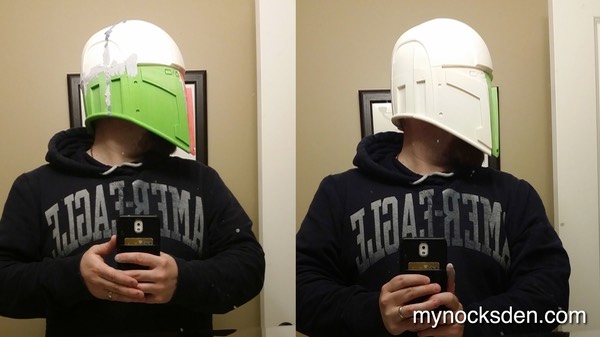
In the next photo, the larger helmet is on the left - a noticeable size difference.
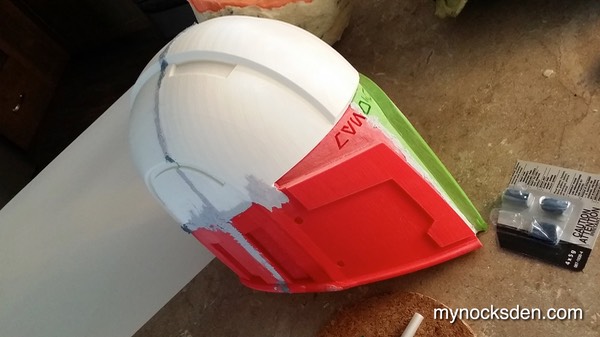
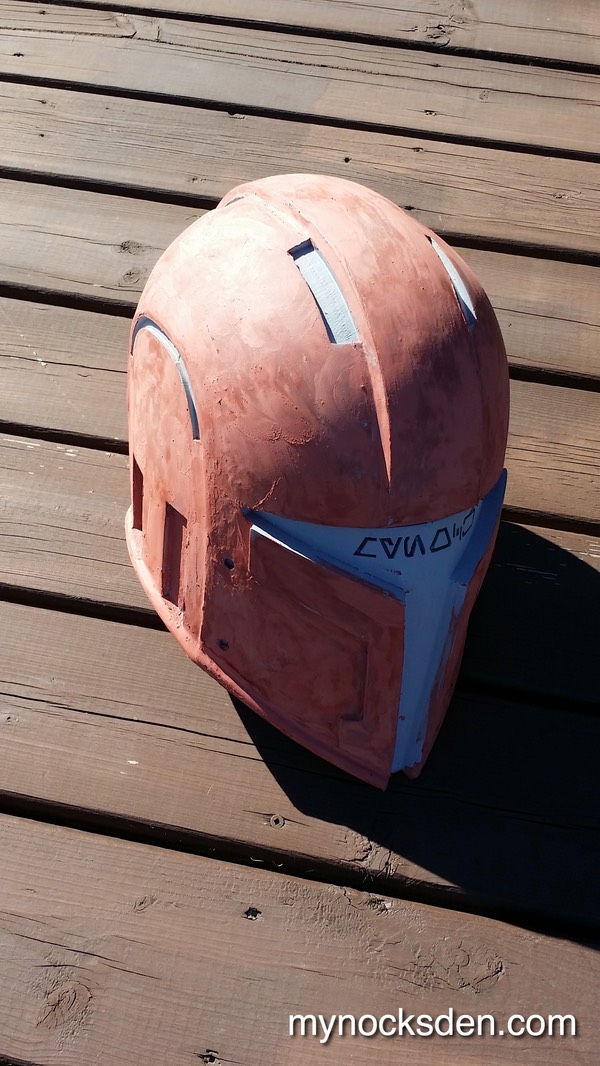
Next came the elbow grease stage. I used Bondo auto-body filler and epoxy putty to completely fill in all seams.
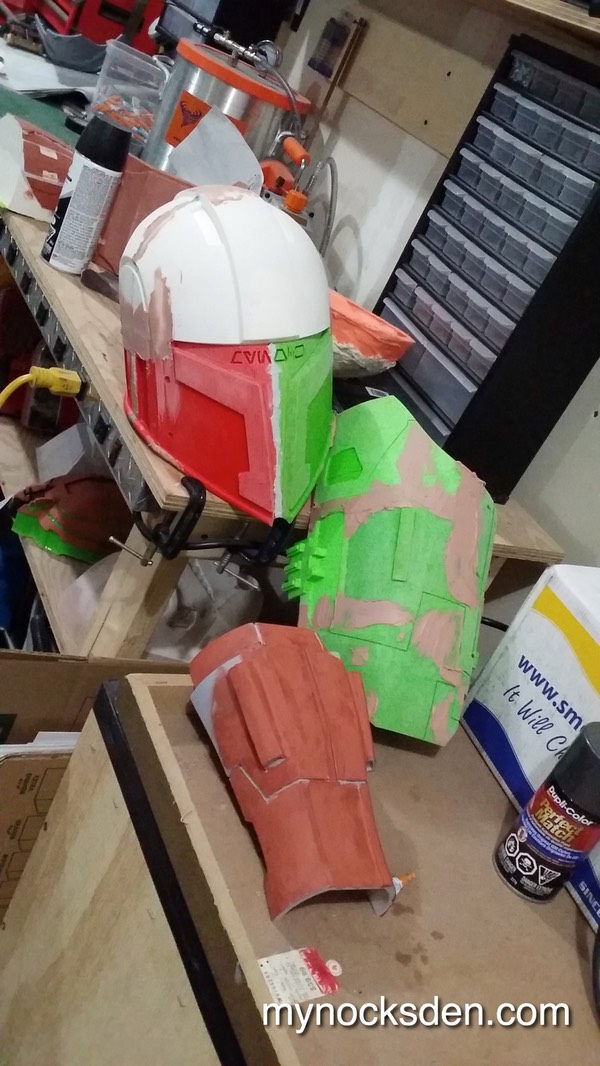
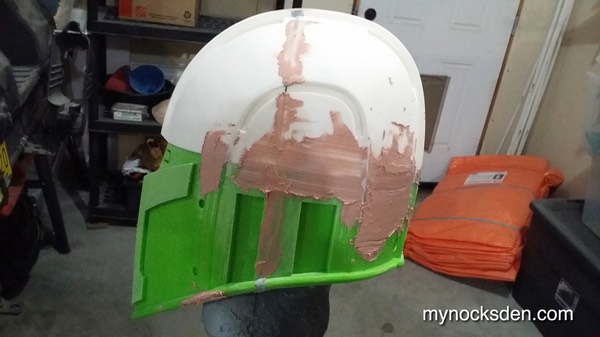
I sanded all this down using 80 grid sanding discs, and then went over the entire surface with 220 grit discs to take down most of the 3D printed striation. After this, I applied the first layer of Bondo Spot putty, and let it cure for a few hours.
Next, using 220 grit paper, I sanded the first layer smooth by hand. (Below, you can see my Foundry helmet on the right, also in the sanding stage of production).
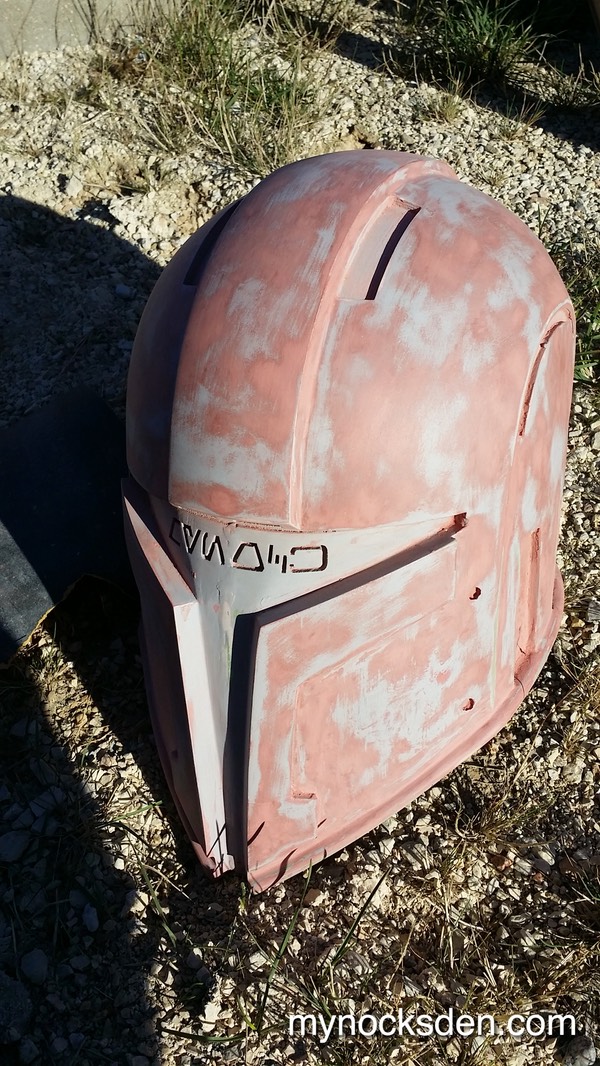
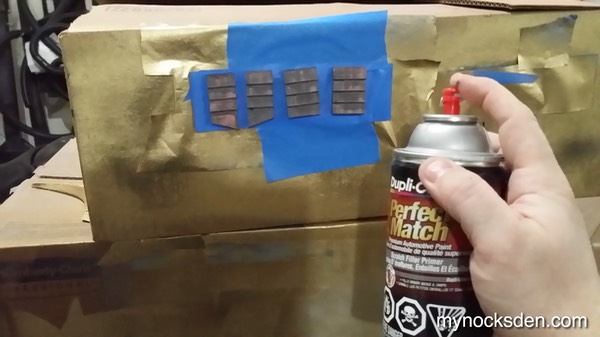
After this, I spray painted the helmet with grey self-sealing auto-body primer by Dupli-Color, and followed this up with more Bondo spot putty.
Sanding this down, I primed again, applied more Bondo putty where needed, let this dry, sanded, primed again, etc until the surface was smooth and blemish-free.
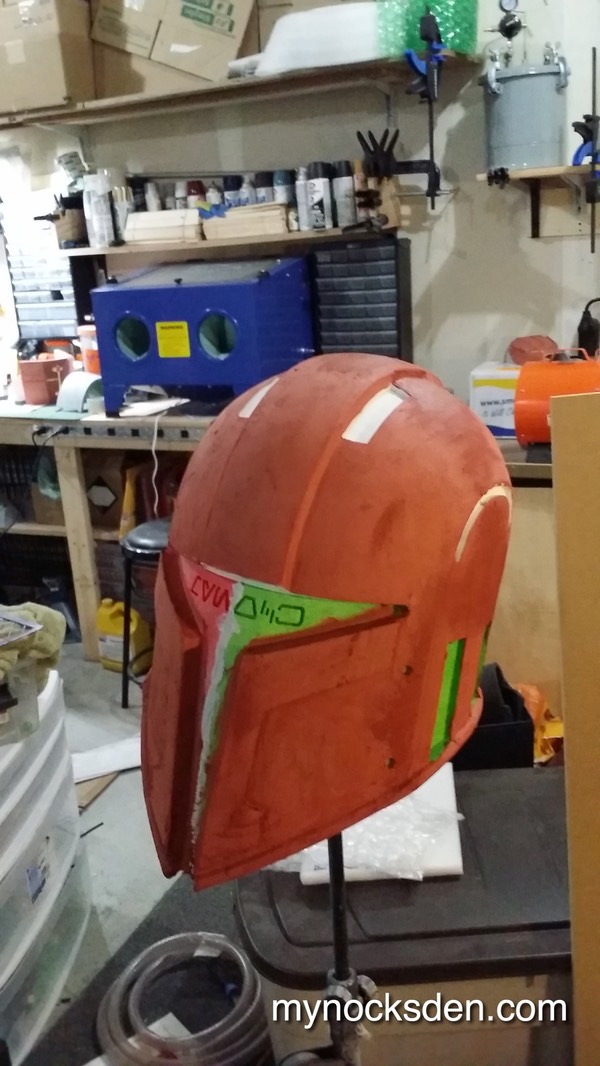
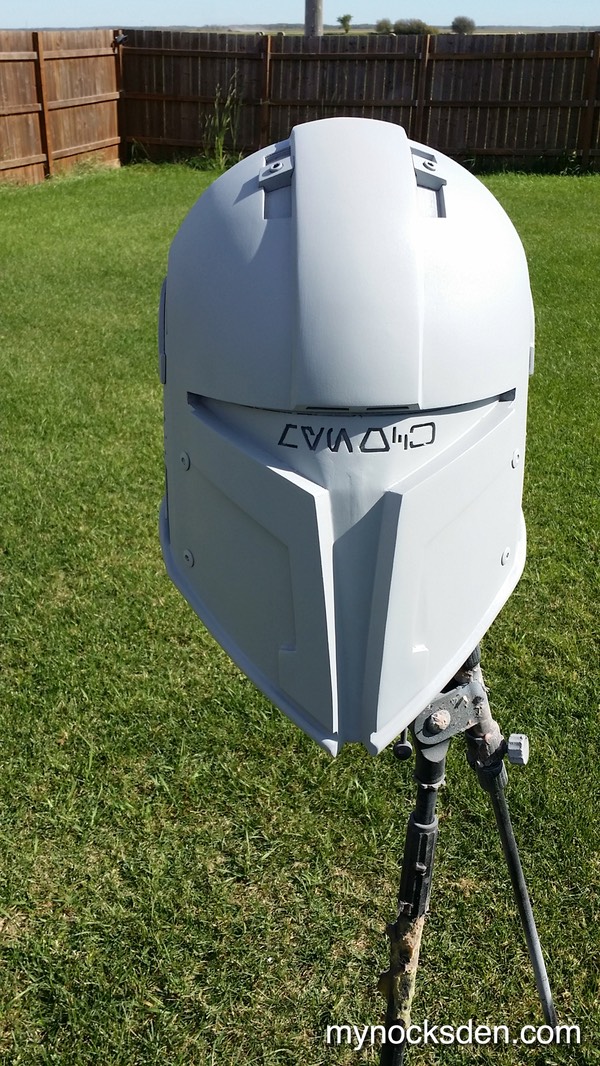
I then glued on all the little pieces, touched up a few more spots, primed, and set the whole thing aside.
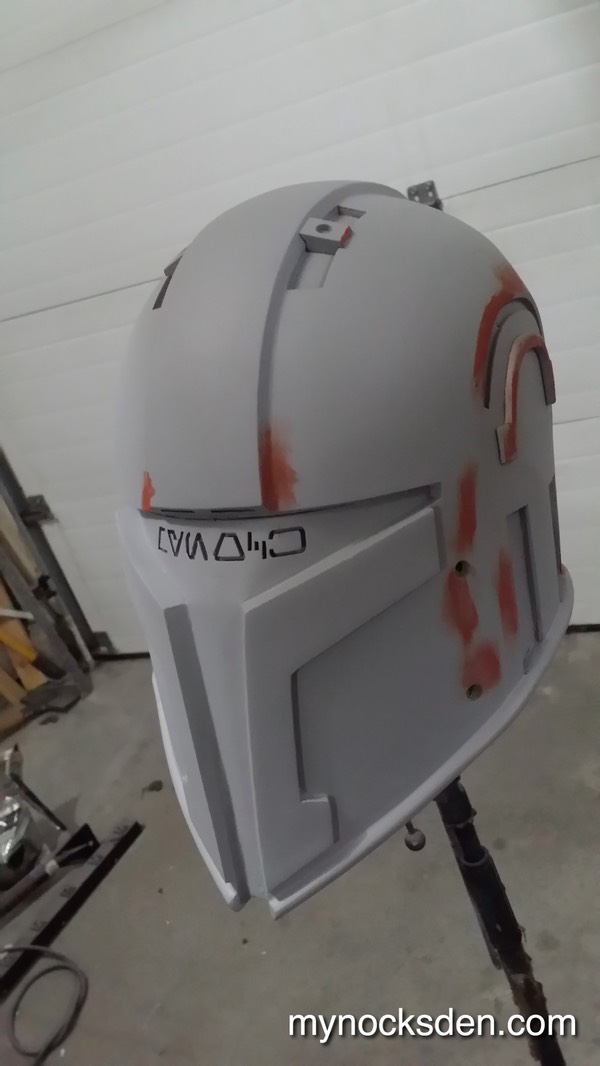
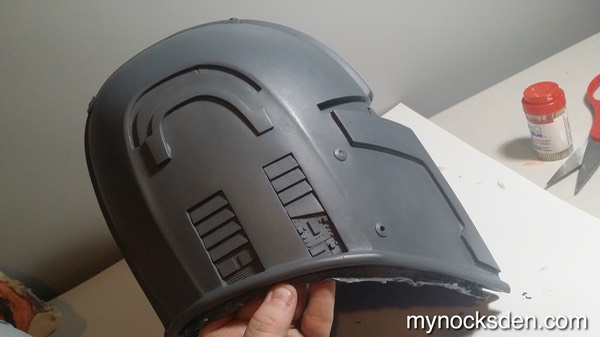
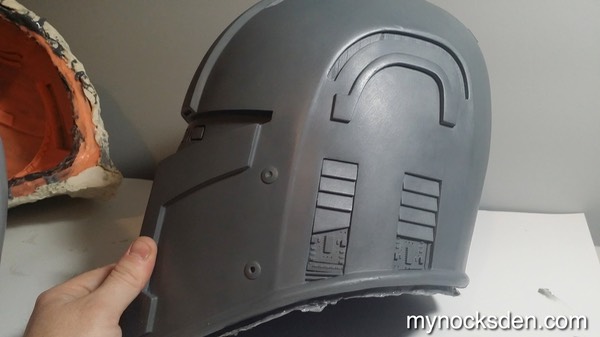
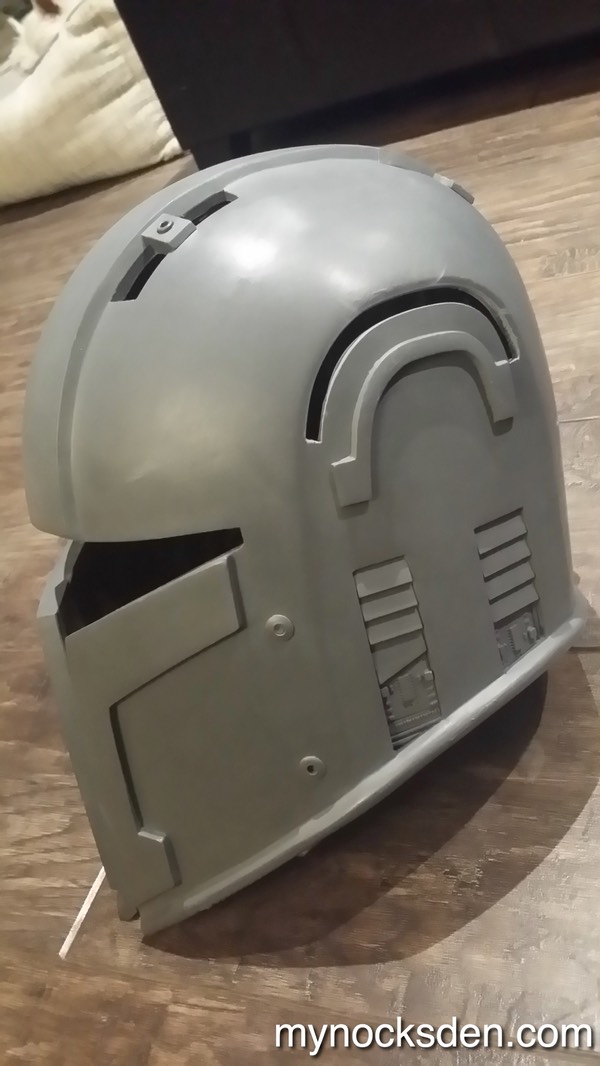
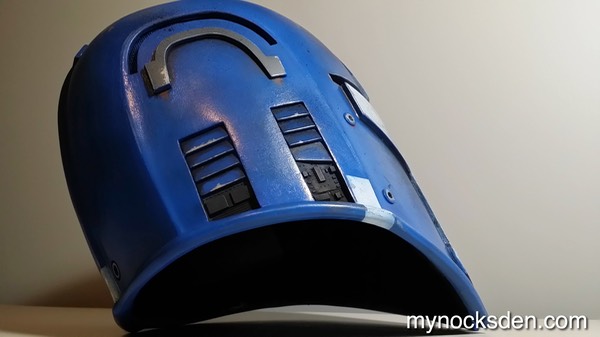
The little vents were sanded, puttied, and primed in the same manner as the helmet itself.
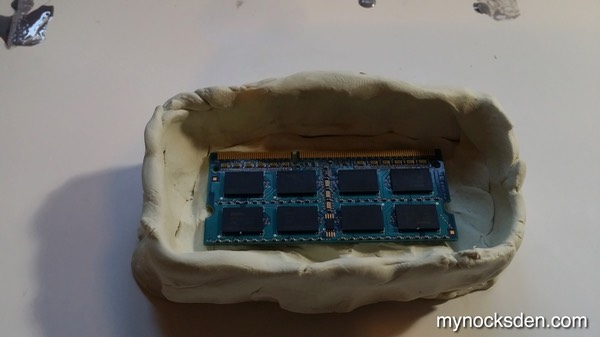
On the game model map the areas directly below the vents are black; the low resolution makes it impossible to tell what the detailing is supposed to look like there. So, I decided to make these spots look interesting. I took an old computer RAM stick and a little audio amplifier circuit board I had, and molded these using Rebound 25.
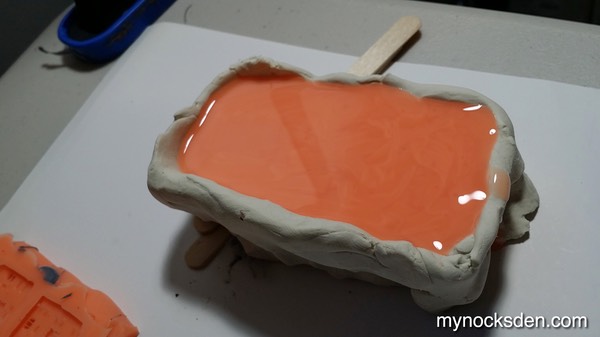
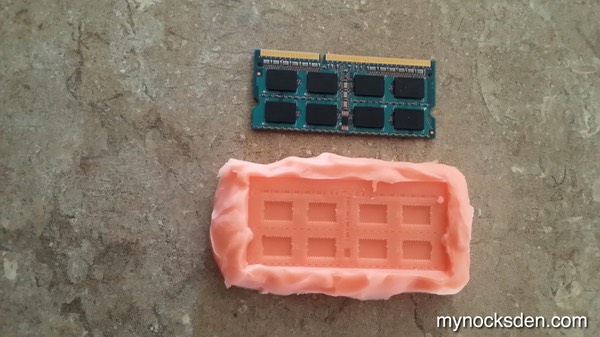
I then cast these pieces in 65D resin...
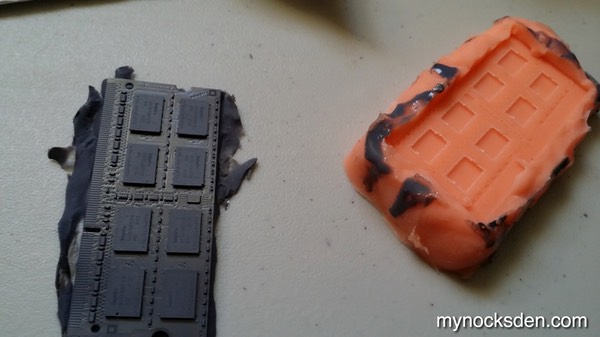
… cut them, and fitted them into the slots below the vents. Since it wasn’t a perfect fit, I used some jumper cable wiring and some other scrap components to build up the empty areas. To make things even more interesting, I made the right side look different from the left, which you can see in the next two photos.
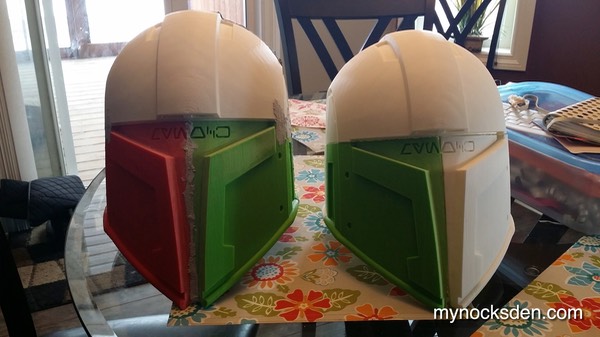
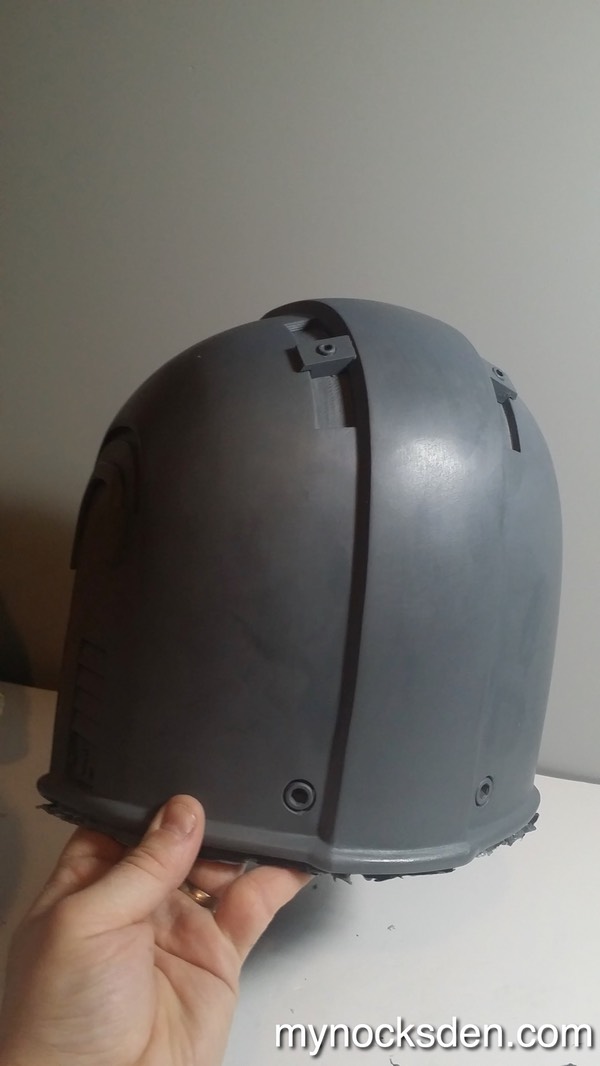
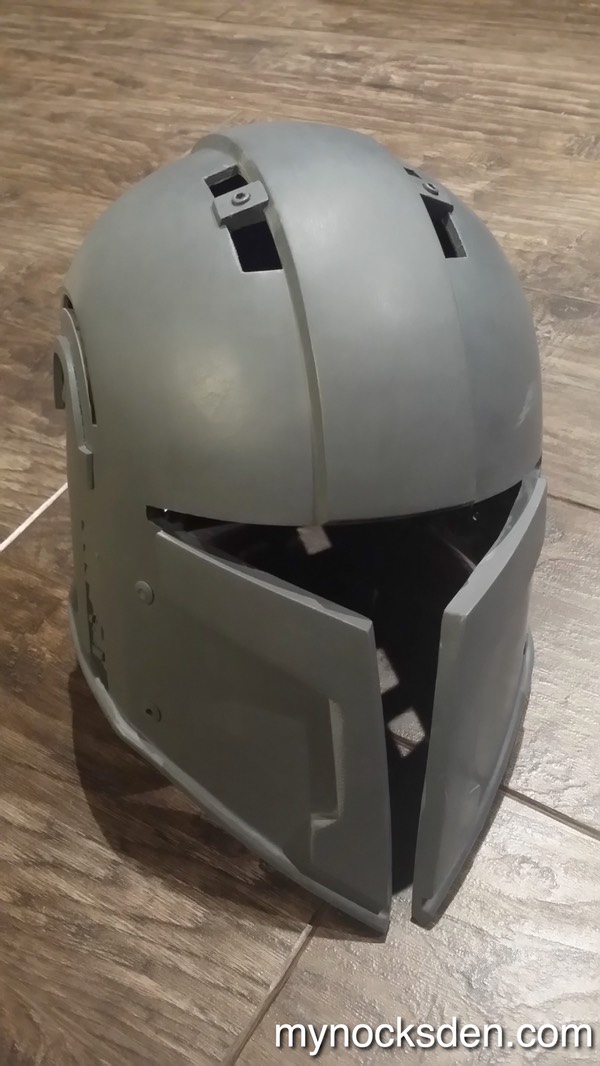
Note that you can see some 3D printed striation and a small gap in the cutout above each ear. Initially I was going to smooth these areas out, but later decided to leave them; these areas will be cut out and made into air vents on the final helmet cast.

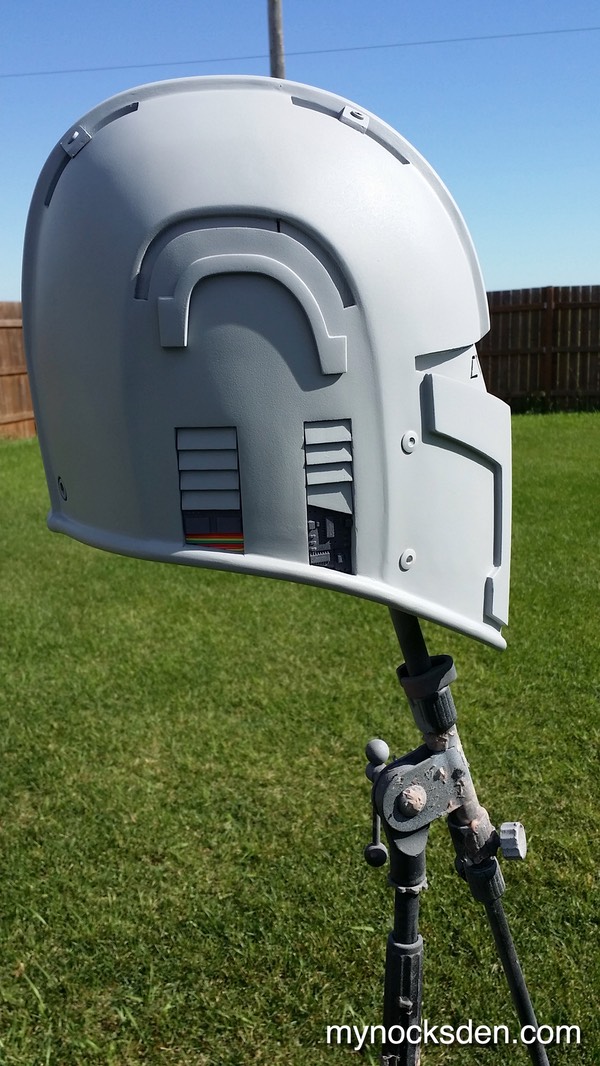
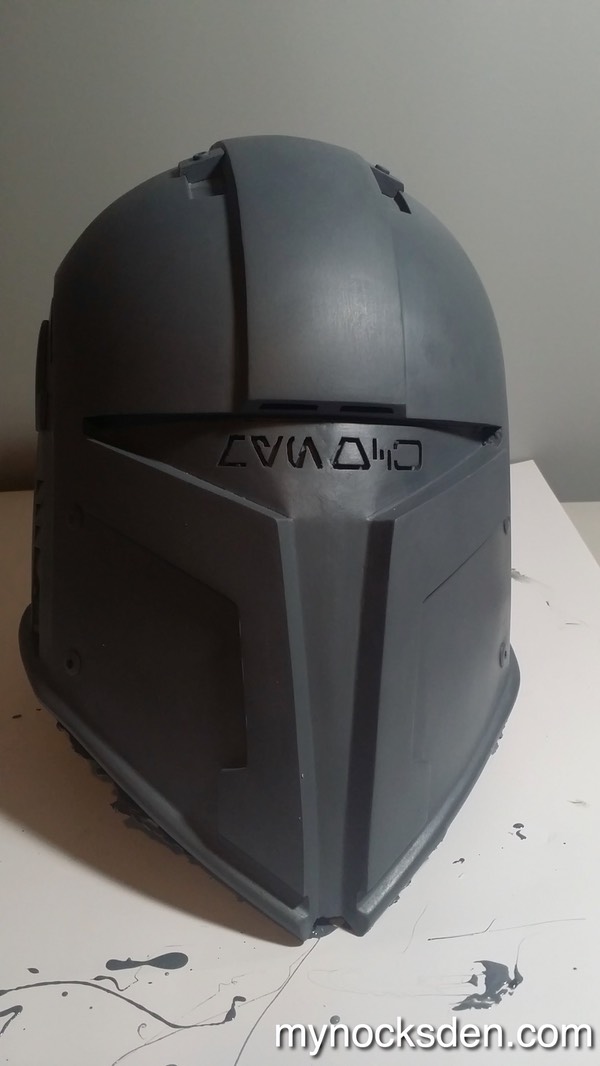
Similarly, I didn’t spend too much time on making the visor area look pretty, as this will also be cut out on the final model.
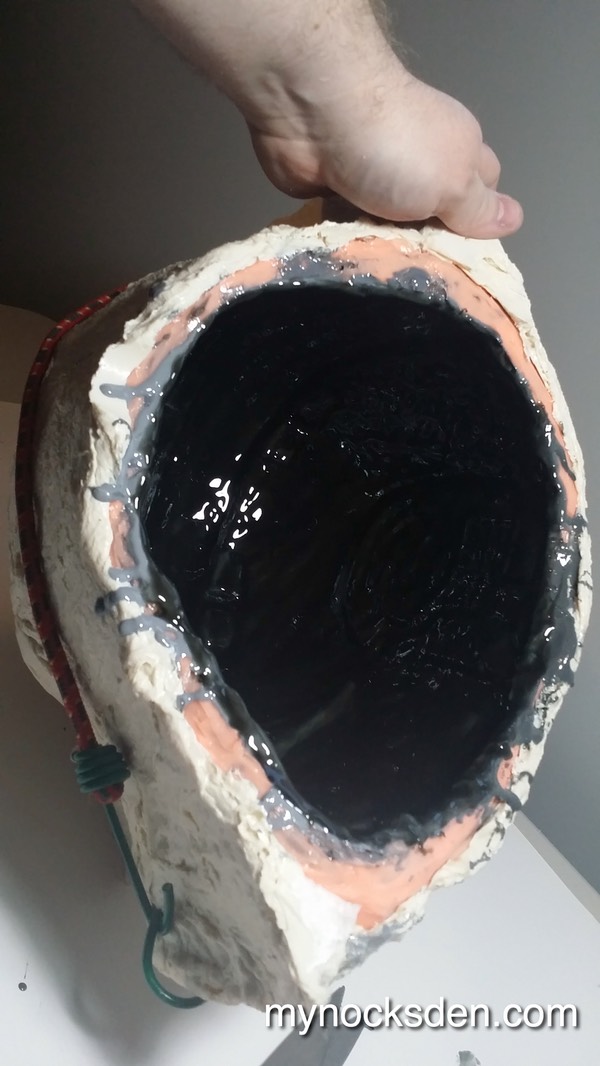
Next came molding, and I will let these next video explain the steps involved.
I cast the helmet using SmoothCast 65 resin infused with gray dye. The casting was done all by hand (I’ll explain my method in another video), in 5 separate layers.
The cast came out awesome, with the only blemish being a slight raised bump on the lip where i accidentally peeled up the silicone during molding (as mentioned in my video).
After trimming some flashing around the lip, I cut out the visor and air vent holes with a combination of utility blade and dremel.
In preparation for painting, I washed the helmet with soap and warm water to remove any sealing/release agent.
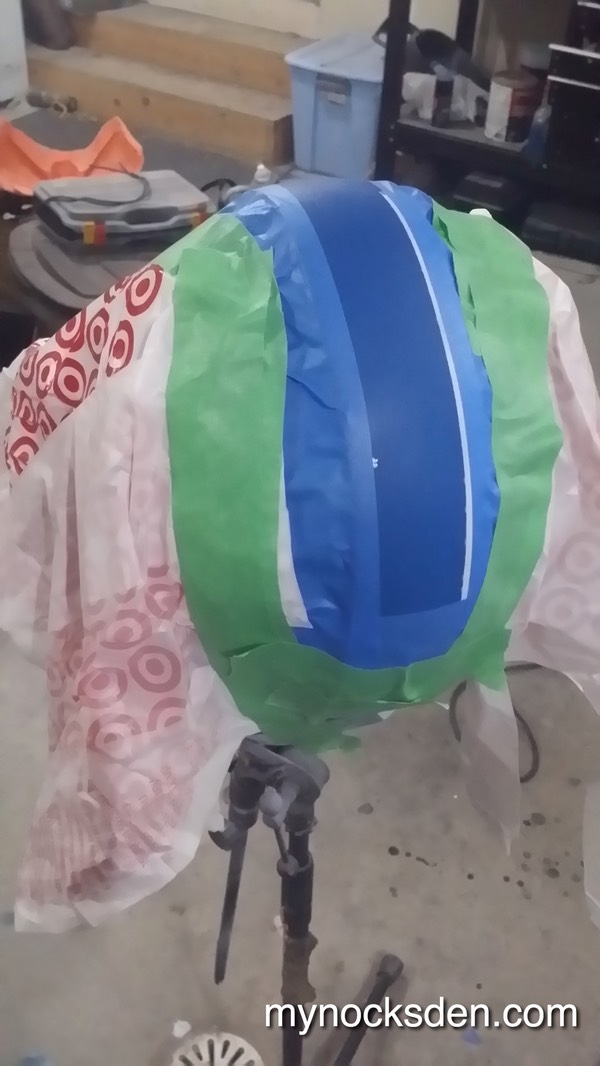
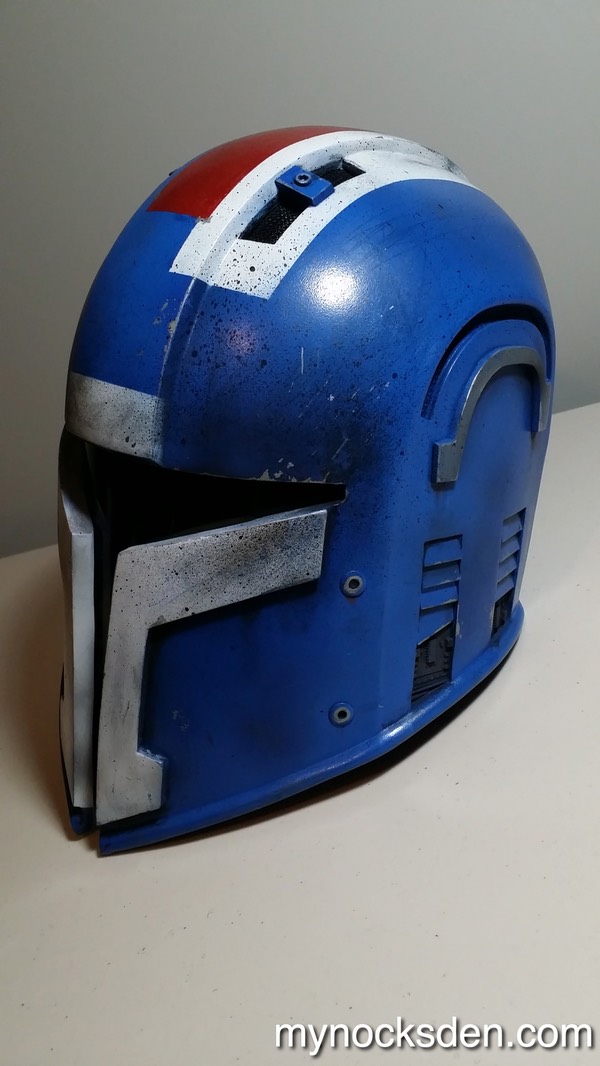
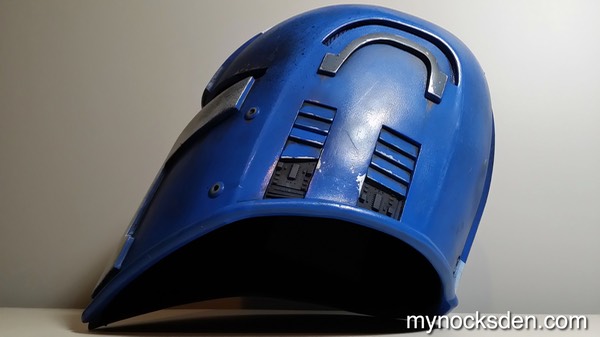
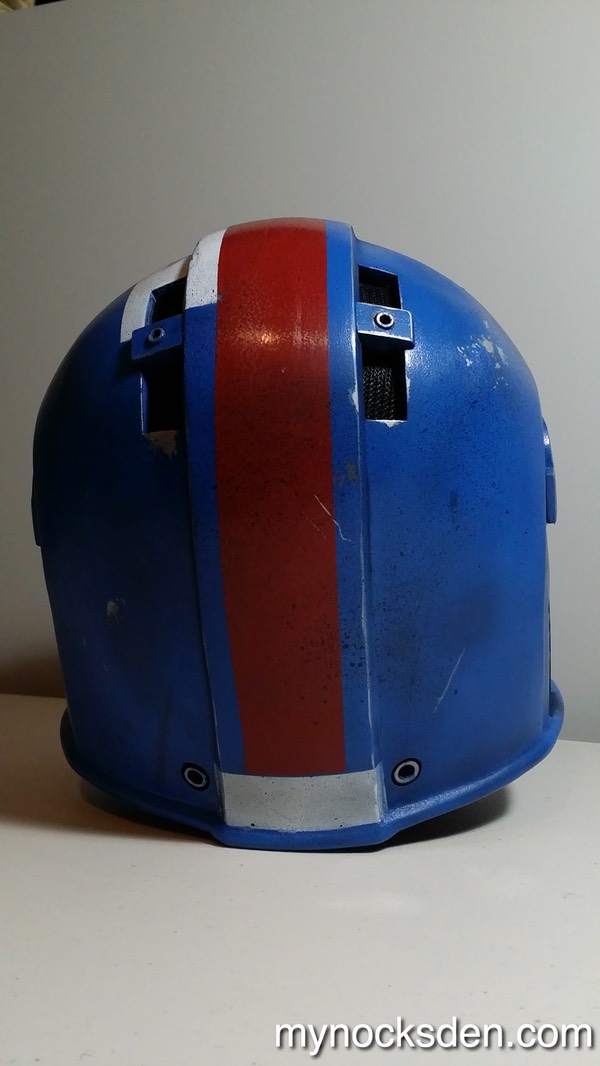
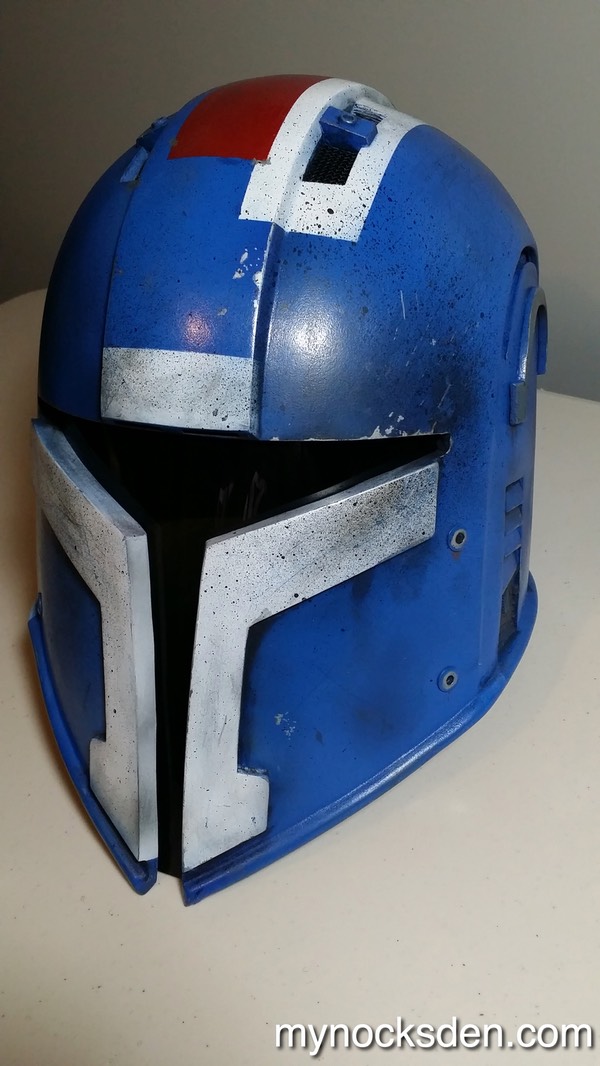
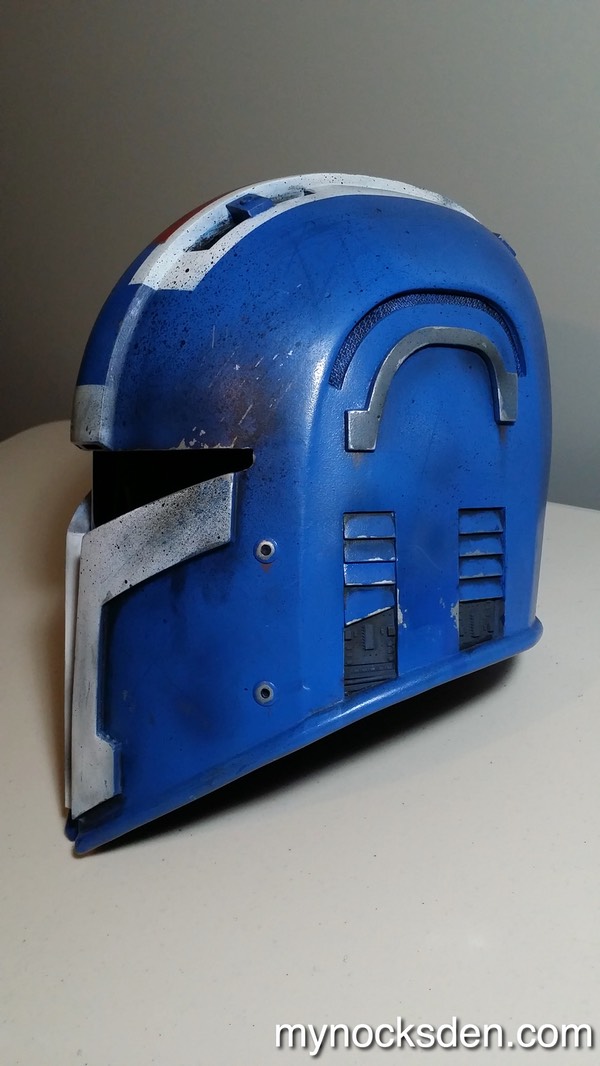
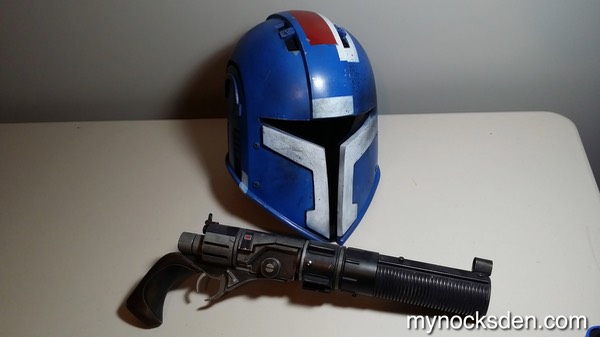
Even though this helmet is found in many different paint schemes in the game that I will undoubtedly replicate in the future, I wanted the very first of these helmets to be true to the Mandalorian Hunter colour scheme. However, I didn’t have any blue airbrushing paint at all, so I decided to cheat a bit. I sprayed some dark blue Rust-O-Leum paint I had into one can cap, and some white Rust-O-Leum paint into another, mixed the two colours together in a disposable cup, and used this cocktail in my airbrush.

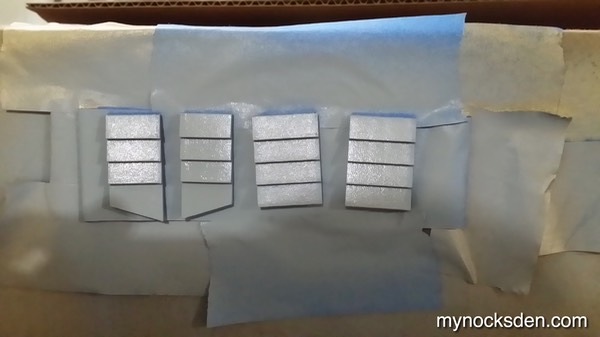
After masking off the appropriate sections, I added the top white stripe using the aforementioned airbrushing method, and once dry, the red stripe, which I just spray-painted on. I sprayed on some grime and dirt with black acrylic, and used a brush to add other types of burn/damage effects using various colours.
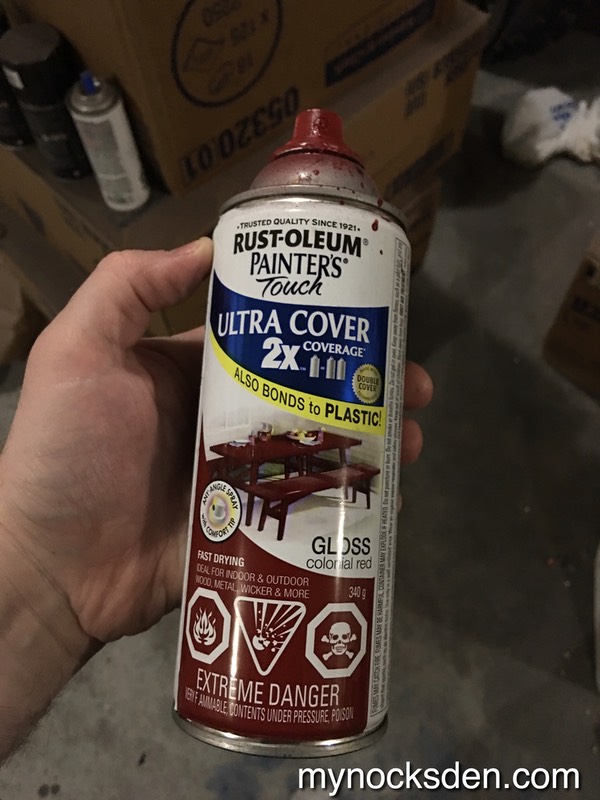
This is the red I used for the middle stripe.
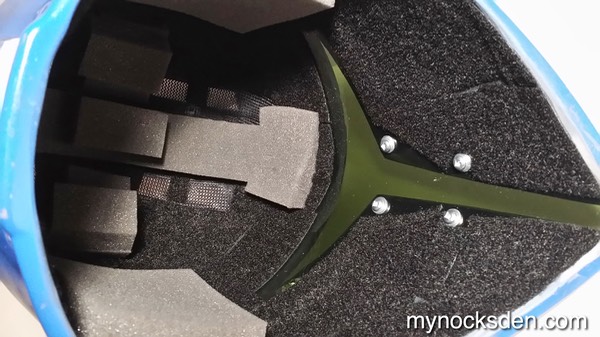
After this, I glued in some black mesh strips over the air vents from the inside.

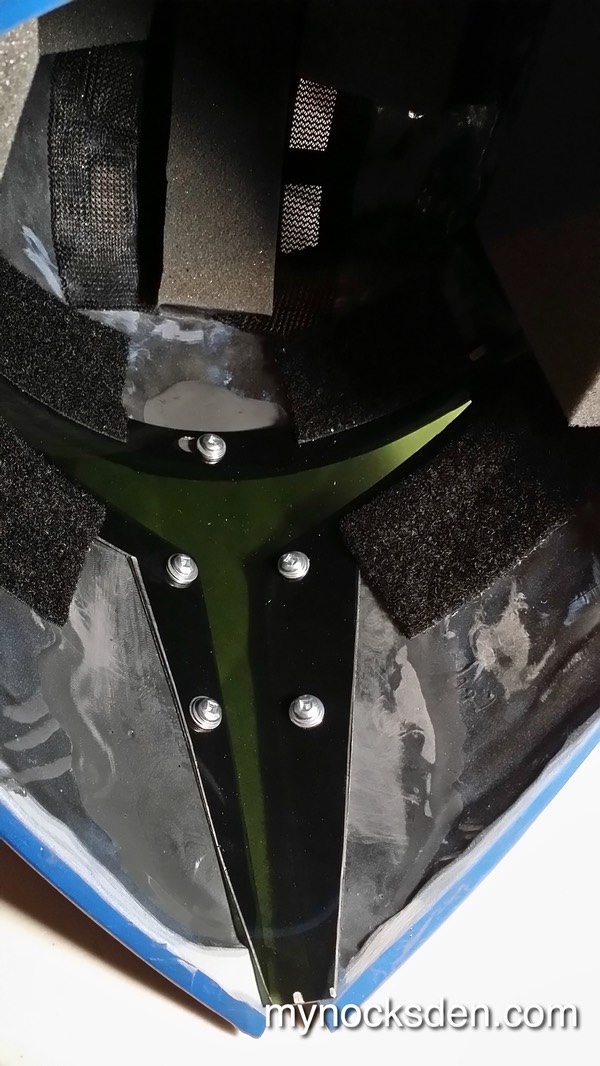
The visor was then cut from a dark green face shield (I buy these things in bulk on eBay)...

…and installed into the helmet with screws. Using screws secures the cheeks, and makes the helmet feel solid.
After gluing in some open-cell padding, and sticky-back velcro (only using loop, or the fuzzy size for this) to enhance the look, the helmet was now complete!
In September of 2015 I received an invitation from BioWare to come to New York as a guest Judge for the Star Wars: The Old Republic Cantina Cosplay event at the Hard Rock Cafe. I took this helmet to NYC with me, and gifted it to the BioWare team as a thank you.
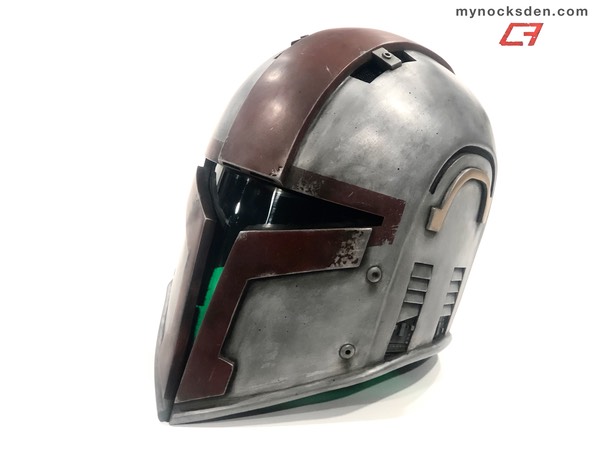
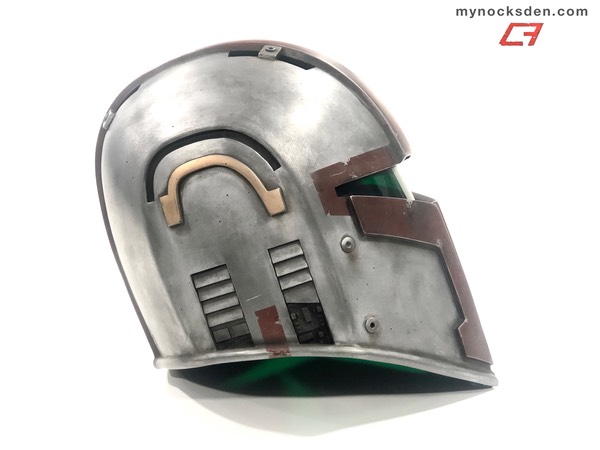
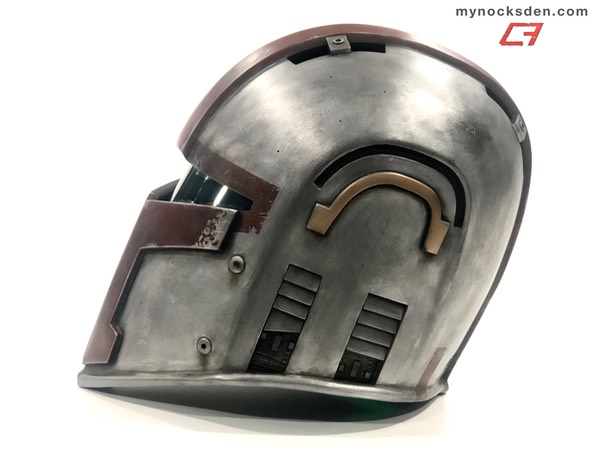
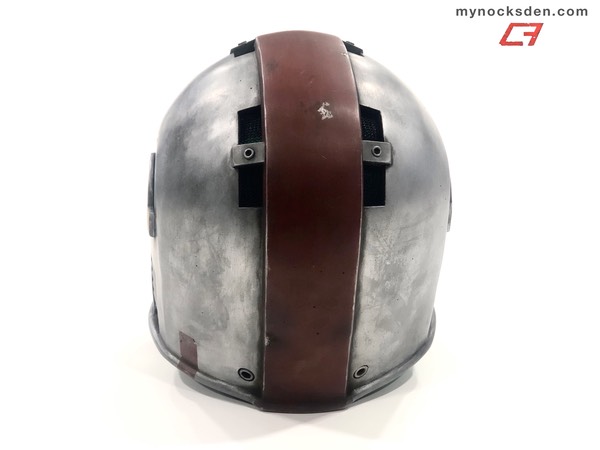
Here is an example of the helmet in a metallic paint scheme.
Thanks for looking!