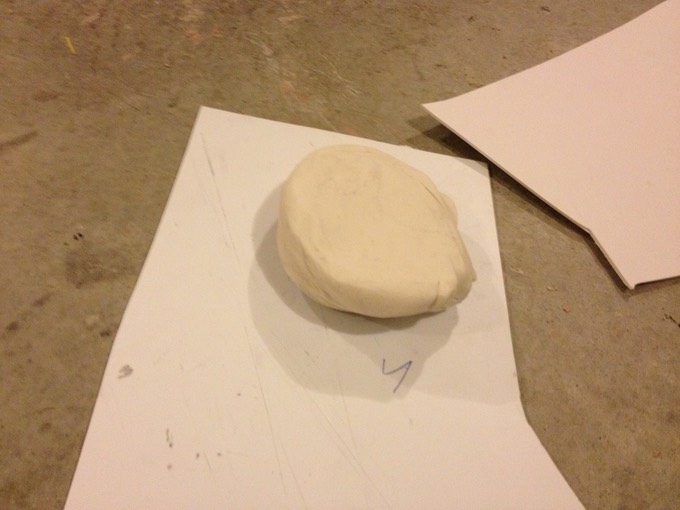
Today I began the process of making the ears. Once again, I used plasticine to quickly sculpt the general shape using the following steps:
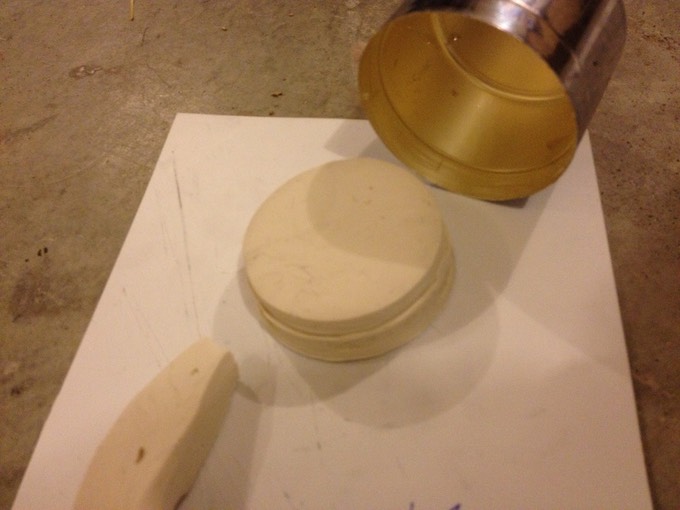
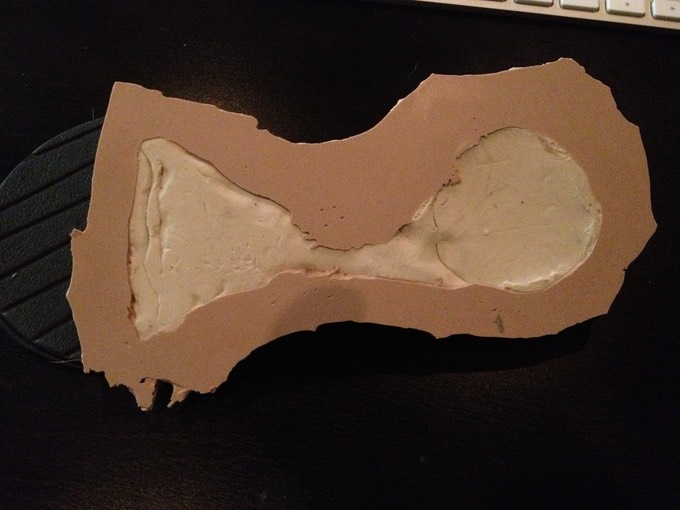
I took a chunk of plasticine and laid it out on a piece of scrap HIPS.
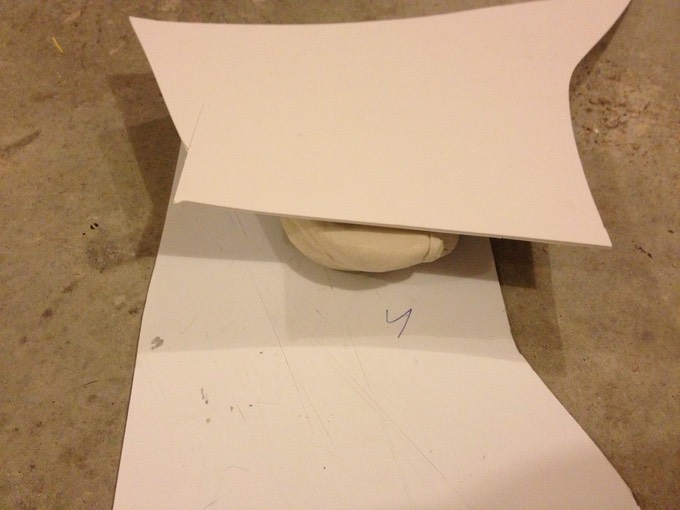
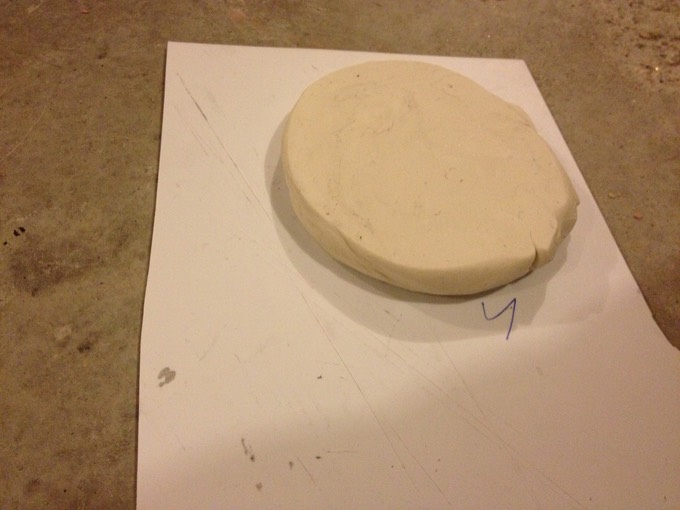
I then used another scrap piece of HIPS to flatten the plasticine pancake, making it more or less the same thickness throughout.
Then, I searched through my collection of spray paint cans to find a cap as close to the correct size of the round ear pickup as possible (or, at least as close to the size I estimated to be "correct"). I found one...

... and used it to cut out a perfectly round pancake shape. (It's just like making perogies!)
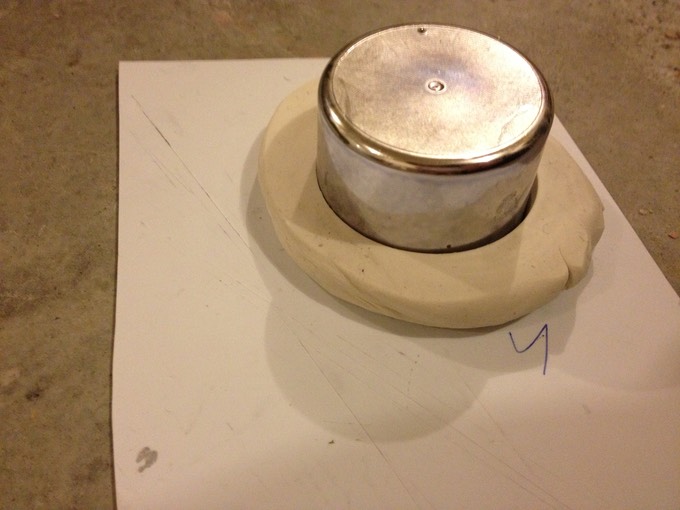
The cap even has a ledge on the inside, so the final round ear piece should have a small ledge of its own running along the perimeter. This is good because it will save me some detailing work in the end.
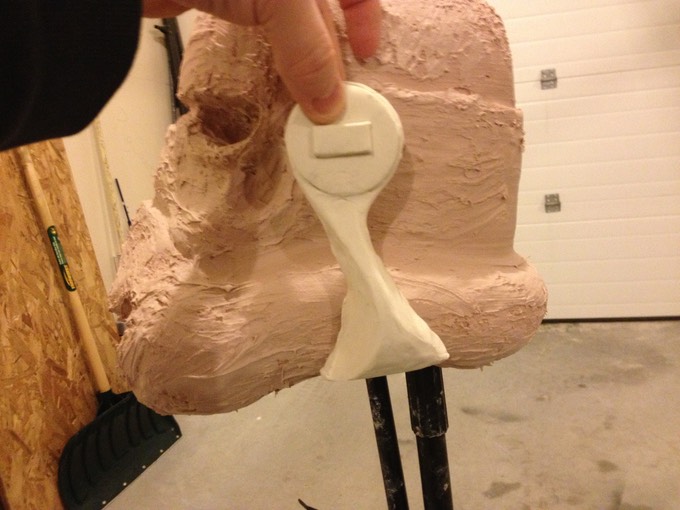
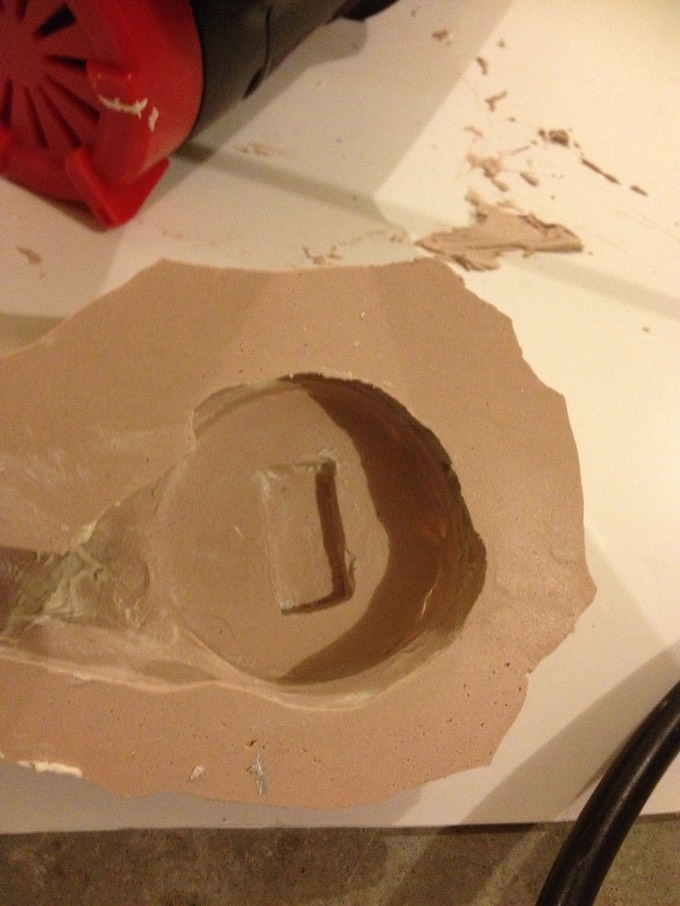
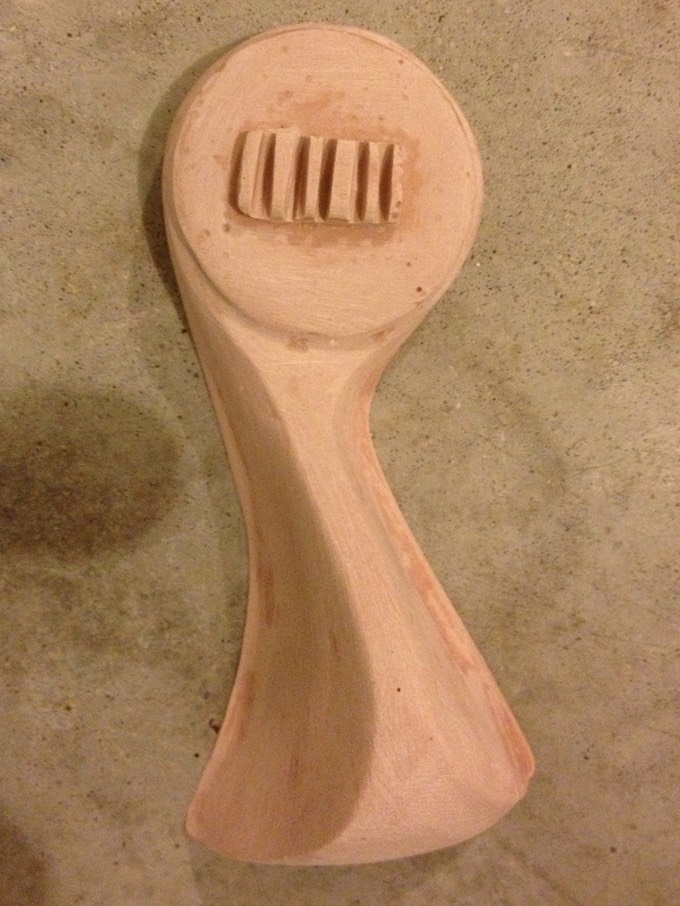
Next, I made the overall shape of the arm from another chunk of plasticine, and attached it to the ear. I used a utility knife to cut out a rectangular piece of plasticine for the pickup in the center of the ear. Note the curve of the arm: this will obviously be the left earpiece.
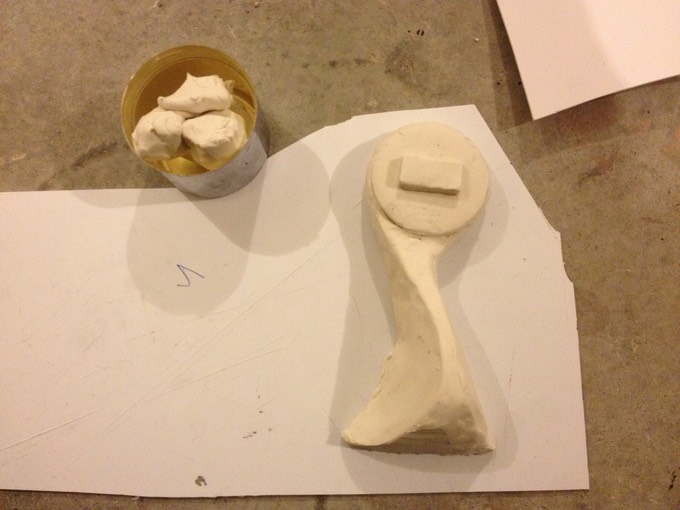
A quick sizing up to the rough helmet shows the ear to be just the right size!
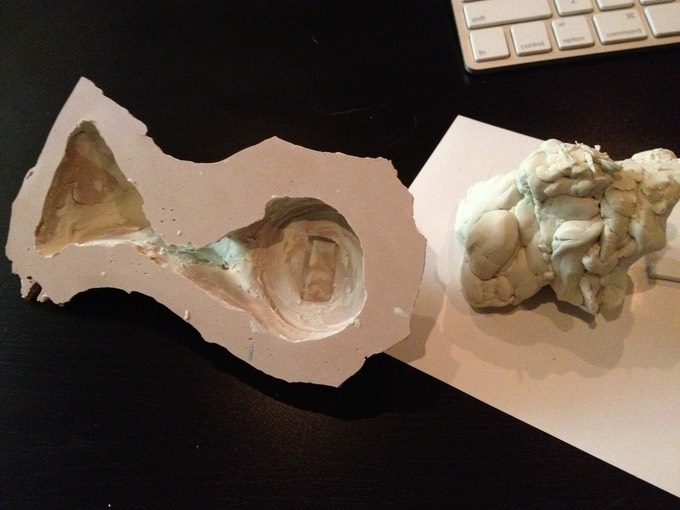
And finally, now that I was satisfied that the ear was the right shape and size, I placed it onto a small sheet of scrap HIPS, and coated it with Bondo to create a hard shell.
Once the Bondo cured, I peeled off the plastic sheet (which is really easy to do, since Bondo does not stick to HIPS), and trimmed off the edges.
I then scooped the plasticine out with my fingers as best I could....
... used a heat gun to melt the remaining plasticine...
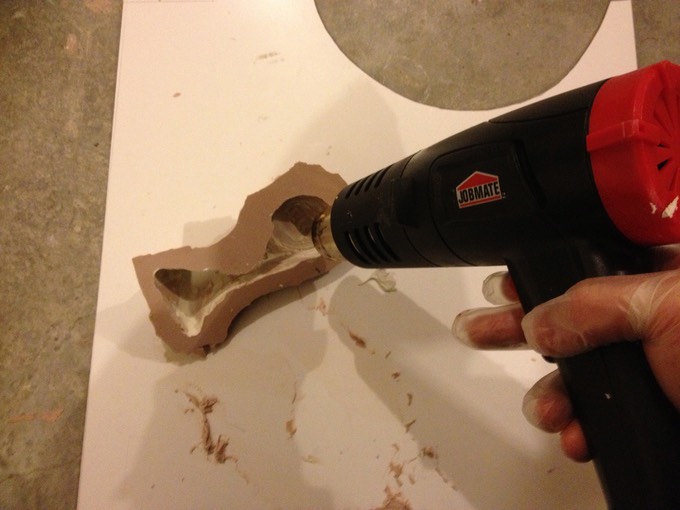
... and soaked up the hot, oily goo with a paper towel.
NOTE: The heat gun/papertowel method is stupid. Whilst making the second ear piece a day later, I discovered that simply spraying the plasticine mold with mold release prior to Bondo coating results in a clean and effortless separation that looks like this:
Live and learn, I suppose.
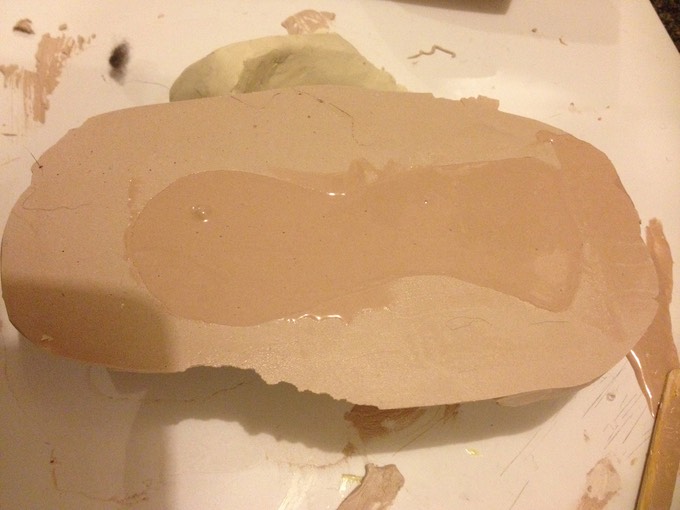
Next, I used "Rondo" to create a positive ear piece from the female Bondo mold I'd just made. Rondo (often very imaginatively called "Mud") is basically Bondo body filler and fiberglass resin mixed together to create a lower viscosity soup ideal for pouring.
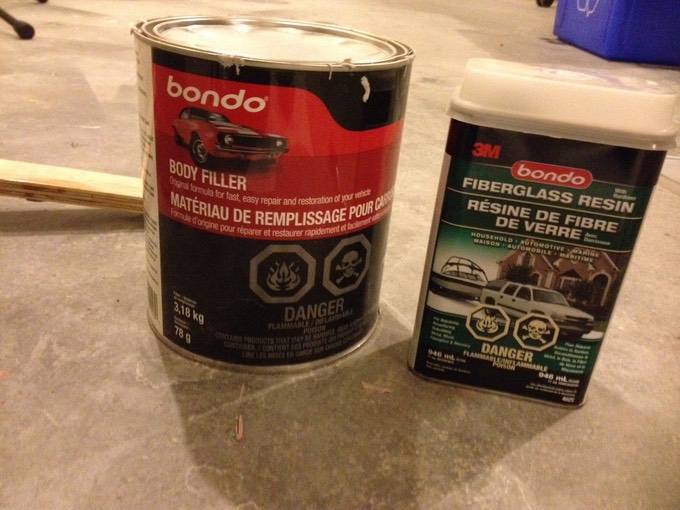
For my project, I mixed 1 part Bondo to 1 part fiberglass resin, but you can experiment with this to get the viscosity that best suits your project. If a thicker mixture is desired, use more Bondo than liquid resin; for thinner results, use more resin.
Next, you will need to apply the correct amount of hardener. Some people recommend using only the Fiberglass resin hardener, and not bother with the Bondo hardening paste, but I chose to apply both. Figuring out how much of each to use is quite simple: mix the recommended amount of hardener per volume of Bondo used into the soup, and do the same for the Fiberglass resin, following the instructions for that product.
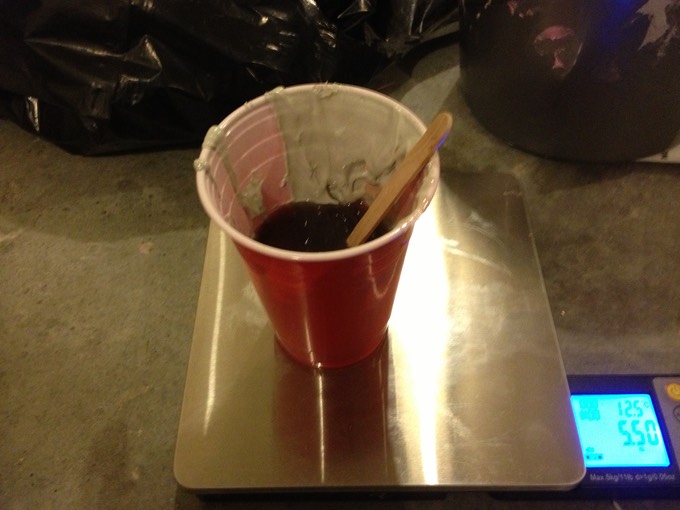
You can eyeball the Rondo preparation steps as far as amounts go, but I chose to use a scale to make it easier to figure out hardener amounts.
Anyway, before pouring Rondo, I applied a generous coating of mold release to the inside of the Bondo shell (so that the new pour would not fuse with it), and placed it in front of a heater to accelerate curing.
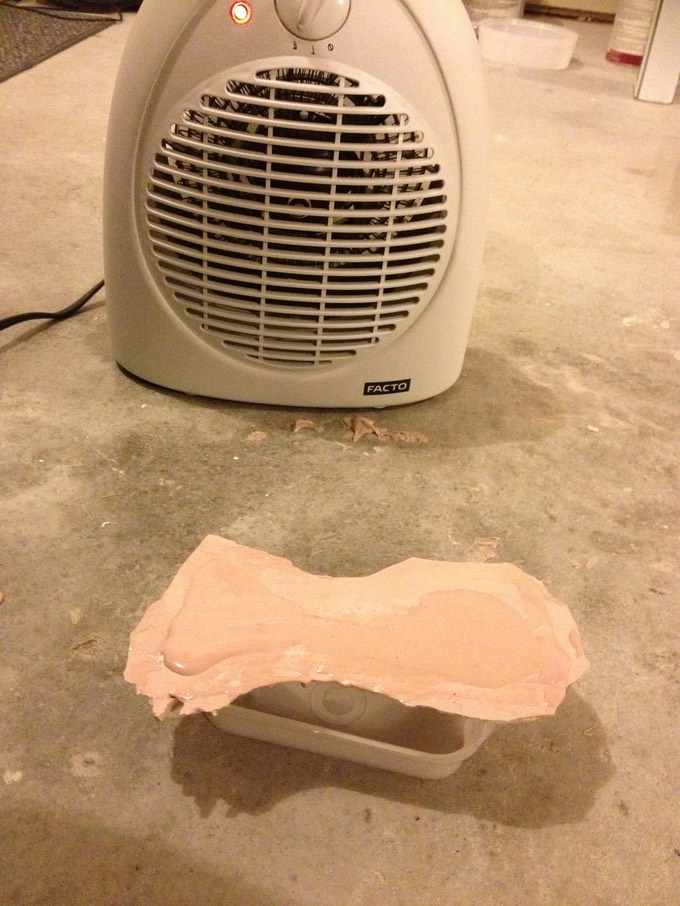
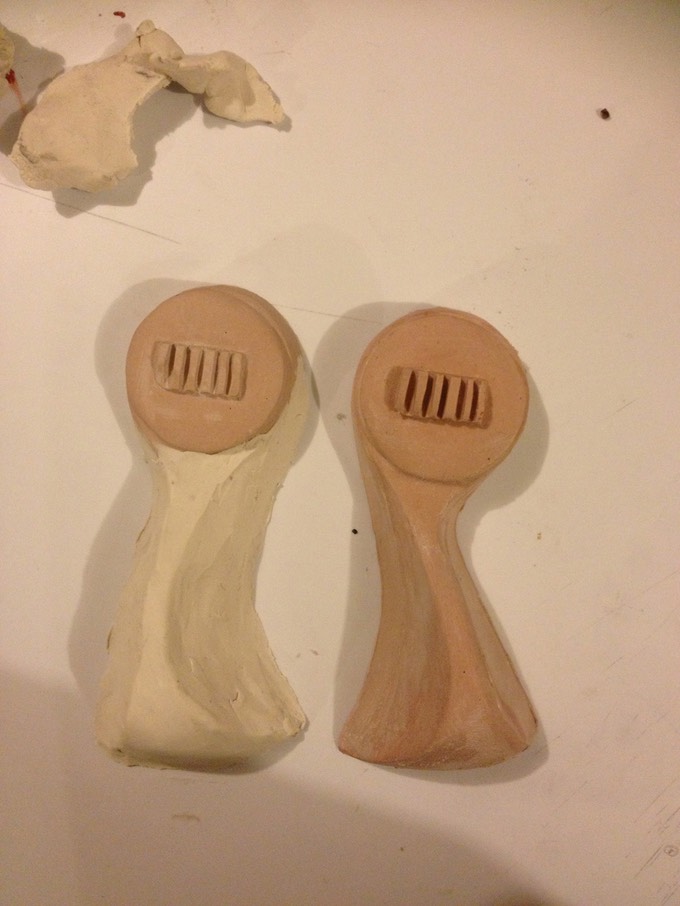
An hour later, I had my rough Rondo ear piece that could now be sanded and turned into a buck for vacuum forming.

I used a dremel tool with a small sanding drum to smooth out some of the rougher spots, and then sanded the whole thing smooth - some of it by hand, and some using an small electric sander. For the audio pickup slits, I used a dremel with a cutting disc.
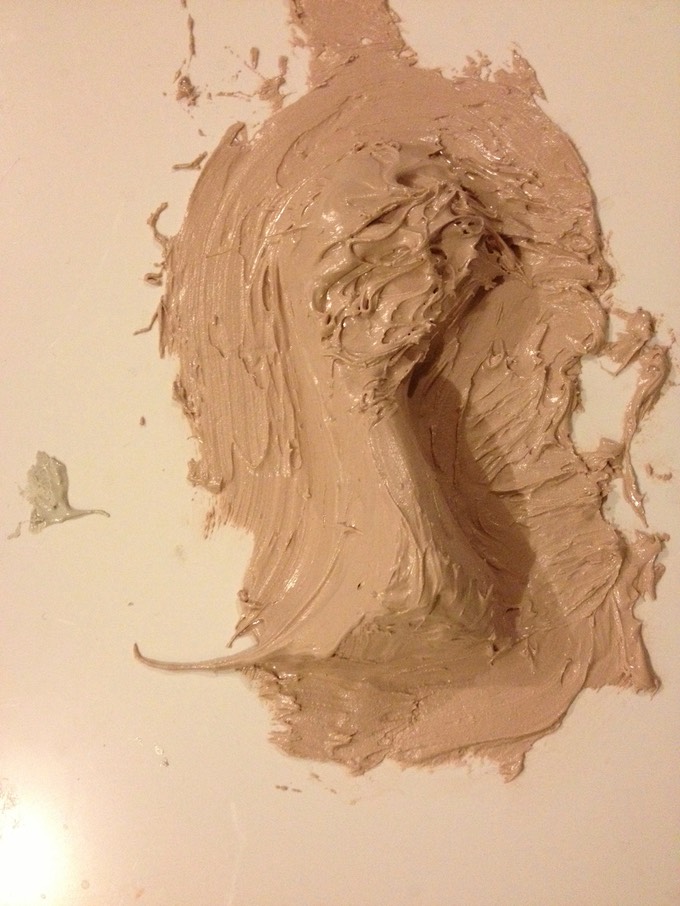
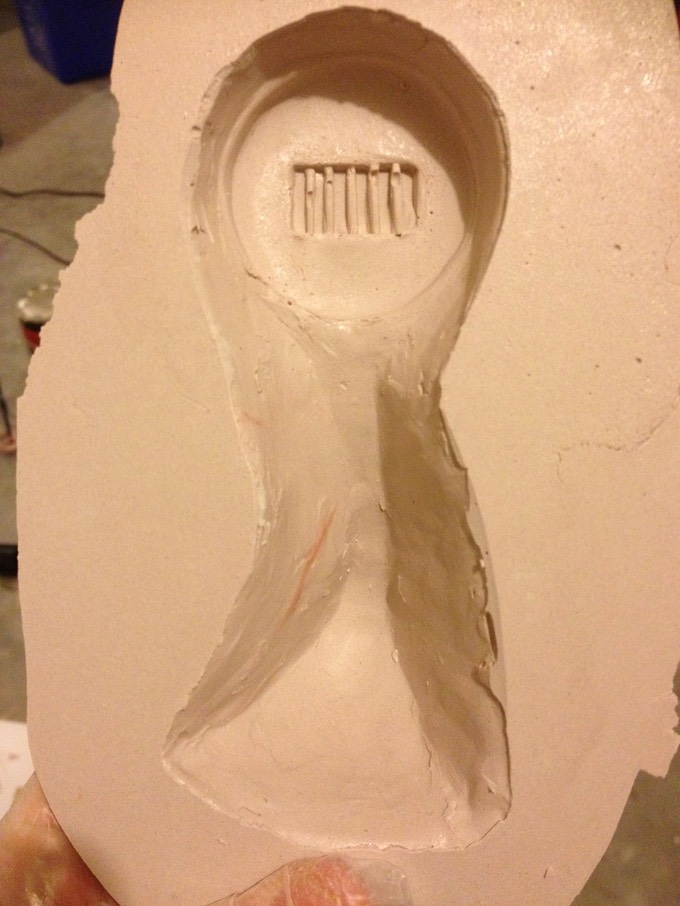
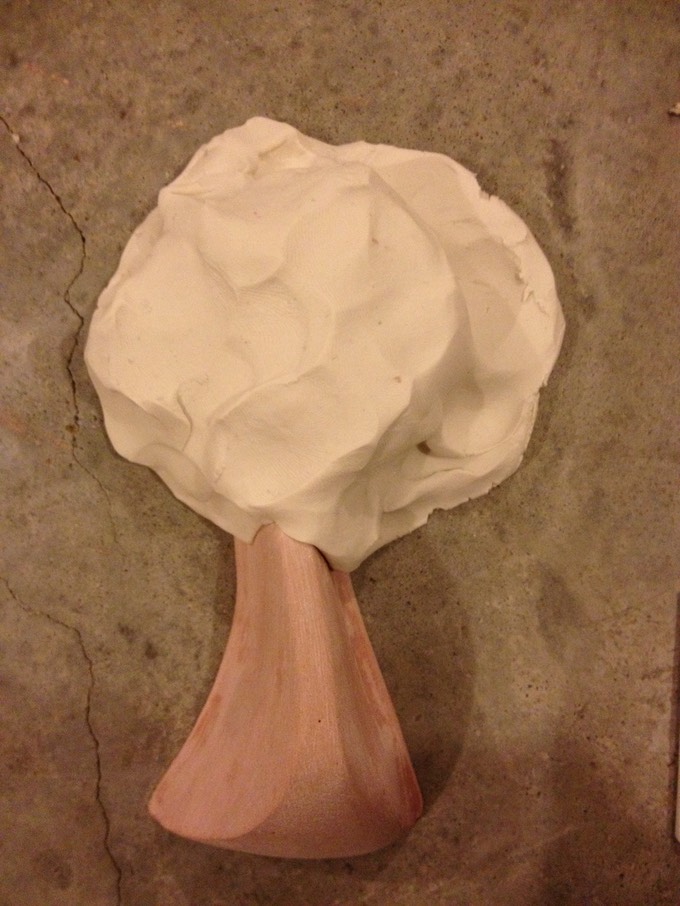
At this point, I had to start thinking about creating the right ear piece. I decided to bypass the whole spray paint cup, plasticine pancake method for making the round shape. Instead, I took a chunk of plasticine, warmed it up in front of a heater, and squished onto the round ear piece.
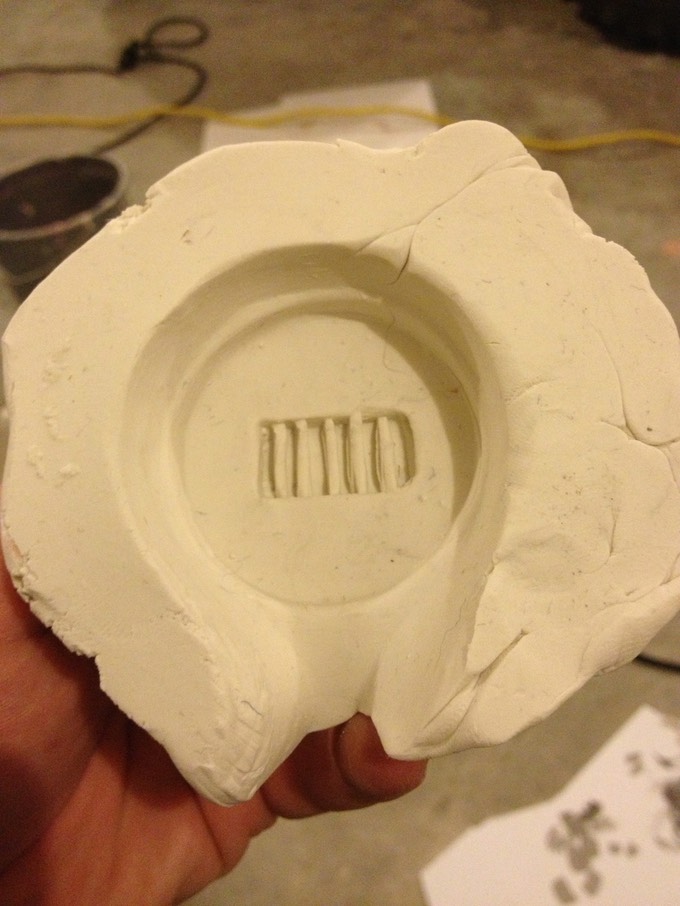
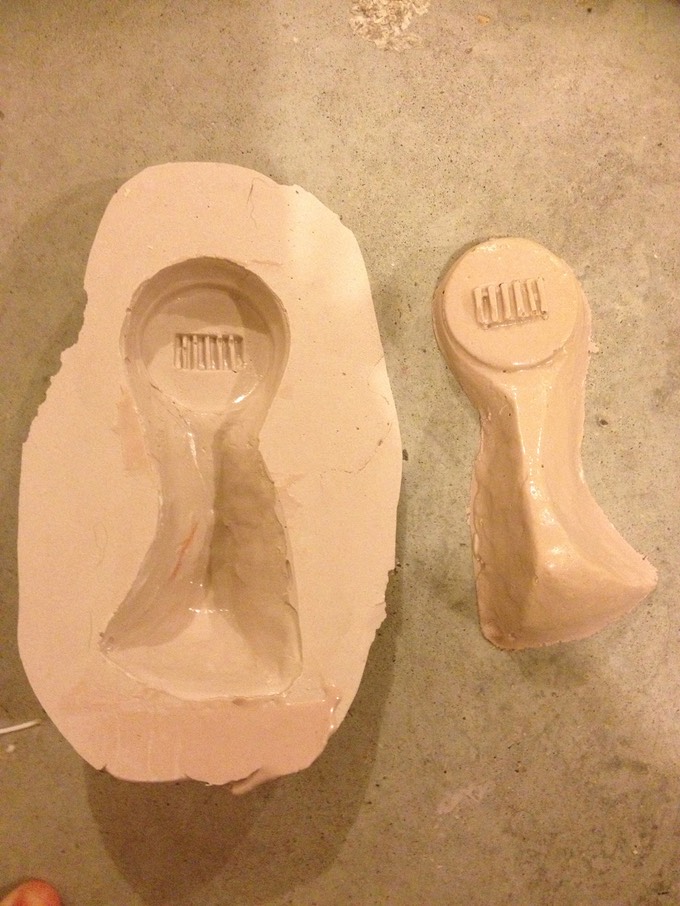
I then carefully pulled the bondo piece out, and viola! A Negative mold of the round ear piece!
Carefully as to not damage or squish the plasticine, I added a dam to the bottom section, mixed up some Rondo, and poured this into the plasticine mold.
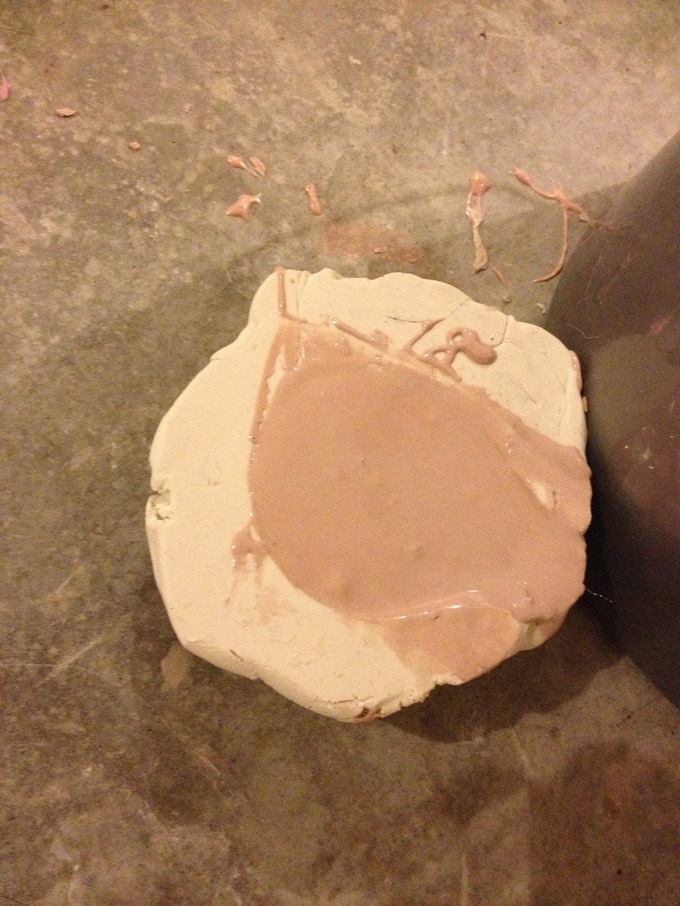
This was a bit of a gamble, because Bondo/Rondo gives off a lot of heat while it cures; and because the mold is made out of plasticine here, there was a chance that it might not work.
It turned out OK, however. I will have to touch up the center audio pickup a bit, but that's not a big deal!
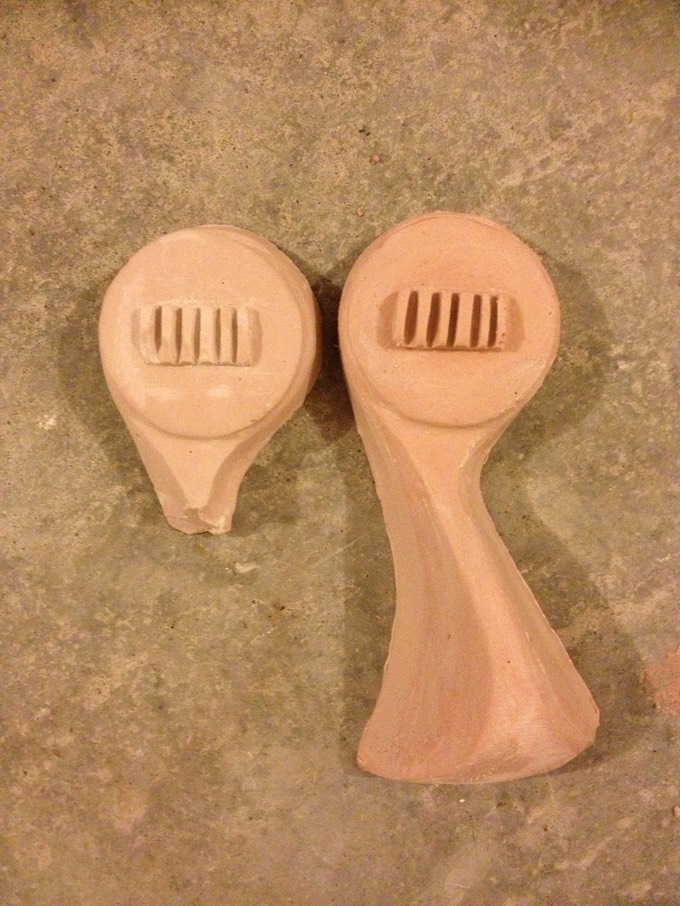
Next, I built up the arm using plasticine and made it mirror opposite of the first piece.
Once this was done, I sprayed the whole thing with mold release, and Bondo-shelled it like I did with the first ear. Since I used mold release this time, removing the plasticine was quick, clean, and painless, requiring no heat gun, papertowels or anything else.
Next, I coated the inside with more mold release, mixed up some Rondo using the same proportions as in the previous steps, and poured this into the mold.
Twenty minutes later I had my second rough ear piece!
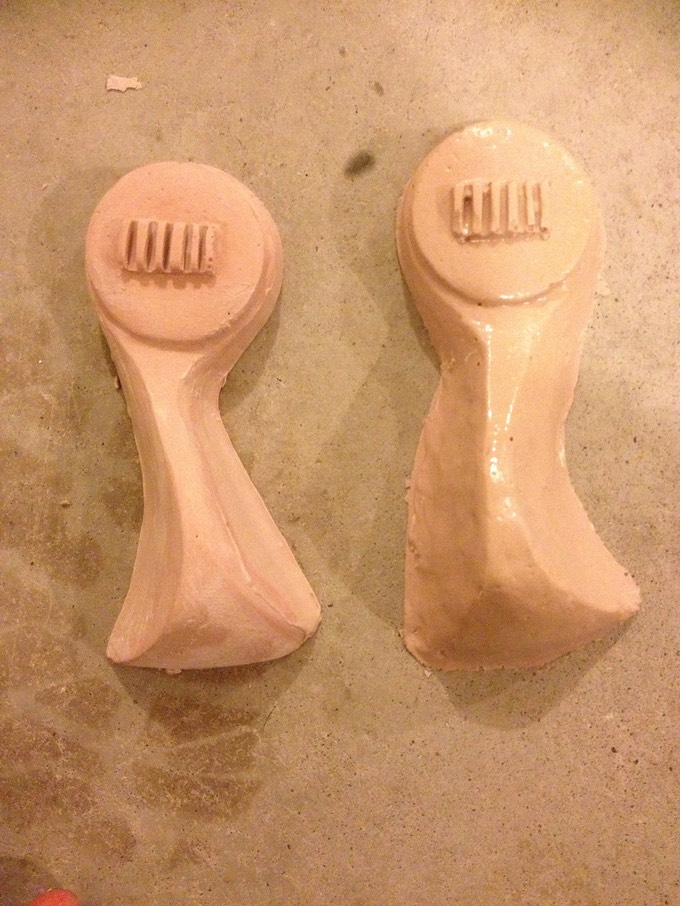
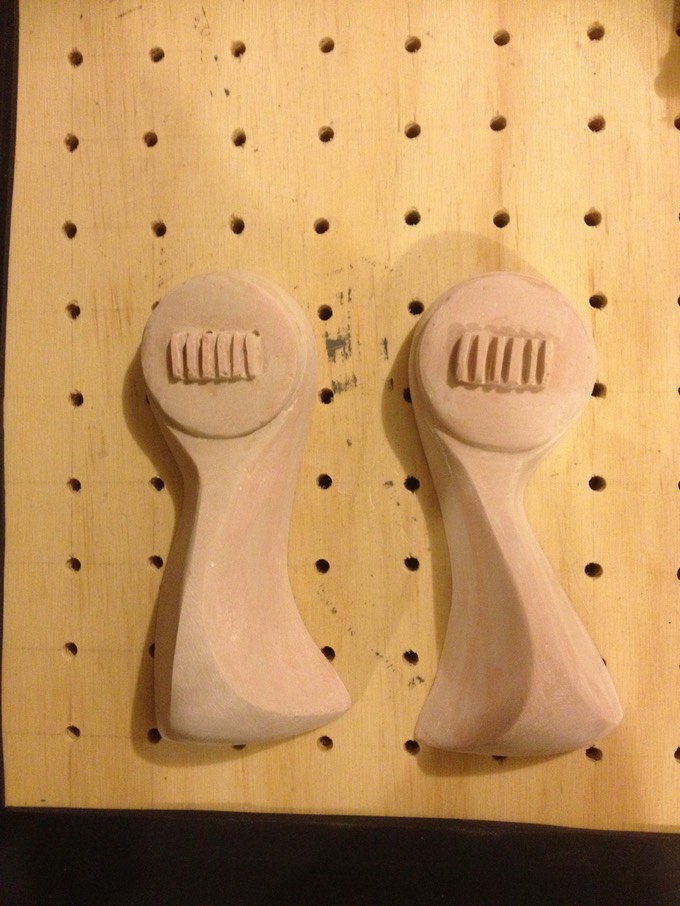
I washed the newly cast earpiece with dish detergent to wash off the mold release, sanded it, applied some more Bondo to even out problem spots, and finally ended up with two completed earpiece bucks, ready to be vacuum formed!
* * * * * * *
Stage 2: Hardening the Initial Sculpt
- Stage 3: Ear Molds