To start, using my vacuum former and a sheet of .06 gauge ABS I did a pull over my original Bondo mold to create a plastic shell (general vacuum forming details here), which I would use as a support base for my sculpt. Next, I used Original Sculpey I got on sale at Hobby Lobby to begin sculpting the mask.
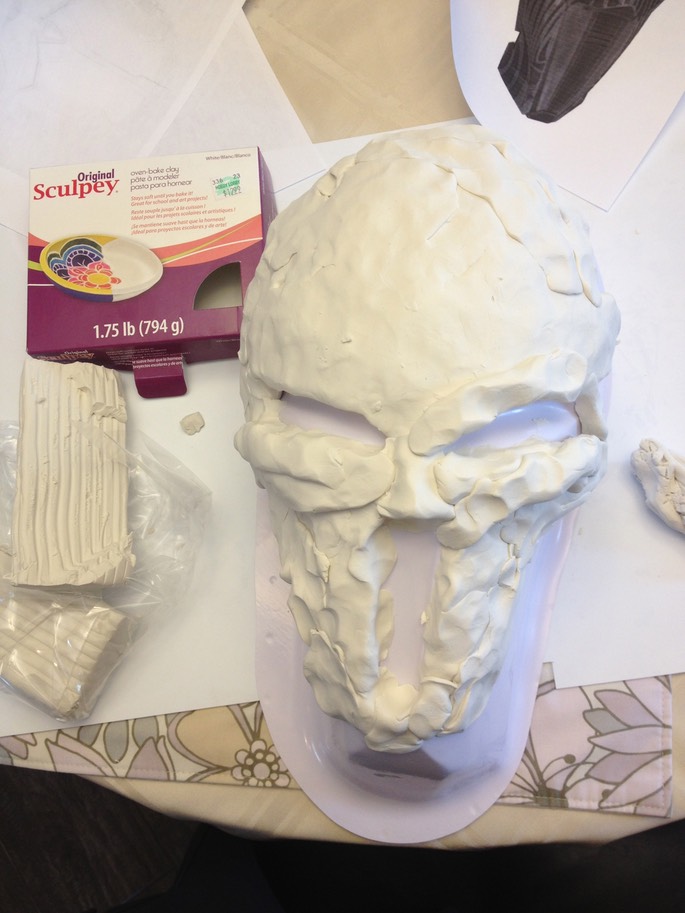

Sculpey is a non-toxic, non-air dry polymer clay that has the malleability of plasticine. It can be shaped and sculpted by hand or with any number of tools, and once you’re satisfied with the shape, it can be hardened by oven baking (275 degrees for 15 minutes or longer depending on thickness).
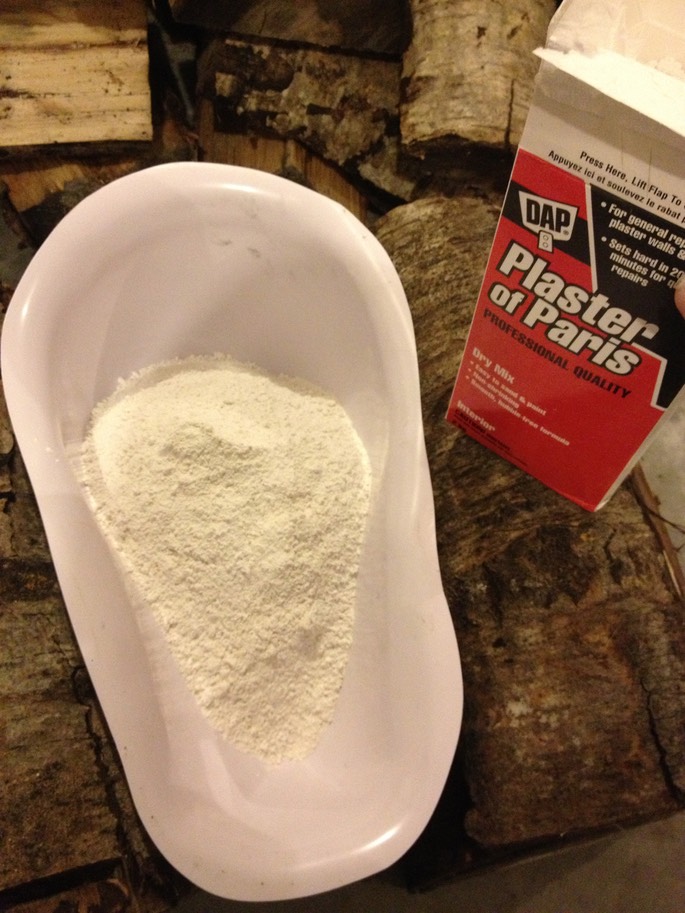
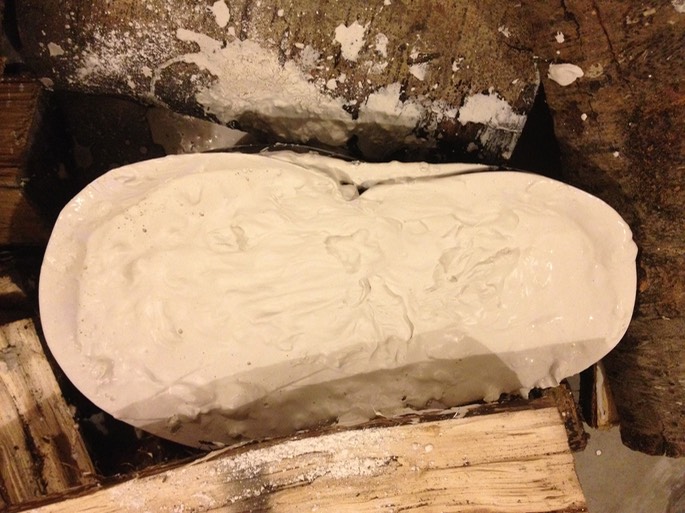
The heat from the oven would warp the plastic shell, causing the whole thing to sag and deform if I didn’t support it. I wasn’t keen on using my Bondo buck for this, baking it in the same oven I cook food in. So, I pulled another ABS shell, filled it with Plaster of Paris, let it harden for 15 minutes, and then threw it in the oven on low heat for several hours to speed up curing.
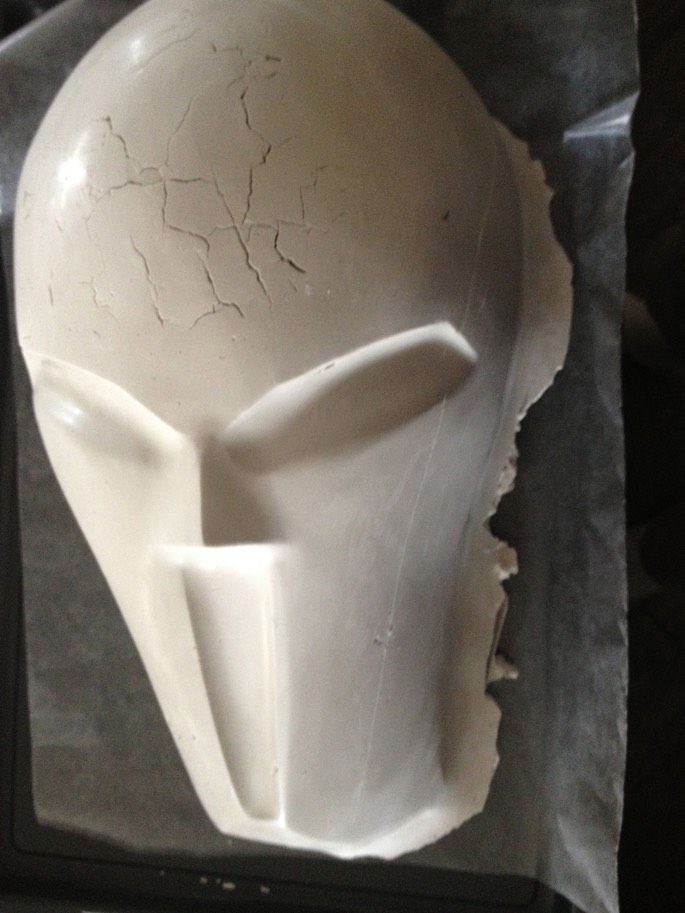
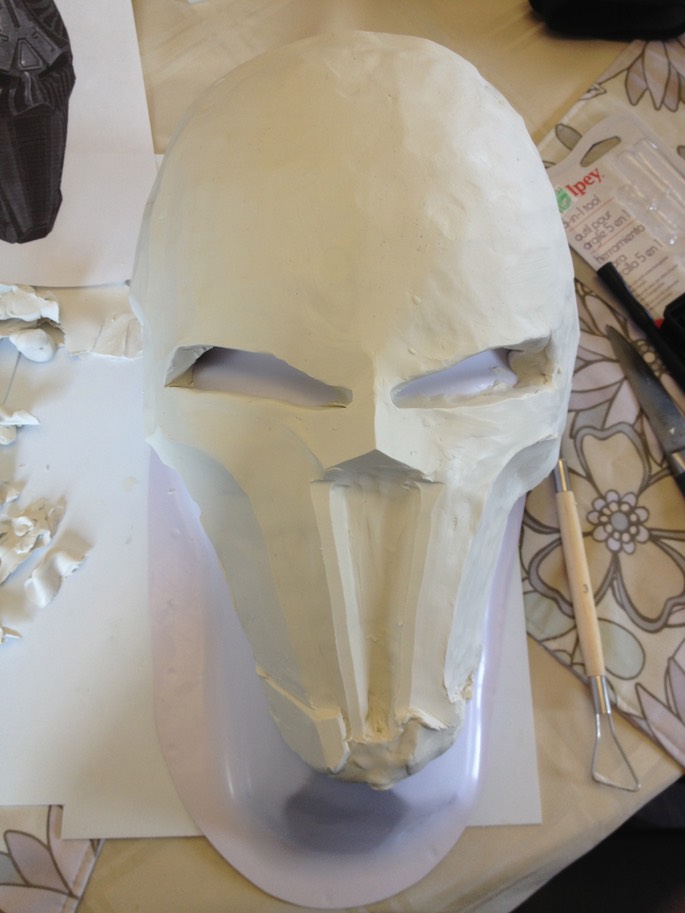
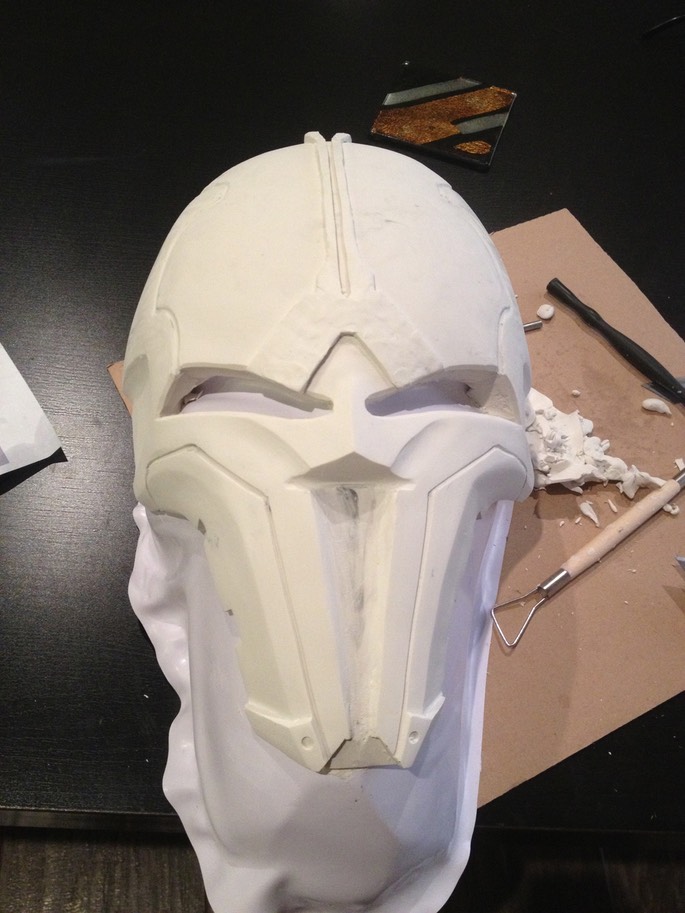
Once the plaster buck was made (don't worry about the spider-webbing in the forehead), I fit the shell with the newly sculpted mask over it, and put the whole thing in the oven for 45 minutes.
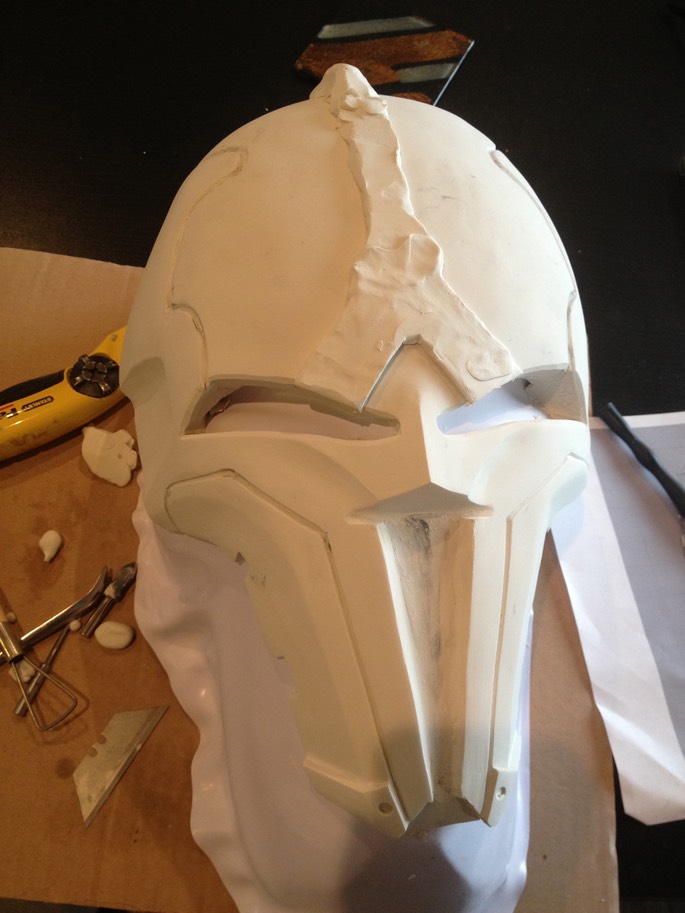
Once it hardened, I sanded it, used more Sculpey to fix some problem areas, added the middle ridge, and put the whole thing back in the oven for 20 minutes.
I repeated the sanding/more Sculpey process several more times, until I noticed major cracks beginning to form in the Sculpey. Yikes!
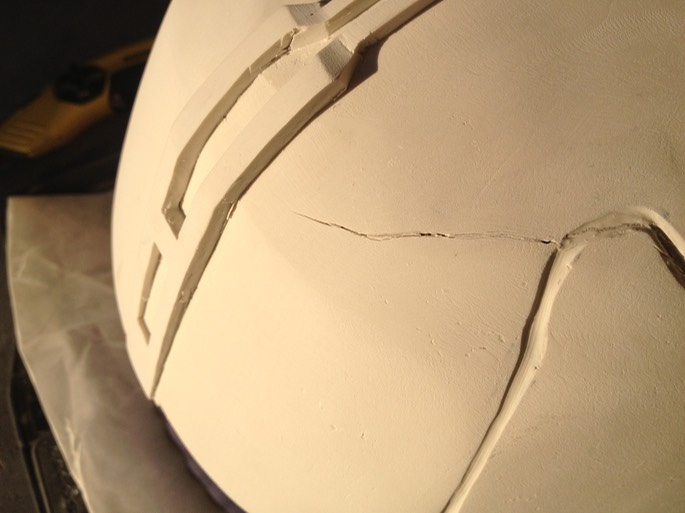
I figure this happened because the plaster support mold slowly shrunk as water was driven out during each baking, which caused the plastic shell to sag with the weight of the mask. This led to bending, and finally cracking of the Sculpey What I should have done at this point is use a heat gun to cure only the sections containing freshly added Sculpey without temperature stressing the entire thing, but live and learn.
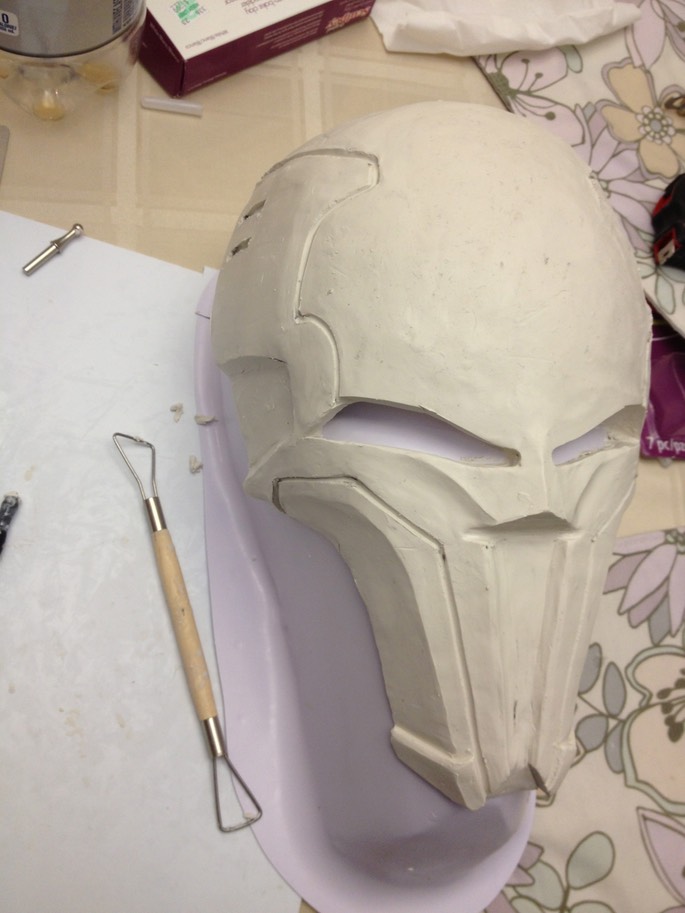
Next, I sanded the middle ridge smooth, and made the little diamond-shaped piece between the eyes out of two layers of ABS, supergluing it in place.
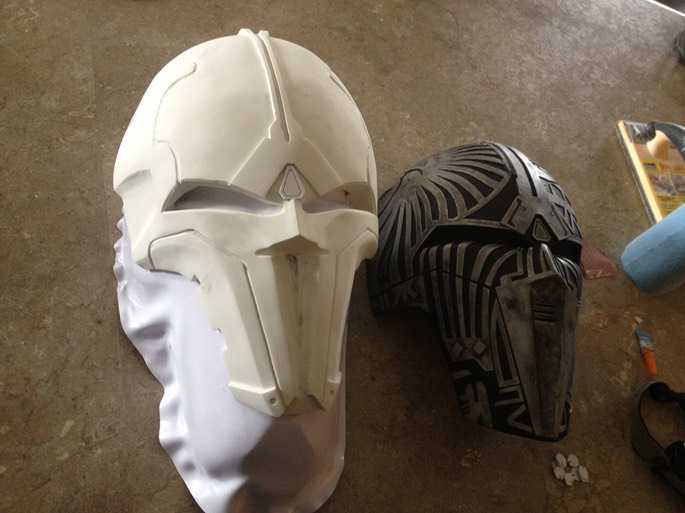
At this point I was satisfied with the results, and moved on to silicone casting.
* * * * * * *
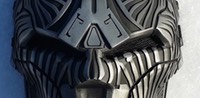
- Sculpting the Mask