Detailing
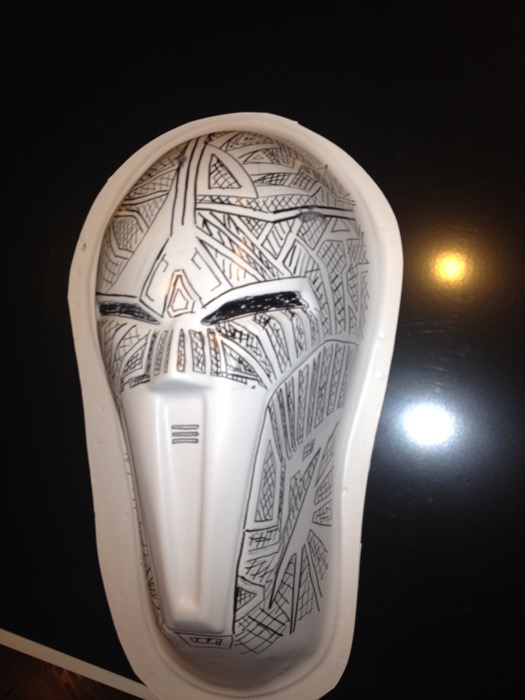
Next step was to draw the detail pattern on the larger mask with a sharpie. I copied whatever detail I think I saw in the trailer (see screenshot at the beginning of this article), and made up the rest (since no other closeup images of the character are available).
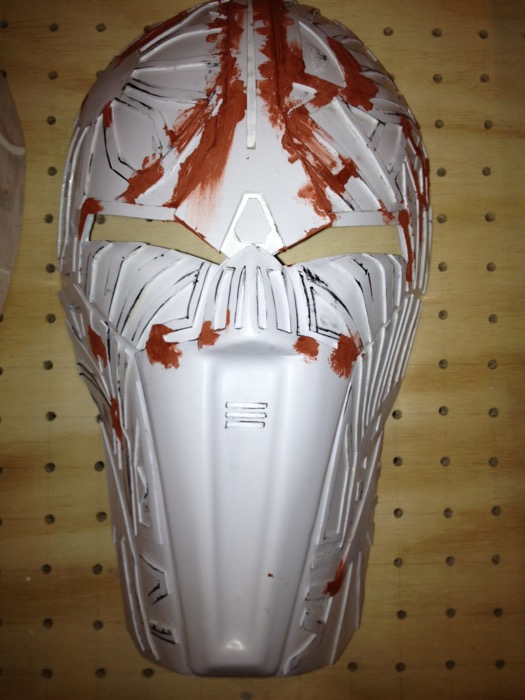
These details were then cut out using scissors and a utility knife, and glued to the base mask using superglue. I experimented with epoxy as well as ABS cement, but the curing time was way too long. The excess glue was also too tough to clean up after it dried. In the end, I ended up using superglue as it cures instantly, and any excess can be sanded off with ease. ABS cement would be a better choice for parts that have to hold together for strength, but in this case, contact strength isn't really necessary.

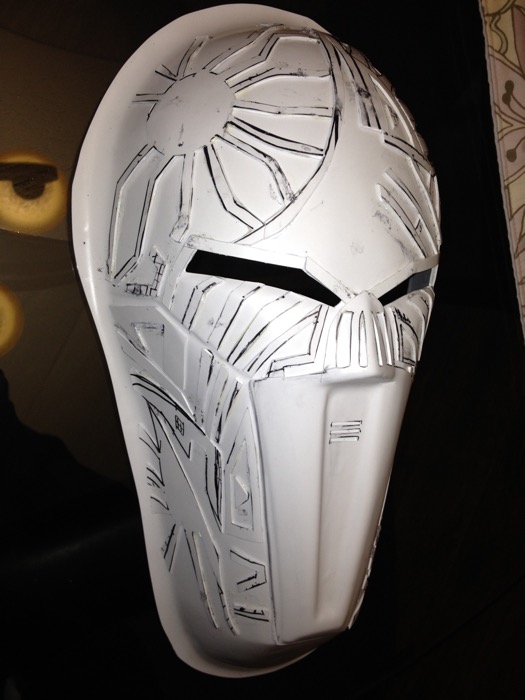
Next, I cut out the final shape of the mask, added the brow ridge and diamond pieces above the nose, and used some epoxy putty to smooth out the joints where the details meet; after the putty cured, I sanded it smooth.
* * * * * * *
- Detailing