Version 1
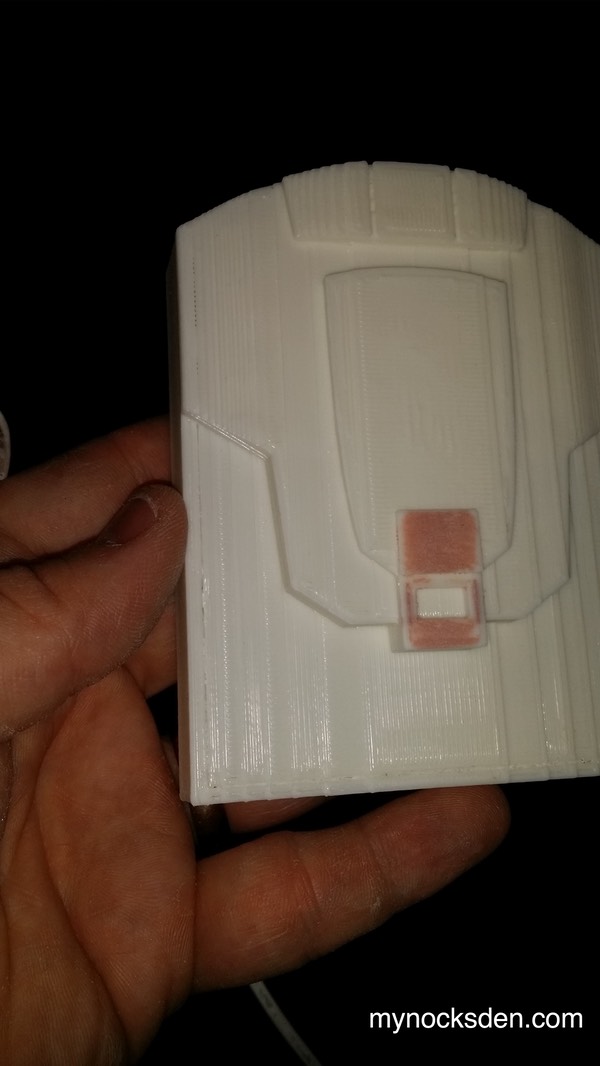
Now, before you protest and say “wait a minute, you’re going to be 3D printing these? Shouldn’t they be made from fabric?” Yeah, I am, and not necessarily. The goal is to make an accurate rendition of fictitious screen armour that is most likely itself made from fictitious materials. As far as I am concerned, it makes no difference what we make these things from, as long as it resembles the reference material with near precision. In the case of the pouches, 3D printing striation should give the surface the appearance of fabric, which will make them look like real, nylon ammo/utility pouches.
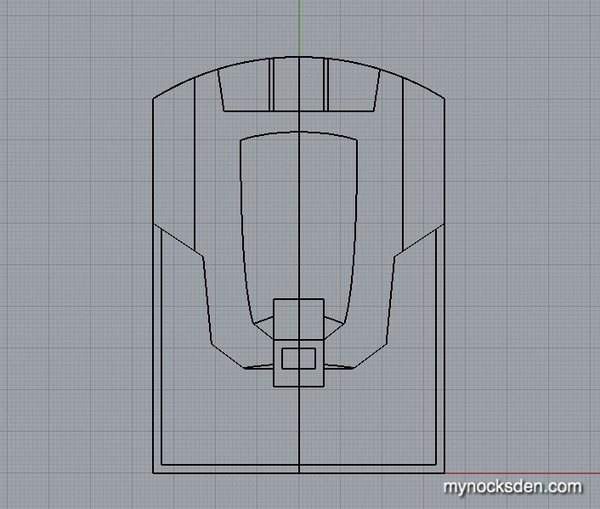
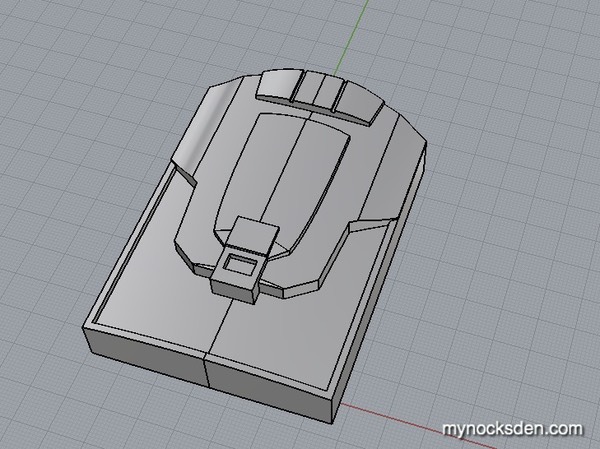
I began by drawing curves in Rhino, and then pulling them out into 3D. Since this is a very simple object, modelling took next to no time, and I did not take many screenshots. The file was then exported as .STL, and made ready for 3D printing.
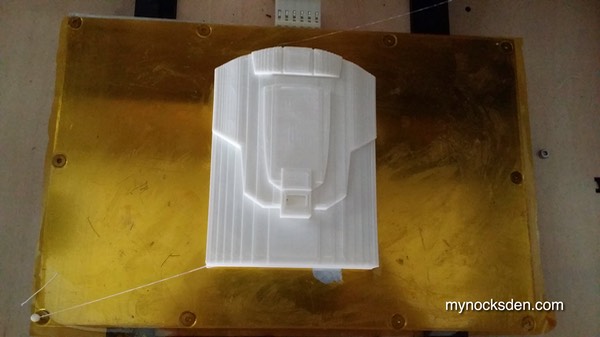
After a brief pause, I resumed work on the Sith Acolyte project, and 3D printed the pouch.
I quickly touched up the buckle with some Bondo….
…and gave this a quick coat of Dupli-Color primer. After the paint dried, I sanded the edges a bit to make them less sharp, and gave it a coat of Super Seal, and molded them using Mold Star 15 silicone.
Version 2
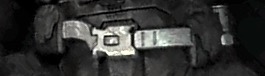
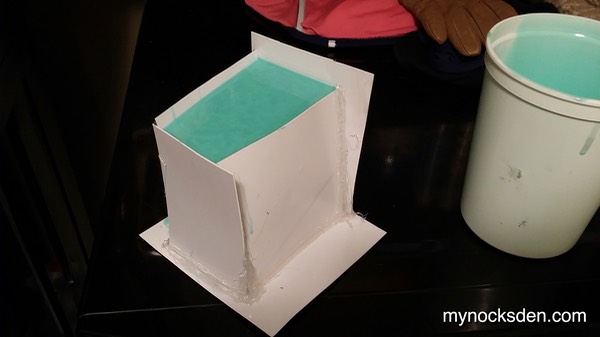
Several months later, however, I realized though a noble attempt, the pouch was not accurate. So, I went back to CAD, and soon had a very accurate model printed.
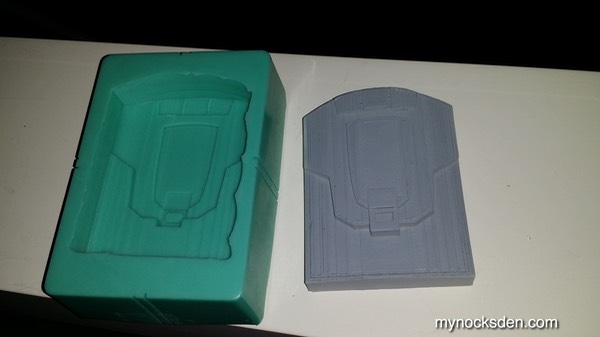
Once again, the 3D printing striations were my friend here and would simulate the fabric strands of a real-life nylon pouch. I coated the surface with SuperSeal to help seal any microscopic pores between the layers, and glued the part down in the upright position to a scrap piece of ABS plastic. I used more scrap ABS to construct a box around the model, and hot glued these together, ensuring a water-tight seal.
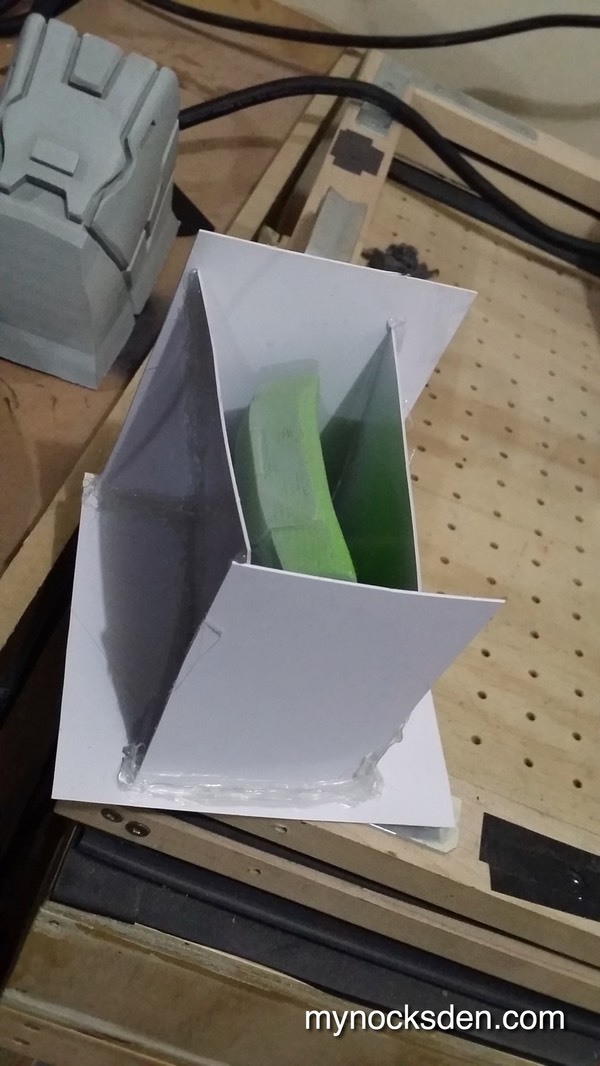
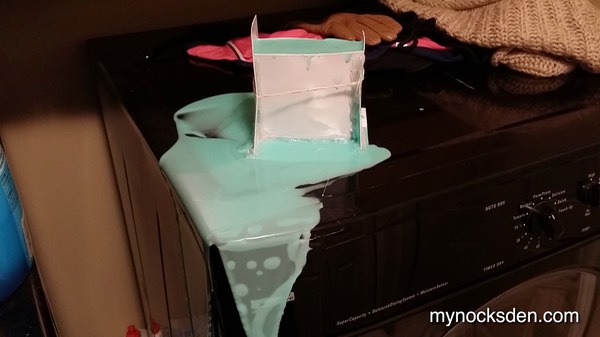
I then mixed up a batch of Mold Star 15 silicone, degassed it using my vacuum pot, and filled the mold box to the top. Placed the whole thing on top of the drier and turned it on to help shake out any remaining bubbles.
I seem to have overestimated the strength of the hot glue bonds however, because a few minutes after the dryer started, one of the box corners shook loose, which resulted with a giant mess that almost ruined the mold. Since the silicone was now partially cured, most of it remained; I put an elastic band around the box to close up the loose corner, and mixed up a small batch of Mold Star 15 to top up the mold.
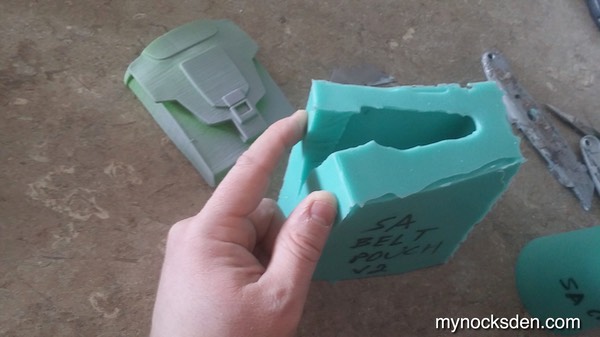
Once the silicone was cured, I had to cut one of the sides to allow the master pouch to come free.
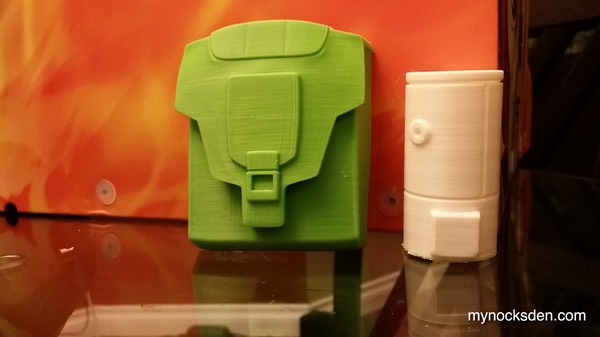
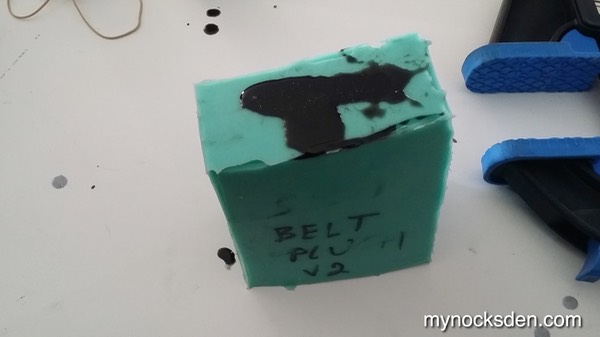
Next, I sprayed the inside of the mold with mold release, whipped up some Task 16 rubber (which requires a gram scale to be properly measured in a 1A:2B part ratio by weight), and added a few drops of So-Strong black pigment to turn the rubber black.

I poured this inside the mold, and used some clamps (on the right) to lightly hold the mold together in the spot where it was cut.
Task 16 can tear quite easily if not fully cured, so I let this sit for an hour before demolding.
I then took the clamp off, gently pried the sides apart, and removed the rubber pouch. Trimming some excess at the pour end, the pouch was finished, and ready to be added to the rest of the costume!

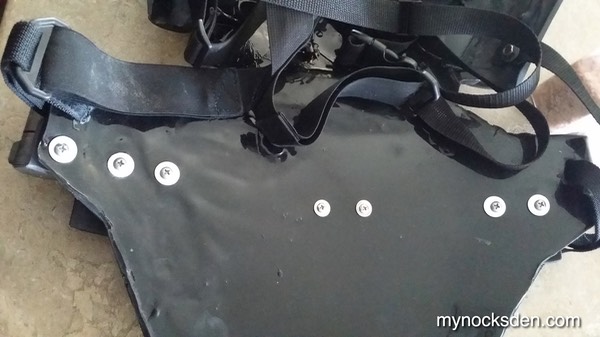
To attach the pouch to the COD plate…
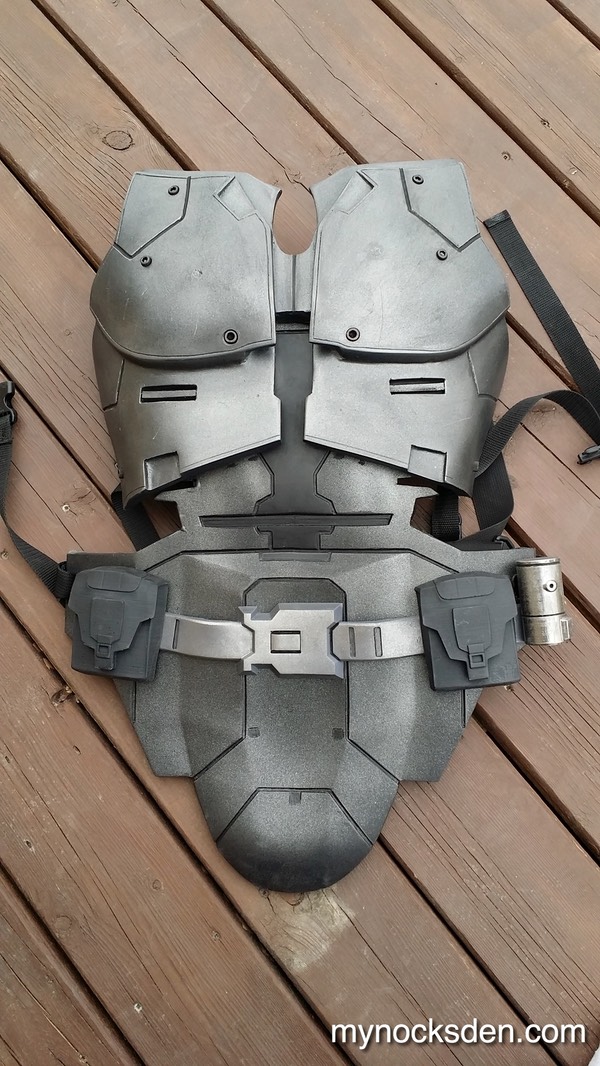
… I used long wood screws with some washers, and drove these through the COD plate and rubber belt face right into the pouches. And that completed the work on the pouches!
Thanks for looking!
* * * * * * *