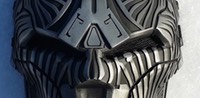
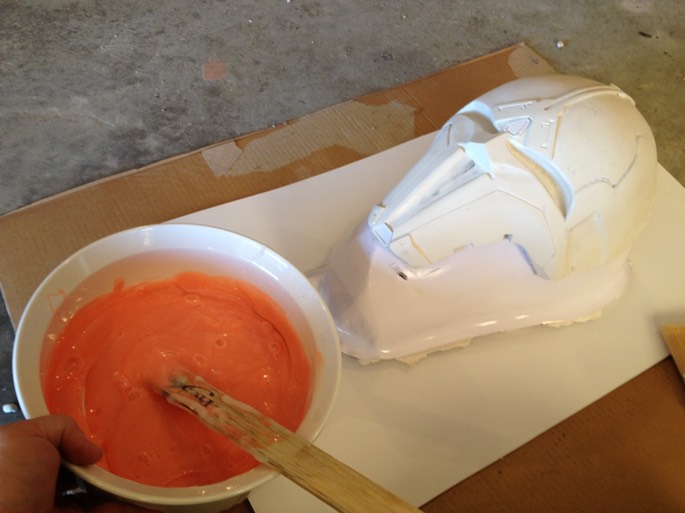
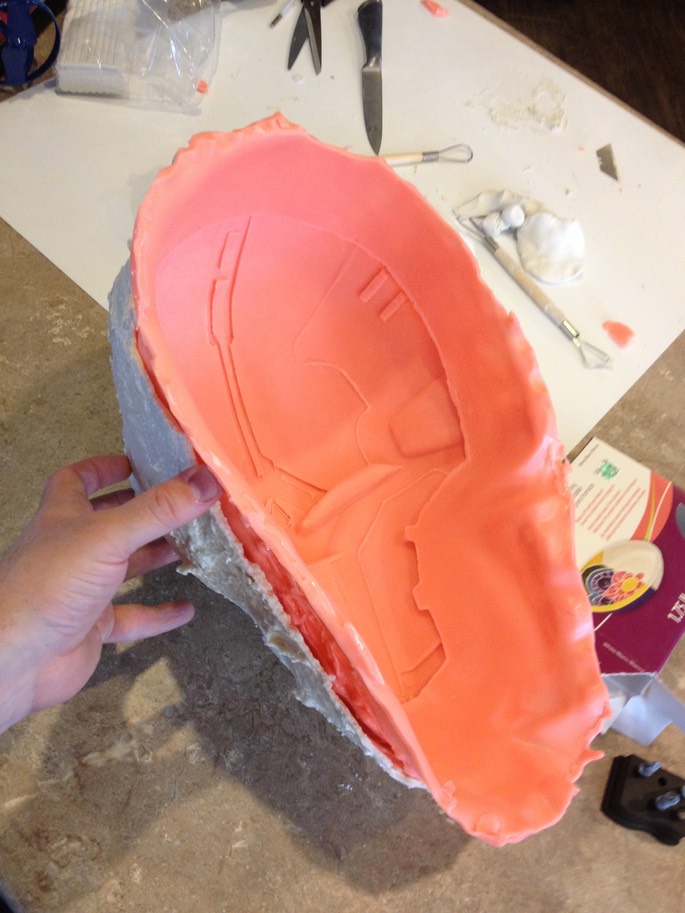
Once the mask was sculpted to my satisfaction, did a quick (and fairly thin) throw away mold using Rebound 25 to transfer the mask shape from Sculpey to a much more durable 65D resin which can be sanded, Bondoed, and even used as a buck for vacuum forming (as we will see below). Three coats of Rebound 25 were applied an hour apart, with the last layer thickened using THI-VEX and allowed to cure overnight.
A few words about Rebound 25. It is a platinum silicone from Smooth-On that has a 1:1 volume mix ratio (no precision scale needed), does not require degassing, and has a cure time of 6 hours, which is much quicker than Mold Max 30 I used for my version 3 mask (covered in this section). It is a ridiculously strong material when cured! It is also very expensive, running for about $180/kit (double the price if you're buying from a Canadian supplier) that makes two gallons of the stuff.
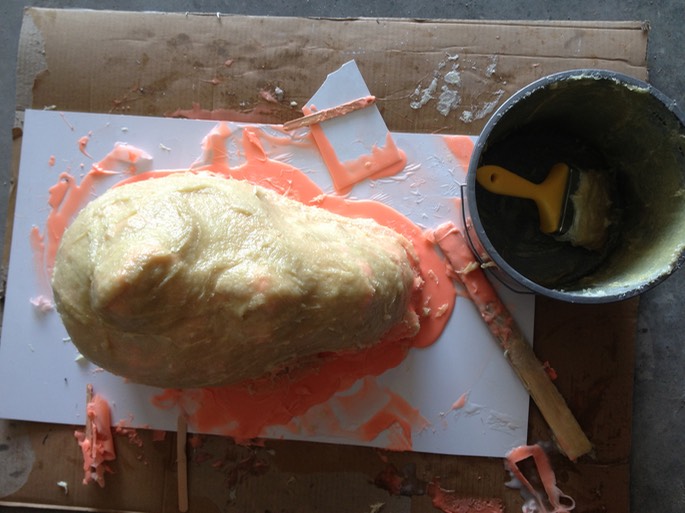
I allowed Rebound 25 to cure overnight and used PlastiPaste II (a two-part, 1:1 product from Smooth-On) to create the support shell or mother mold, and allowed this to cure for 2 hours.
Once the mother mold was removed, and the silicone skin peeled off, the Sculpey sculpt was no more. Kind of sad to see it come out in pieces, considering how much work went into making it.
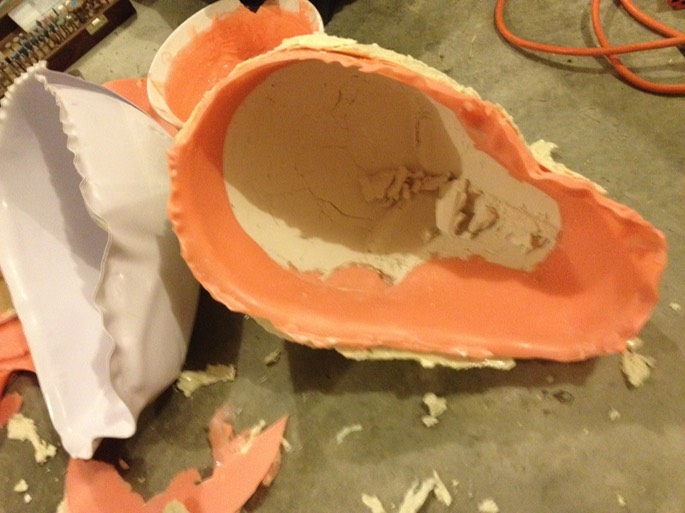
But, it’s all part of the greater process. Once the remnants of the clay were removed and the rubber mold washed out…
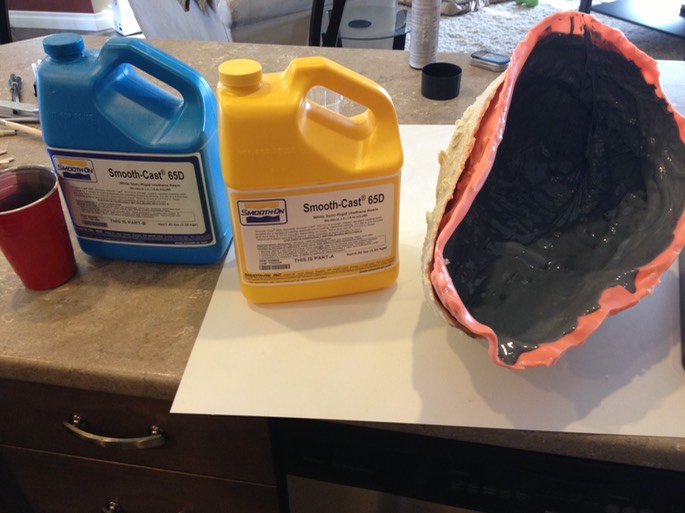
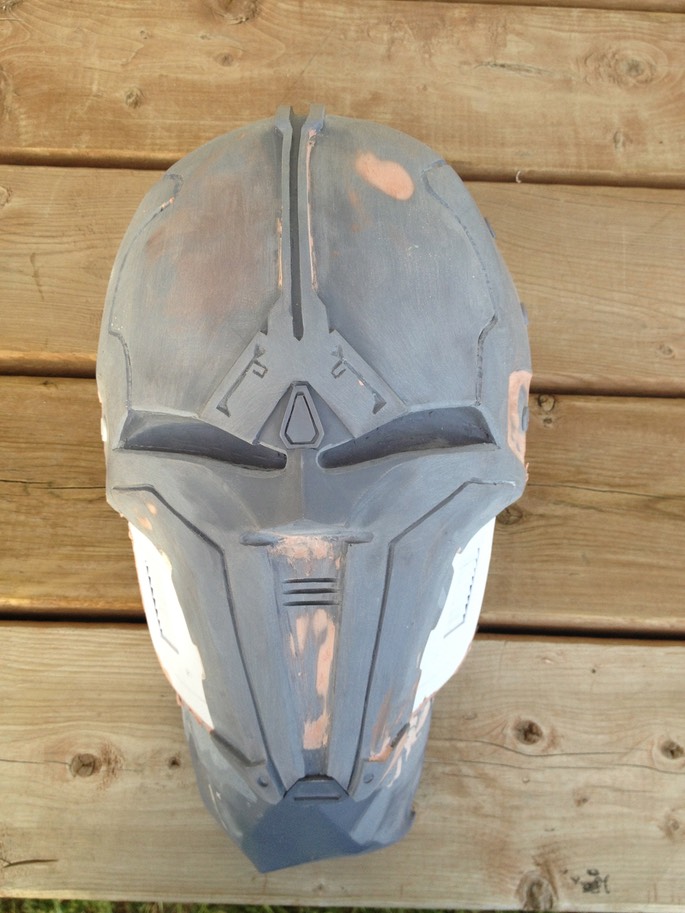
… I did a pull of the mask using 65D with some black So-Strong tint (which 65D isn't designed for, hence the grey coloration in next photo) to make the imperfections more visible.
Since slush casting was covered extensively in this section, I will not go into great detail here other than say a few words about my choice of 65D. For my version 3 masks I used Smooth Cast 325 as the main casting medium because it was designed to remain quite flexible upon curing (which made trimming possible with scissors). For my version 4 project I decided to use 65D for the precisely opposite reason that it hardens right away, having a much quicker recommended demold time. Once the plastic solidifies, it's rigid (though it can be bent and reshaped again by using a heat gun!). Another advantage over 325 is that 65D traps fewer bubbles, which was always a struggle with 325.
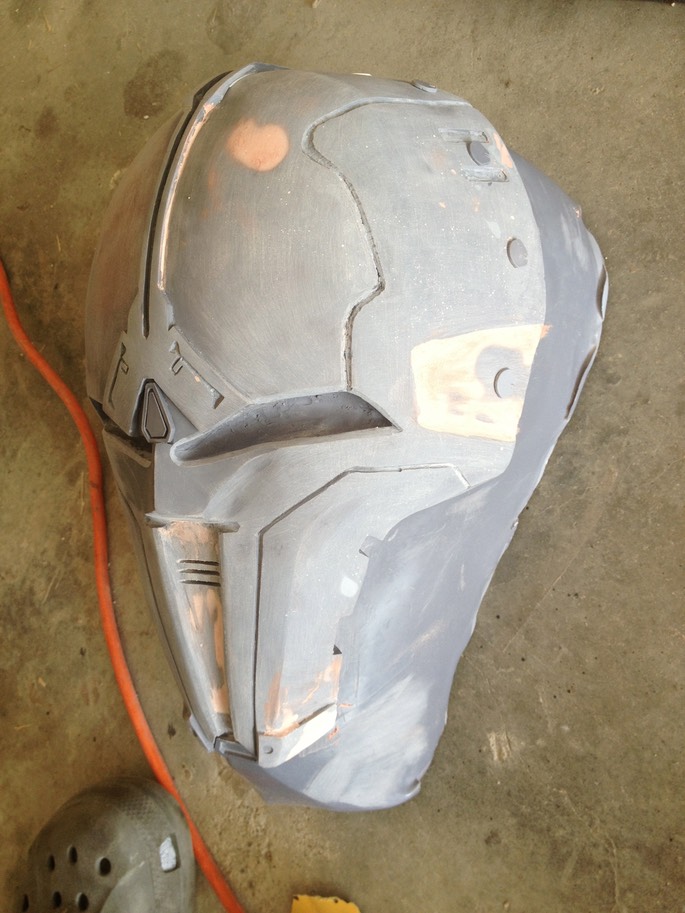
I touched up some more problem areas using Bondo (which sticks to the smooth on resin really well) and superglued the 10 millennium falcon shaped buttons I cut out from a sheet of ABS to the mask in correct places.
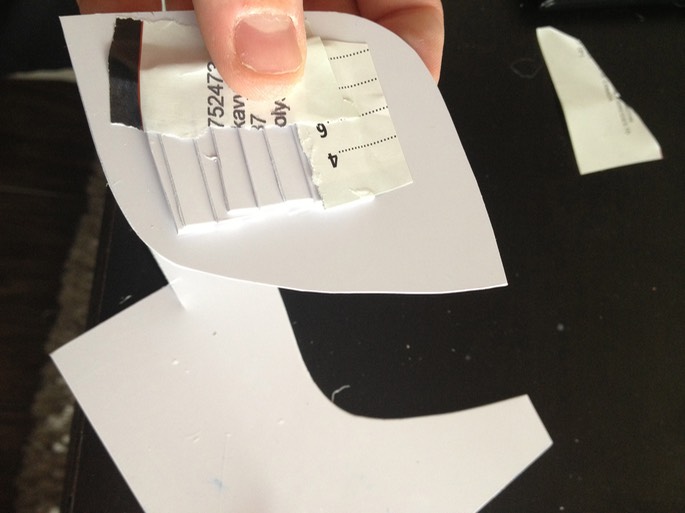
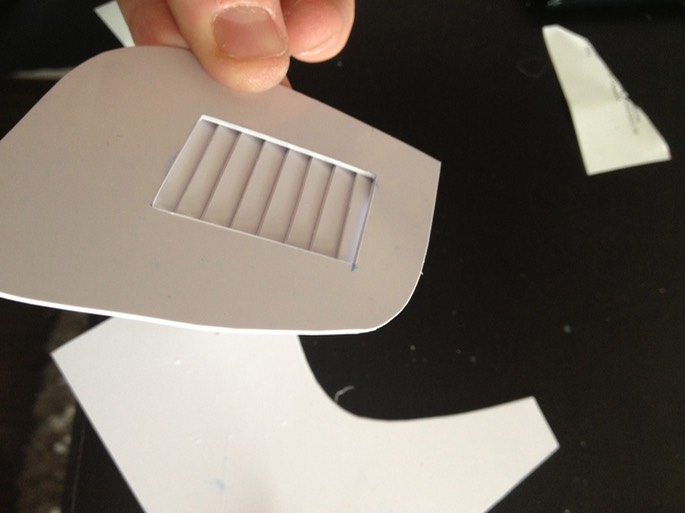
Next, I decided to tackle the cheeks, which was something I hadn’t done with my previous masks. I cut the cheeks out of a sheet of ABS, and then cut out a rectangular hole with a utility knife in each one. I then cut out smaller rectangles for the vents, making them slightly longer than the center hole, and superglued them together in a staggering pattern (resembling closed blinds). I aligned the assembly in the center of the main hole, and superglued it in place using scrap paper.
Next, I glued the cheeks to the mold...
… and spray painted the whole thing with primer to get it ready for further silicone molding.
* * * * * * *
- First Silicone Mold and Cast