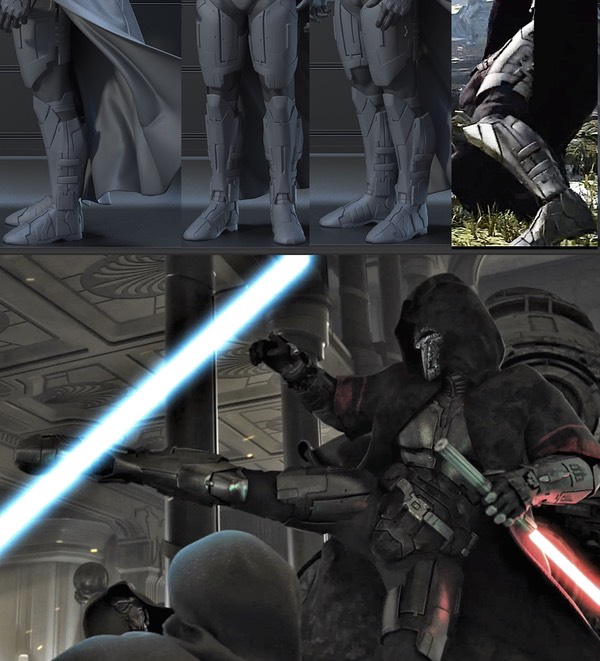
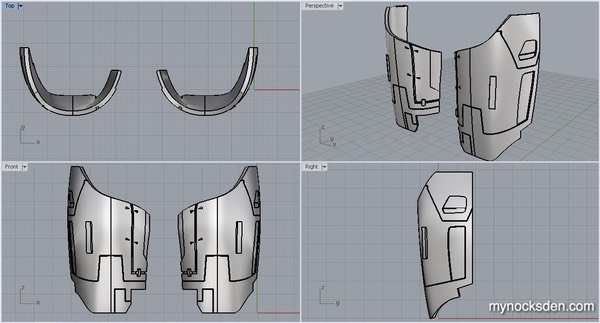
I began by CAD modelling the front thigh plates by drawing curves in 2D, then pulling them out into 3D. I have never modelled leg armor before, so to get the curvature of the surface took some trial and error. I’m thinking that modelling curvy objects like this would be easier in a 3D sculpting program like ZBrush, but for now, Rhino will have to do.
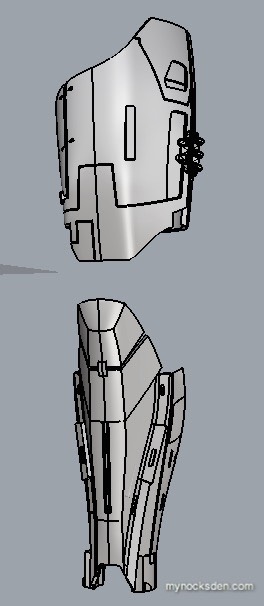
After the model was done and sized correctly, I split it into 3 separate batches of several pieces each, and sliced it for printing. Since I now have three 3D printers, printing the entire thigh took only 25 hours.
Next, I assembled and glued all pieces together with superglue, and then used my ABS/Acetone sludge I use on my printer beds for adhesion to smooth out and fill in the seams. Since the sludge contains the exact same type of ABS as the printed parts, once the goo dries, it creates a permanent bond with the plastic underneath, fusing the parts together.
Next, I sanded the surface down with an orbital electric sander using 120 grit paper sanding disc. This levelled things out really well, but chewed up the surface, making it quite rough. I thought about just smoothing it out using fine grip paper, but the surface would need to be sealed somehow before it could be primed.
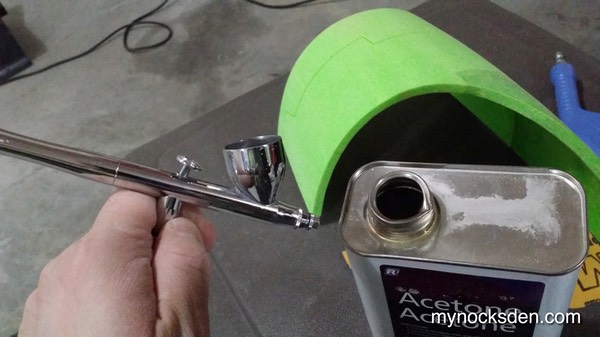
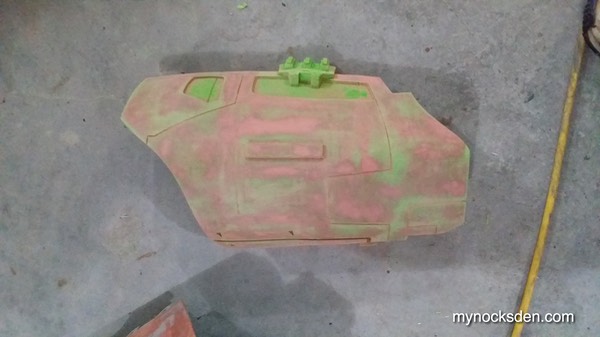
I have used various Acetone smoothing techniques in previous builds, but decided to try something new here. I filled up my airbrush with acetone, and misted the part in even strokes.
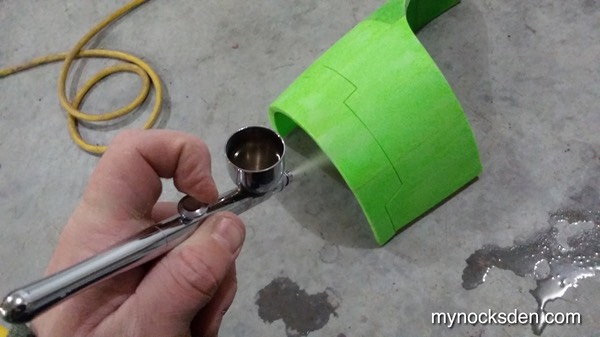
Since Acetone evaporates very quickly, several coats of misting were needed to have it penetrate into the surface. I then placed the part in front of a heater and waited 5 minutes for the acetone to seal the surface.
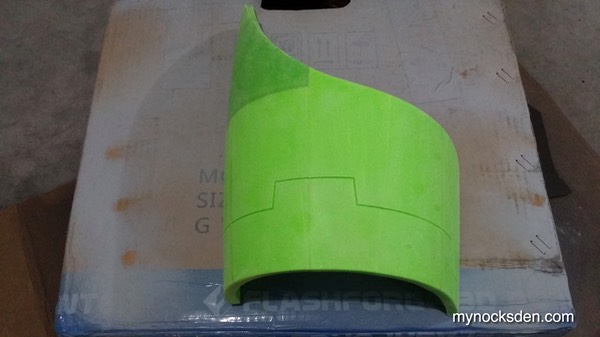
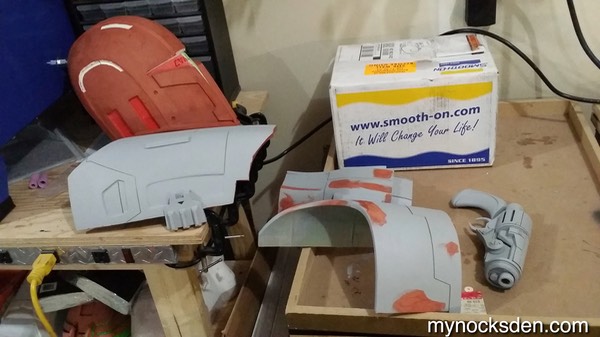
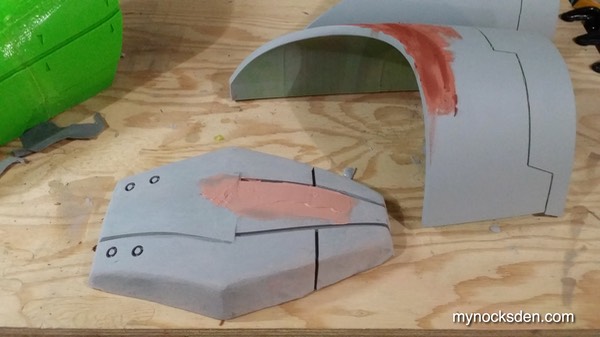
This allowed me to move on to fine grit sandpaper, and touch-up work with regular Bondo, as well as Bondo spot putty.
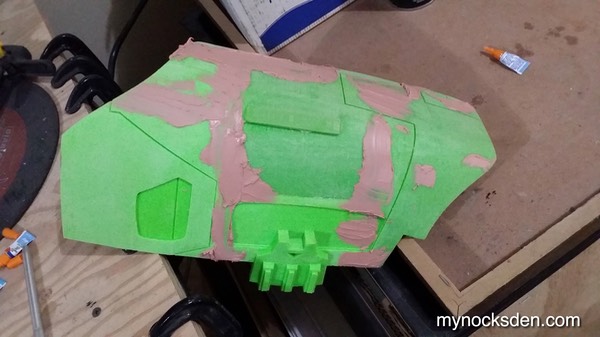

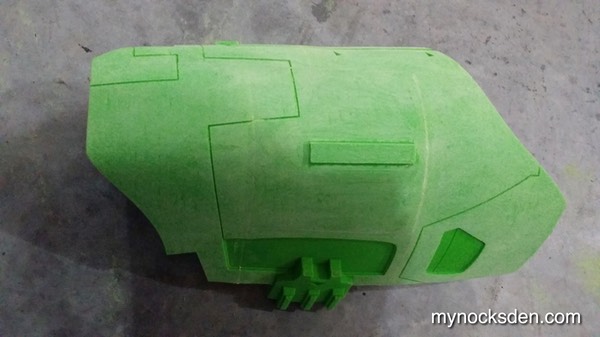
I primed the parts, and used more spot putty to touch up the areas that need it, followed by sanding, priming, more spot putty, until the parts were perfectly smooth and ready for molding.
Next, I used some foam to build up the empty spaces under the masters to elevate them off the table...
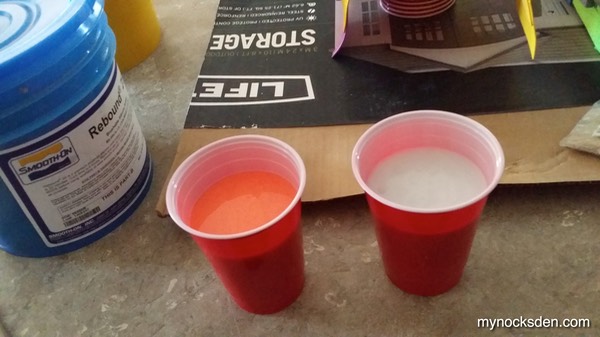
… measured out and mixed up some Rebound 25 silicone,

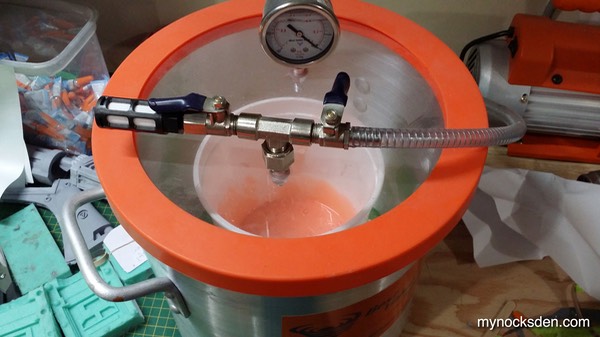
… degassed it in my vacuum chamber as I do with all my silicone,
…and brushed on the first layer.
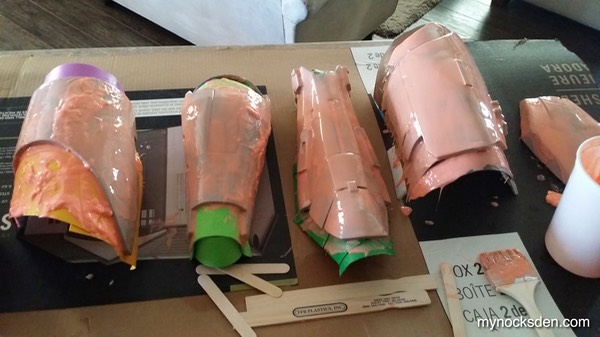
I did two more layers after this, before adding a silicone thickener called Thi-Vex to the fourth layer to thicken the mold.
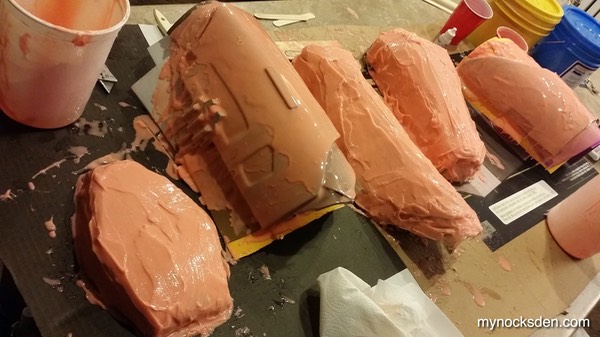
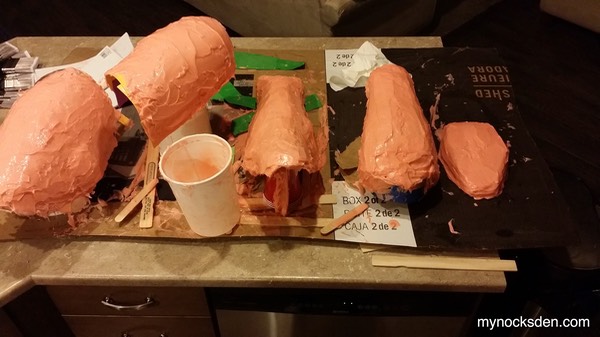
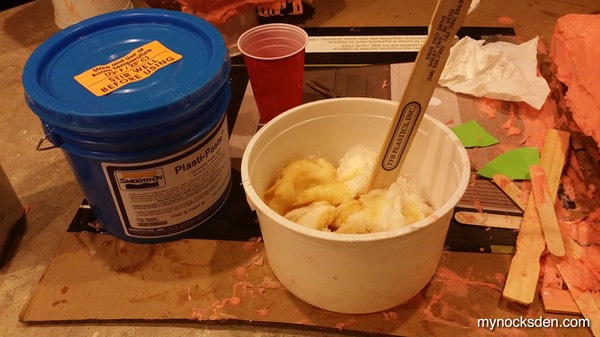
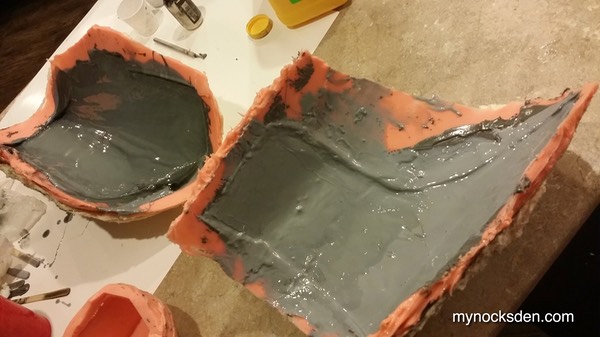
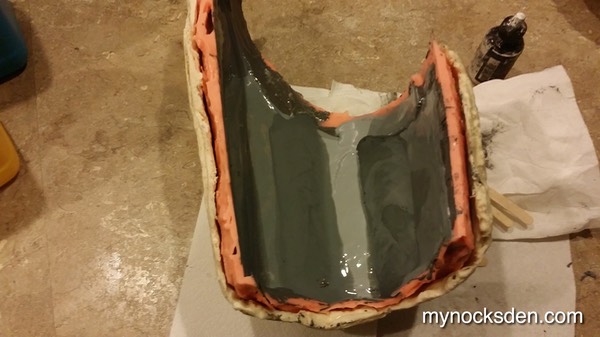
Once the silicone cured, I mixed up some Plasti-Paste in a reusable container, and applied it to the molds to create the support shell.
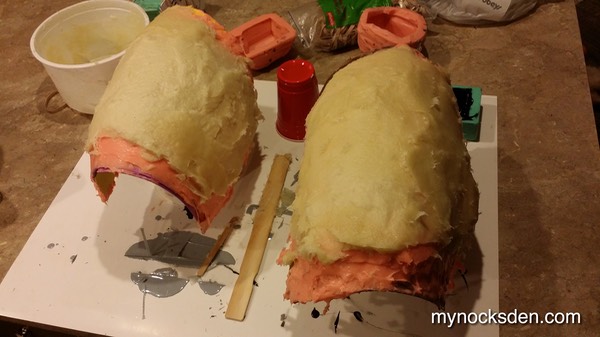
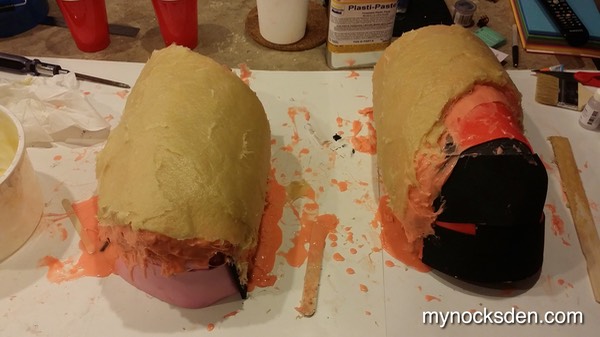
Once this cured, I demolded the masters, and was ready to cast the final pieces in resin.
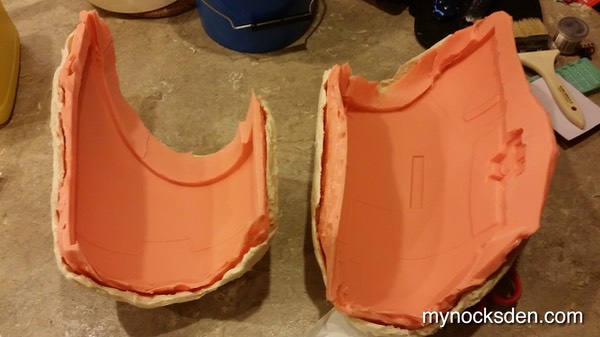
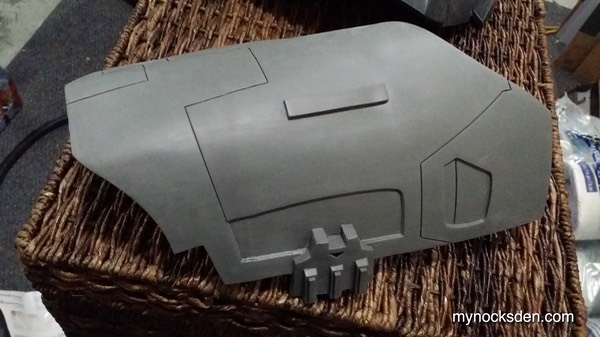
Using the cold casting technique I explain in some depth on this page I cold cast the final pieces in aluminum-infused 65D resin.

After demolding and trimming, the pieces were ready for polishing and painting.
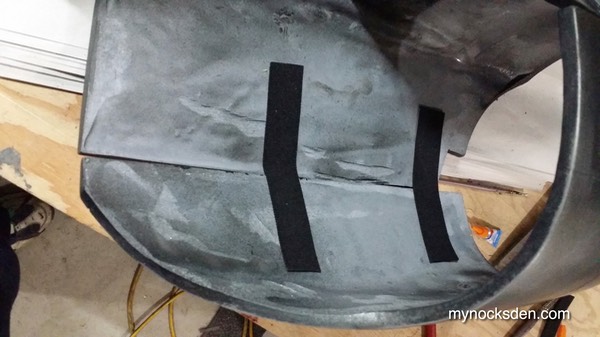
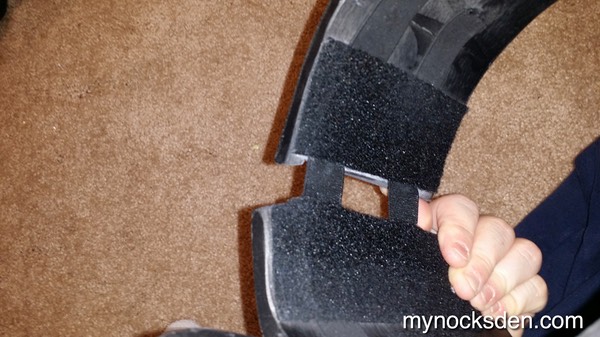
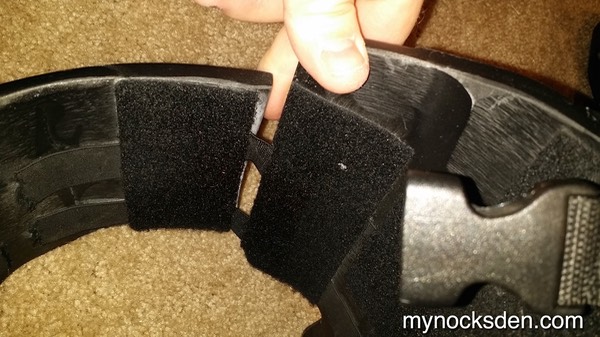
I glued some elastic straps across both halves, and secured them further with a few strips of industrial sticky back industrial velcro loop (which also acts as padding).
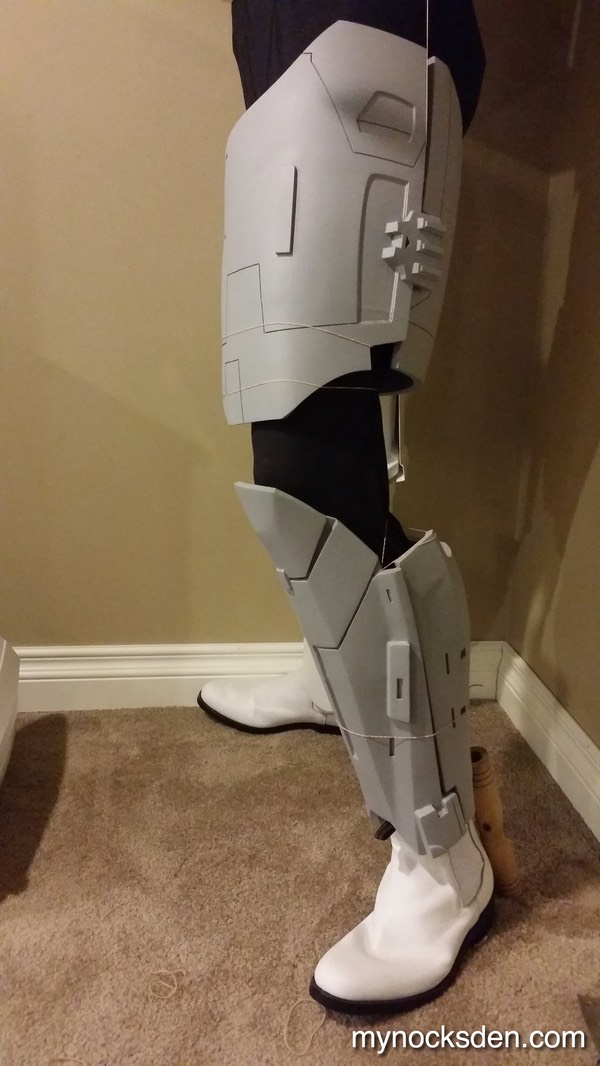
I painted the thigh plates the same colour as the rest of the armor on the outside, and black on the inside, and glued a rigid nylon strap to the front of the thigh, fitting a buckle on the end.

I then attached another strap with a buckle to the back plate. Next, I sewed two rigid straps with the corresponding buckle piece to the front of a law enforcement-style duty belt, and two elastic straps to the back to hold up the thighs during wearing (the back straps had to be elastic in order to allow for unrestricted forward leg movement).
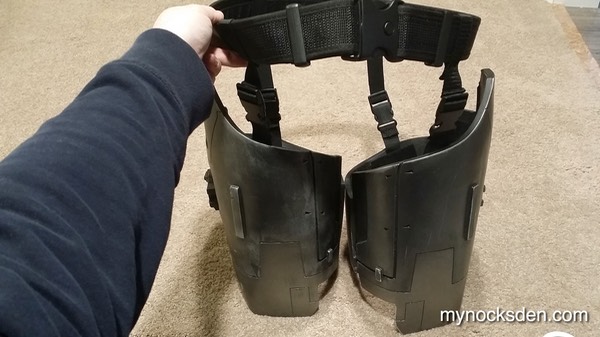
This completed the thigh plate assembly!
* * * * * * *