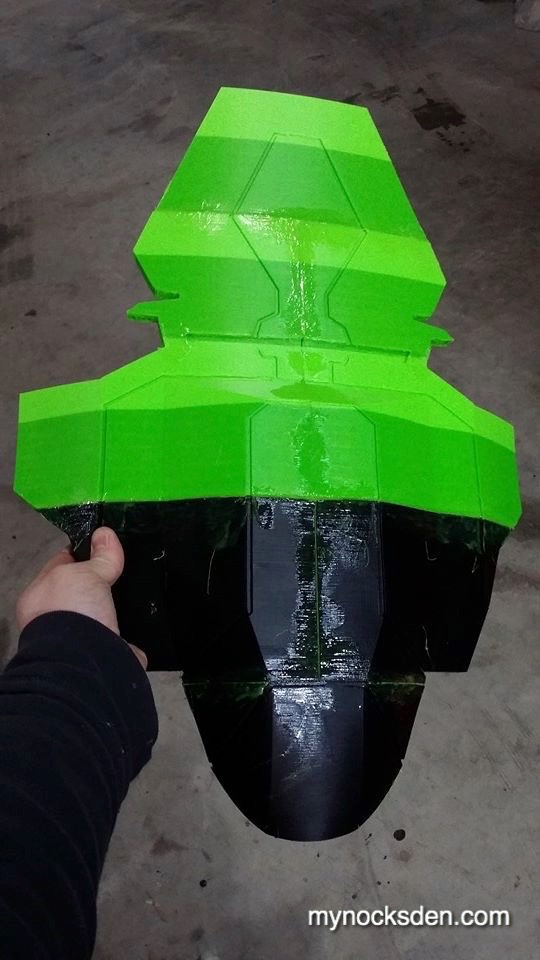
As with everything so far done in CAD in the Sith Acolyte build, I began by drawing the outline and all major details of the COD piece in Rhinoceros, paying close attention to the reference material.
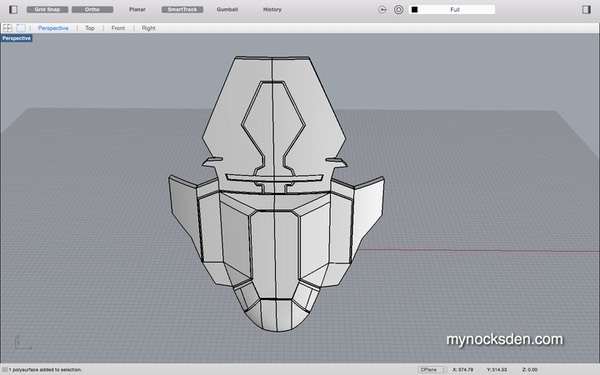
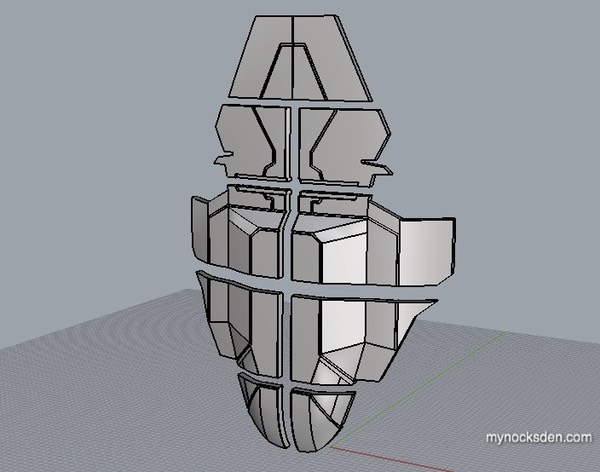
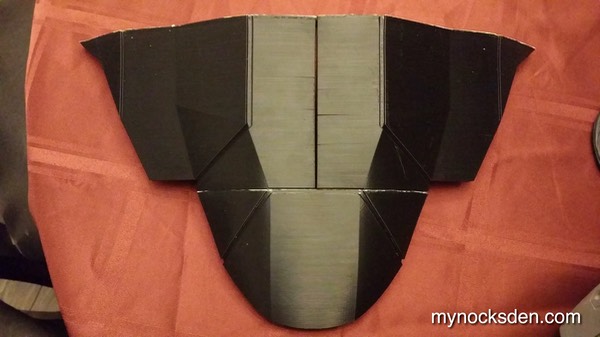
Since this piece is fairly simple, modelling only took a few hours. Once it was completed, I scaled it up to real-life dimensions, broke the model up into multiple pieces…
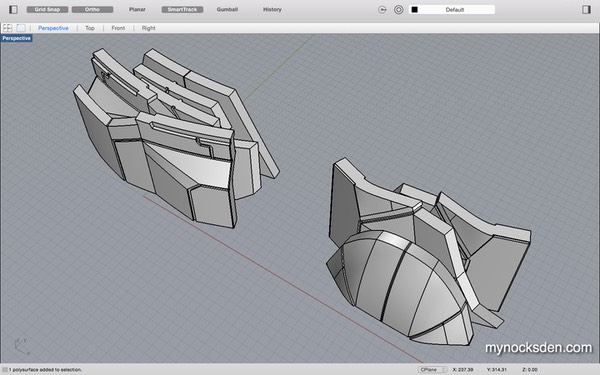
...and printed everything on my FlashForge creators.
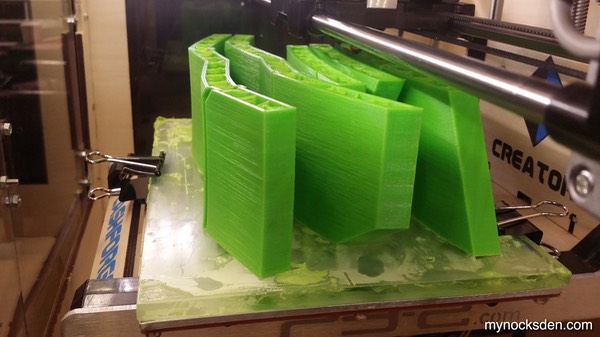
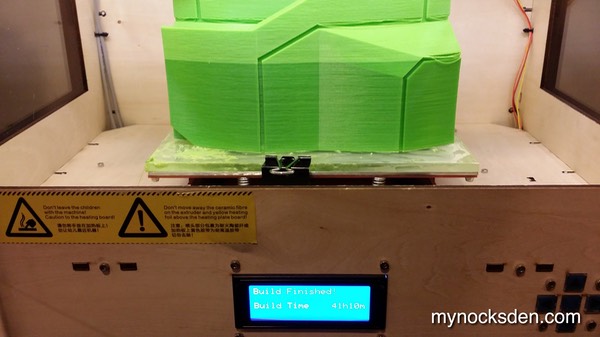
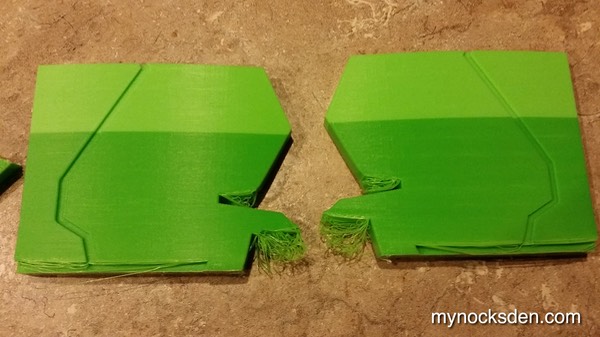
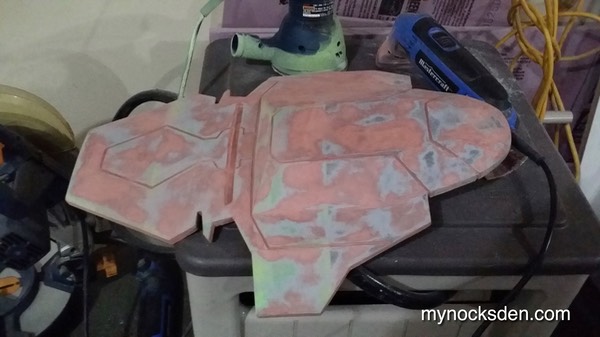
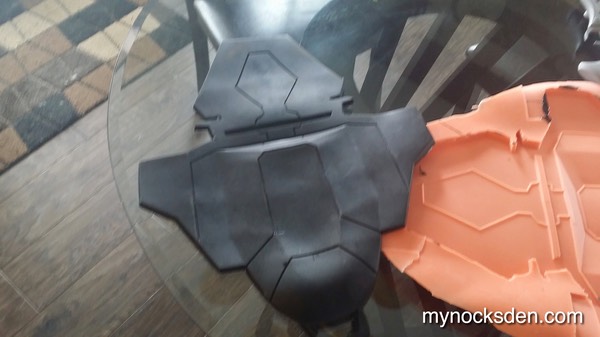
I generally do not print with raft and support material unless it’s absolutely necessary; I find cleaning up raft material to be tedious, and often destructive especially if the model has a lot of detail. Supports can also eat up a lot of filament, slow down the production process and drive up project costs. Certain pieces, however, can really suffer from lack of supports, especially if there are very pronounced overhangs in the model (next photo). These damaged sections however, can be easily fixed with some epoxy putty, so the drawback are still quite minimal.
Next, I glued all the pieces together using superglue, at which point I decided to try something different.
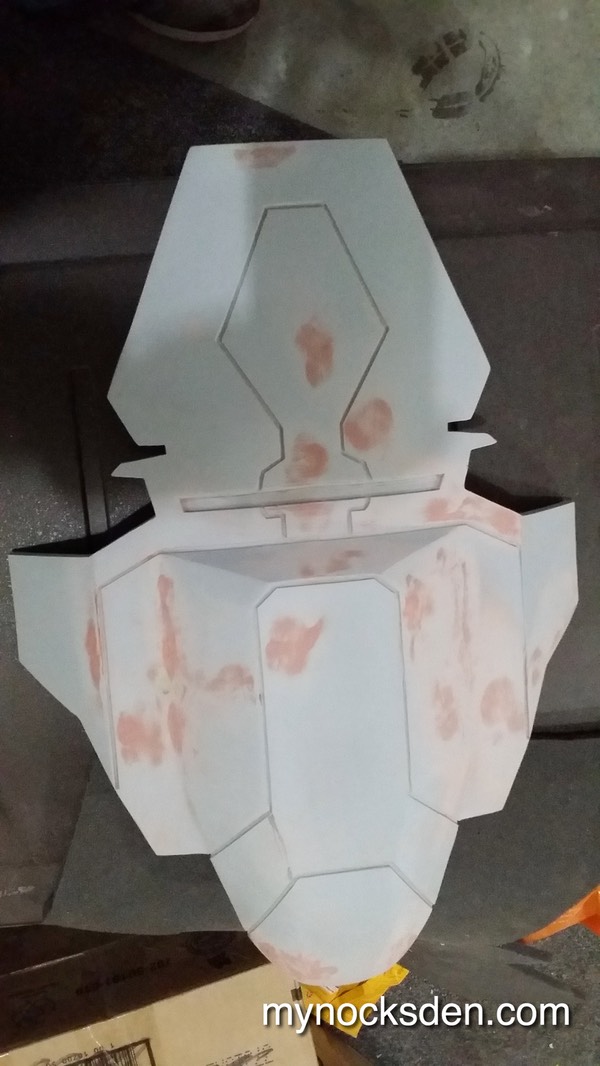
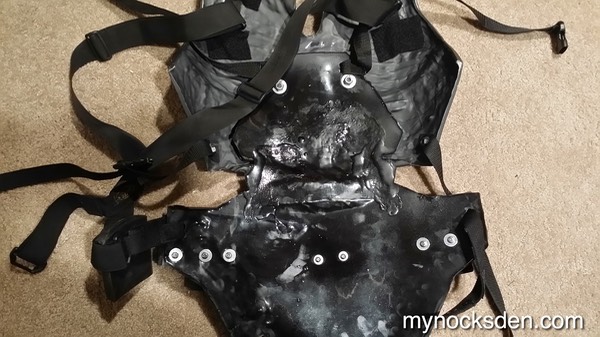
Normally I use Bondo body filler, Bondo spot putty or epoxy paste to fill in the seams, gaps, and trouble spots. In this case, I decided to use the ABS sludge (made by dissolving scrap ABS filament in acetone) I put on my printer build plates to promote adhesion;
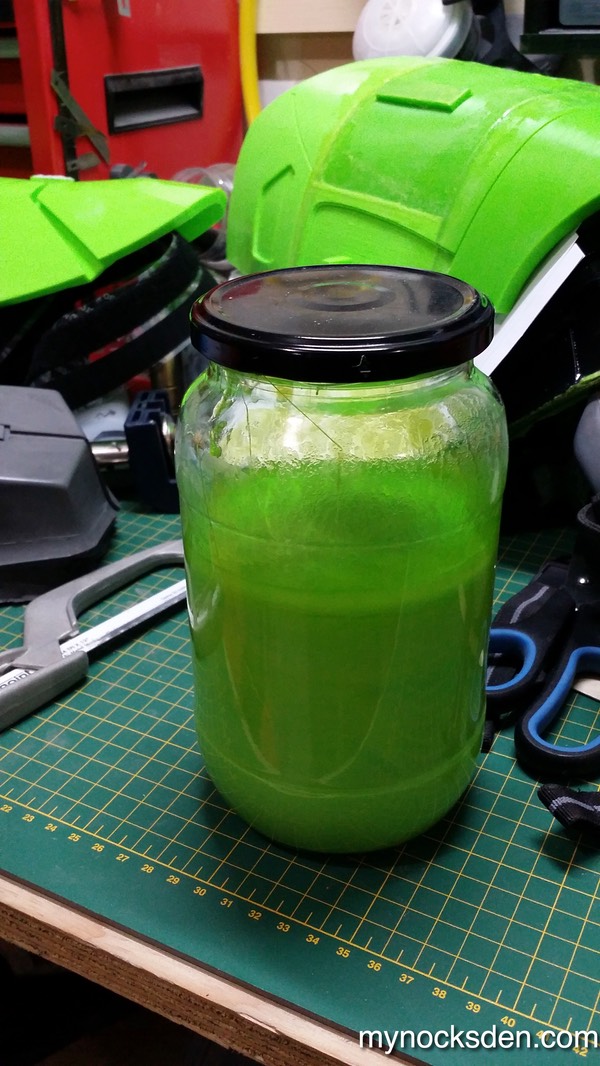
I figured that using liquefied ABS on solid ABS would result in stronger bonds given the uniformity of the chemical composition. So I smeared this on, and let it dry for several hours. The results were less than stellar; once the acetone works itself out of the ABS, the plastic becomes solid but quite porous.
Sanding this down results in a crater-ridden surface that needs to be further processed to get a smooth finish.
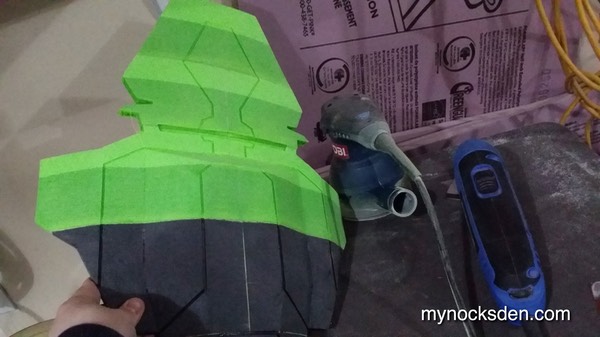
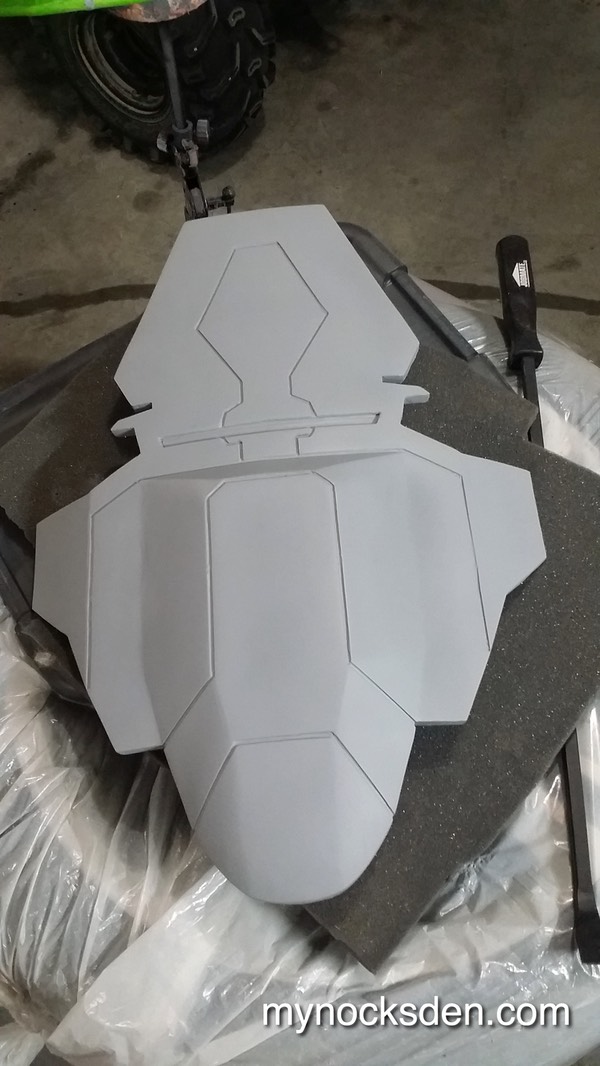
After sanding this down, I used some epoxy putty to go over the seams, and sanded this smooth.

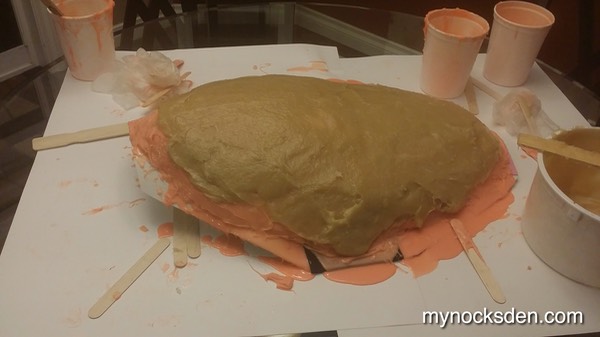
I then covered the entire thing with Bondo spot putty, let this dry, sanded it down, primed with automotive primer, used more spot putty to fix up trouble areas, sanded some more, applied more primer, and repeated this process until the surface was smooth.
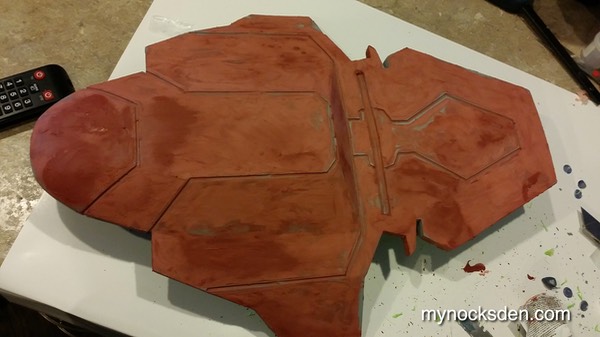
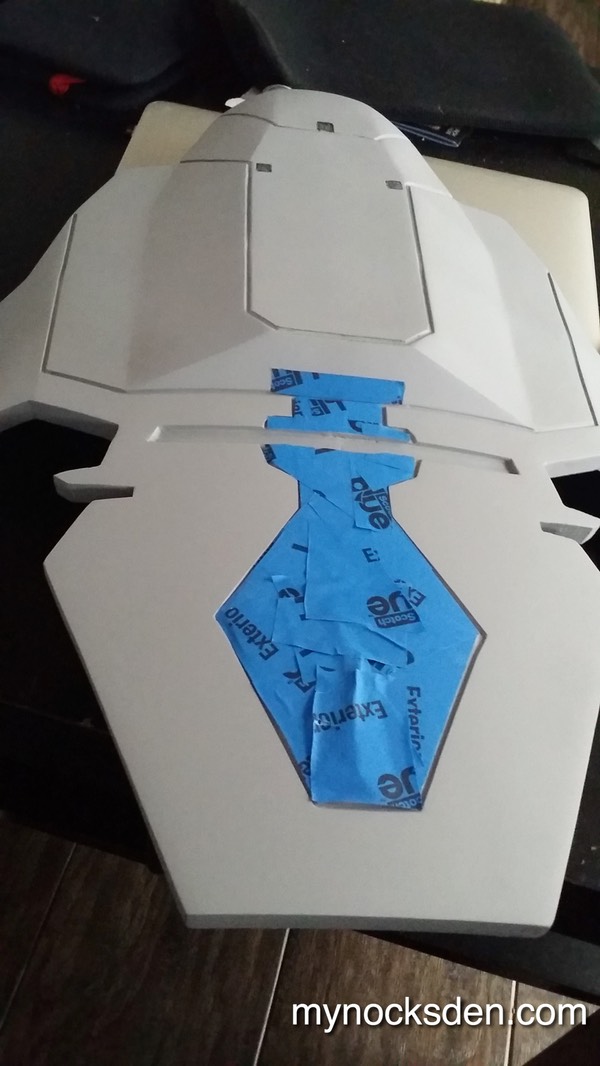
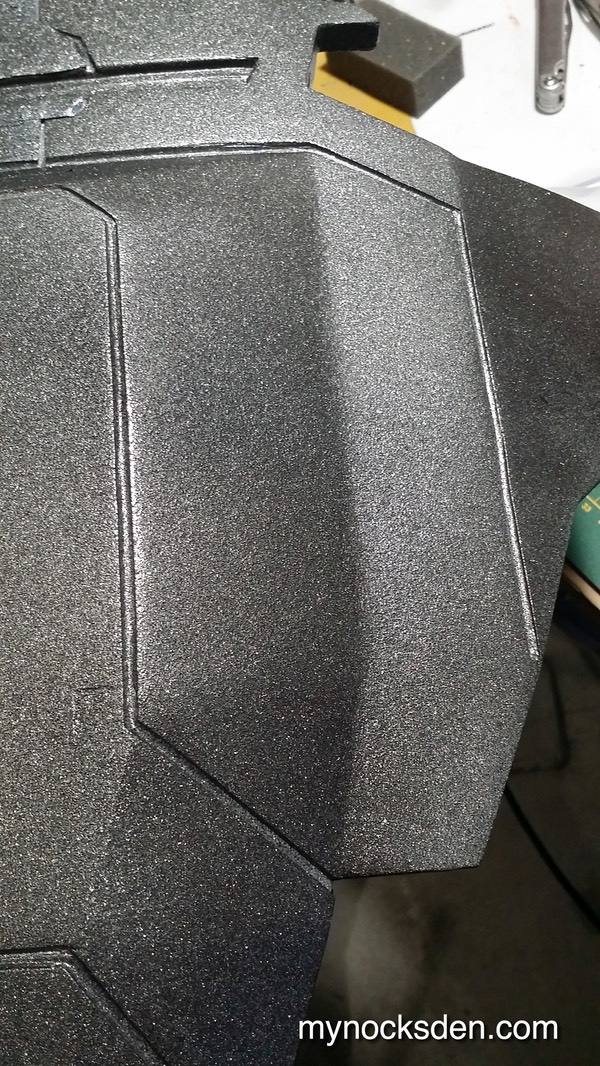
Looking at the reference material, the COD plate has a rather grainy, almost rough powder coated-like texture. To simulate this, I used a metallic Dupli Color spray paint with a rough granular finish (the colour doesn’t really matter in this case) to coat the correct areas, taping off the centre to protect it from overspray, and let this dry in front of a heater for an hour.
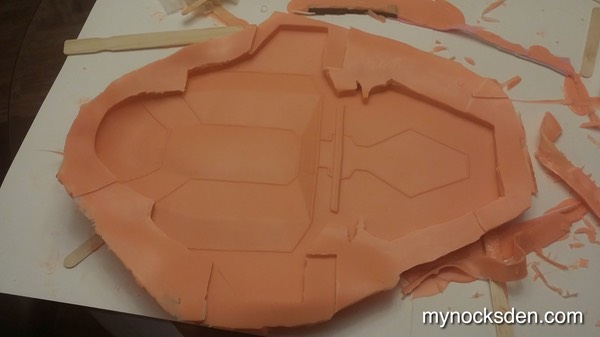
Once dry, I began to prepare the COD plate for molding by building up the base with craft foam.
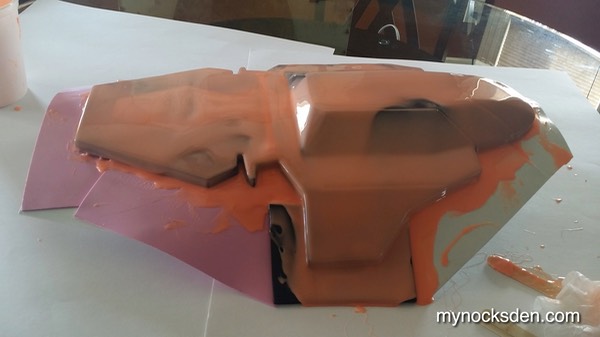
From experience, I know that Dupli-Color paints do not inhibit silicone curing, and since I wanted to preserve the rough surface texture, I decided to not utilize any sealing agents. I did give the surface a quick spray of Mann Ease Release 200, and proceeded to apply the first coat of Rebound 25 silicone.
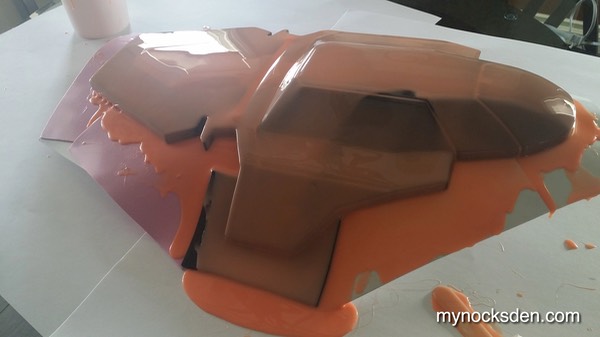
Once this cured, I applied a second, and then third coats thickened with Thi-Vex (which makes the silicone less runny, and therefore suitable or building up mold thickness).
The next step was creating a mother mold or support shell using a product called Plasti-Paste, which helps the cast maintain its shape during curing. However, in this case, since the goal was to make a flexible rubber COD plate, the support shell actually proved to be unnecessary. So, I scrapped it.
After separating the COD plate master from the newly-formed mold and seeing that the print coat captured the detail perfectly, I proceeded to cast the cod plate using Smooth On’s Task 16 rubber. I have never worked with this stuff before, so this was going to be a learning experience with a lot of unknowns.
Task 16 is a two part urethane rubber that is mixed in a 1A:2B ratio by weight, and requires a weight scale to mix.
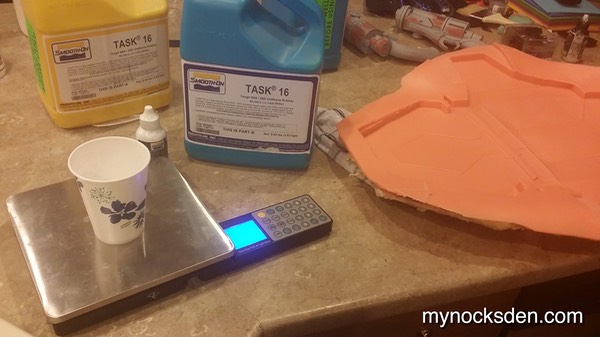
It can be coloured using So-Strong pigments (added a few drops at a time to part B), so I went ahead and applied a squirt of this stuff to part B to make the final COD plate cast black. In retrospect, I should have mixed Black with a little bit of white (which I also have) to make the final casting more of a dark grey, but c’est la vie.
Mixing almost 1KG (2lbs) of the resin, I filled the mold, spread it around using my hand (wearing vinyl gloves, of course), and let it sit for a few hours to fully cure.
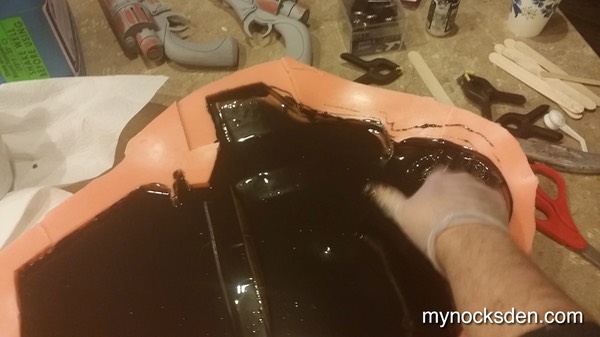

After demolding and cleaning up the edges, the end result turned out to be surprisingly awesome! It’s rubber, it’s super bendy, and it’s super sturdy!
While posting updates on Facebook, some people have asked how I was going to paint something that’s rubber, and how I was going prevent the cod plate from tearing from moving around. To answer the first question, at first, I wasn’t going to paint the COD plate because in the reference material it appears quite dark, almost black. However, a few weeks after making this piece, I decided to give it a light misting with the same Dupli-Color paint I used for the rest of the build to make it blend in with the armor a bit more. Even if this paint rubs off, it will not result in significant colour difference, but in fact add character to the piece.
As for the question of durability, fully cured Task 16 rubber is very strong, and given how thick I made the COD piece, there is very little chance that it will rip or get damaged from trooping/light cosplay.
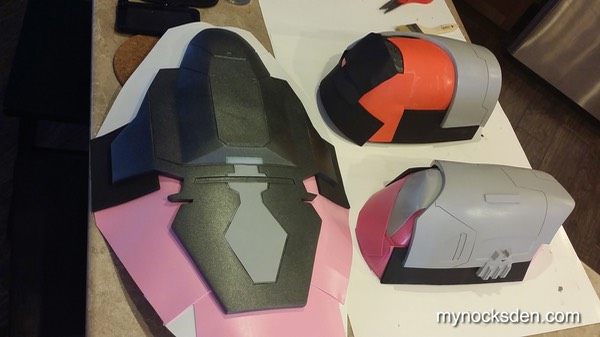
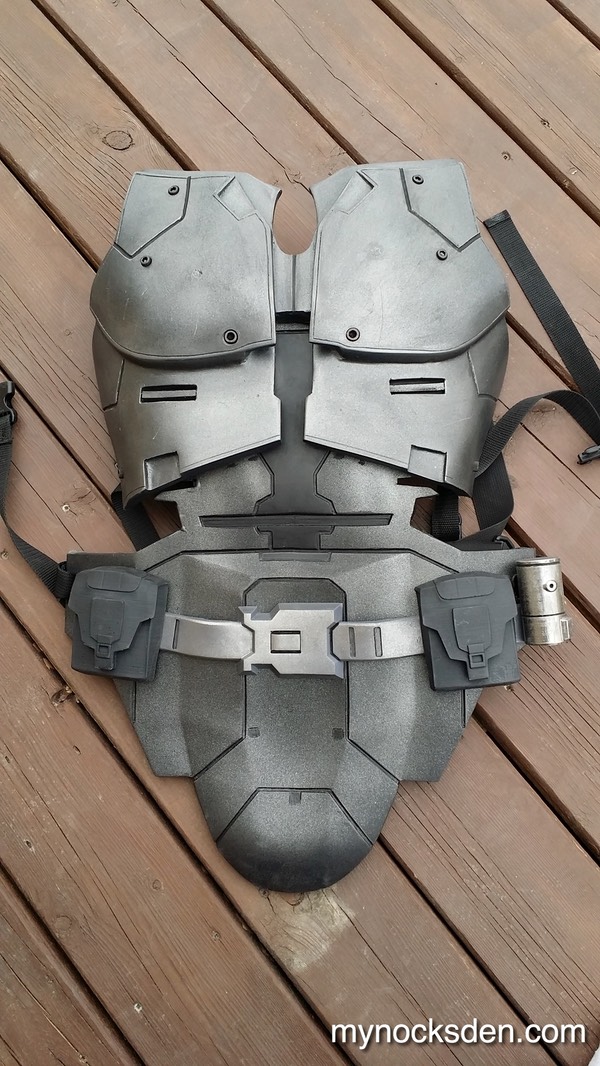
To see how the COD plate gets fitted to the rest of the armor, check out the Sith Acolyte Armor final fitting and assembly page (coming soon).
* * * * * * *
Back to Sith Acolyte Armour Directory