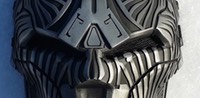
Now I came to another heart-breaking realization, that in order to use a vacuum formed shell over the mask, I would have to get rid of the middle ridge, and the buttons along the outer edge of the mask altogether. Considering what a pain it was to make that ridge and cut those buttons out of ABS, sanding each one to smooth perfection, it all had to be sanded off, and redone in the future.
So, I sanded it all smooth and primed the mask.

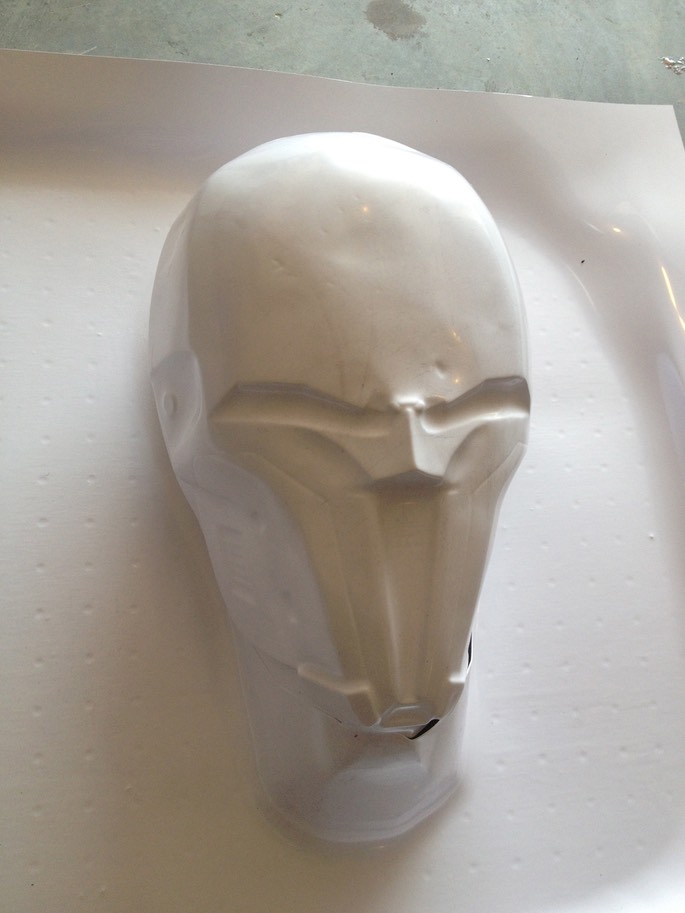
Now came another test. I did another pull using 65D, sanded down the ridge and buttons, and threw it on the vac table to do a pull using .04 gauge ABS sheet.
And it worked! Nothing was crushed, bent or warped by the pressure and heat from the vacuum former. Good to know that 65D can be used to make limited-use bucks for vacuum forming!
And the pull came out good enough for what I needed. (For more infomation on vacuum forming, check out my home-made vacuum former here).
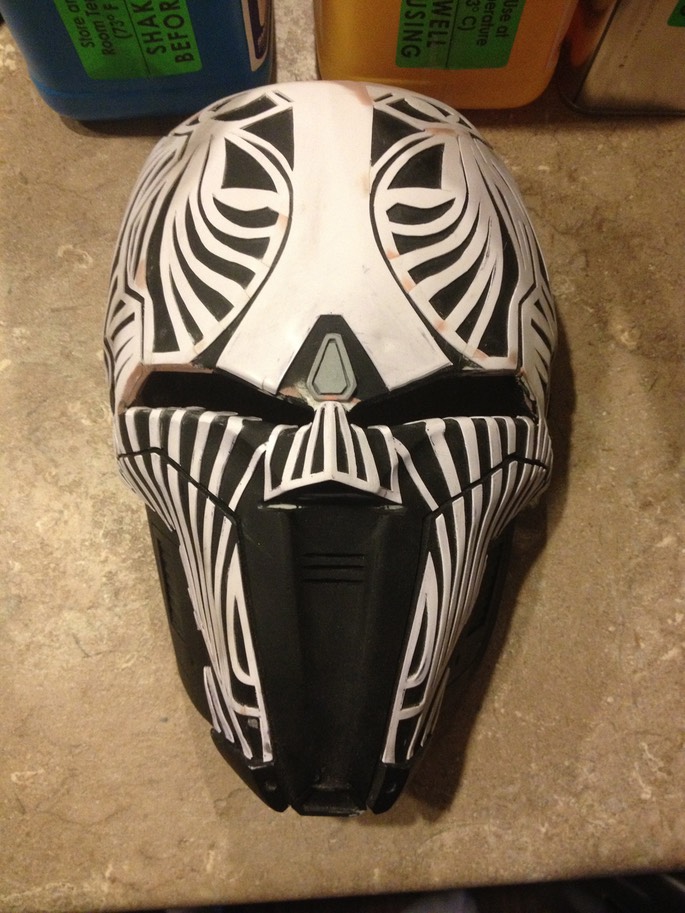
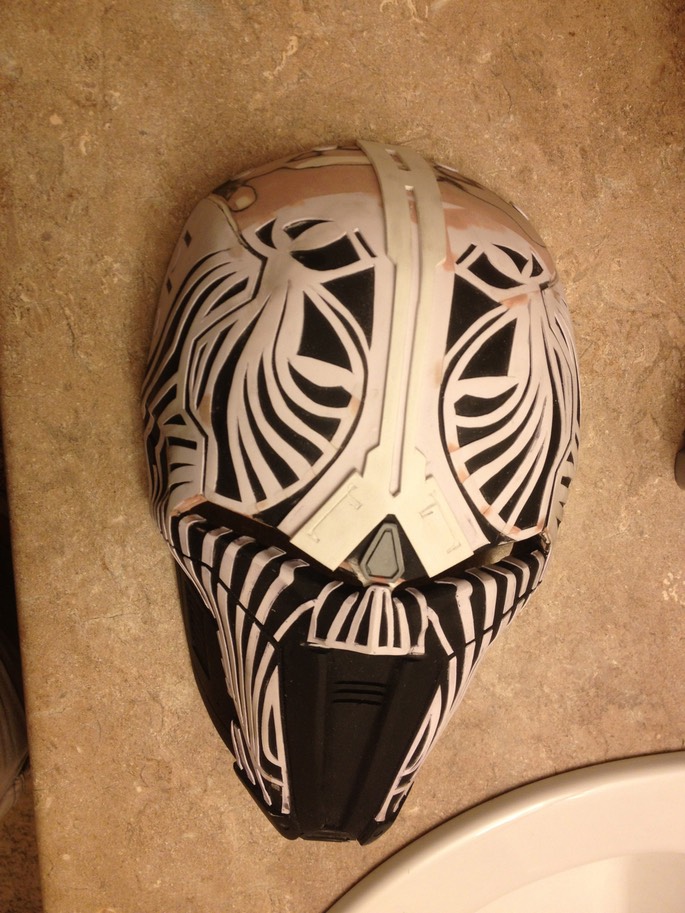
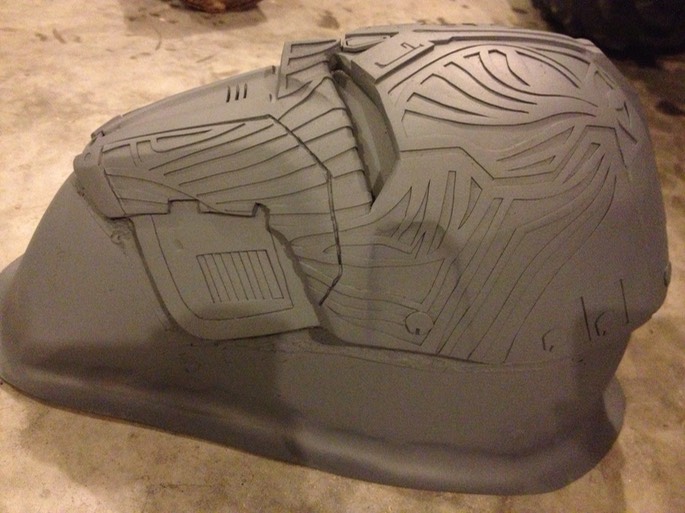
Next came the challenging part: drawing the symmetrical detailing onto the shell using a fine tip sharpie. After nearly three days of drawing, erasing with paint thinner, and drawing some more, I got the details down, and began the even more tedious process of cutting everything out.
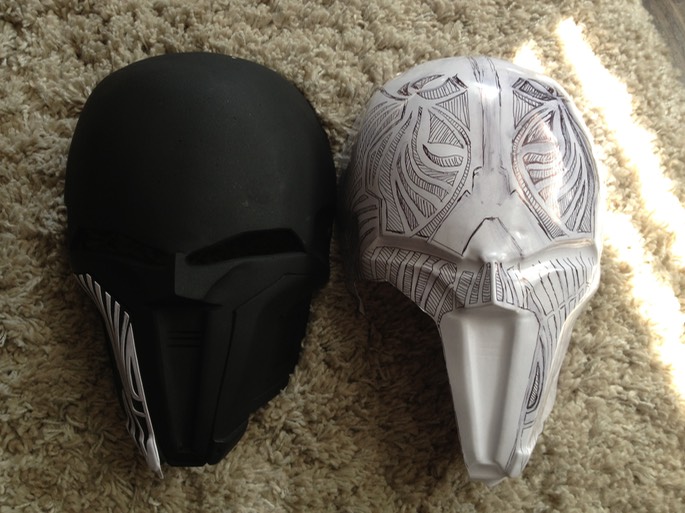
I salvaged the diamond nose piece from the original mold and glued it between the eyes. I then began the process of smoothing out all joints (where the plastic was cut and joined to other pieces) with Bondo and superglue gel.
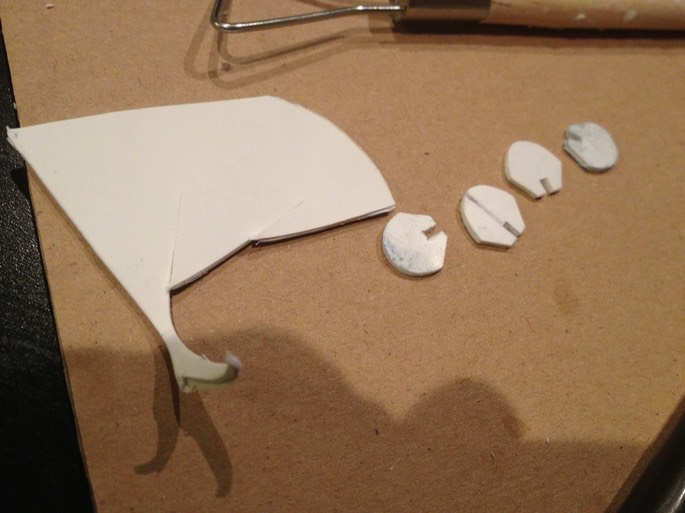
To tackle the middle ridge (again *sigh*), I drew one half of the design on a piece of paper, folded the paper in half, and cut out the shape with scissors. Once unfolded, viola! you have a complete middle ridge!
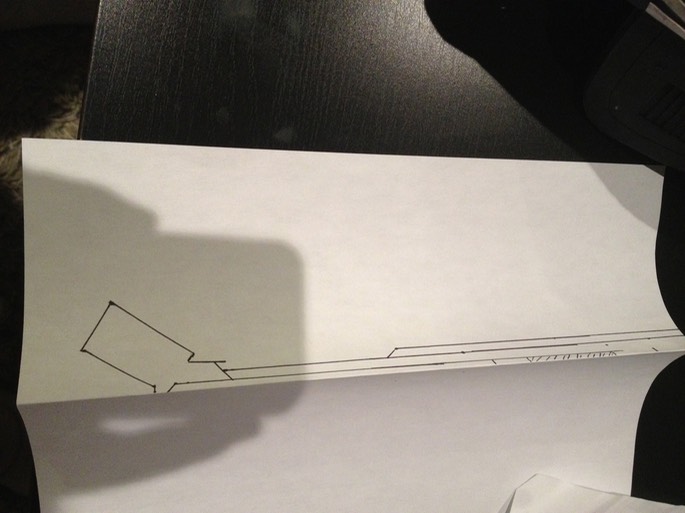
I glued this to a sheet of .08 ABS, traced the shape, and used a utility knife to cut it out. The squiggly details on the ridge were carefully carved with a utility knife as well.
I also cut the 10 buttons out of ABS again, sanded the edges, and superglued them to the mask.
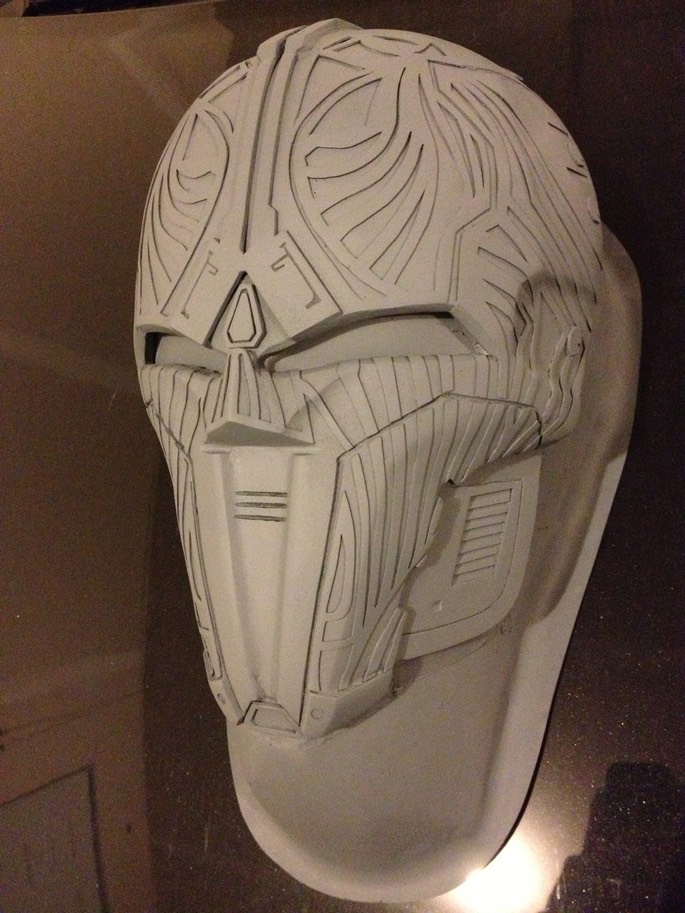
The top of the middle ridge was then built up with Bondo, and after more Bondo smoothing, sanding, priming, Bondo, sanding, etc, the mold was finally done and ready for casting!
* * * * * * *
- Detailing the Mask