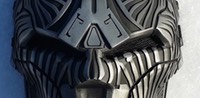
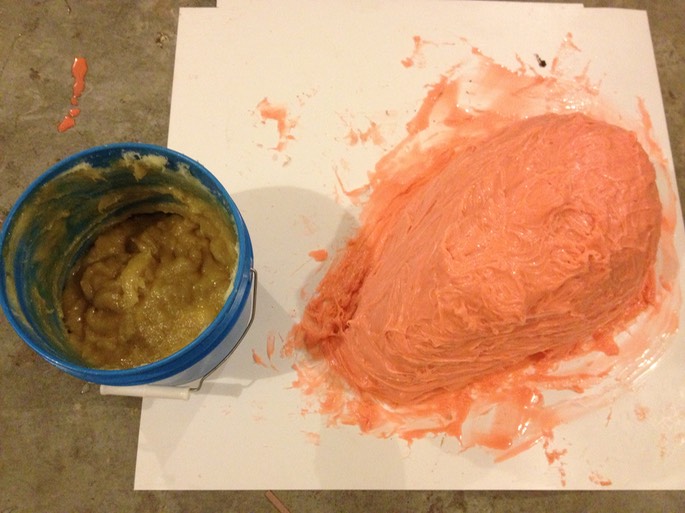
At this point I wanted to do a blank mask with no detailing to give me the flexibility of painting whatever details I wanted later. So, once again, I used Rebound 25 to make another mold, (this time applying 4 layers, and thickening the last two with THI-VEX), followed by PlastiPaste II (the yellow goo inside the bucket).
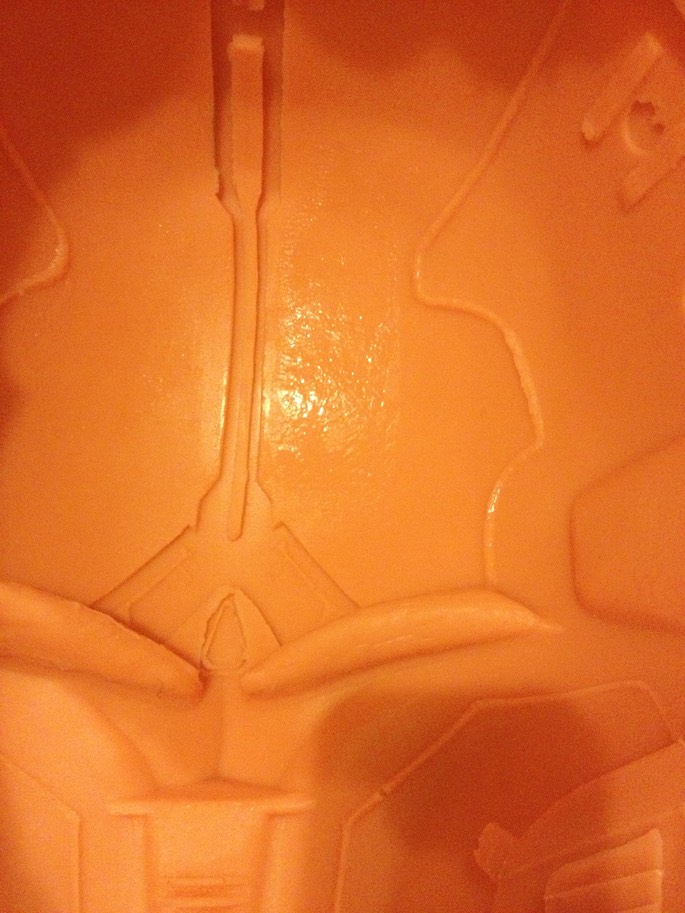
After demolding, I realized all too late that I made one fatal mistake: I used cheap primer, which even after 30 hours (some in direct sunlight, then under a fan in a warm garage) was not properly cured. As a result, Rebound 25 did not properly cure in places, leaving sticky spots all throughout the mold! Disaster!
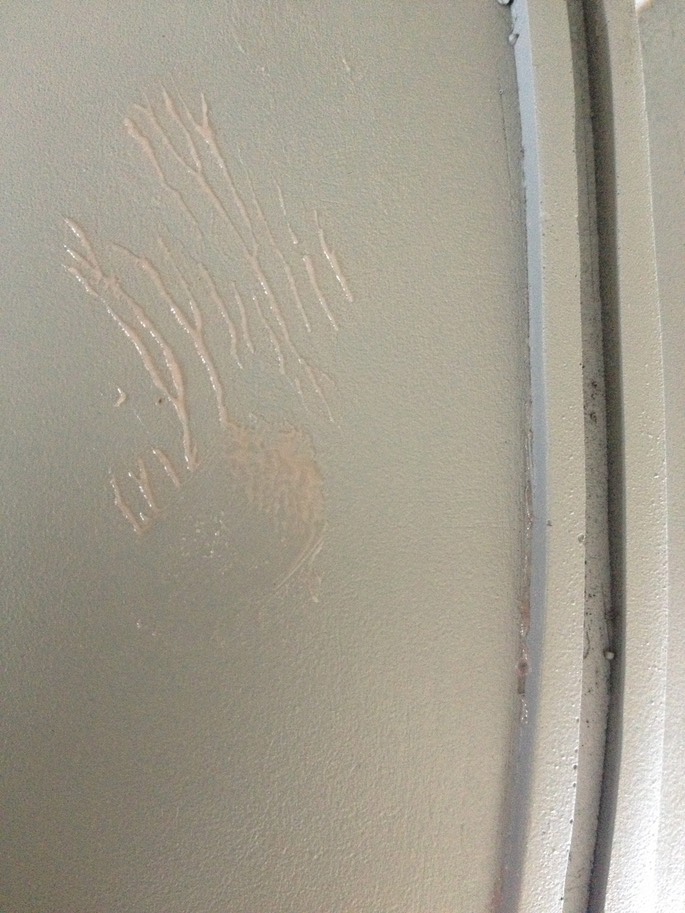
Here you can see some uncured silicone sticking to the master.
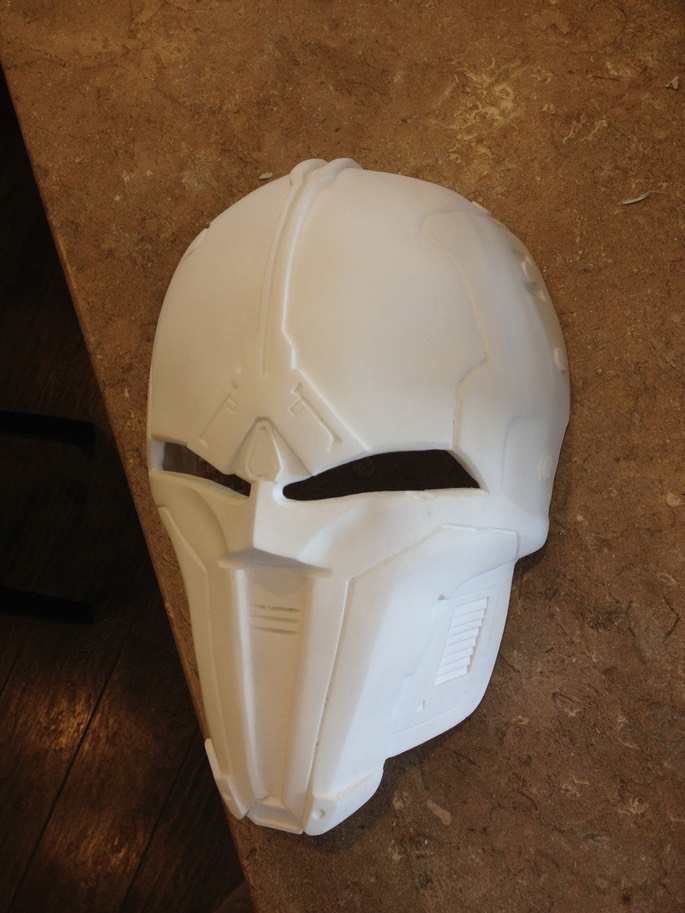
Anyway, not wanting to waste the entire mold (and money), I decided to do a pull again using tinted 65D resin, to see what would happen. I sprayed the inside of the mold with ease release... then sprayed it some more. The pull came out OK, though the sections that contacted the uncured silicone ended up looking pretty wrinkled. I sanded and sanded until i got the wrinkles out, though unfortunately it ended up altering the shape of the mask a bit. In the end though, it ended up looking pretty darn good considering the second silicone mold would also end up in the trash! I trimmed the mask, sanded it down some more, and ended up with this.
After I had this primed, I tried painting the detailing on by hand to see what would happen. Unfortunately, painting it on freehand proved to be a complete disappointment! Without the raised edges defining the paint boundaries, the detailing looked hideous. I did not even think to take any photos of this before using brake cleaner to blast the paint job right off.
I now saw that for this thing to look good, the detailing needed to be tackled separately, using the same method I used for my previous mask versions: vacuum forming a shell, followed by hours of agonizing drawing, measuring, and cutting plastic.
* * * * * * *
- Second Silicone Mold and Cast