
As with almost everything in this build, the hand plate went though a bit of an evolution to arrive at its present configuration seen in the second and final version of the piece. Here is an extensive account on how it came into being.
Version 1
I began by drawing out half the base shape of the hand plate on a folded piece of paper; I cut this out, unfolded the paper, and traced the outline onto a sheet of EVA foam I got from the local hobby shop. Next, I traced half of the raised section that would later contain the claws, and did the same thing.
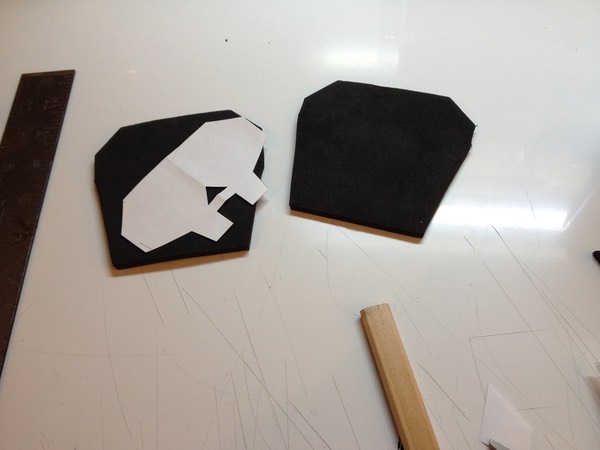
i continued to trace the pieces either on paper, or directly onto the foam, used a utility knife to cut everything out, and glue it all together using superglue. I used a cap from a superglue gel tube for the front of the middle piece...
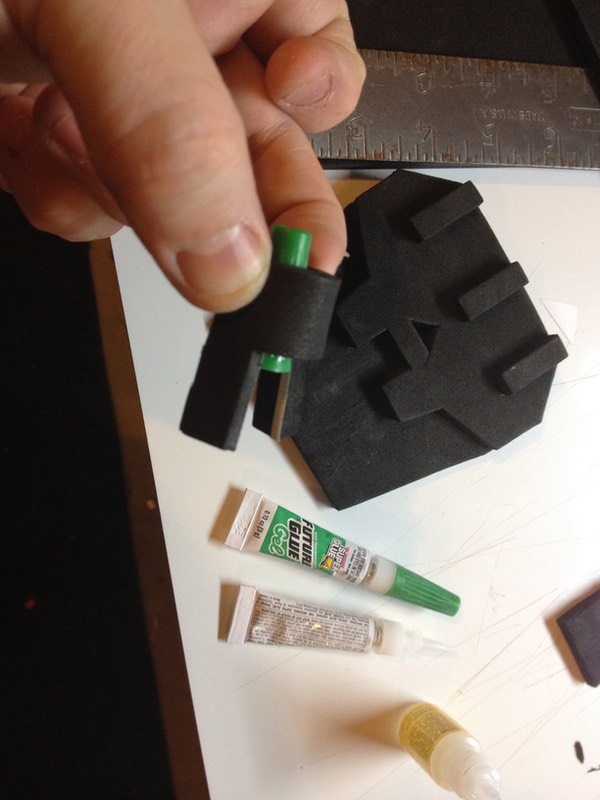
… and another cap for the back piece, covering the section where they join up with a thin (red) piece of Walmart craft foam.
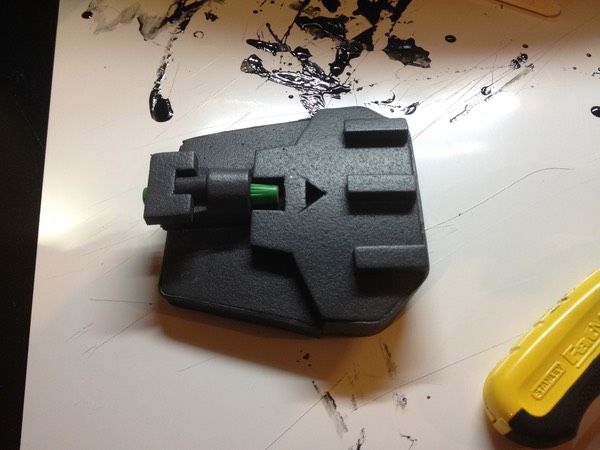
Next, I sprayed the assembly with Plasti Dip rubber coating to seal the pores in the foam, applying several coats half an hour apart.
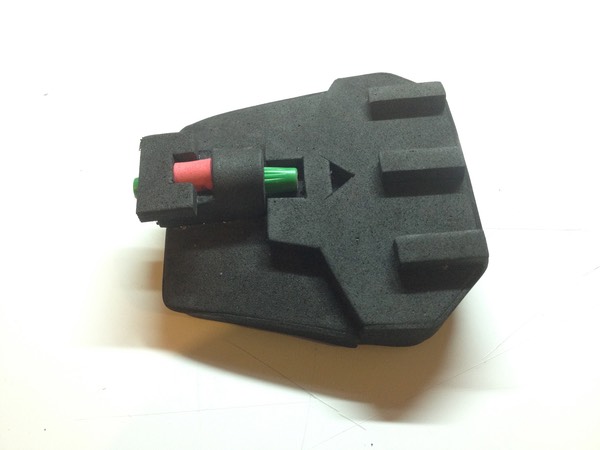
Next I built up the base a bit using more foam, holding it in place with hot glue,
following up with a few more coats of the spray-on rubber.
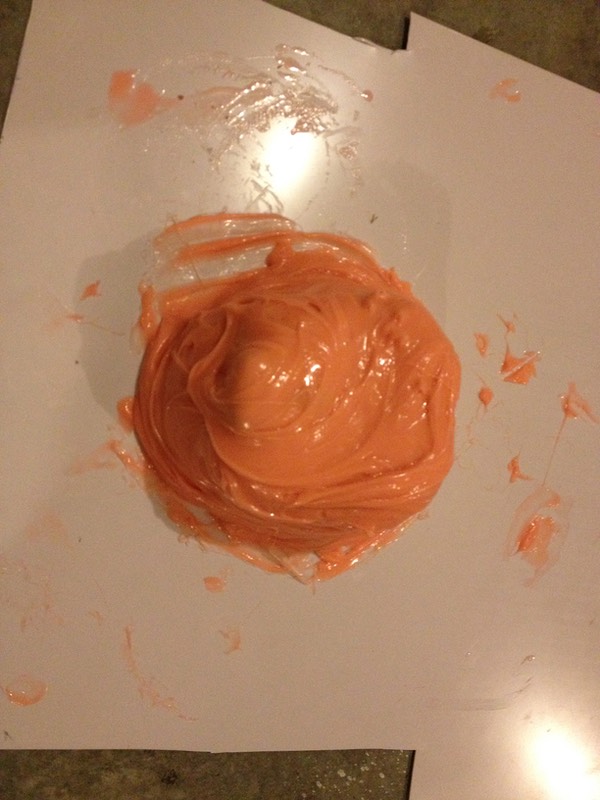
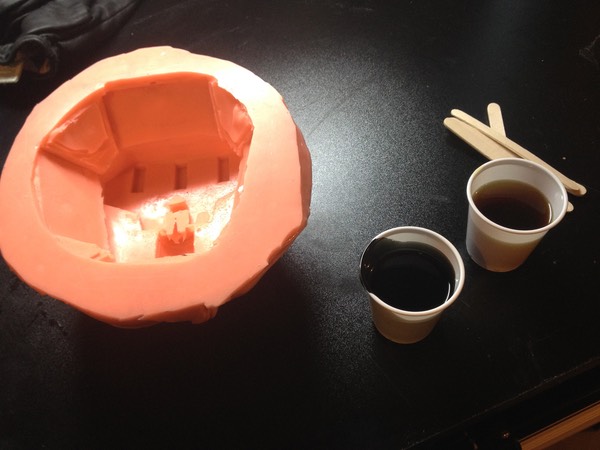
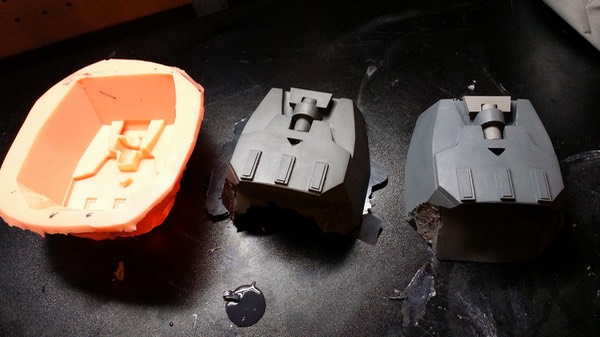
Using methods discussed here and here, I applied some Rebound 25 to create a negative mold of the assembly. I was too impatient to wait for the sealer I got from my supplier to help seal the remanding pores, so I decided to go on and make a throwaway mold of the hand plate, to transfer it to a more workable medium.

Next, I used Smooth Cast FAST ONYX resin (the only thing I had in stock) to fill in the mold, swishing it around with my finger to detach most of the bubbles from the surface of the mold.
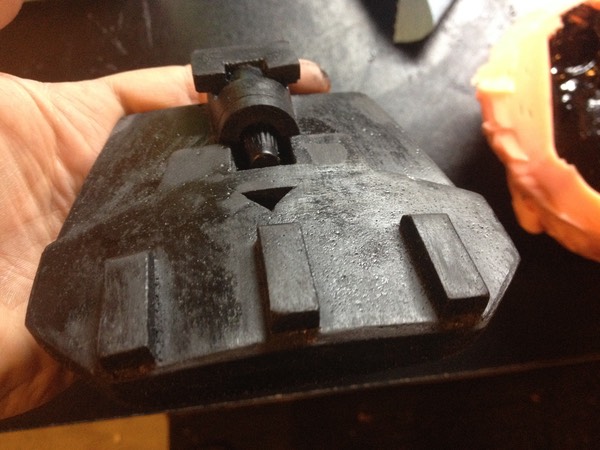
This stuff gets HOT as it is curing! It will burn you, so make sure you work with a little bit at a time, or work fast! After demolding, I got a nearly perfect clone (with the exception of a few bubbles here and there).
Next, I sanded the plate down, and used Bondo to touch up some trouble spots, sanding it down to smooth (near) perfection.
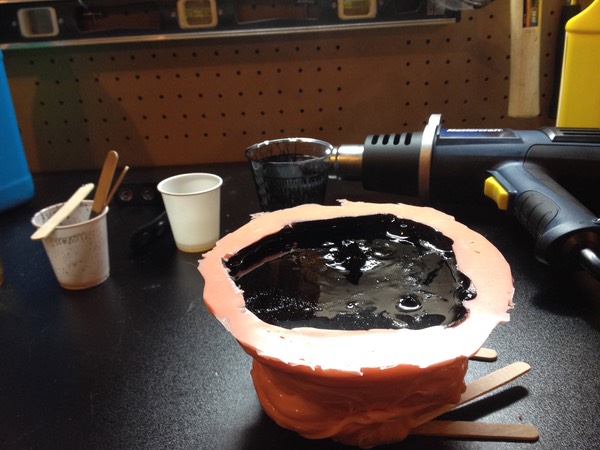
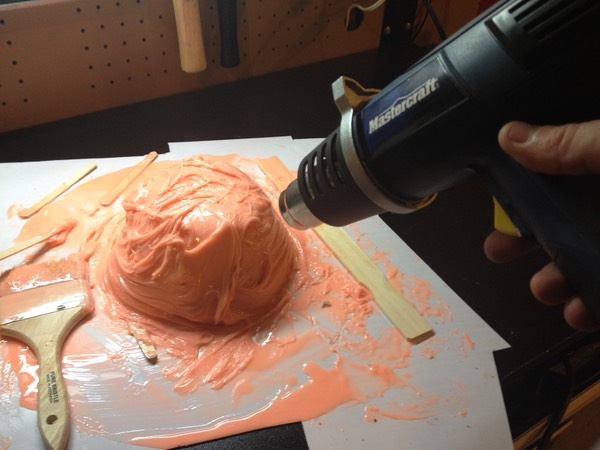
Once I had it sufficiently smooth, I once again used Rebound 25 to create my final mold. A little trick I discovered is that using a heat gun set on the lowest setting, you can speed up the curing process of Rebound 25 significantly This silicone dries and becomes sufficiently "tacky" to apply subsequent coats after about an hour. Using the heat gun method, you can get the silicone to this state in less than 5 minutes.
Once I had the rubber tacky enough, I did another coat thickened with Thi-Vex and let it cure in front of a heater set on low.
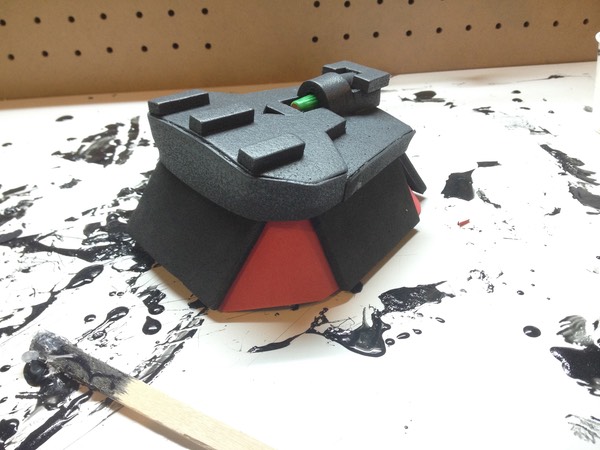
After the mold was done, I cast the hand plate using ONYX.
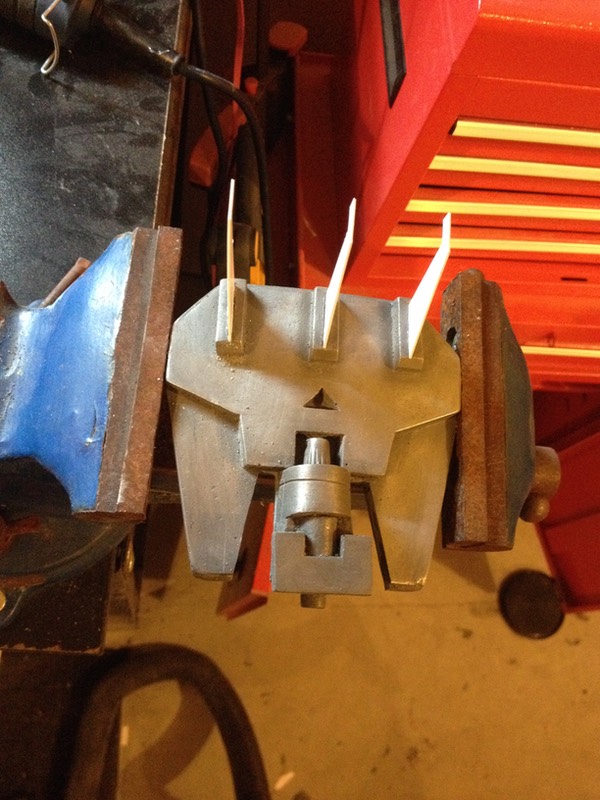
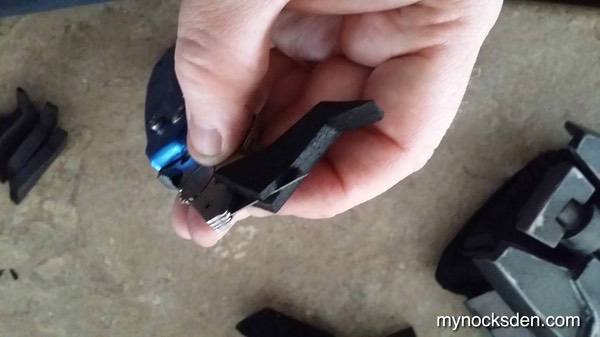
Next, using a multi saw tool, I cut slits into the 3 claw bases, while also cutting out 3 claws from a sheet of .08 ABS plastic.
I inserted the claws into the slits, securing them with superglue gel.
After spraying the whole thing with brake cleaner to get rid of the mold release (the shiny, grime-looking stuff), I was ready to paint and complete the hand plate.
Since the hand plate is L-R symmetrical, I would simply need to cast the plate again to get a matching plate for the other hand.
Several weeks later...
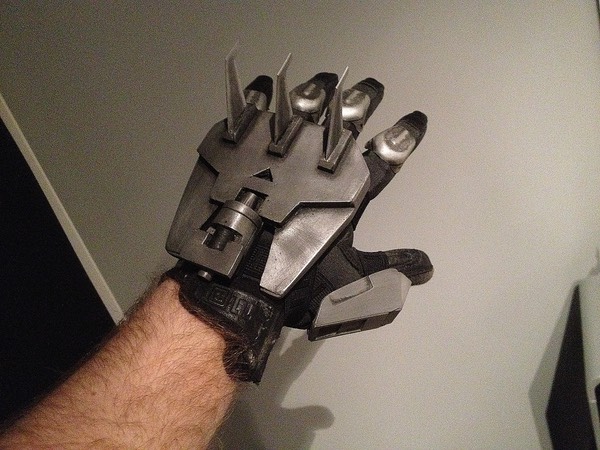
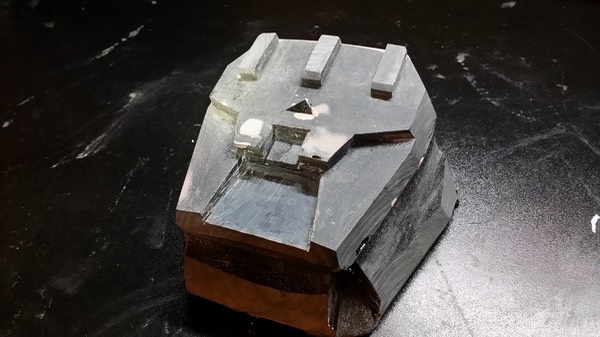
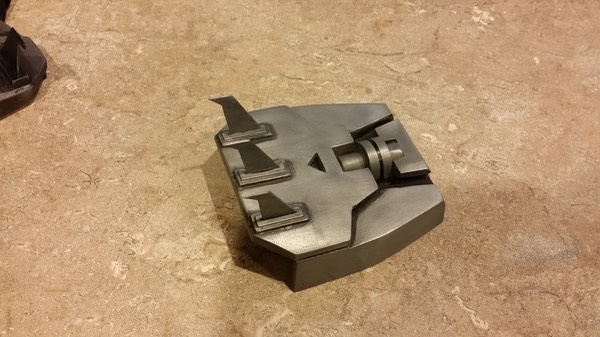
After examining the reference material more closely, I saw that the hand plate isn't a solid, uninterrupted plate. So, I modified my design by cutting two triangular sections out of the plate to make it more accurate. The hand plate below is now cold cast in aluminum, as opposed to being painted silver.
I also used thinner .04 gauge ABS plastic for the claws, changing them to a more accurate shape. Unlike previously, this thin plastic bends quite easily, which would prevent risk of injury or damage. The claws on the previous version were quite deadly.
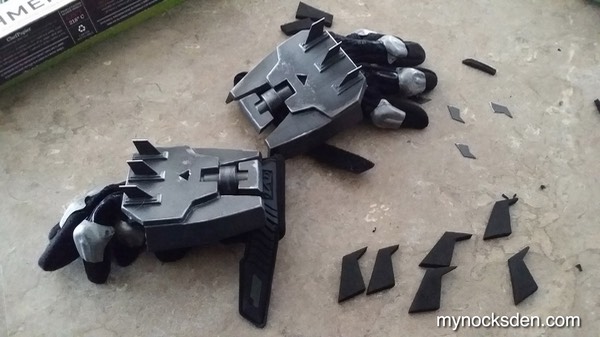
Behold the newly completed Sith Acolyte Hand armour plate in all its glory. The thumb armour diary can be viewed here, and the finger bits here.
One month later… Version 2
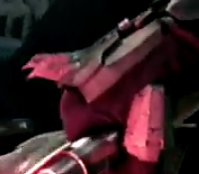
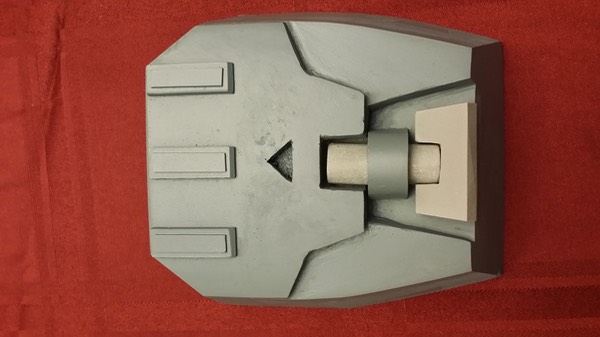
I decided to redo the hand plates yet again to make them even more screen accurate. I wanted to fix the overall shape of the plate, reduce the height of the little cylinder assembly towards the back, and extend the sides to bring it more in line with these photos.
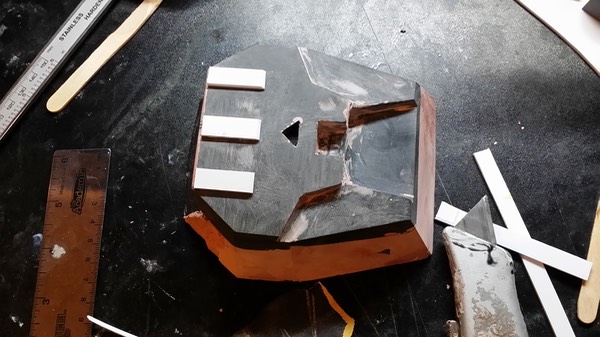
I began by casting a brand new hand plate using the current mold. Next, I cut out the center trapezoid toward the back of the hand plate with a multi saw and smoothing the inner surface with a Dremel grinding wheel bit. I used my belt sander to correct the shape of the hand plate, angling the sides.
Next, I sanded down the three knuckles, and used strips of .08 ABS to make new lower profile ones. I used Bondo to build up the sides and eliminate the undercut, which would allow me to extend the hand plate sides.
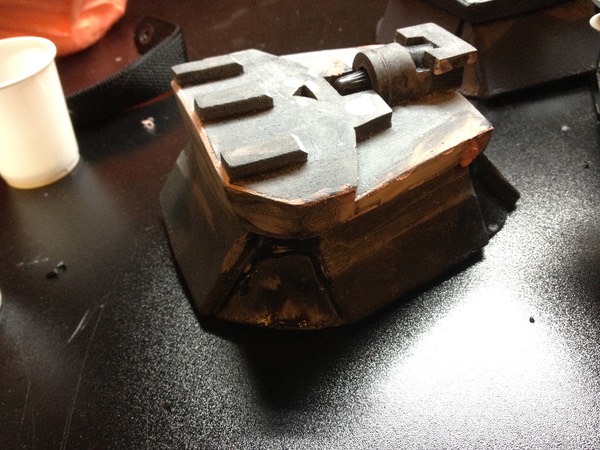
To make the cylinder assembly, I took the metal leg of a solar light (the kind you stick in the ground to illuminate your driveway),
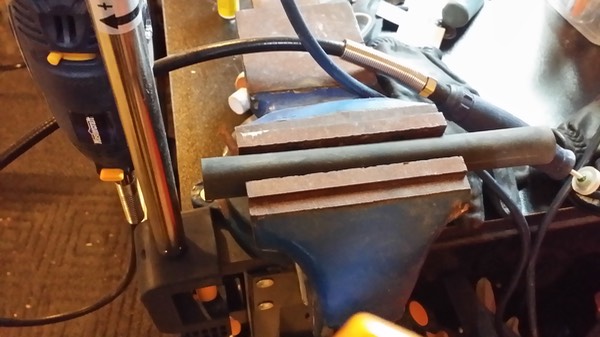
sawed off a little piece, filling it and building up the sides with Bondo.

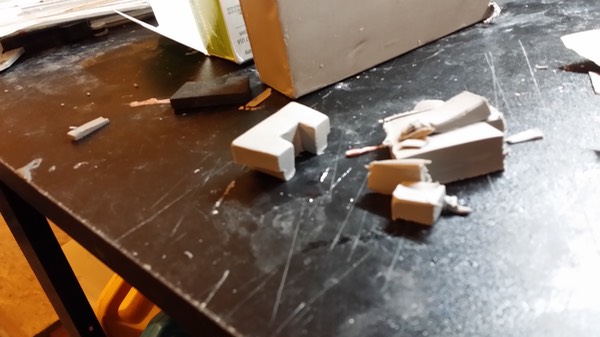
I cut out the rest of the shapes from Super Firm Sculpey, and cured them with a heat gun.
After some more sanding, Bondo, adding another layer of ABS to the knuckles, priming, and gluing in the cylinder assembly, the plate was ready for casting.
(NOTE: Sculpey cannot be primed or painted using conventional spray products. The propellant reacts with Sculpey, making the surface permanently sticky and mushy; I learned this the hard way when working on my Sith Acolyte V4 mask. Hence, the gluing of the Sculpey pieces last.)
Using Rebound 25 silicone, I cold cast the hand plate in Onyx resin and aluminum powder.
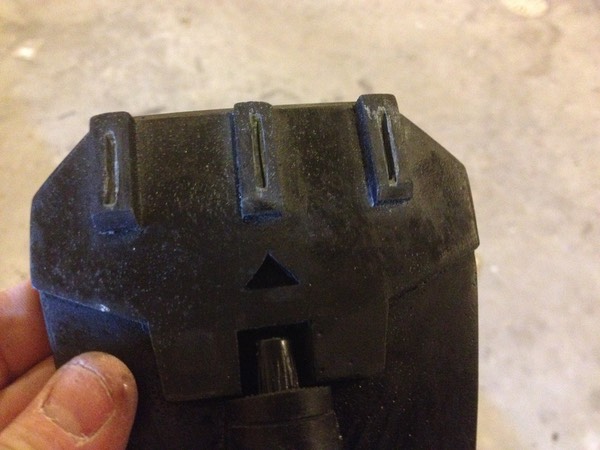
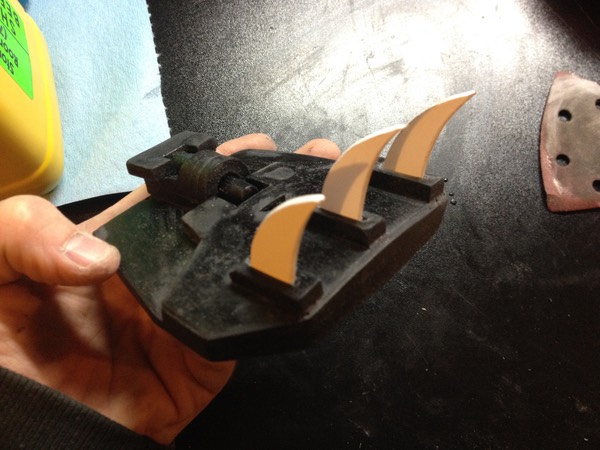
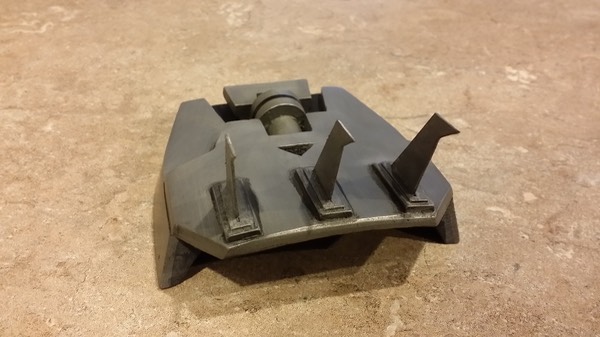
Next, I trimmed the plate, cut three slits into the knuckles, polished it up with steel wool, cut out the claws out of a piece of .04 gauge ABS, and glued them in place using Super glue gel.
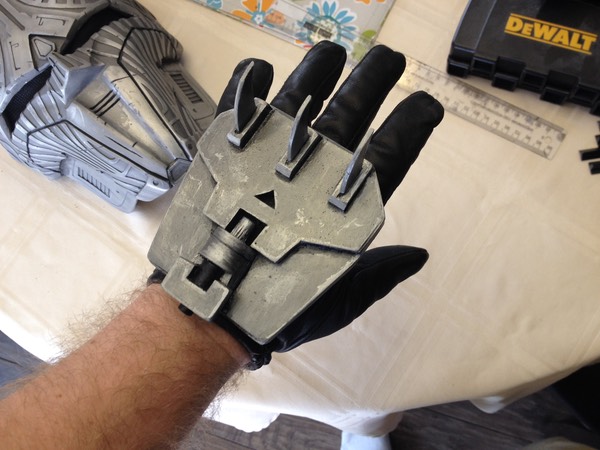
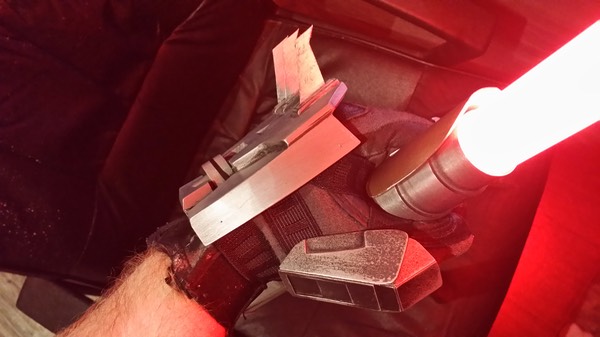
After painting the claws in Testors Aluminum, and gluing in the straps, the final version of the hand plate was finally completed.
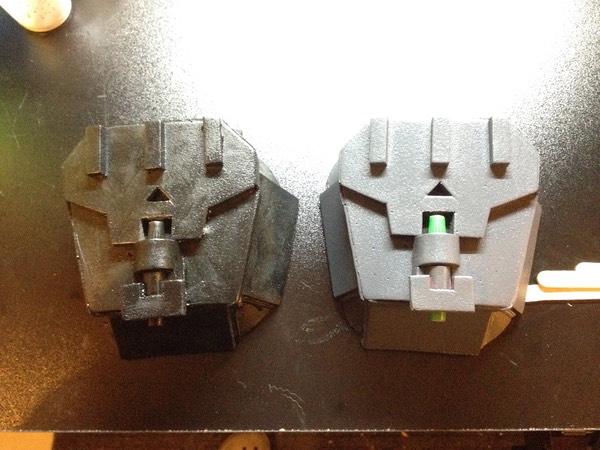
Here is a photo showing the difference between the old plate (right) and the new (left).

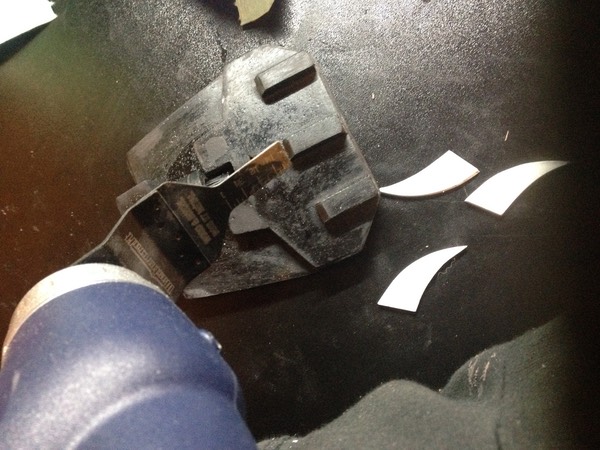
As I was preparing for Star Wars Celebration in Anaheim in April of 2015, I decided to soften the claws a little bit for safety reasons; I didn’t want to rip clothing, or take someone’s eye out. So I cut the claws half way, cut out new claws from some craft foam...
… made an incision at the bottom of each...
… dabbed some superglue onto the claw stumps on the hand plate, slid the new claws on, and viola! Convention-safe, deadly Acolyte claws!

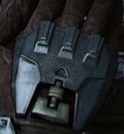
Those with keen eyes will notice that the Sith Acolyte armour in both trailers “Hope” and “Deceived” are nearly identical. To distinguish between the two, Blur Studio made slight alterations to some of the 3D models, and changed the colour scheme. The base hand plates for both characters are the same, with the only difference being the presence of claws on the Sith Acolyte version. For this reason, I can use my hand plates for the Sith Acolyte costume or the SWTOR Jedi Armour costume should I decide to do that next!
Thanks for looking!
* * * * * * *
Back to Sith Acolyte Hand Armour