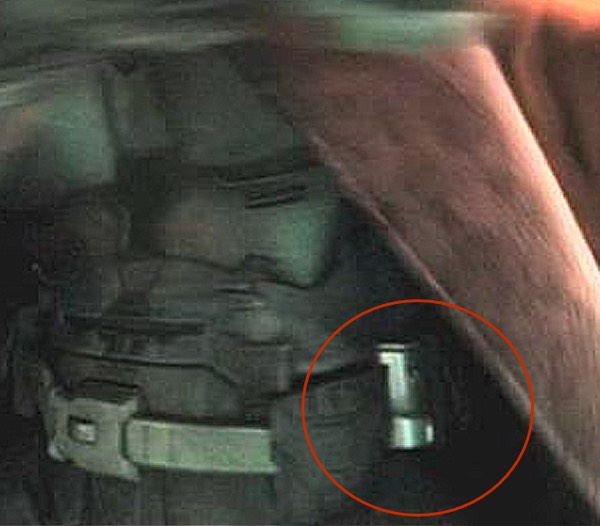
In some of the reference photos, you can clearly make out something that resembles a can of OC ("pepper") spray… Because..., you know, should conditions not be met for the use of deadly lightsaber or force-choke force, the Acolyte could always pepper spray the enemy….
Whatever. It's in the reference material, so I have to make it.
Version 1
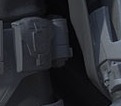
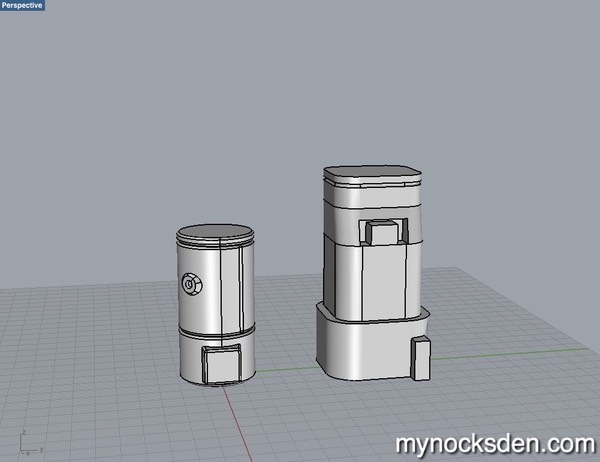
I built my model using CAD, which took almost no time due to its simplistic design.
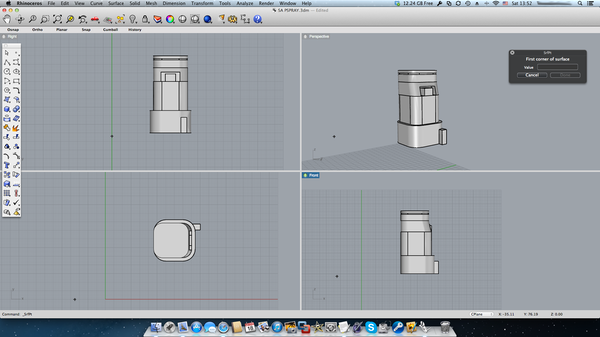
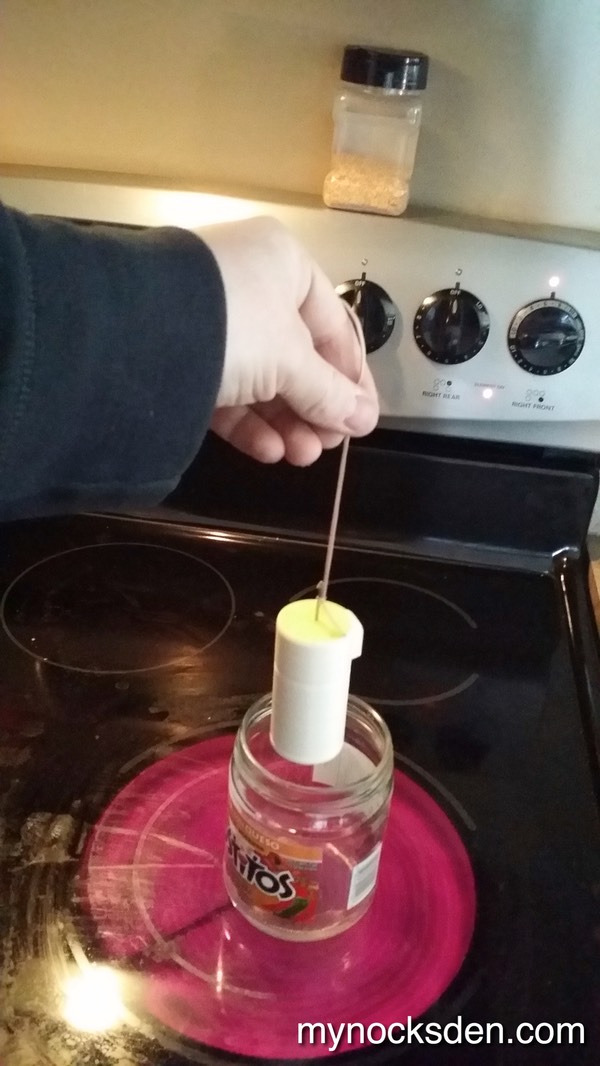
Once the model was completed, I sized it to be about 9.5cm tall, and sent it to my 3D printer.
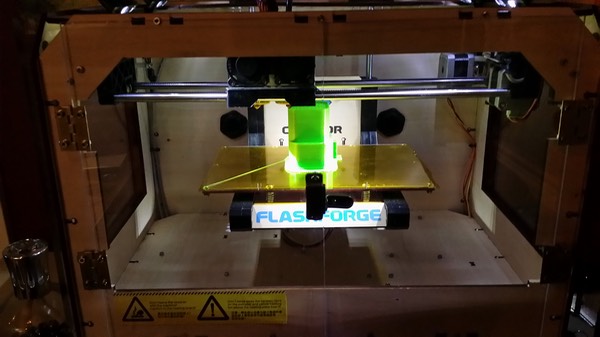
5 hours and 57 minutes later, my FF Creator gave a triumphant beep…. of… triumph…, signalling the end of the build.
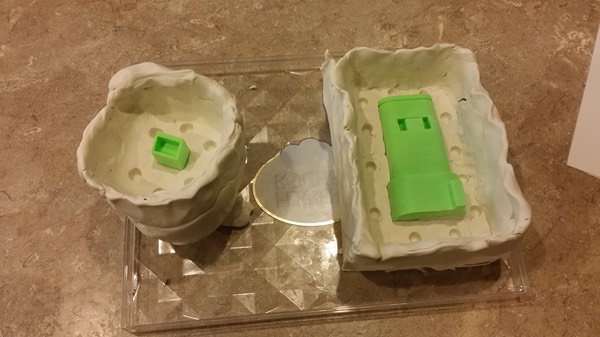
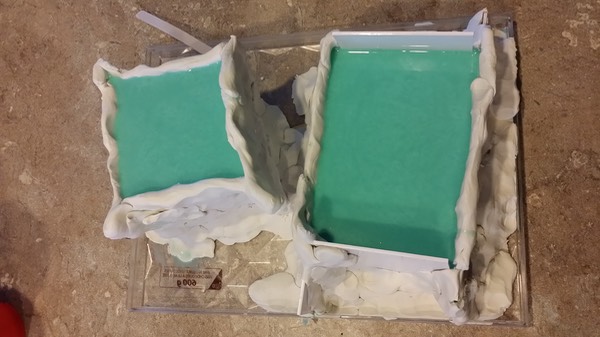
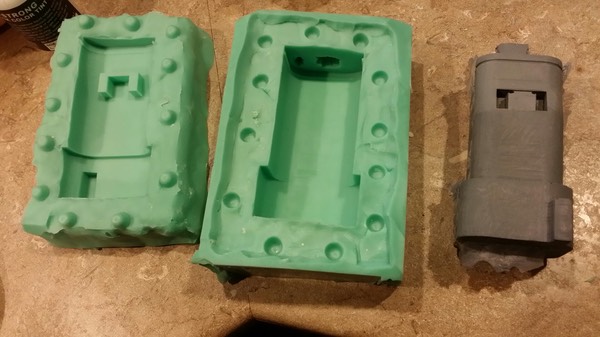
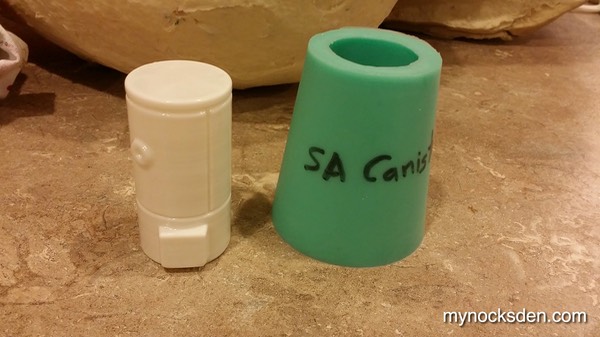
I sanded the canister smooth (I make all my prints have an outer wall 4 layers thick to make sanding easier), and began preparing for silicone molding. Instead of building a box, I decided to simply use plasticine to build the walls. (In the next photo, the canister is on the right, and the gauntlet rocket is on the left) .
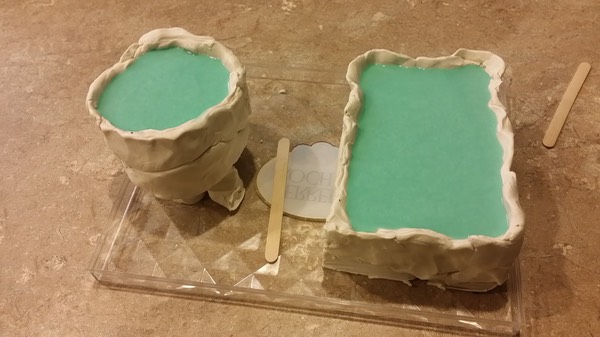
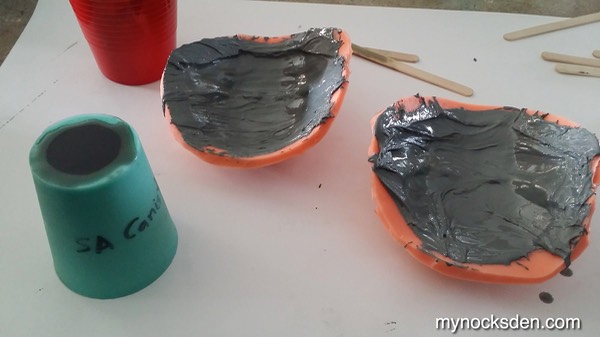
I sprayed everything with Mold release, and poured my Mold Star 15 silicone.
After about 5 hours, I removed the plasticine, flipped the mold over, built up the walls again sprayed a good layer of mold release to make sure the new silicone half would not bond with the old, and poured the second half of the mold.
Once this cured, I removed the plasticine, separated the two halves, and viola: perfect mold.
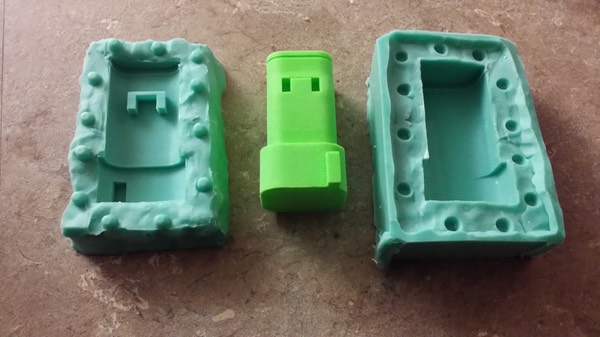
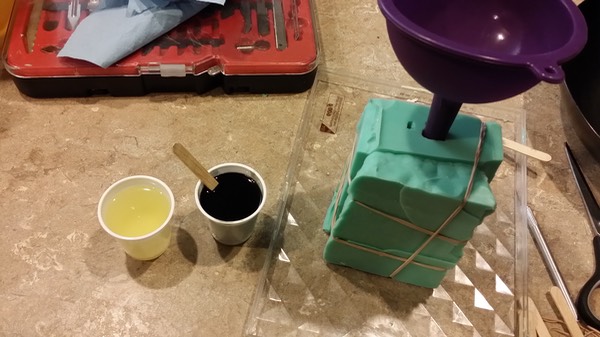
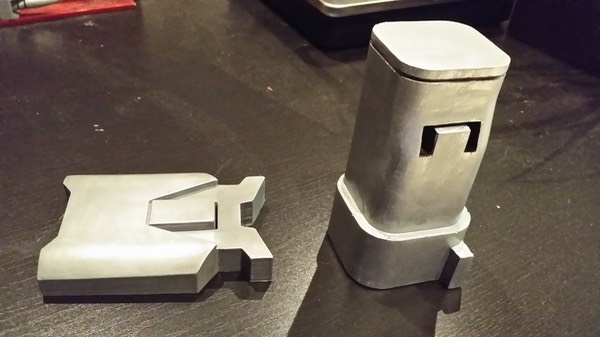
Because the mold is fairly small and thick, it was rigid enough to not have to create an outer shell. I cut a pour hole at the top of one half, then cut a second hole to allow for displacement of air, joined the two halves together and secured them in place using rubber bands. Using a funnel, I carefully poured 65D resin that I coloured with black So-Strong pigment.
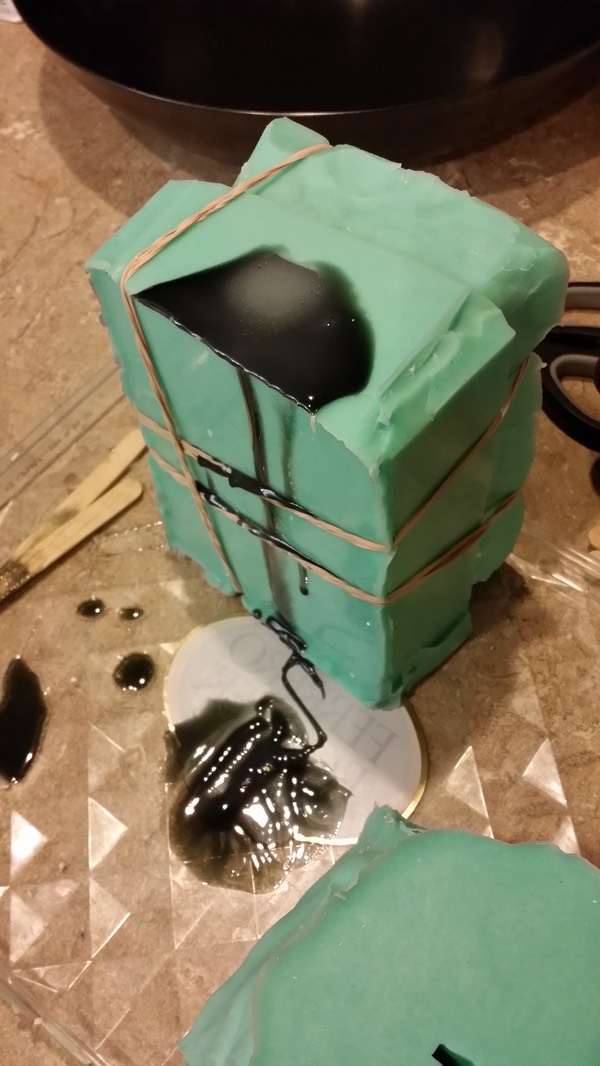
The cast came out with a few bubbles in it, but nothing that couldn't be fixed using Bondo.
After sanding, fixing trouble spots with Bondo, and finally painting, I completed the Sith Acolyte "OC" canister.
Version 2
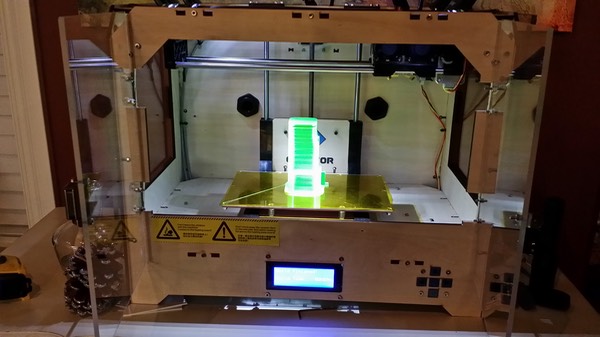
After several months, I decided to go back and redo this piece since clearer reference material showed that my take on the canister was not accurate. So, I remodelled it to make it bang on.
In a few hours I had this printed…
… acetone vapour smoothed…,
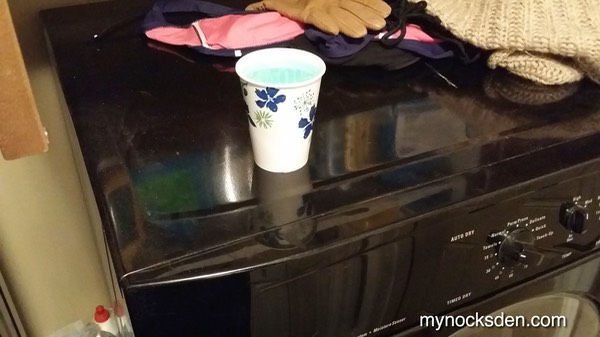
...and ready for molding. I took the canister, superglued it to the inside of a paper cup (I had to scratch up the wax-coated bottom of the cup for the superglue to take), and mixed up some MoldStar 15 silicone. After degassing this in my vacuum chamber, I poured in the silicone into the cup containing the 3D printed part, and put the whole thing on top of a dryer to drive out any bubbles that may have gotten trapped during the pouring process.
After about 4 hours, the canister was demolded to reveal a perfect print coat.
Next, using Smooth Cast 65D pigmented black, I cast the canister.
The cast came out perfect, and virtually indistinguishable from the original 3D printed part.
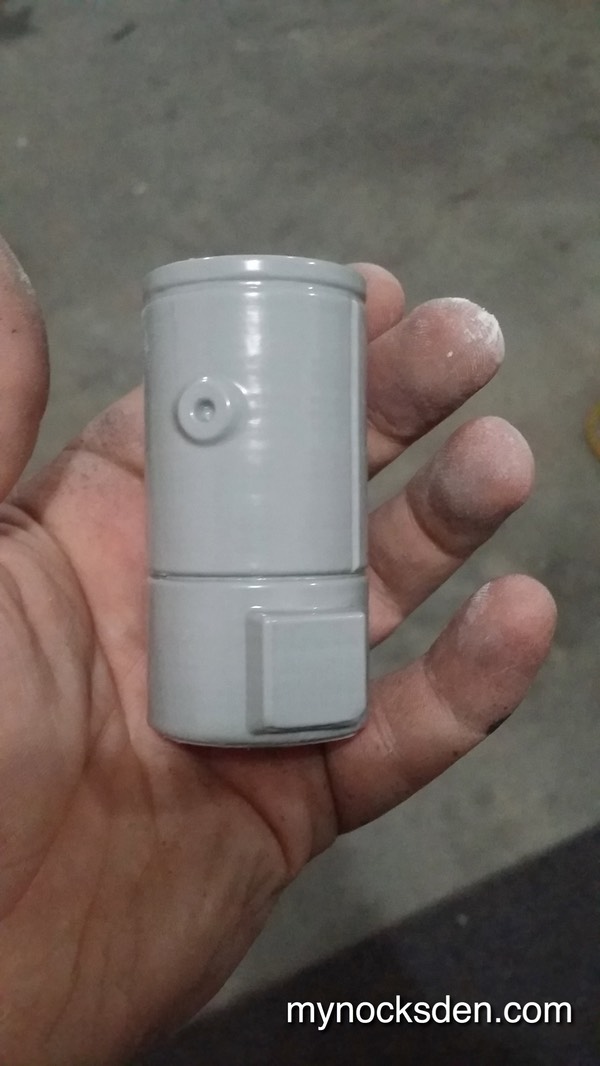
After sanding the edges of the flat bottom surface (which was the top of the pour hole in the mold), I painted and weathered the canister using the same colours as the rest of the armour, which completed this piece.

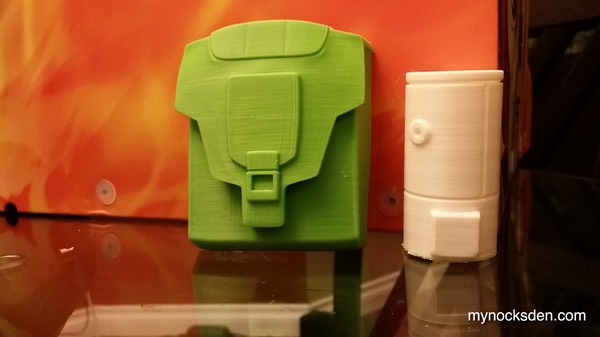
To attach the canister to the COD plate…
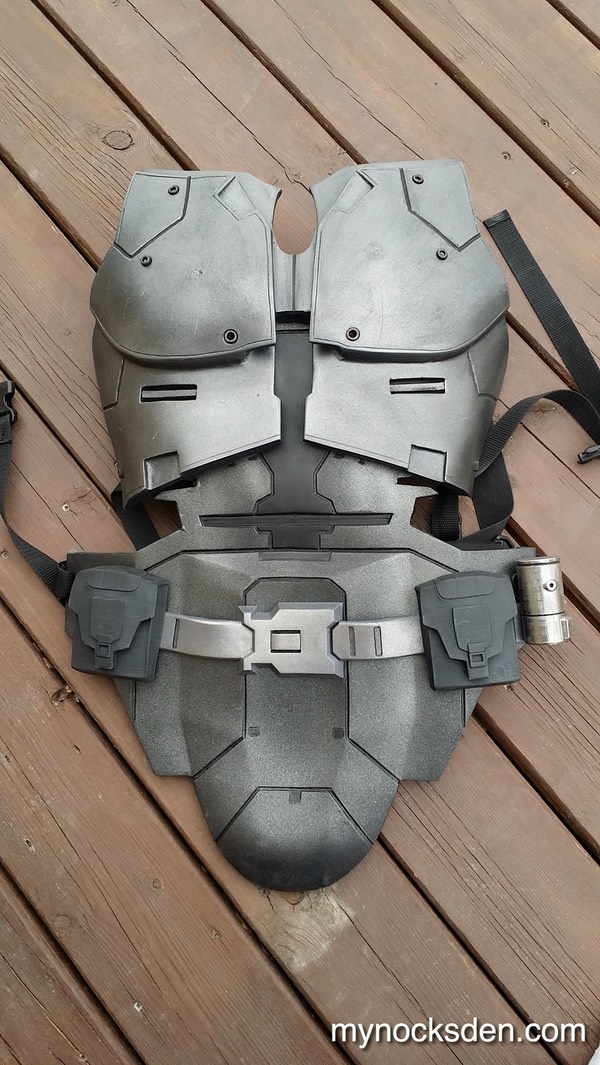
… I used a long wood screw with a washer, and drove it through the COD plate and rubber belt face right into the canister. And that completed the work on this piece!
Thanks for looking!
* * * * * * *