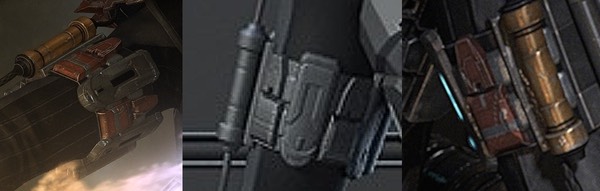
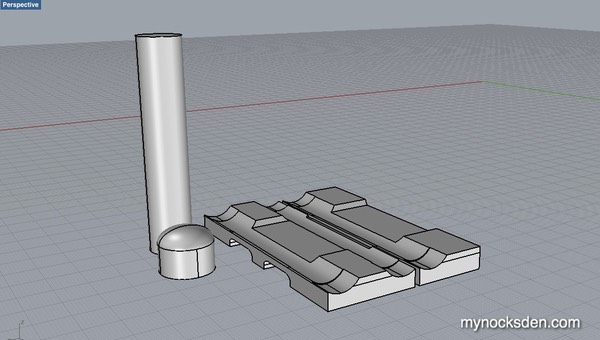
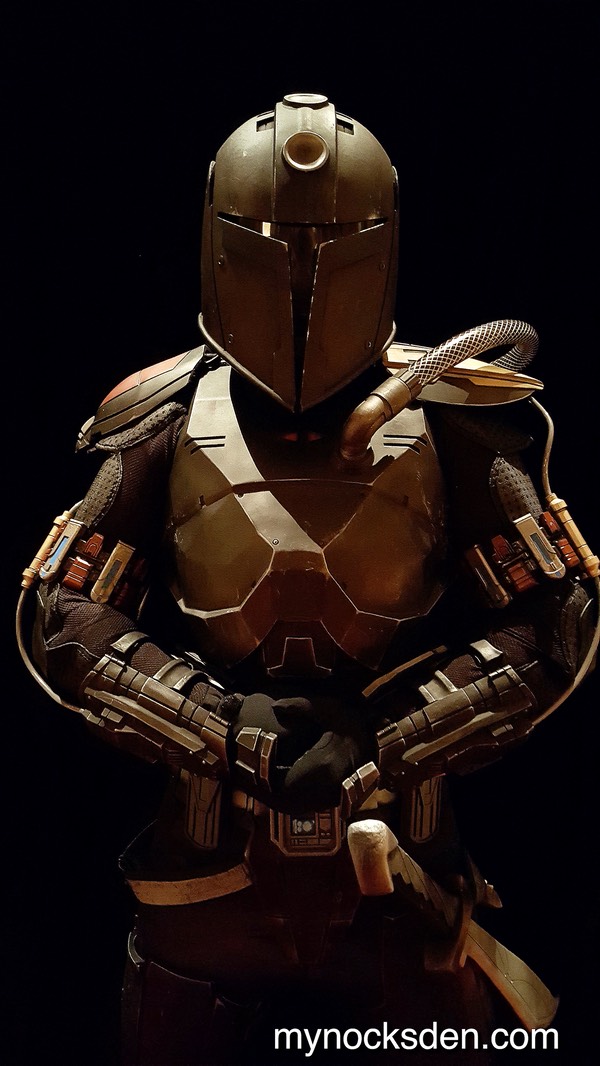
Like most pieces in this build, I began modelling the bicep assembly in Rhino by visually referencing the SWTOR Shae Vizla trailer footage.

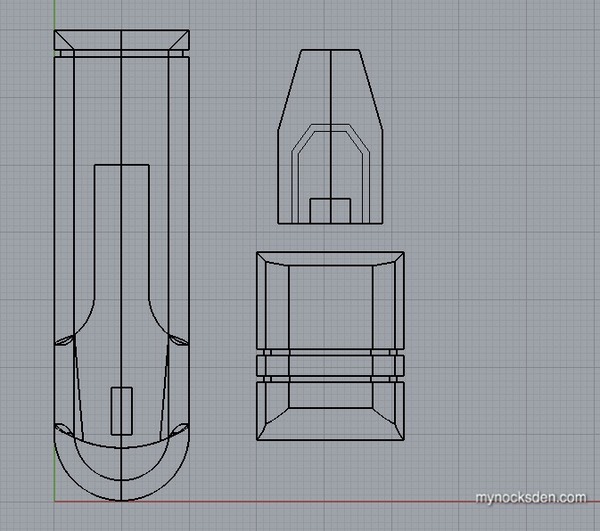
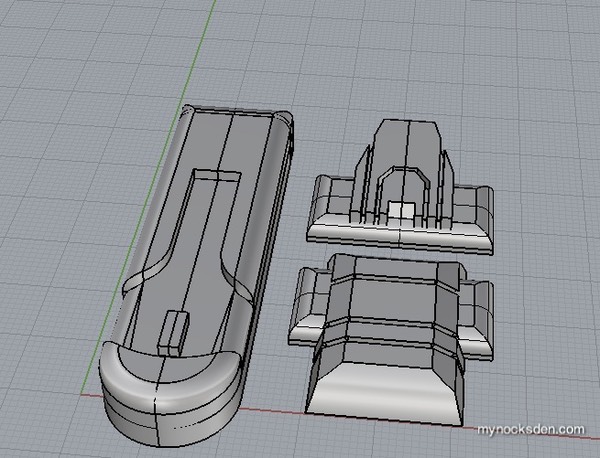
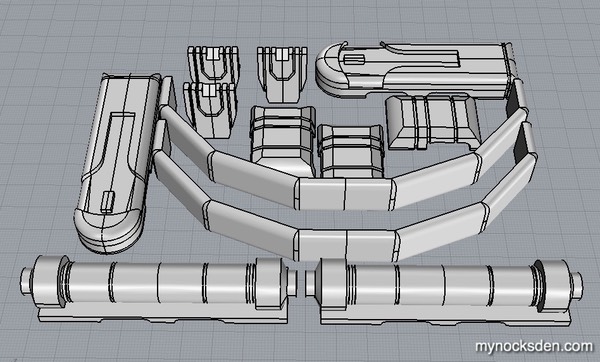
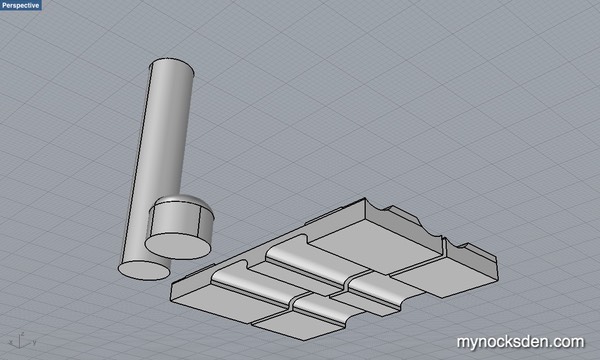
At first, I thought of modelling and 3D printing the entire assembly, like this:

But, I realized that with so much detail, it would be a nightmare to clean up the pieces and prep them for molding. So, I decided to 3D print the main pieces alone, and leave the angling backplate for a later step.
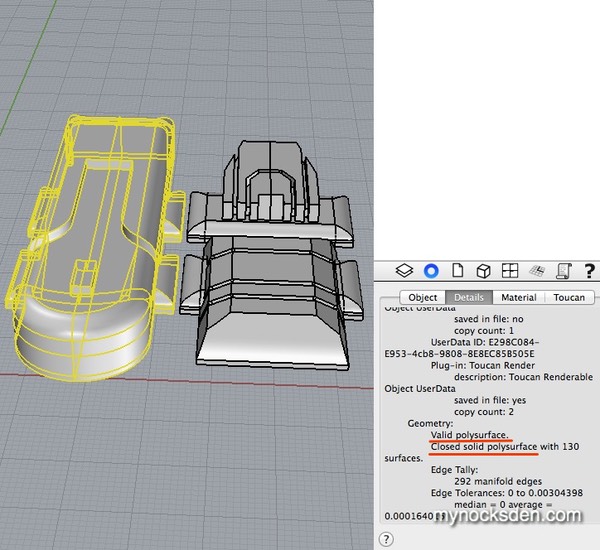
One of the most important things in 3D printing is having a 100% watertight model; that is, all surfaces must be closed, without any gaps or exposed edges showing. Failing to properly close the model can result in ruined prints and loss of detail.
Before exporting an STL file, I usually check the selected object details to make sure the model is watertight; if Rhino says “valid polysurface” AND “close solid polysurface”, the model is ready to be prototyped (see next photo).
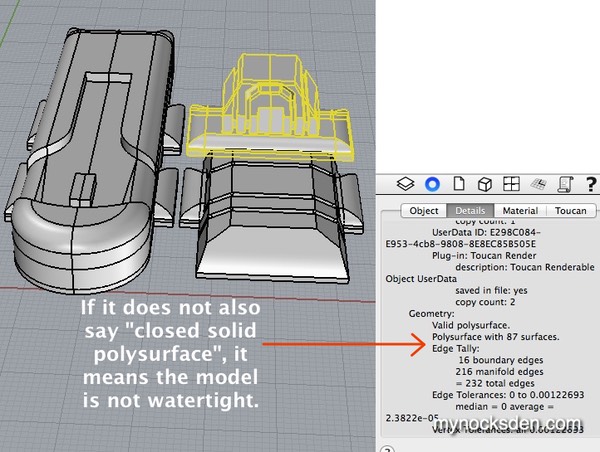
If “closed solid polysurface” is missing from the Geometry details section, this means the model contains geometric issues that need to be addressed.
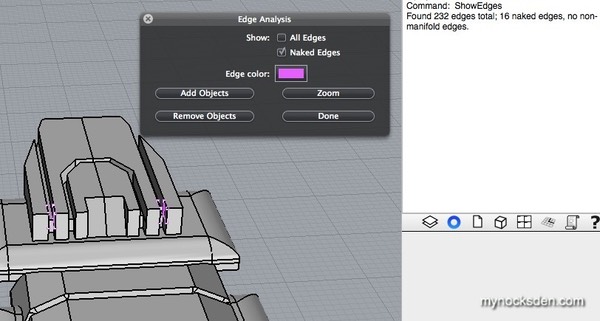
A simple command revealed that there were naked edges in the above object, which resulted from a few overlapping surfaces (outlined in purple).
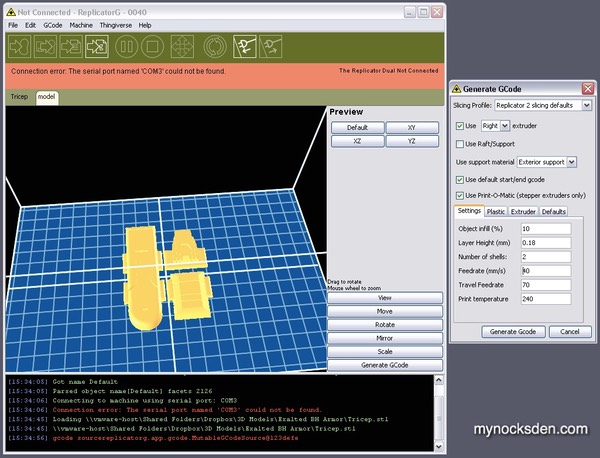
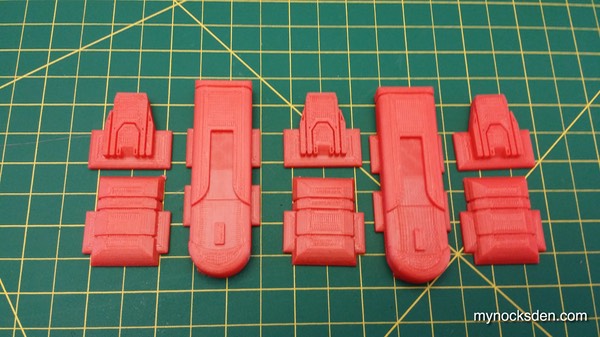
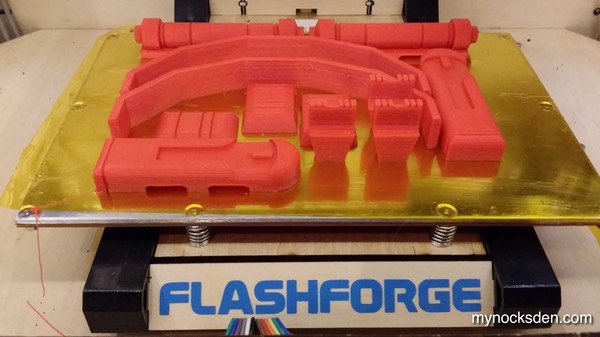
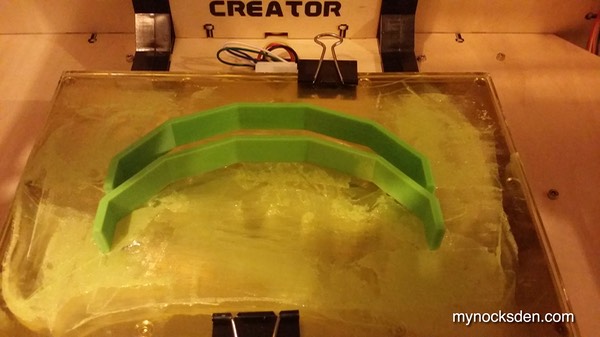
Fixing the naked edge problem took only a few moments, after which I went back to the reference material to objects are very small (the longest one being only 8cm), I decided to print without a raft, using only ABS sludge to promote adhesion to the build plate.
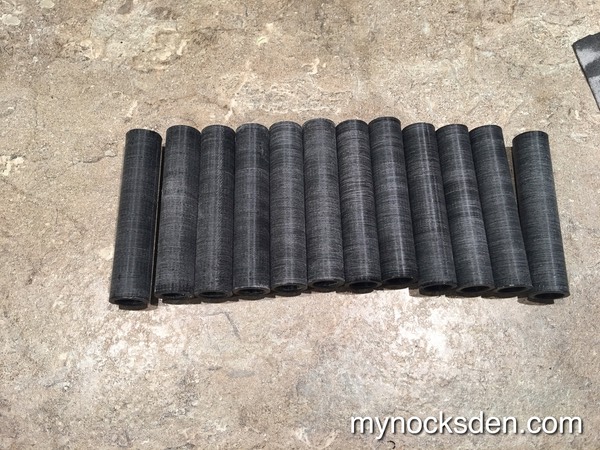
1 hour and 36 minutes later, the pieces were printed.

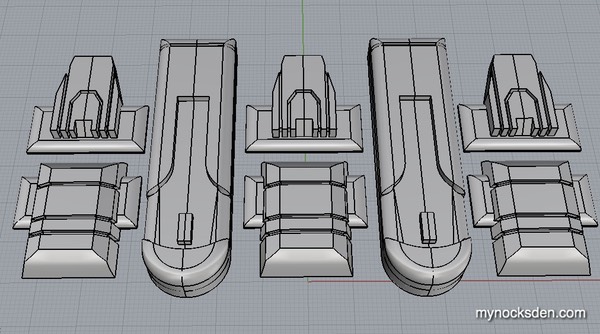
I repeated the process twice more to have enough pieces for a full bicep assembly.
Once the parts were printed, I decided to try out a new method of smoothing out 3D printed parts I’ve recently read about, a process called Acetone vapour treatment, which if successful, would eliminate the headache of needing to use Bondo spot putty.
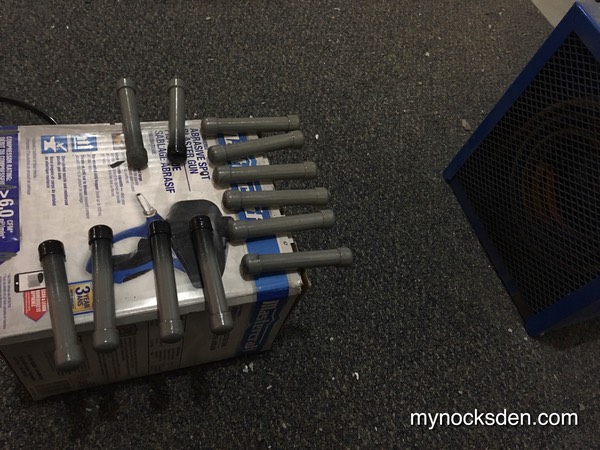
So, I got an old paint can and some magnets…
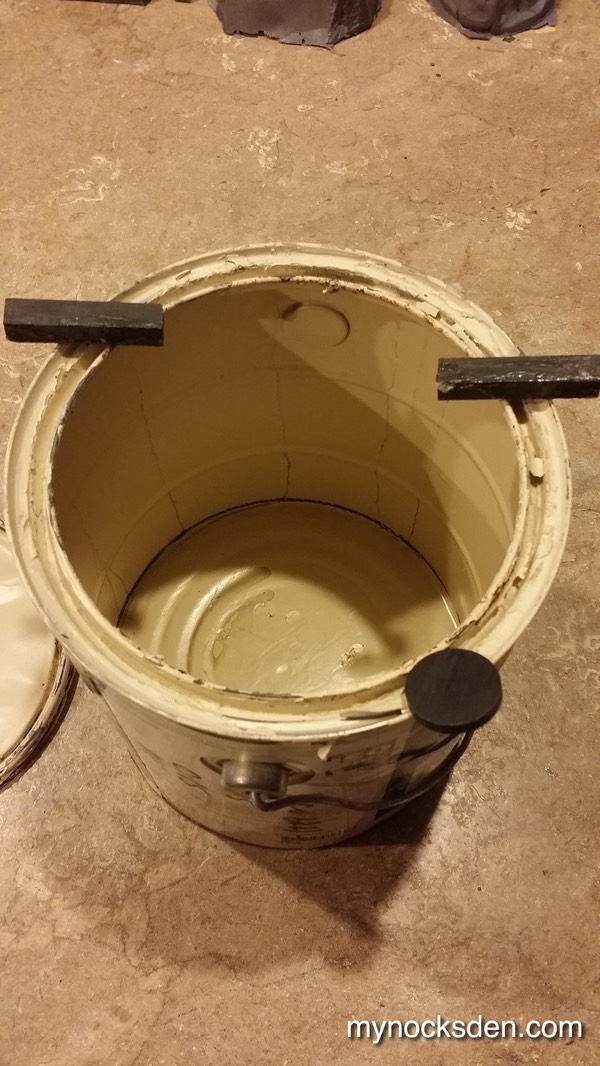
… lined the inside of the can with paper towel, and used the magnets to hold them in place, and poured in a few ounces of Acetone (available at your local body shop for thinning body filler resins). If you try to do this at home, it’s very important you do it outside, or in a well-ventilated area while wearing a respirator.
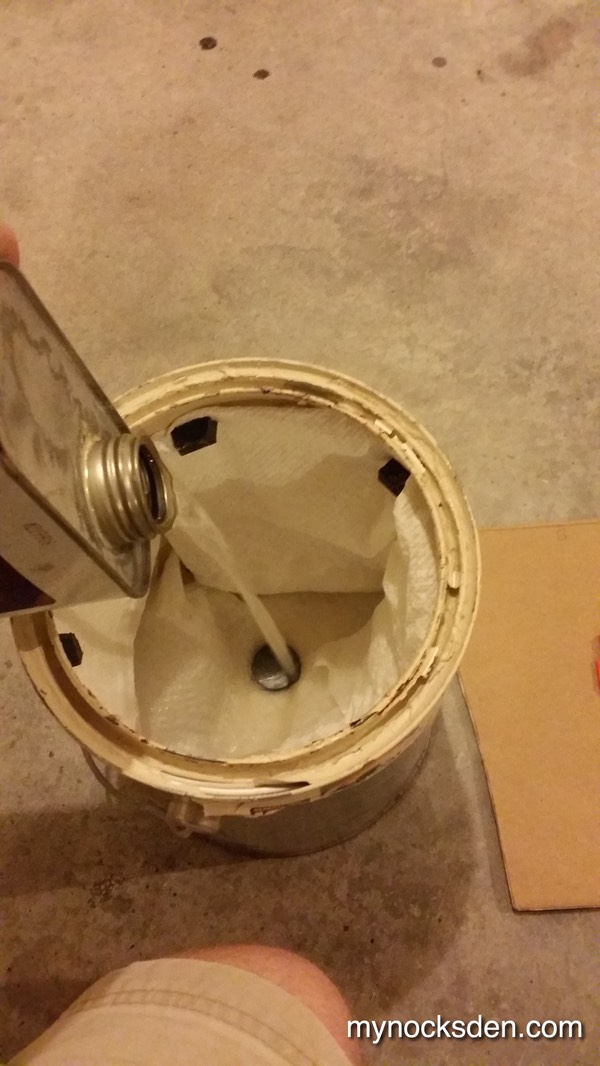
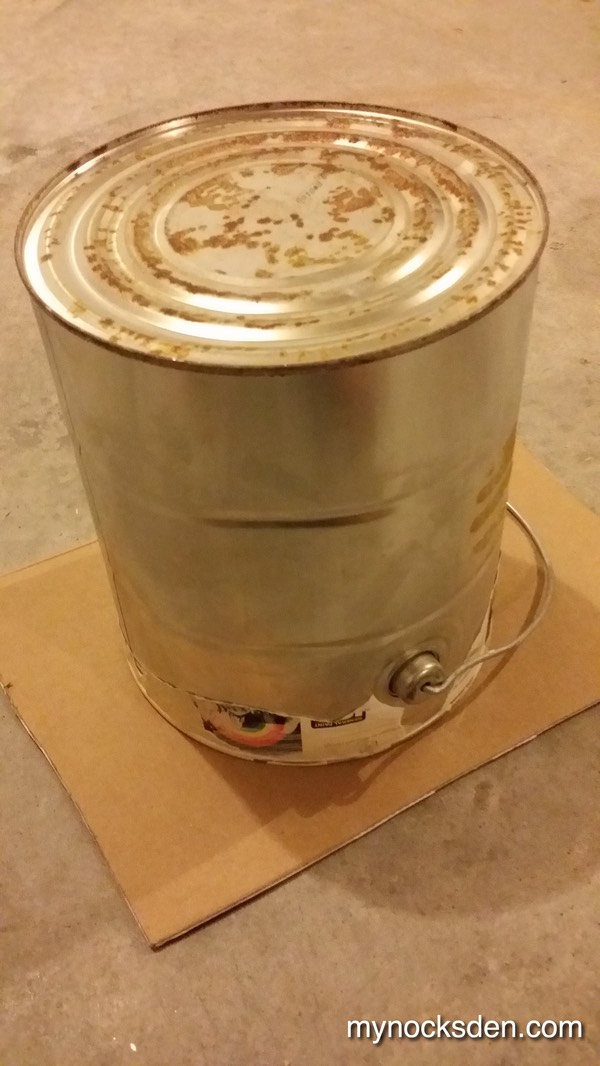
I swirled the Acetone around in the can making sure the paper towel was completely soaked, inverted the can and placed it on the ground to let any excess acetone drip out. (It’s important that all excess acetone drains out, because liquid acetone will actually melt the part upon contact).
I then put the can over the plastic parts, and let them soak in the acetone vapours for about an hour.

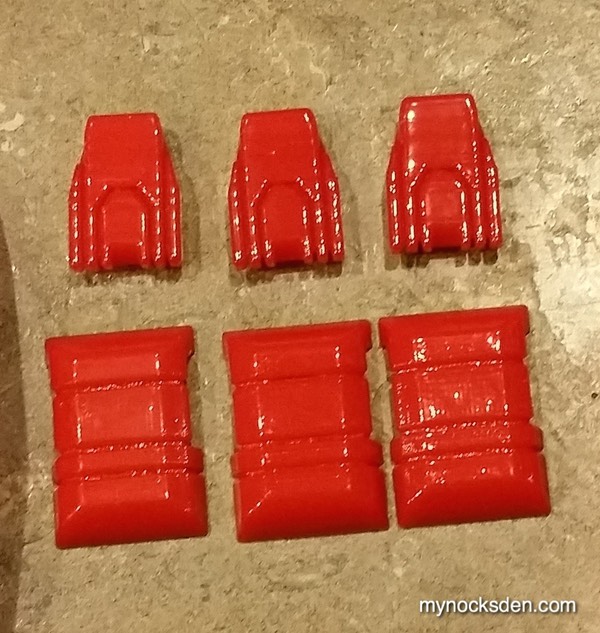
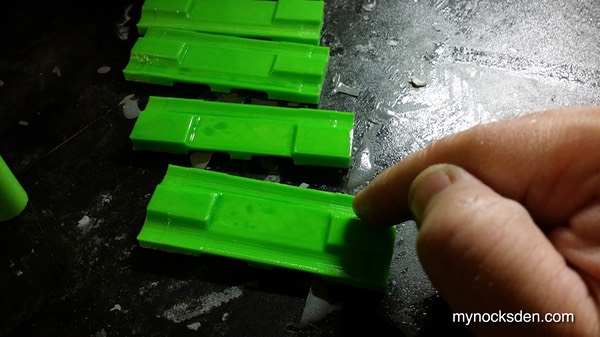
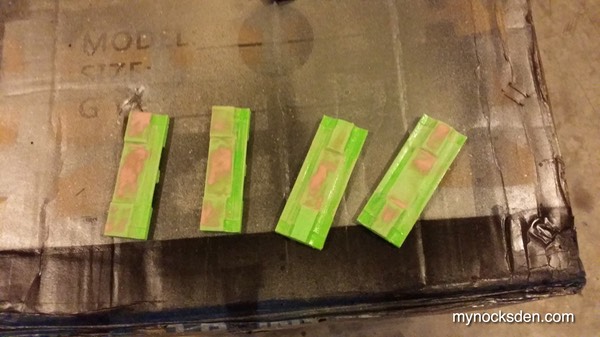
Removing the can revealed some smooth, shiny 3D printed parts! At this point, it’s important not to touch the parts; the plastic is quite soft, being saturated with acetone, and will wrinkle and capture your fingerprints quite nicely.
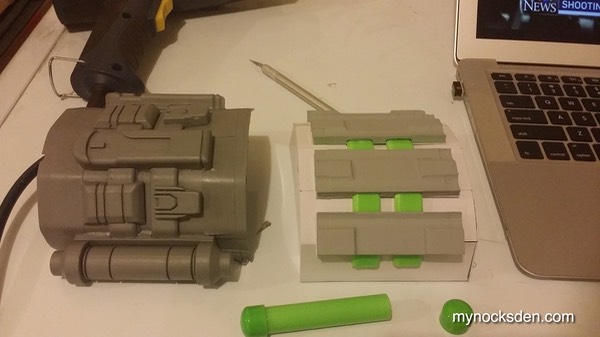
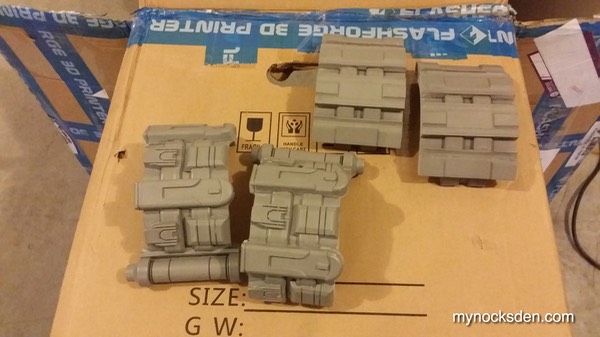
After reviewing the reference material some more, I realized that it was probably a good idea to CAD model some of the background parts as well (as opposed to doing them out of ABS by hand later, as was initially the plan). This required me to alter the models of the above parts, which also meant they would need to be reprinted. A few hours later, I had all parts modelled, and ready for printing.
Printing all the parts (8 hours and 23 minutes)...
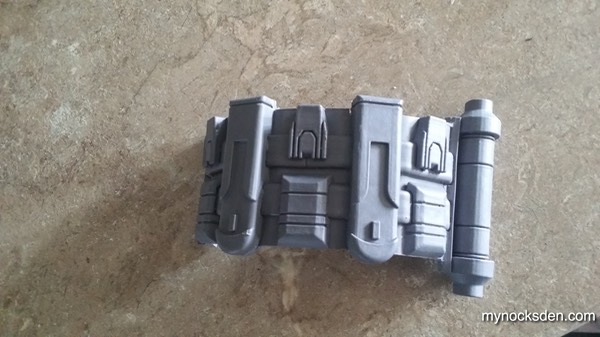
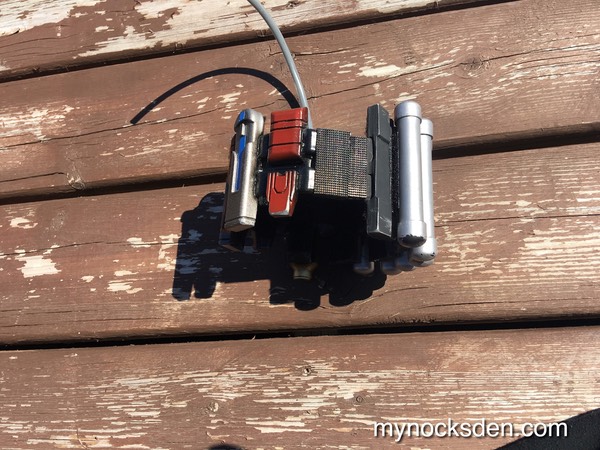
...and using the acetone vapour method to smooth them out, I snapped the pieces together to see that the fit was good.

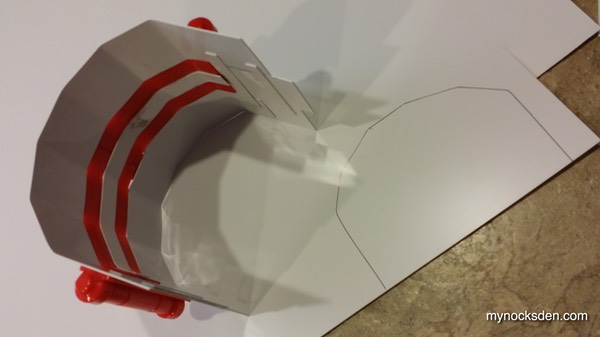
Next, I used some ABS plastic to build the base plate layer.
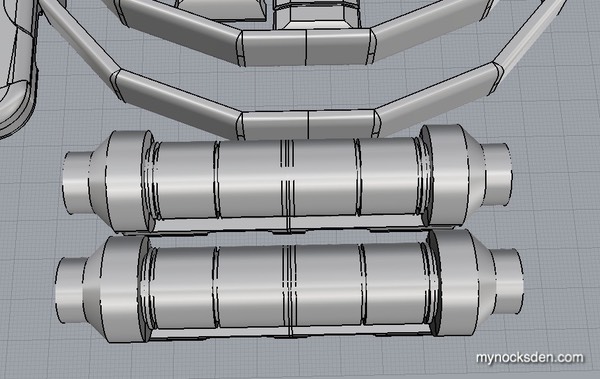
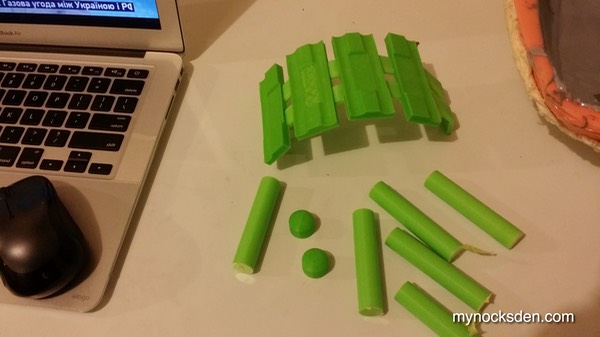
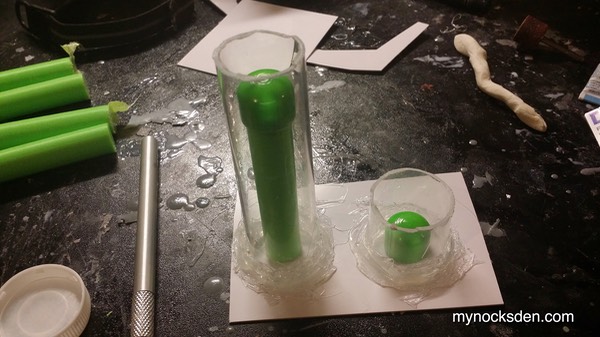
Once again looking at the reference material, I realized that there should have only been one cylinder instead of two, and that because of the opposite positioning of the cylinder for each arm, I would need to make two molds, one for the left arm and one for the right.
I also realized that the cylinder was actually too thin and a tad too short, so I went back to the CAD model, fattened it up, and printed a pair of cylinders.
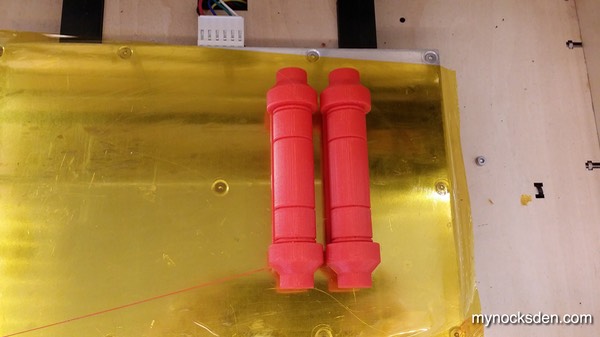
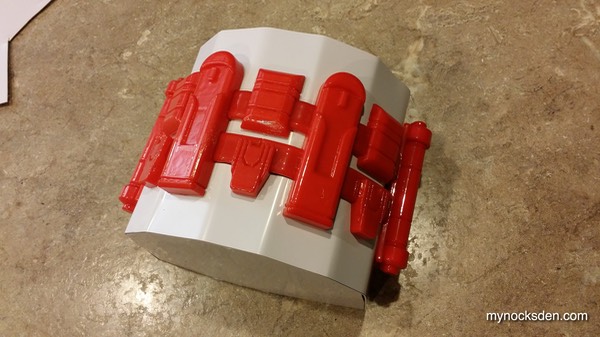
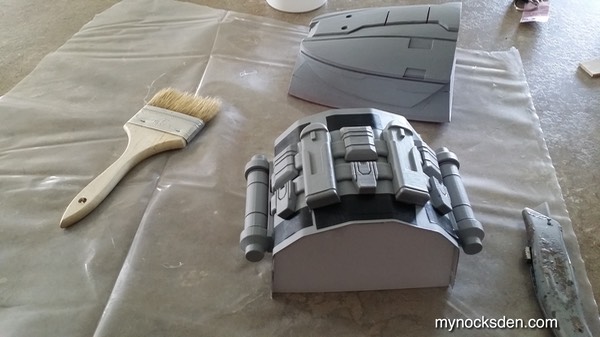
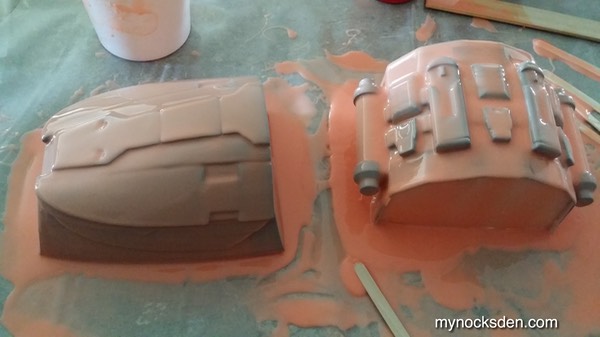
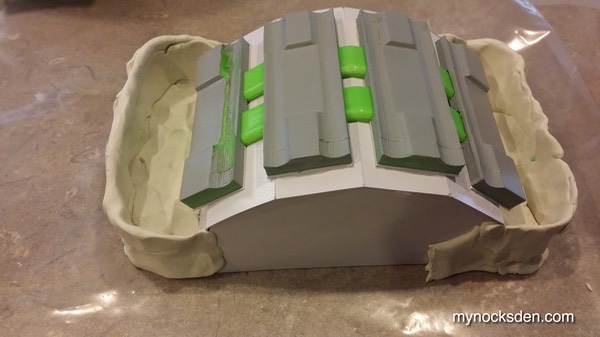
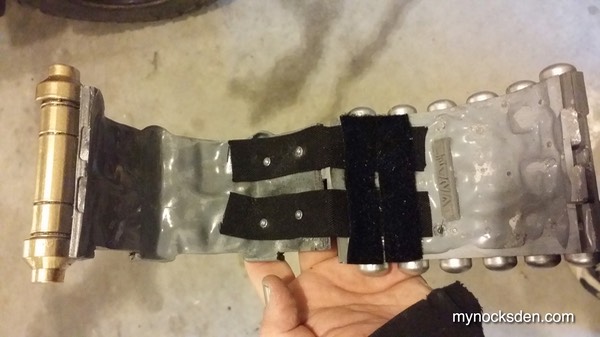
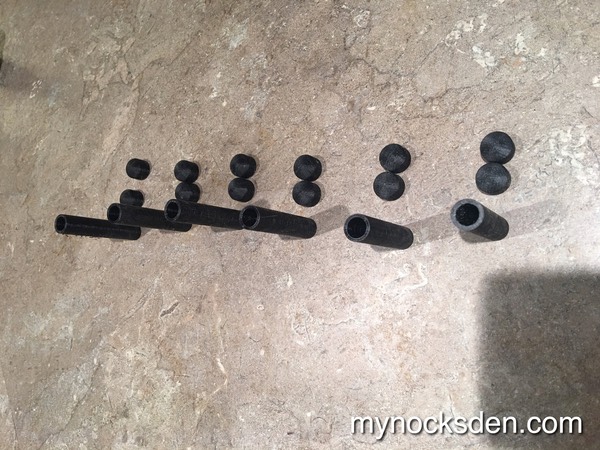
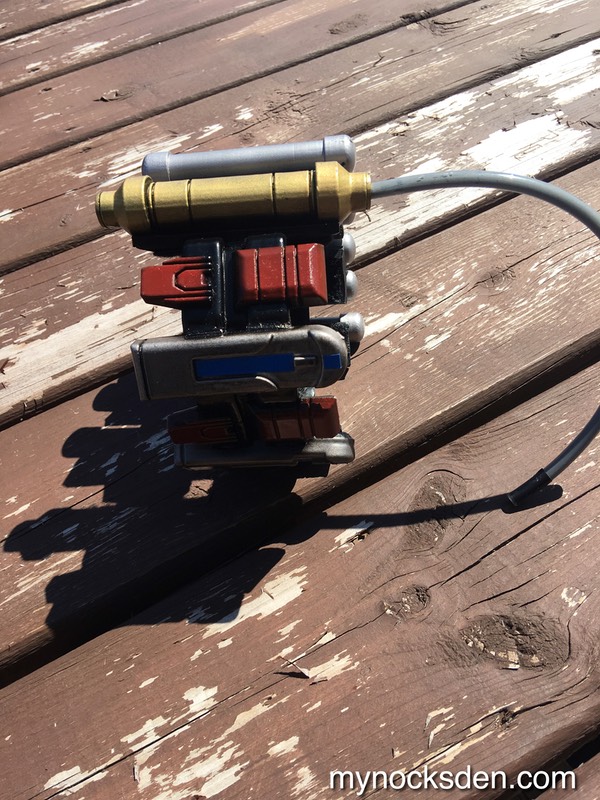
I acetone-smoothed the new parts, and installed them onto the assebly. Next, I applied a coat of primer. These pieces are so small, that acetone smoothing is virtually the only post-print treatment needed, so I did not sand, or use any Bondo putty at all. After the primer dried, I used some electrical tape to mark the boundary of the actual bicep piece on the mold, and sealed everything using Super Seal.
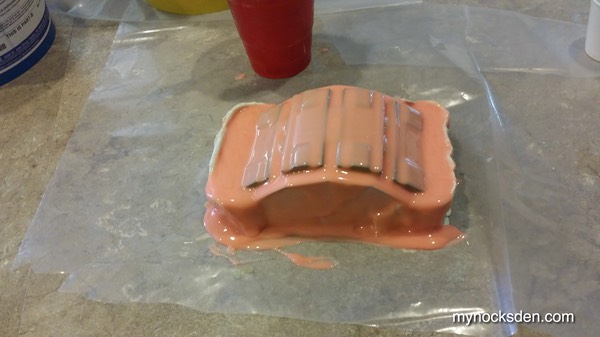
Next, I mixed up some Rebound 25 and began applying the print coat. During the first 20 minutes, I watched the rubber and made sure to pop any bubbles that rose to the surface. Failing to get rid of these during this step can result in tiny craters in the rubber, and ultimately lead to your final cast being covered with tiny resin beads.
After this sat for about 2 hours, I cut off the little droopies, flipped the model upsidedown…
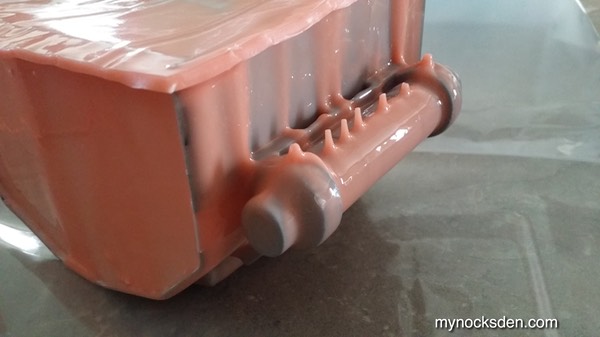
...and applied another coat, letting the silicone run backwards to the direction it flowed last time, coating the undercuts of the cylinder.
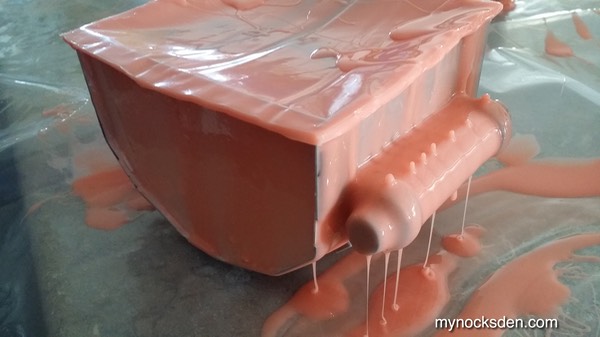
I continued to add layers until the cylinder was sufficiently coated.
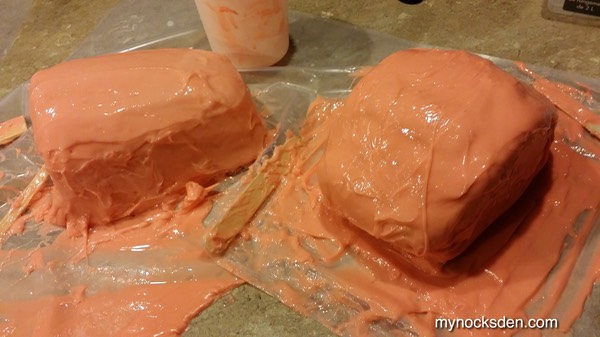
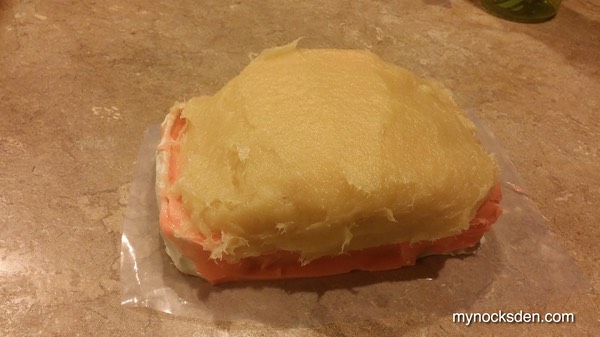
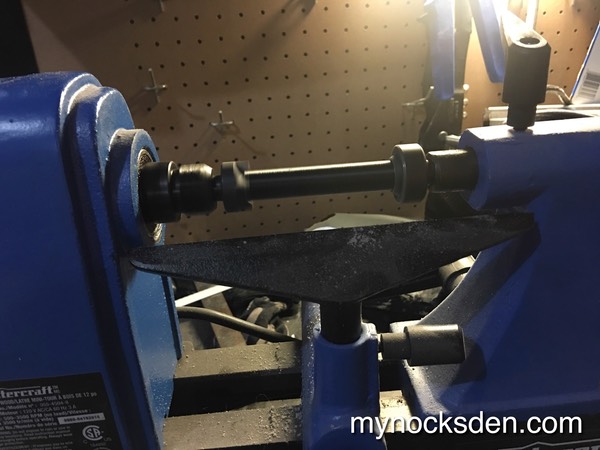
Once the silicone cured, I used Plati Paste to create a support shell.
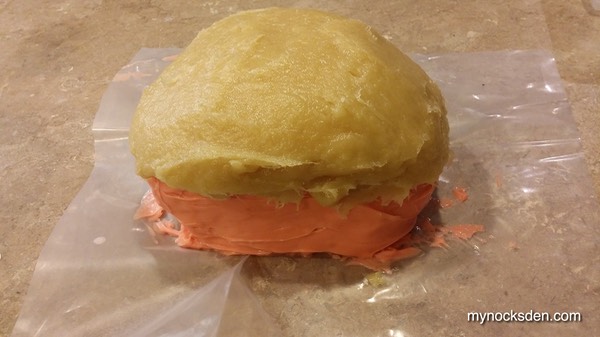
Demolding revealed a perfect print layer!
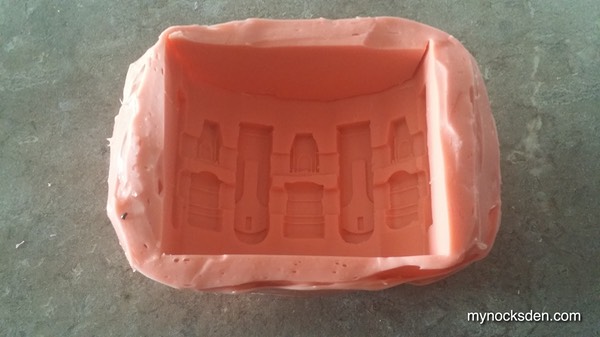
Given how thick I made the silicone mold, I realized that the support shell wasn’t really necessary, as the silicone is able to hold its shape on its own.
Next, using pigmented Smooth Cast 65D (since it has good flex), I cast a trial piece and saw that it was good! I was worried about the cylinders causing the cast to be locked into the mold. However, there was no problem demoling this, so casting further pieces will not be an issue!
To be continued…


Thanks for looking!
* * * * * * *