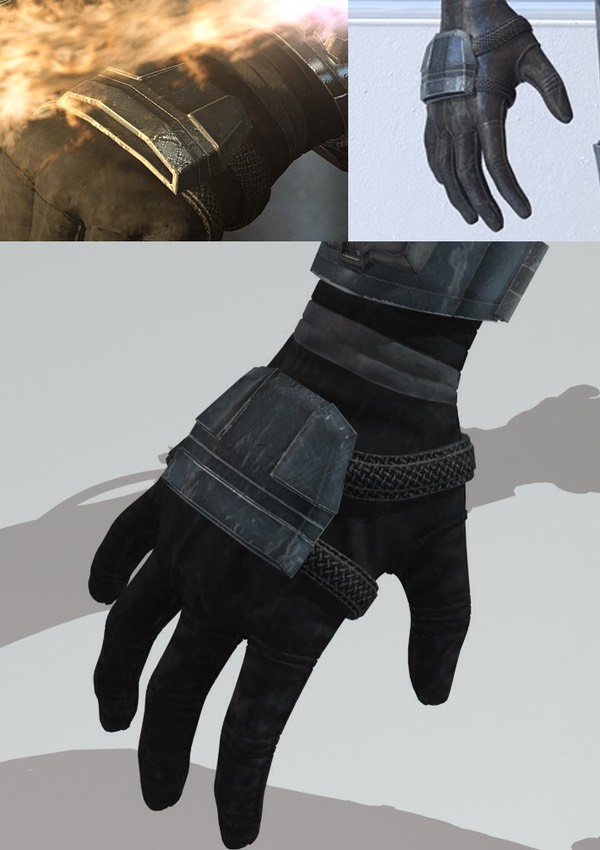
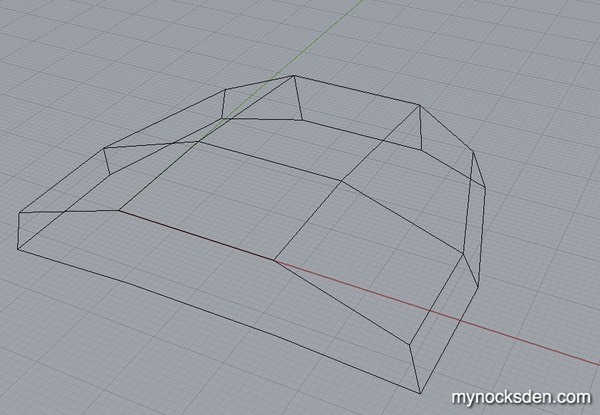
Again, working from SWTOR game trailer Shae Vizla reference material (above), I set out to CAD model the hand plate. As always, I began by drawing curves, which I then joined together into surfaces.
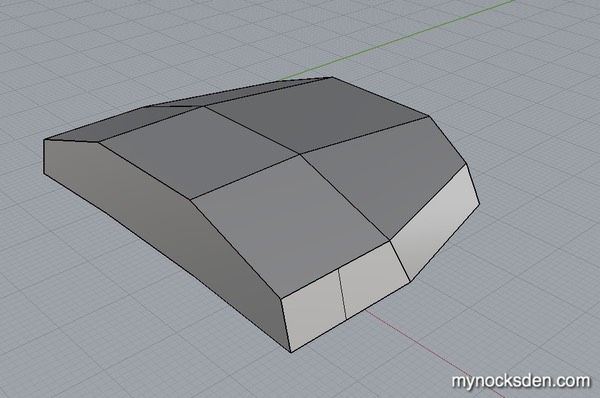
From there, completing the model was fairly simple; I extruded a few surfaces…
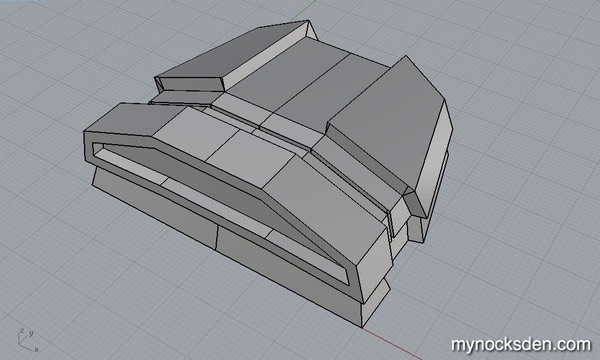
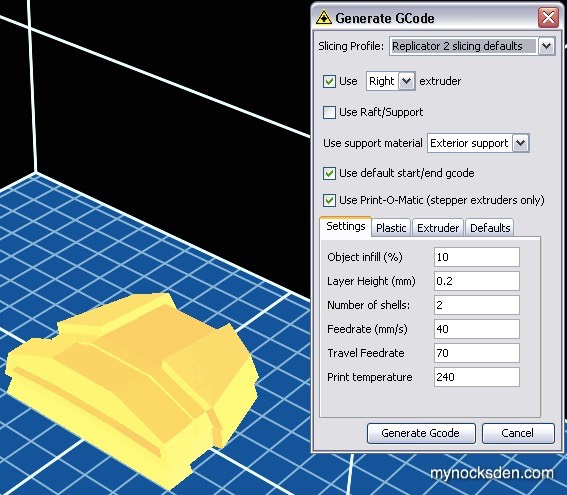
… built up a support base, sized the plate to be 6x5cm (since, as you can see from the reference shots above, they are fairly small), and exported the model as an STL file. I loaded it into ReplicatorG and sliced the model for 3D printing using the parameters shown in the next screenshot.
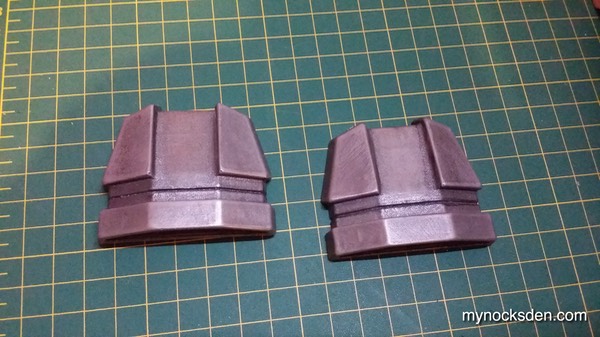
1 hour and 47 minutes later, the piece was printed and ready for the next step. (At this point I also repeated the print for the second hand plate).
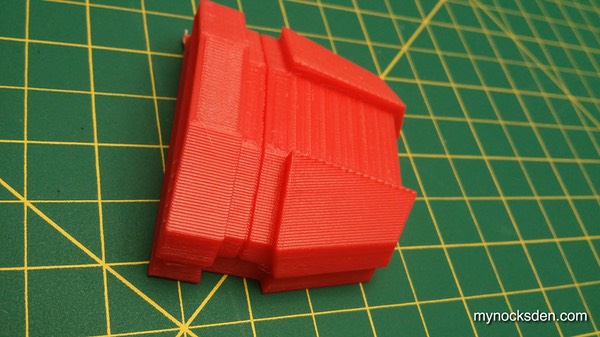
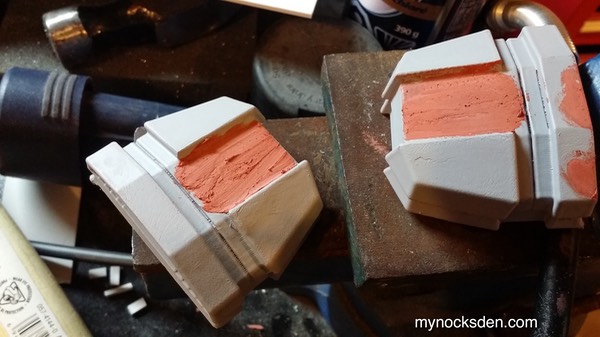
I smoothed out the parts using the acetone vapour method, though the striation gradient in the middle of the handplate proved to be too coarse, so some Bondo putty smoothing would still be necessary to get rid of the striation.
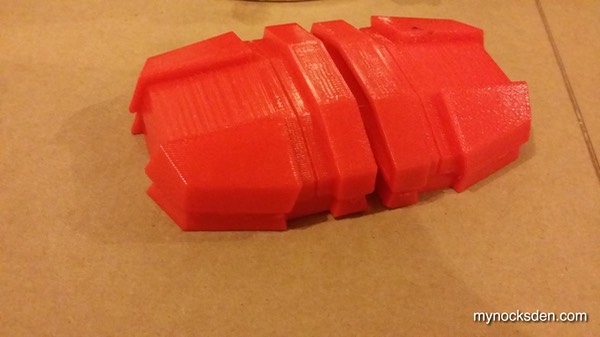
Next, I primed the models, then used Bondo spot putty to fix up any surface anomalies.
I sanded these spots down, and primed again, applied more putty where needed, and repeated the process until the masters were completed. Next, I coated the surfaces with Super Seal, and let sit for 30 minutes.
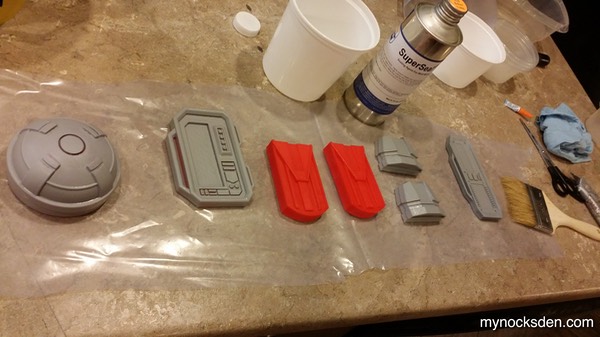
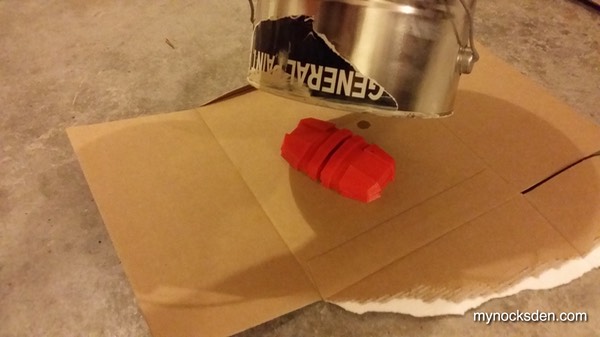
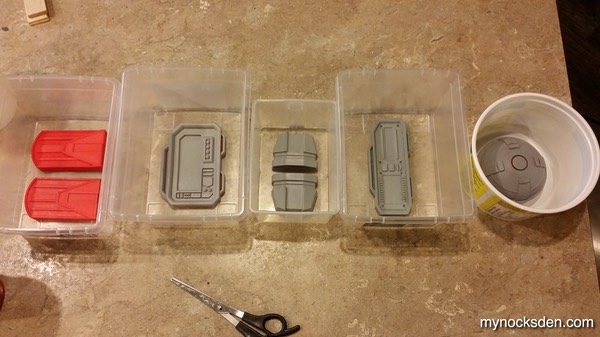
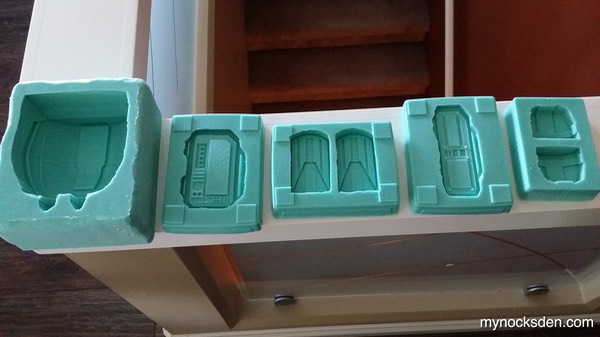
I then used some clear containers (roofing nail packaging, and one Dessert Whip jar, the contents of which I actually disposed of so that I could use the container! If my wife asks, we've run out!), and set up the masters for molding.
NOTE: When molding hollow 3D printed parts, it’s important to fasten the masters down, or they WILL float up to the surface when silicone is poured!
I roughed up the contact surfaces with sand paper, and superglued the models to the bottom of the container.
I then whipped up some Mold Star 15 silicone (1A: 1B ratio), and poured it in. I put everything on top of the dryer, turned it on, and let the shaking work any bubbles trapped inside to the surface.
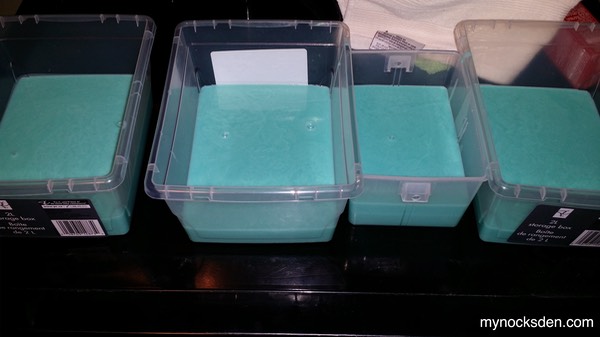
Several hours later, I peeled the master out of the mold, which revealed a perfect print coat!
Next, I cast the handplates in cold cast aluminum, just like everything else in this build...
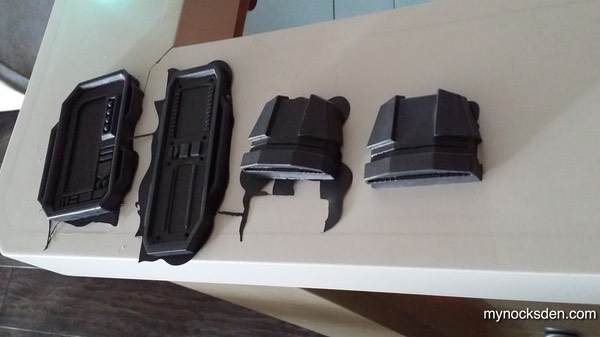
…buffed them with steel wool, and weathered them with black paint which completed the pieces.
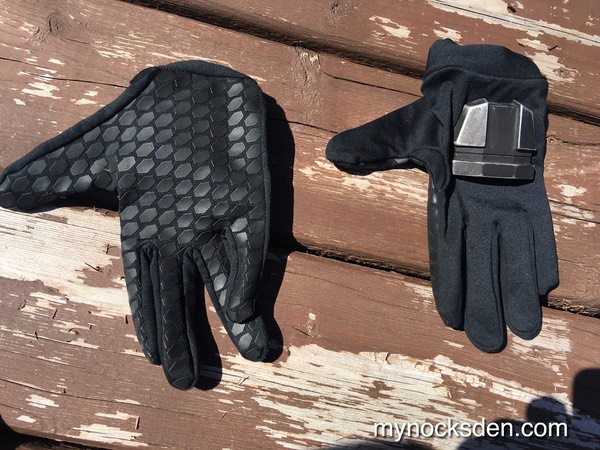
A while later, I painted the hand plates black to match the colour of my “Mynock” armor set, and hotglued them to a pair of Underarmour gloves, which made them ready for action!
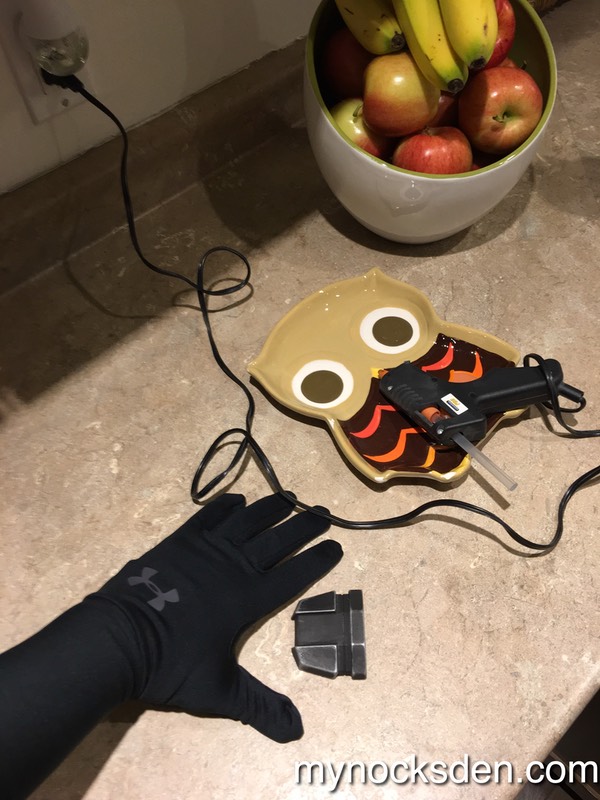
Thanks for looking!
* * * * * * *
Back to SWTOR Shae Vizla Bounty Hunter Gauntlet Assembly