Chest
One of my mandates as a hobbyist prop-maker is to document absolutely every step of the creation of my props. This means showing the good and the bad, successful attempts and the FAILS.
The Shae Vizla chest plate build happens to be full of FAILS - all results of various ill-fated trial-and-error attempts to simplify the process, and in some cases re-invent the wheel...
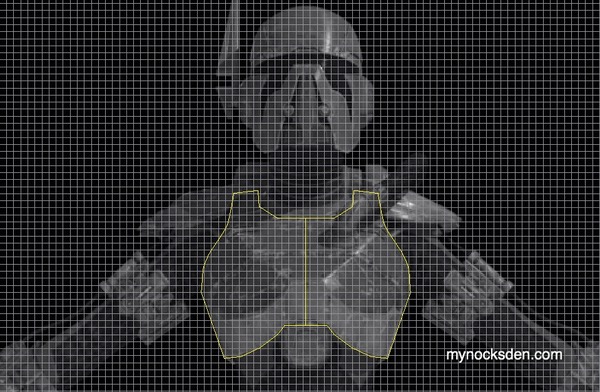
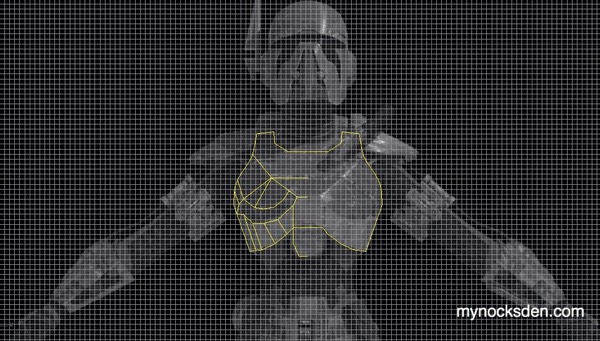
Anyway. I began by importing a front image of Shae into Rhino, tracing the outlines of all the major detailing with curves, pulling these into 3D, and building surfaces from there.
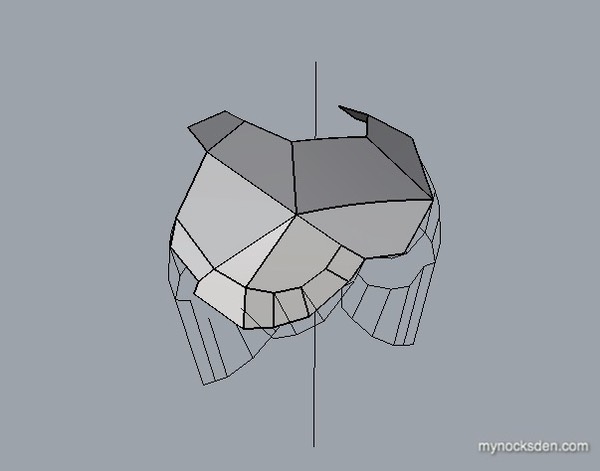
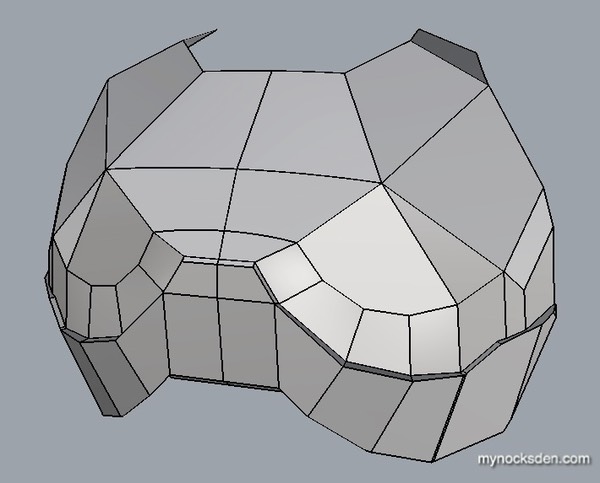
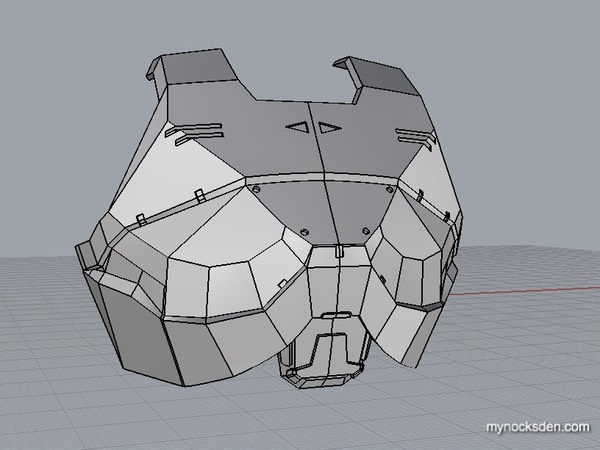
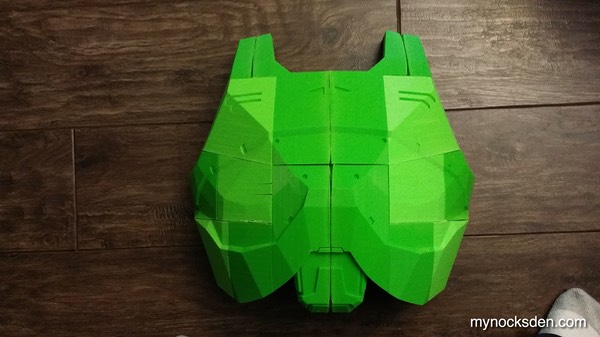
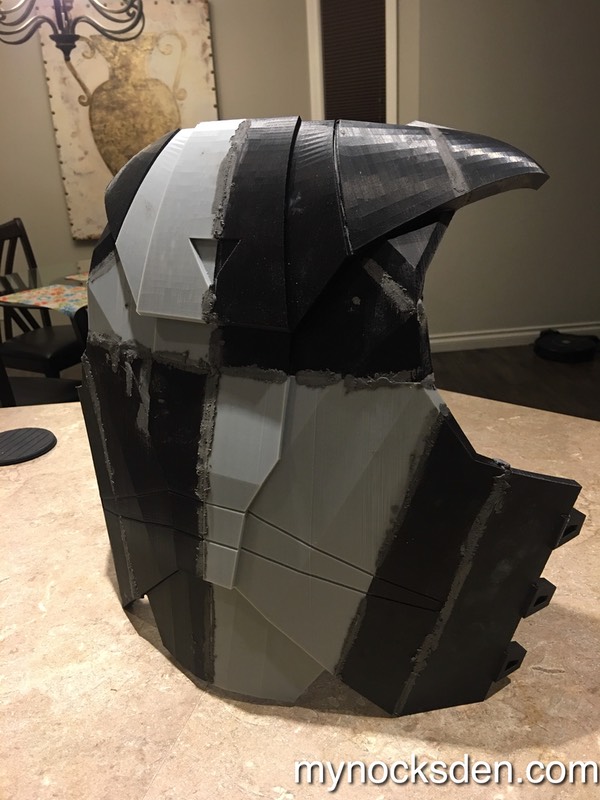
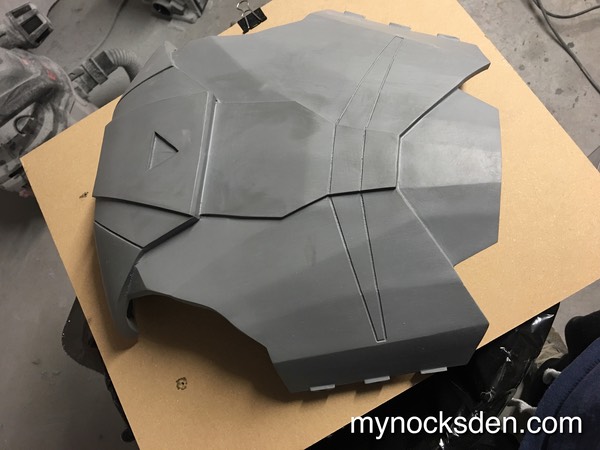
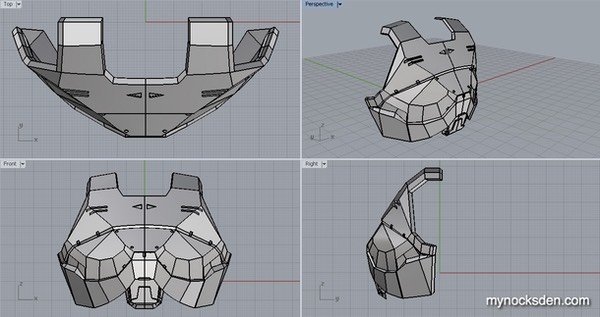 Many hours into the process, the chest plate model was completed, and properly split into smaller pieces for 3D printing.
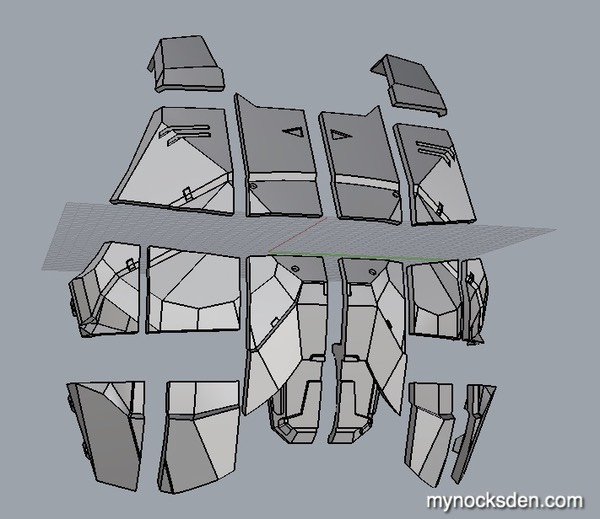
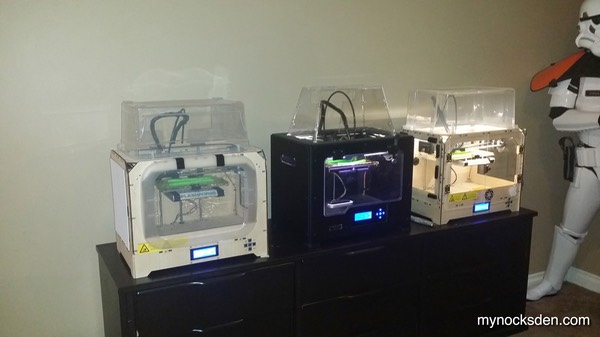
These pieces were then arranged on the virtual build plate in a vertical orientation to eliminate the need for plastic supports; the collection of pieces was then exported as four separate STL files, which were sliced in ReplicatorG to be printed on my (at that time) three FlashForge Creator machines.

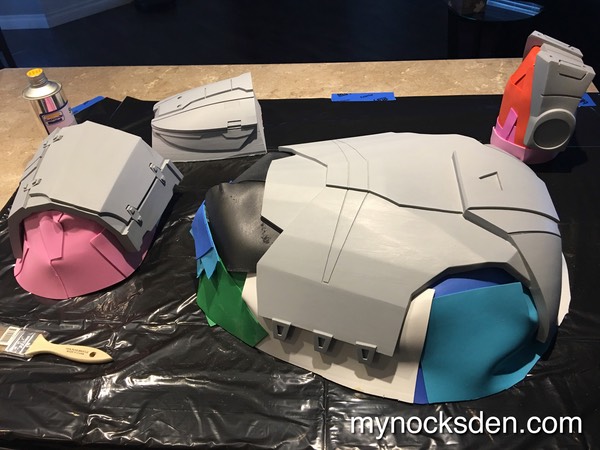
About a day later, the pieces were printed, and ready for assembly.
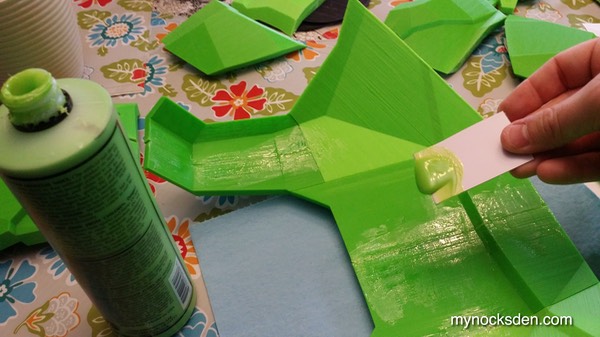
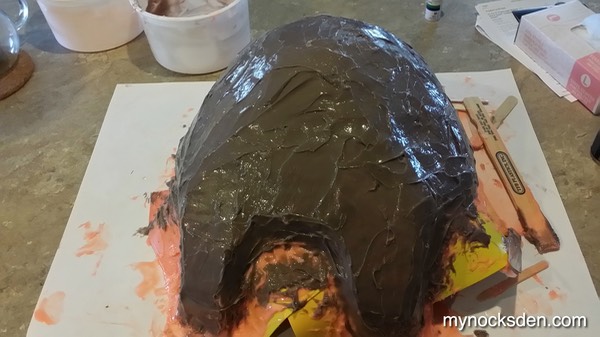
I used superglue to bring all the parts together, then coated the seams with the same ABS sludge (made by dissolving ABS filament in acetone) I use as an adhesive on my printer build plates.

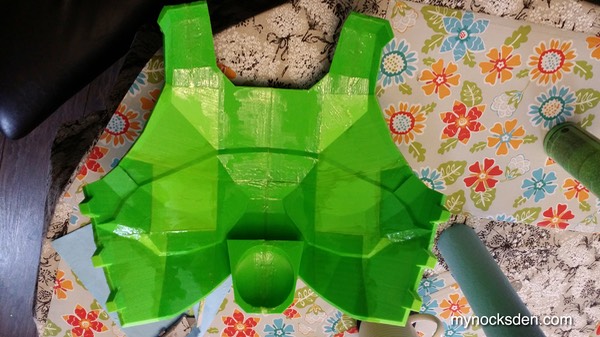
 I wanted to see if the ABS sludge could possibly be used instead of the Bondo Spot putty to smooth out 3D prints. In hindsight, it’s not a very good substitute at all, because once the acetone evaporates and the sludge dries out, it becomes quite porous. Sanding it down results in an Aero chocolate-like surface which needs to be filled in, resulting in more work.
So, FAIL.
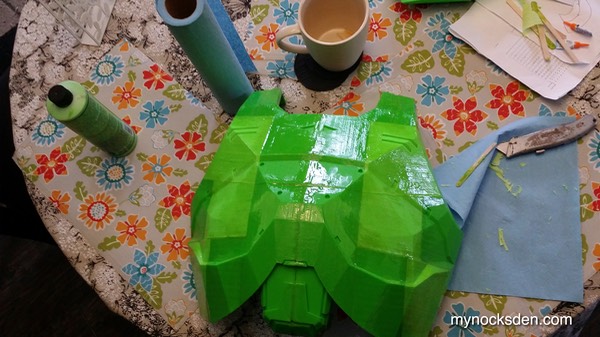
The FAIL soon turned into a super FAIL when instead of testing this on a small area first, I decided to smear the entire chest plate with this goo. More on that later, tough.
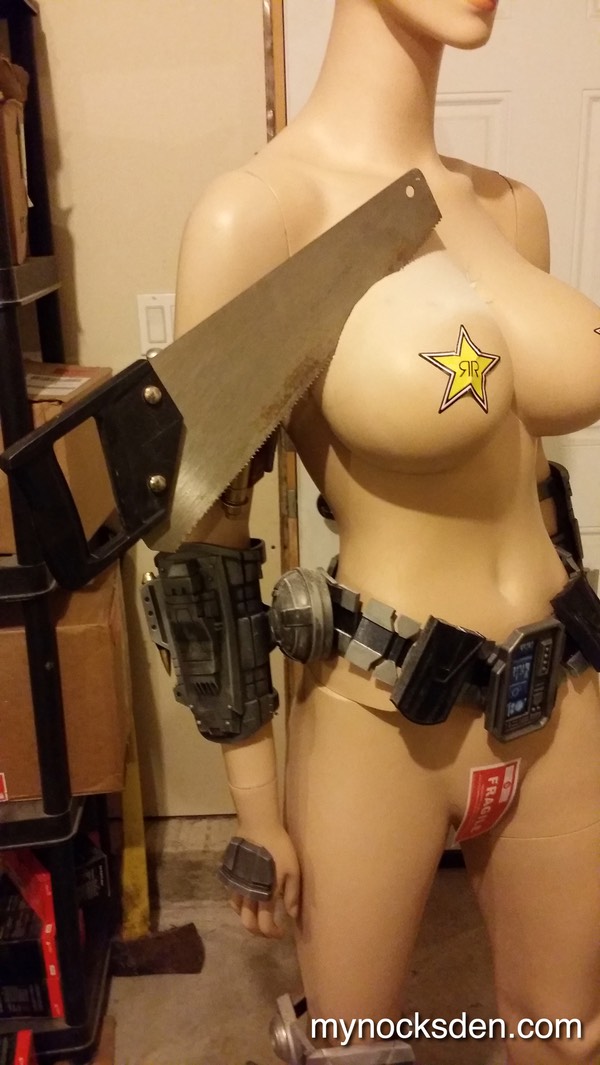
Fun little digression: my wife, who at this time worked as a district manager for a retail company sourced out a mannequin for me to put my Vizla build onto. She swears she got this thing on clearance at some warehouse her company dealt with, but to this day I have questions of where this thing came from.
In any case, I had to modify it quite extensively for the chest plate to fit…. Ahem.
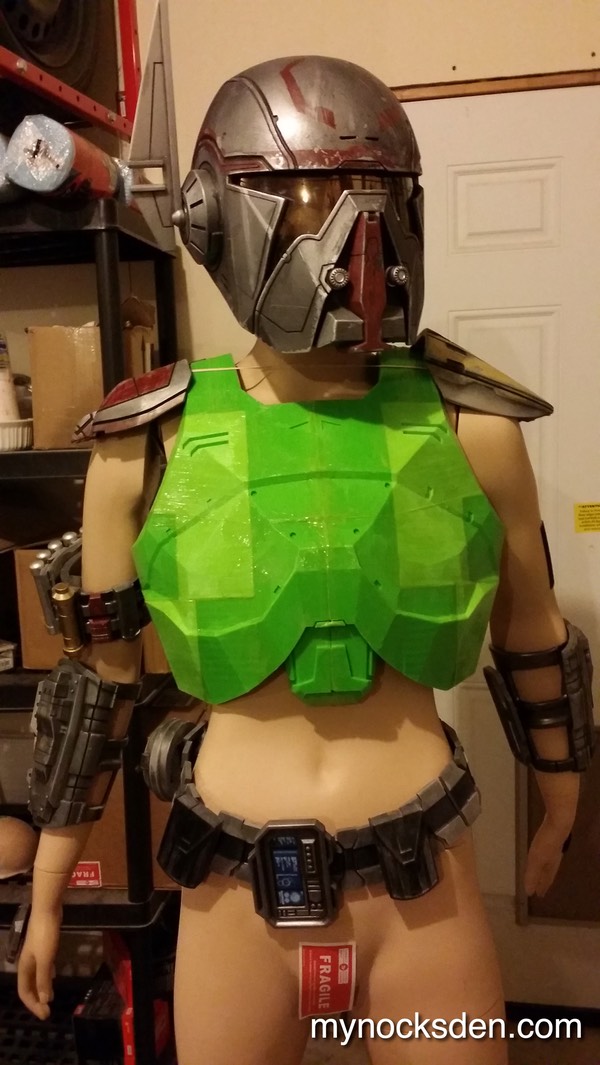
Once the “procedure” was performed, I was able to test fit the assembled chest plate.
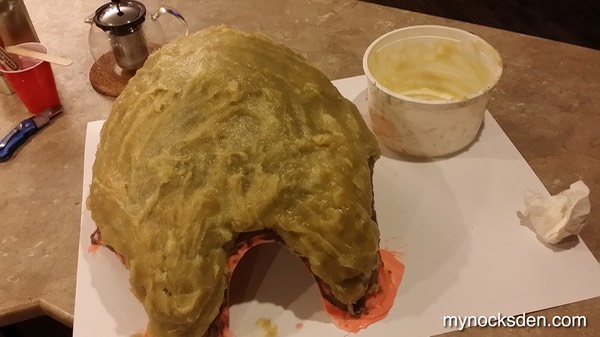
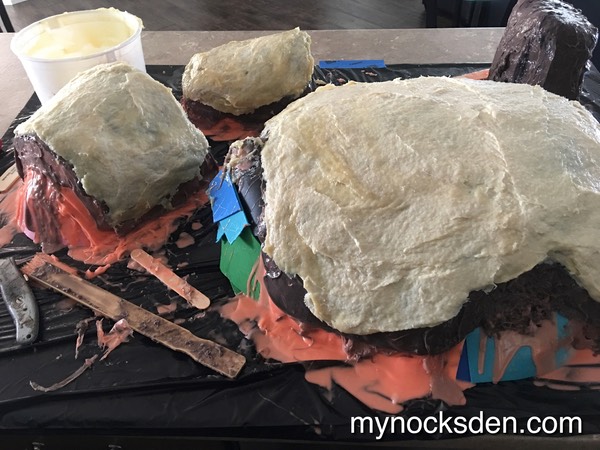
Back on topic. After trying to sand the now-dry goo off and being faced with the horrible Aero chocolate effect, I decided to just mold the thing, cast it in a soft resin, and work on that. I used some craft foam from Michael’s to build up the base, and set it up for Rebound 25 silicone molding.
Not only did this prove to be a terrible waste of silicone, it was a giant waste of time as well. After 3 or four layers of Rebound 25...
…and finally some ONYX resin for the support shell (I ran out of Plasti-Paste)...
… the chest piece was cast. But, because I rushed both the molding and casting, the chest piece came out warped.
Already frustrated, I took the cast, the silicone mold, and the ONYX shell, and i threw it all in the trash.
EPIC FAIL.
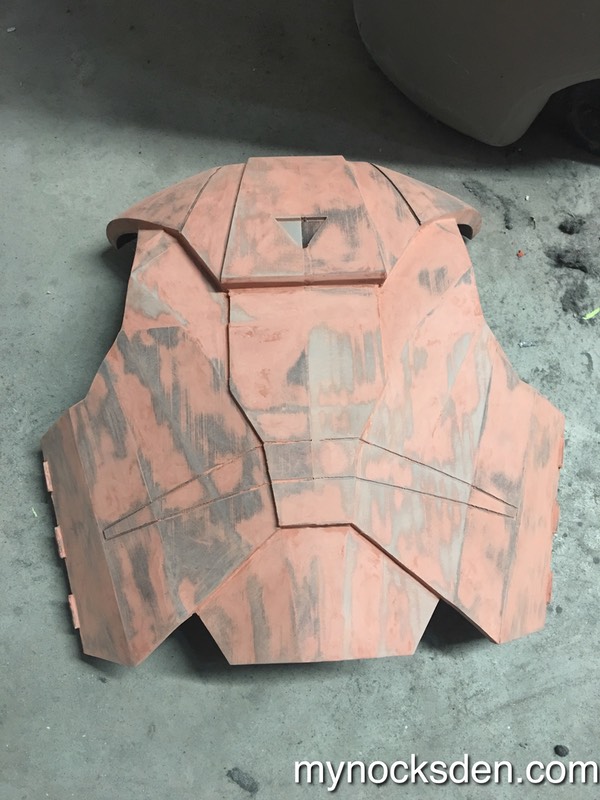
After leaving it along for a few weeks, I decided to come back and do it the way I should have done it in the first plate. Using an orbital sander, I cleaned up all the ABS goo, and used regular Bondo to touch up the seams.

What followed was a lot of slow but determined sessions of Bondo smoothing, sanding, priming, Bondo spot putty, more sanding, more priming, etc etc, until the chest plate was ready for molding.
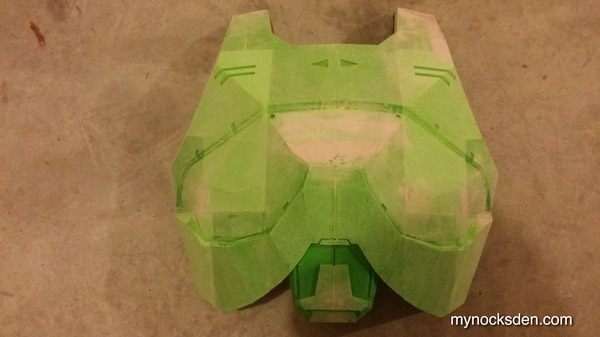

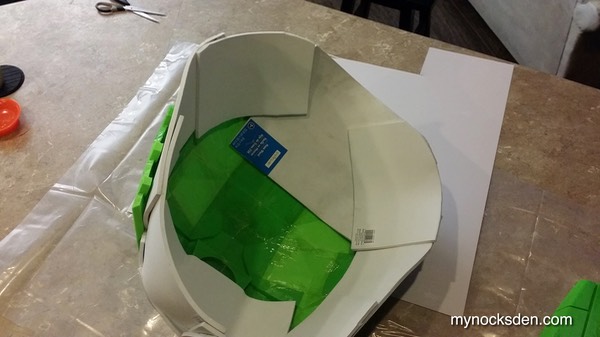
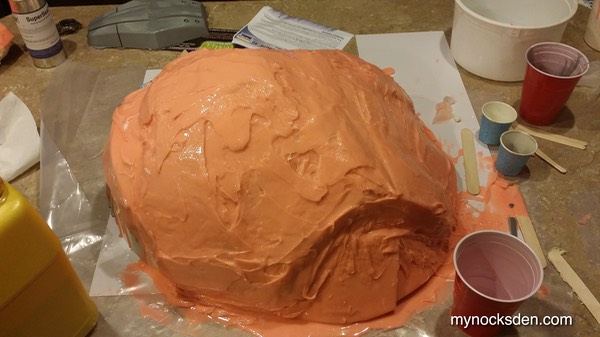
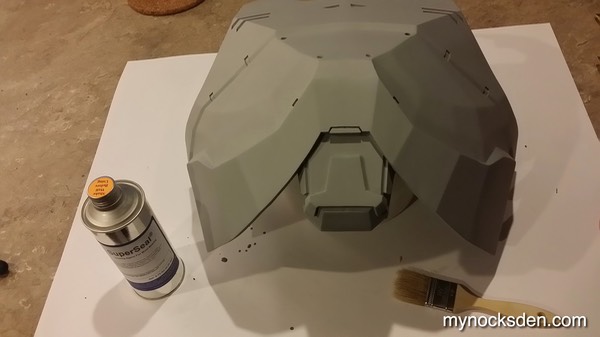
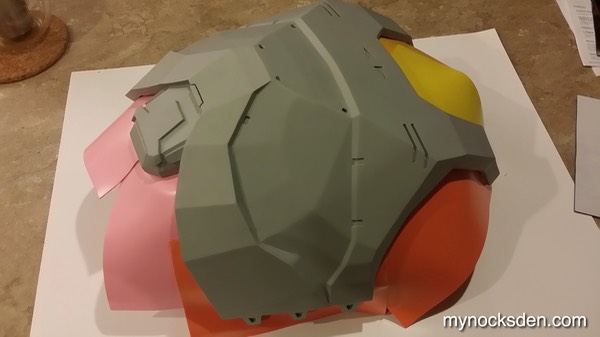
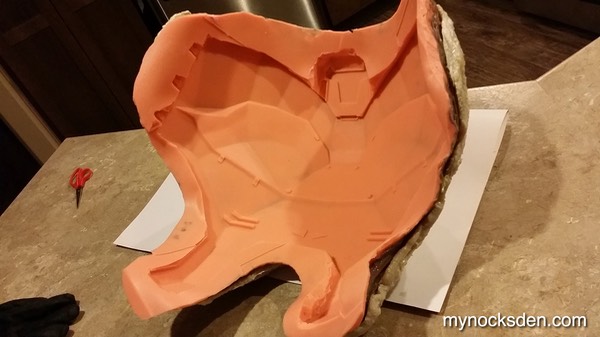
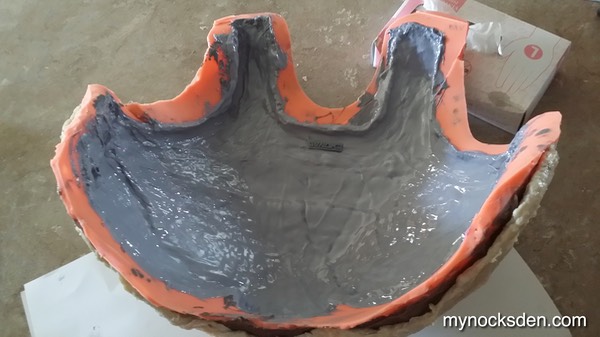
Next, I set up the chest plate for molding: I built up some areas underneath with Walmart craft foam, and sealed both the chest plate and the foam with 2 layers of SuperSeal.
I then whipped up a batch of Rebound 25 silicone, applied this with a brush, and left sit for several hours.
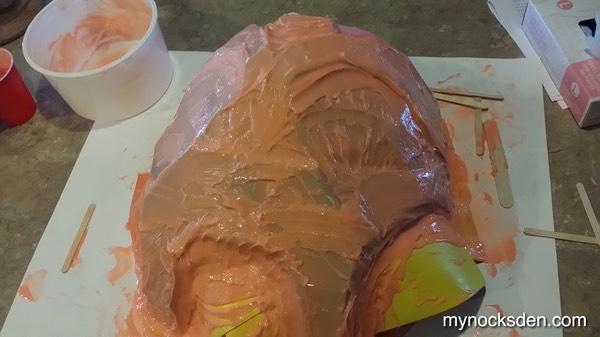
Once the rubber became tacky to the touch, I did two more layers (each subsequent layer containing increasing amounts of Thi-Vex thickener)...
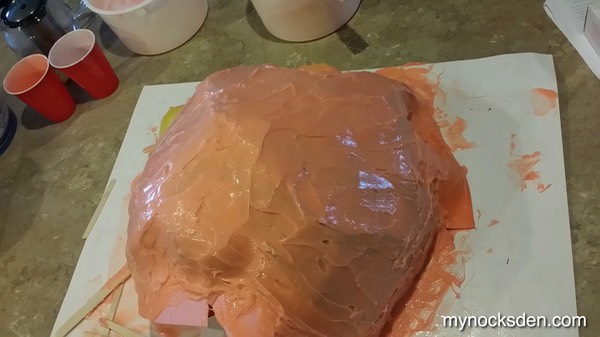
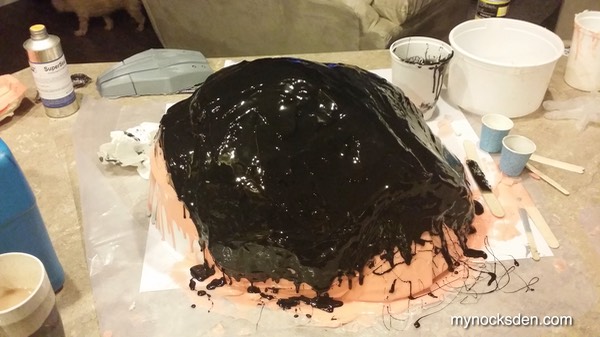
…lastly adding two super thick layers of silicone containing both Thi-Vex and SilcPig black silicone dye (which makes Rebound 25 look purplish-brown). Pigmenting silicone layers makes it easier to gauge the thickness of silicone, which is helpful in attaining a uniform thickness throughout.
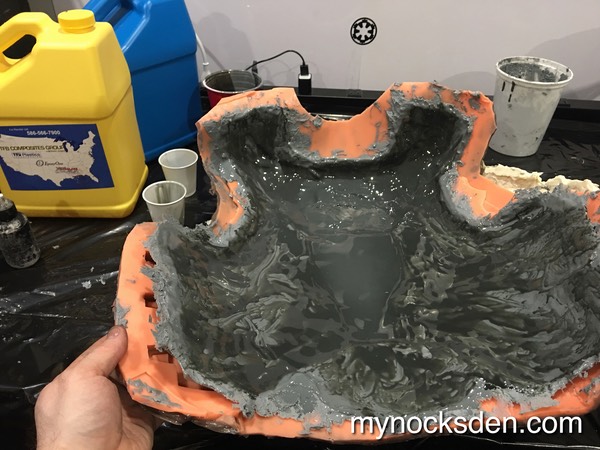
I then used Plasti-Paste to create the mother mold that would help the rubber hold its shape during casting.
Sadly, after all that work, the chest plate snapped as it came out of the mold - not a big deal, really, because the rubber mold came out perfect, but still sad.

Nonetheless, the mold was now done, and after some minor trimming, ready for casting!
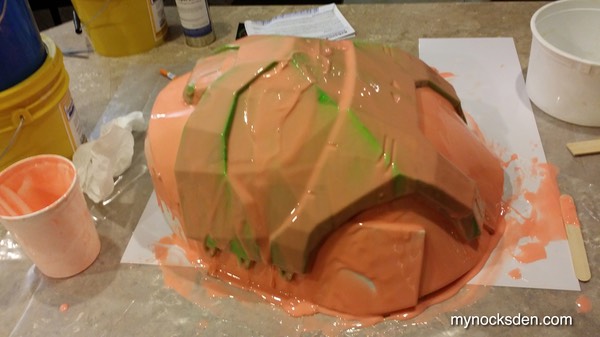
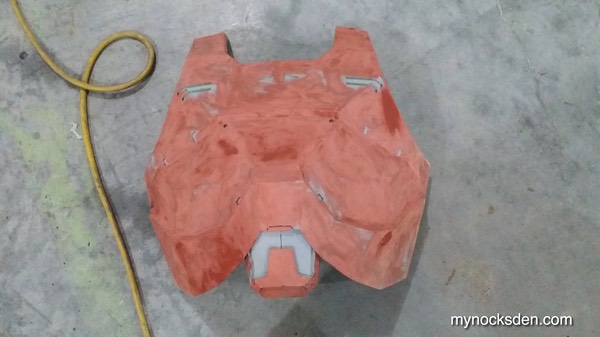
Using some SmoothCast 65D infused with aluminum powder, I slush cast the first layer...
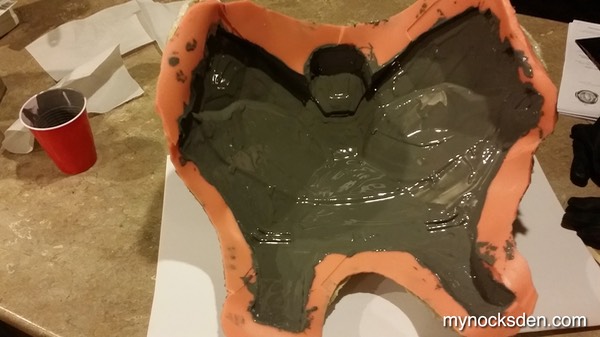
…and followed this up with two more layers of plain 65D (pigmented with SoStrong black pigment, which makes the resin come out purplish-gray).
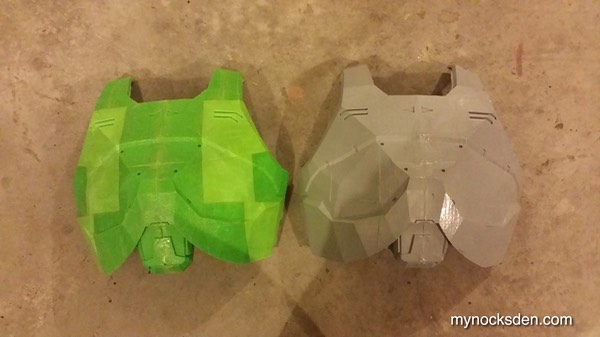
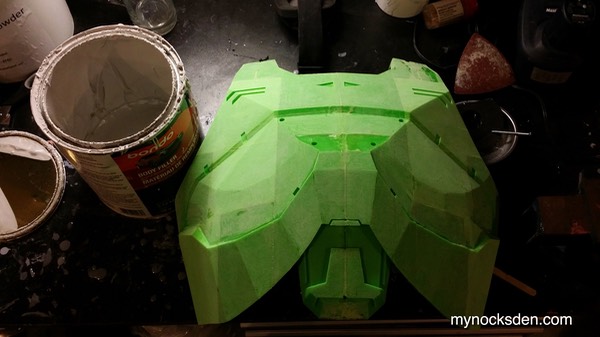
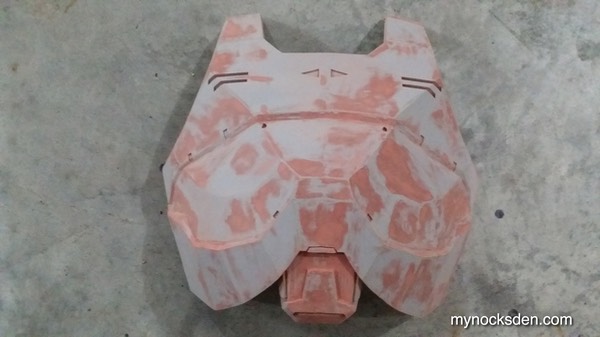
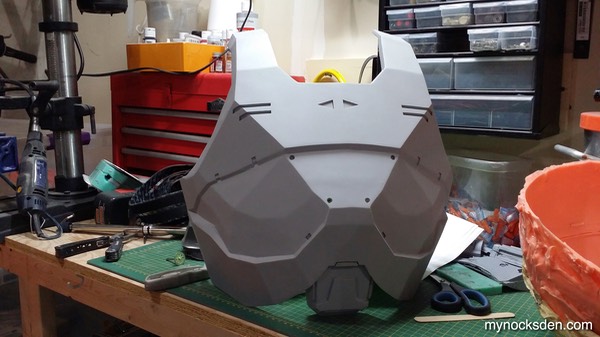
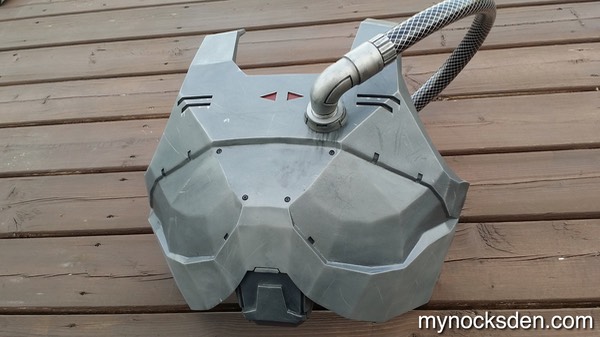
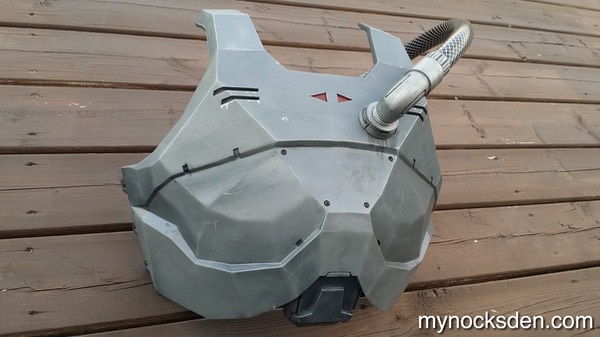
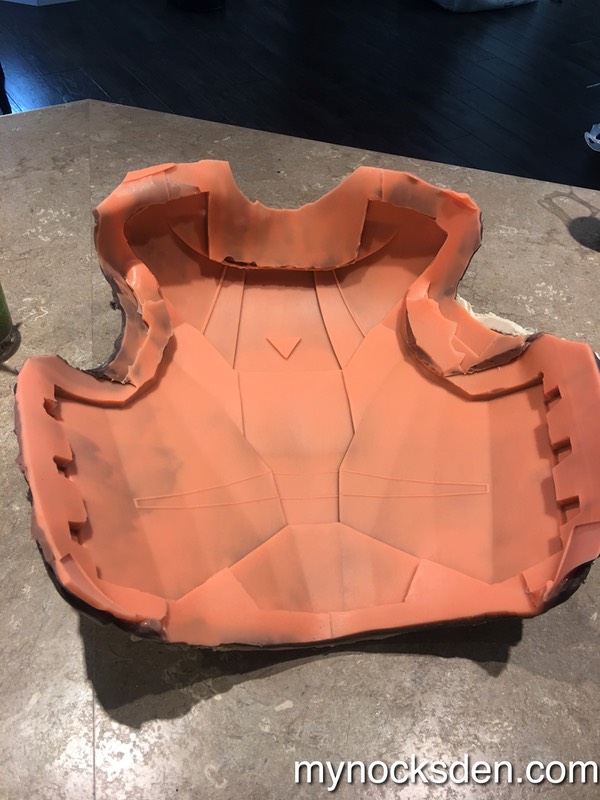
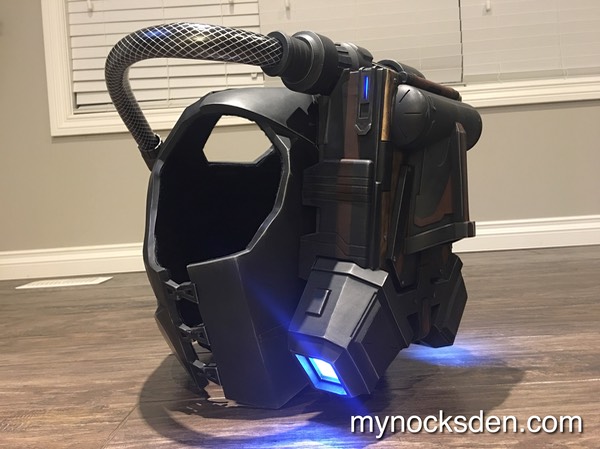
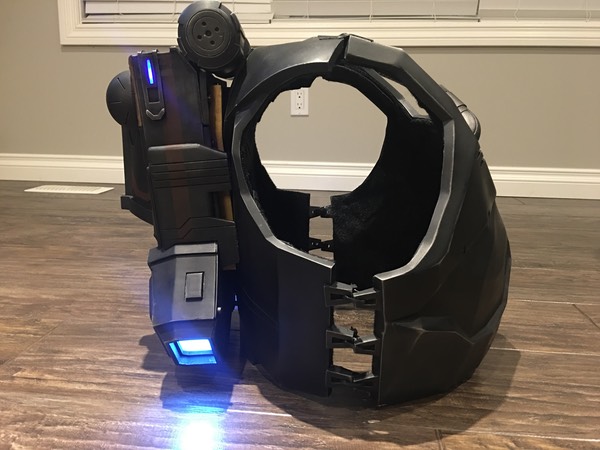
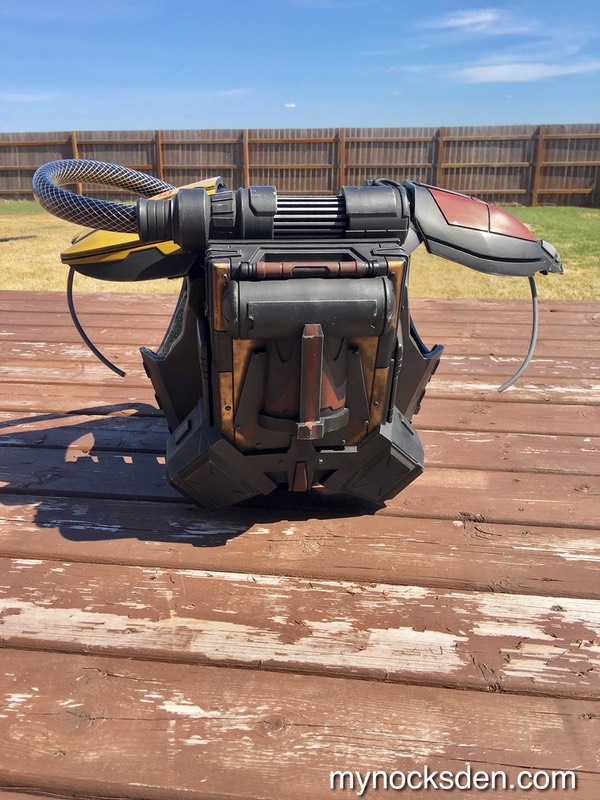
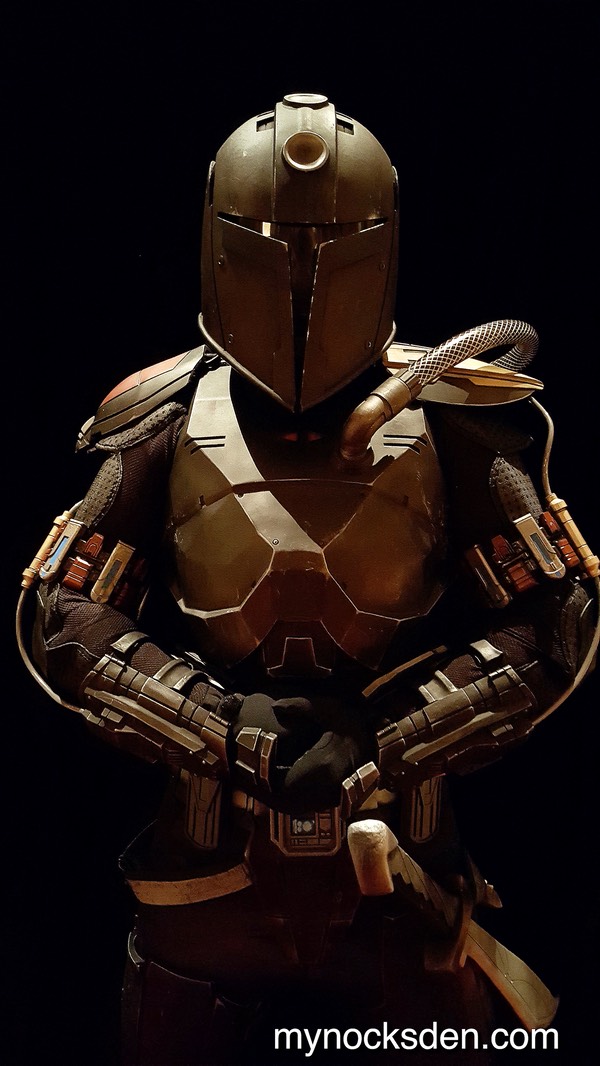
After demolding, trimming, sanding, and polishing, the chest plate looked pretty awesome!
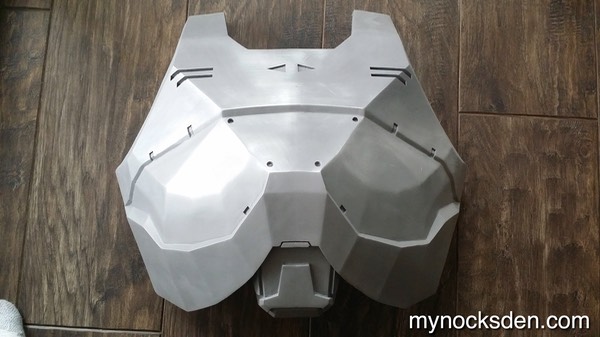
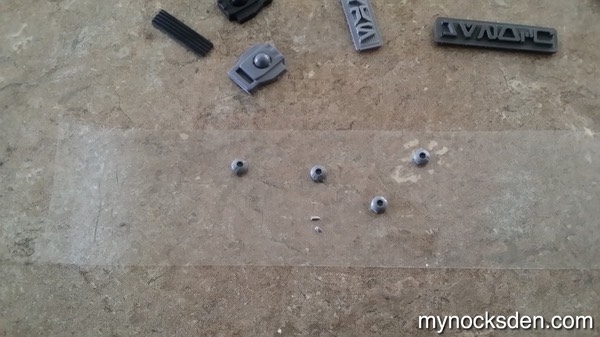
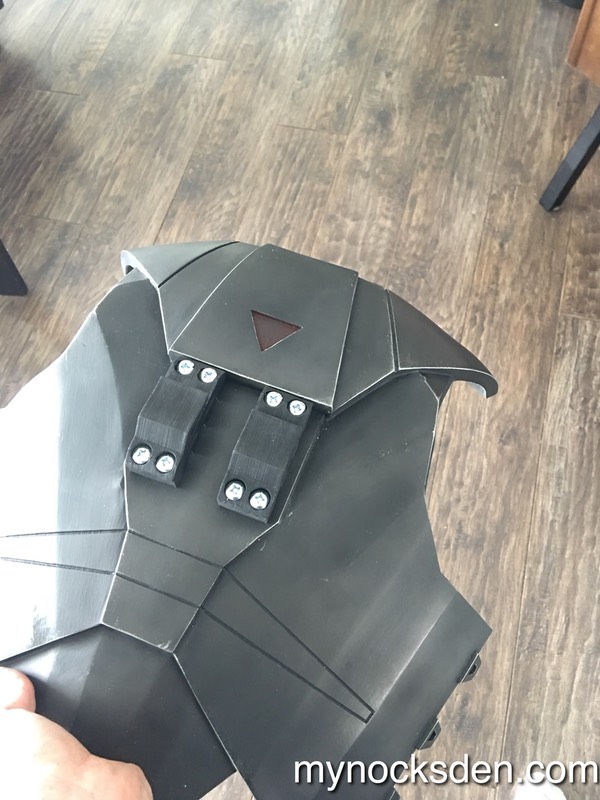
I molded some allen screw heads a while ago, and cast a few of these to fit into four round holes in the center of the chest plate.
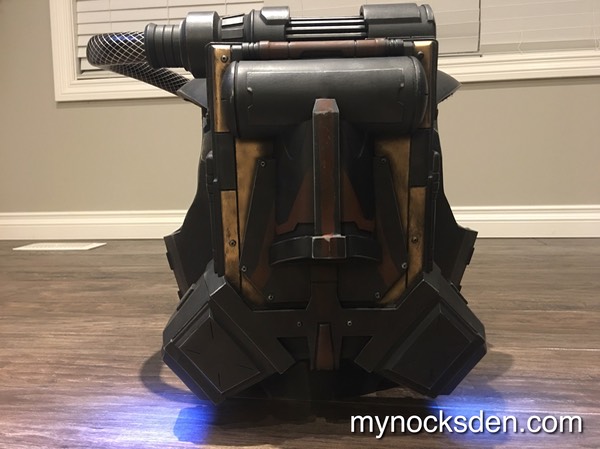
Instead of using an actual store-bought plumbing pipe elbow joint for the hose, I CAD modelled it myself...
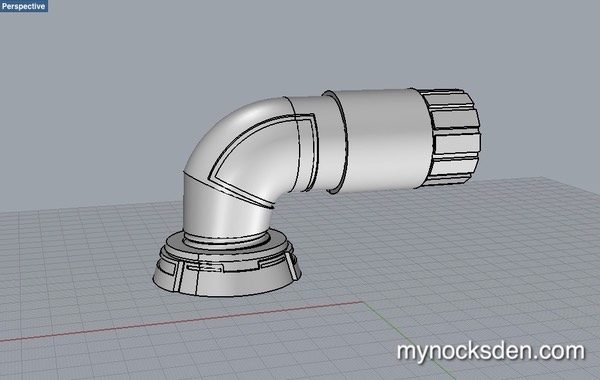
… then 3D printed it in sections (to eliminate the need for supports)
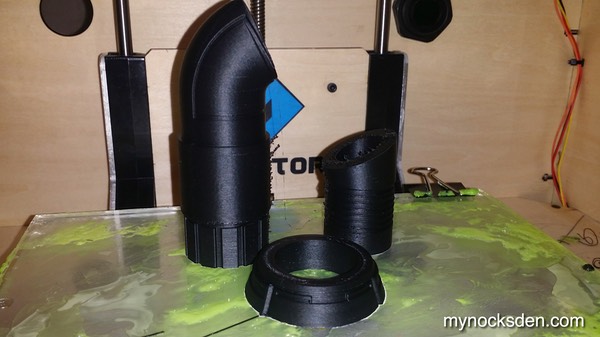
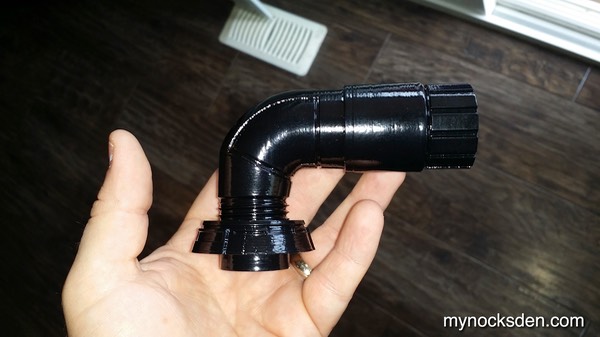
…and used a technique called acetone vapour smoothing (basically boiling acetone in a pot at 56 degrees celsius, while holding the part above it so that it is coated in the vapour for a few seconds) to blend the 3D printed striation.
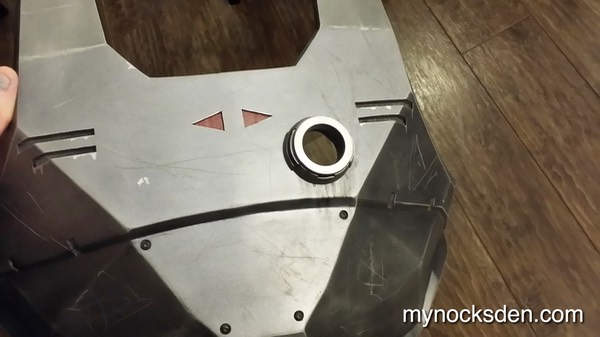
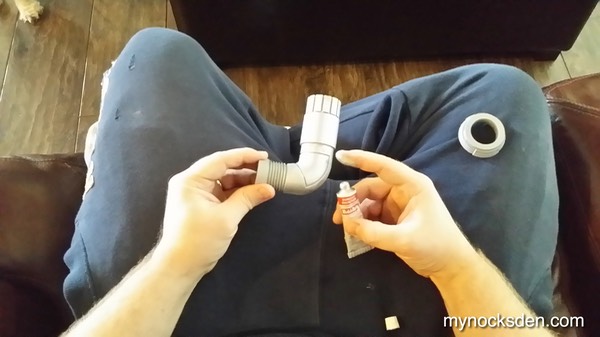
After painting the chest plate using some Duple-Color automotive spray paints and weathering it with both abrasion, black acrylic paint, and a silver sharpie, I drilled a hole, and glued on the plastic hose nut.
I used some silver Rub n Buff to colour the fitting, and weathered this down using some acrylic black paint.
For the hose I chose a 1” thick clear vinyl high pressure hose because it has a molded in steel lattice that looks exactly like the reference shots. To make it black, I sprayed some black Krylon paint into the hose, and slushed it around to cover all areas.
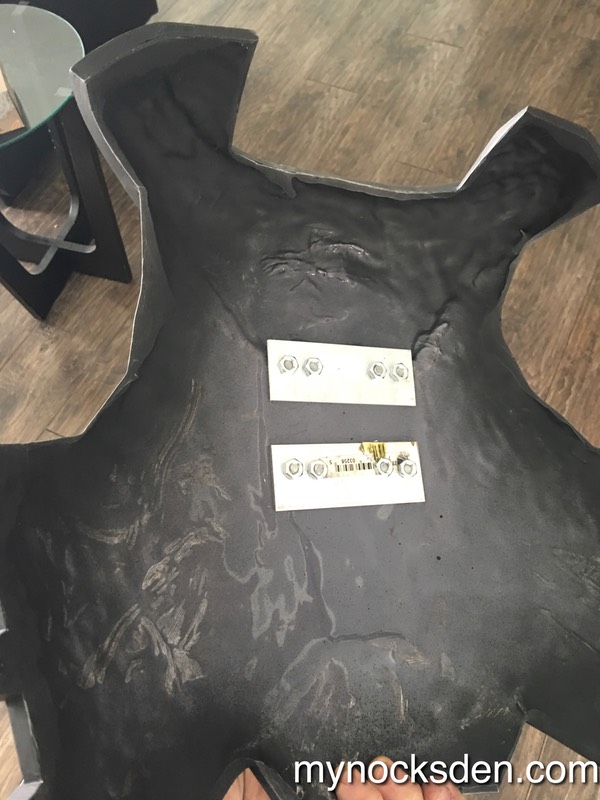
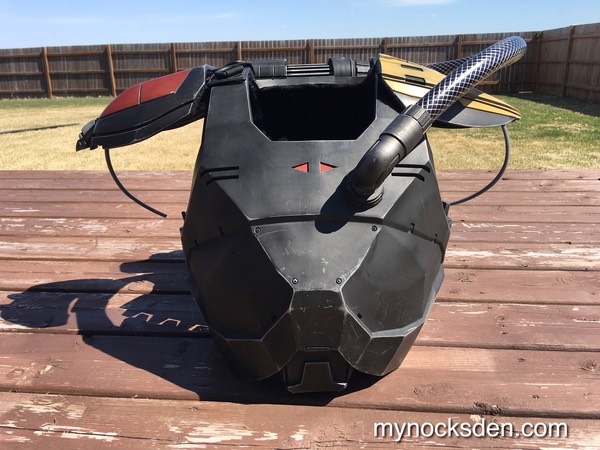
This pretty much completed the chest plate assembly! The next step will be to strap it to the back plate, which I still have to make. So, stay tuned!


* * * * * * *
Back
Thanks for looking!
* * * * * * *