After completing the upper gauntlet, I took a bit of a break from the Sith Acolyte build in order to focus on my SWTOR Hunter’s exalted helmet. Having completed that project, it was time to resume work on the Acolyte.
I decided to tackle the lower gauntlet next. Despite the fact that the upper assembly was built by hand (before my branching out into CAD modelling and 3D printing), I wanted to model the lower part on the computer. I realized that doing it this way would run the risk of misalignment of the two halves, however the high level of detail and symmetry required to make this part look good would be worth it.

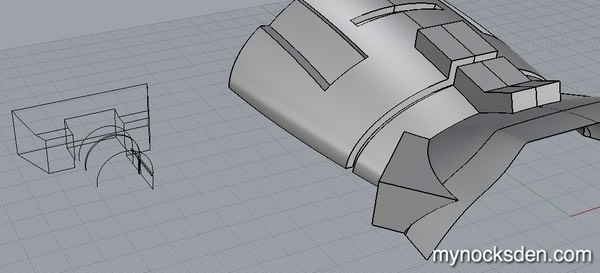
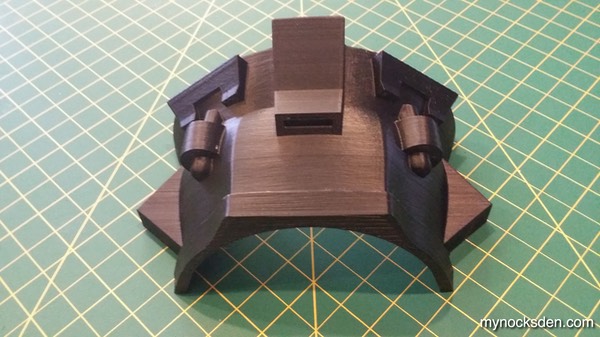
After several hours, I had the lower gauntlet modelled.
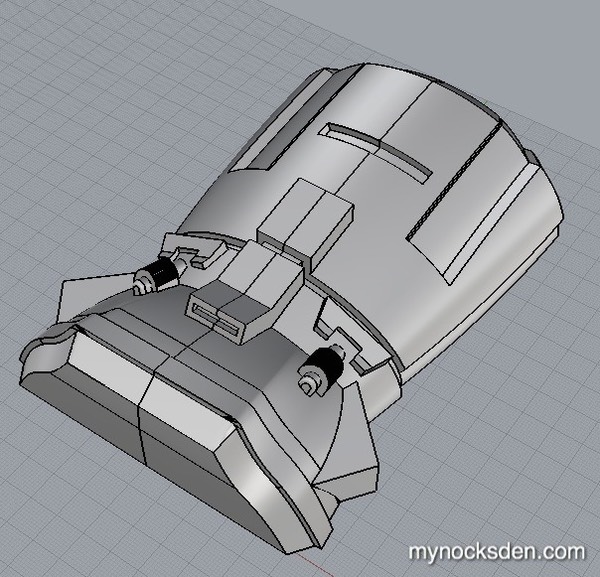
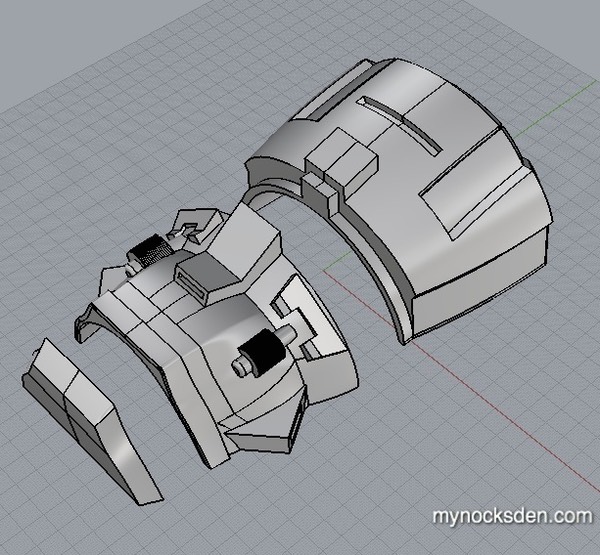
After taking some measurements of the upper half, I realized some adjustments needed to be made. I resized the model accordingly, and split it into 3 sections for 3D printing.
I prepped the first model in ReplicatorG and loaded it into the printer.
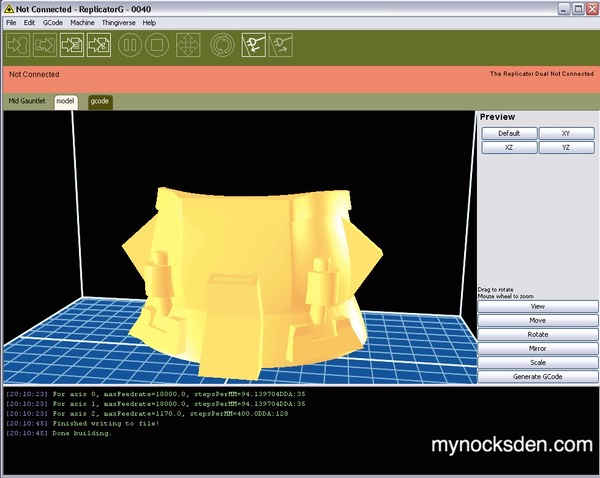
7 hours and 31 minutes later, the part was ready. So far so good!
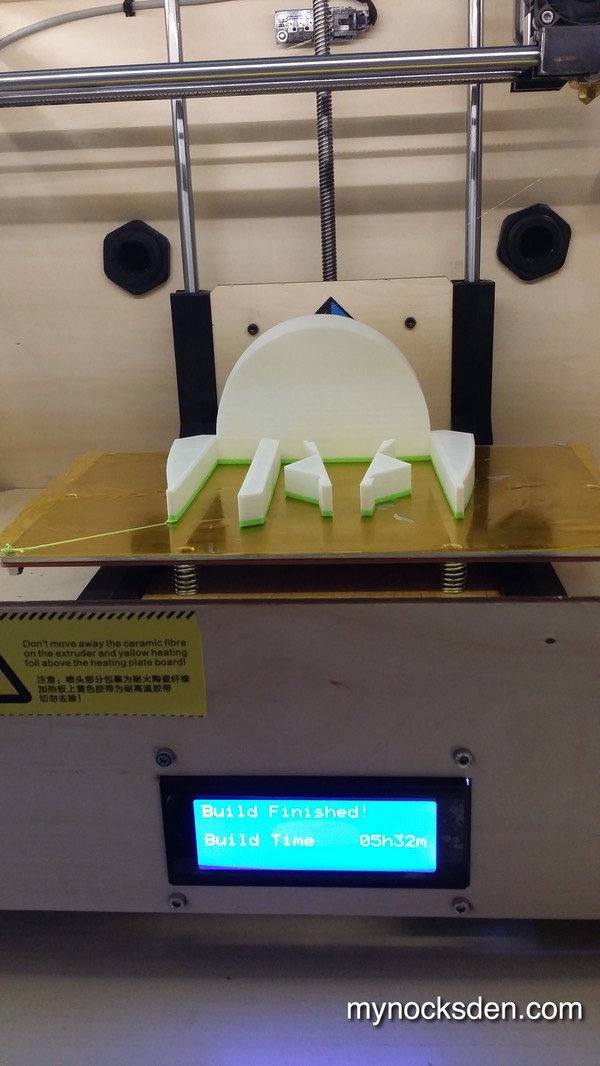
I exported the other two models in one STL file, and began to print them both at the same time.
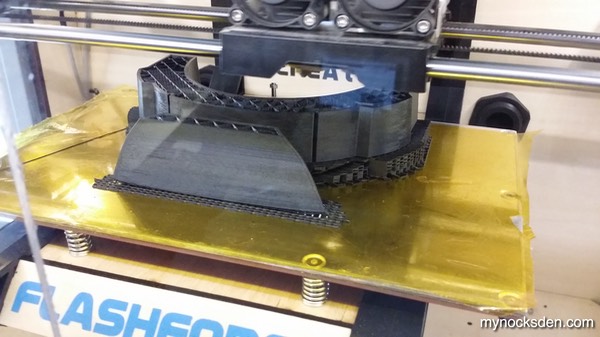
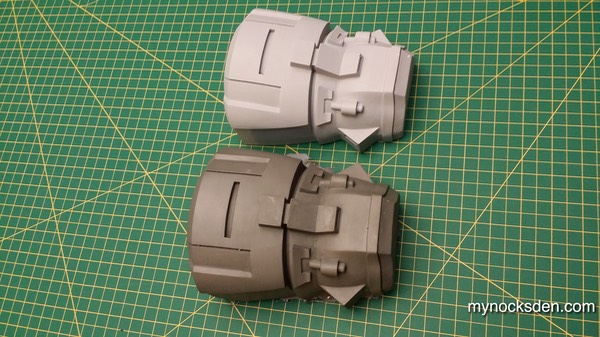
About 12 hours into the print, I ran out of filament; I loaded in a partial spool I had left over, and finished the print. Other than an ugly two tone scheme (which won’t really matter in the end), the model came out quite nice (minus a few loose strands that should be no problem to clean up). Total print time for this piece was 14 hours and 13 minutes.
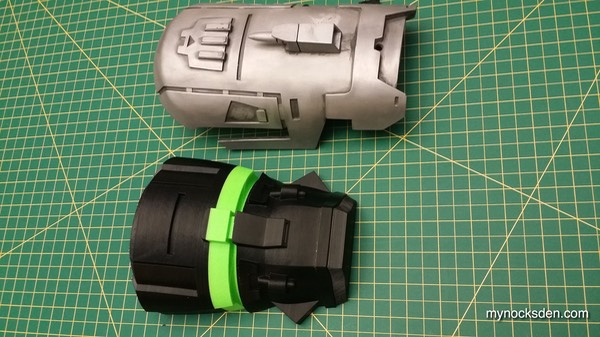
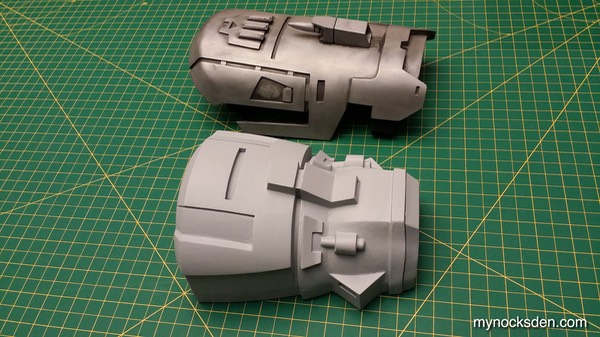
A quick fit of the pieces revealed that I won’t be needing to redo the upper after all; things seemed to line up relatively well, though the model needed to be a little taller.
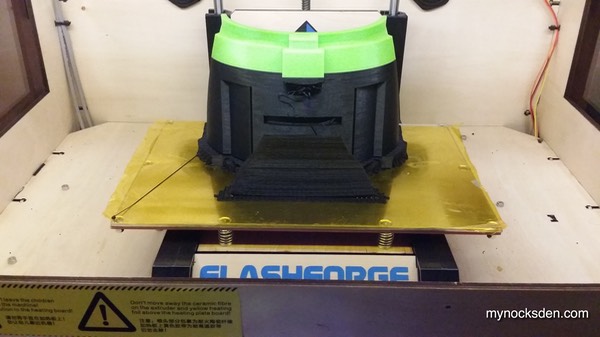
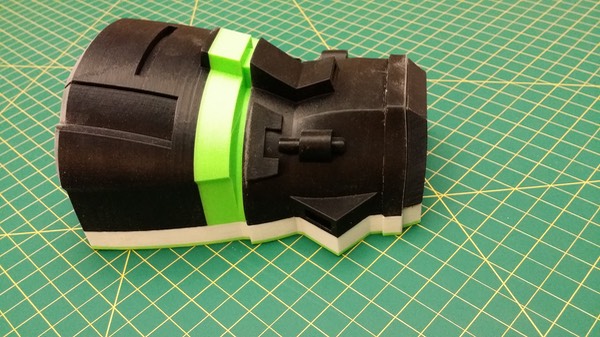
So, I went back to the model, added a two centimetre extension to be printed separately. I also realized I didn’t enclose the back of the gauntlet (which is necessary if the piece is to be molded). So I added the back plate to the extension, and printed the pieces.
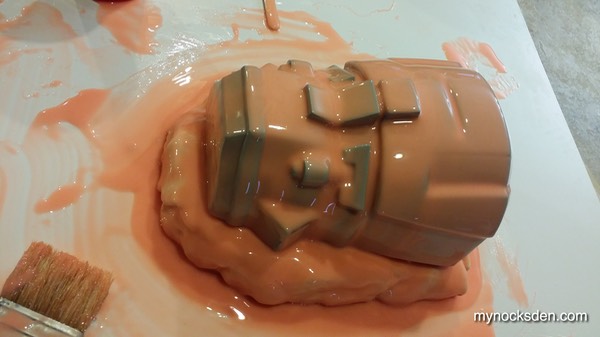
Next came the tedious task of tackling the 3D printed striation by blending the features using Bondo spot putty. This is one of the most important steps in the entire process, and by far my least favourite. Once Bondo putty was applied and allowed to dry, it was sanded down smooth.
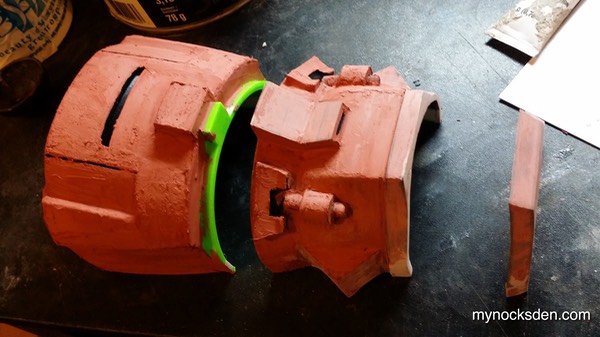
A coat of Dupli-Color automotive primer was then applied and allowed to dry for a few minutes under a 4800W heater (this stuff really does dry FAST in the presence of heat!) The trouble spots were then filled in with more Bondo putty, which was then sanded and primed over again.
The entire Bondo putty-sand-prime process was repeated several times, until the surface was as smooth as possible. One final coat of the primer made for a finished plug, ready for silicone molding!
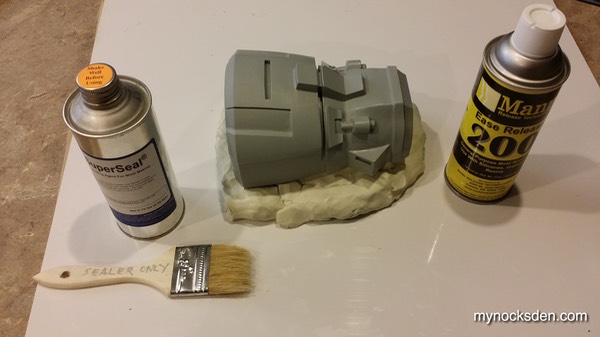
Next, I used some plasticine to build up a base, and sealed the surface with SuperSeal; after about half an hour, I sprayed it down with mold release in case SuperSeal missed any spots. The surface needs to be sealed really well, especially if any Bondo putty is showing; exposed putty will inhibit silicone curing, leaving it permanently tacky.
Next, I mixed up some Rebound 25, and applied the first coat.
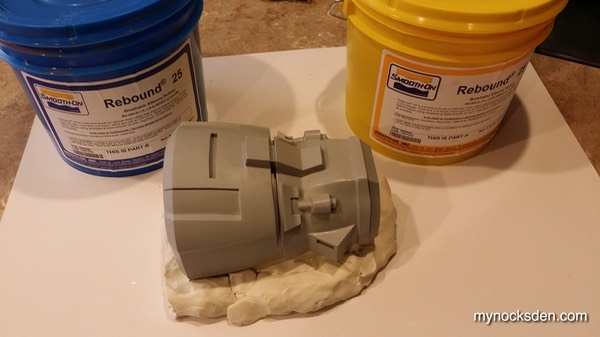
I waited for this to cure for about an hour and a half until it became tacky), and applied a second coat with 2 drops of Thi-Vex to make the silicone less runny.
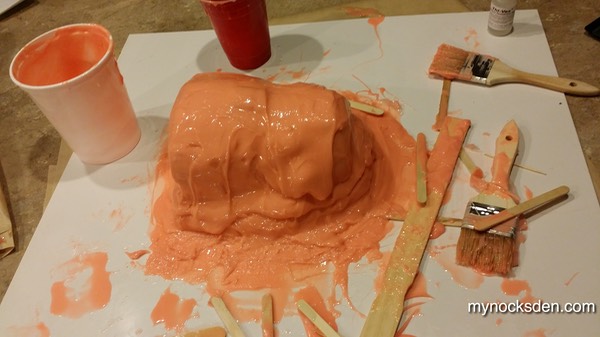
Third and fourth coats were then applied, thickened with 5 (or so) drops of Thi-Vex.
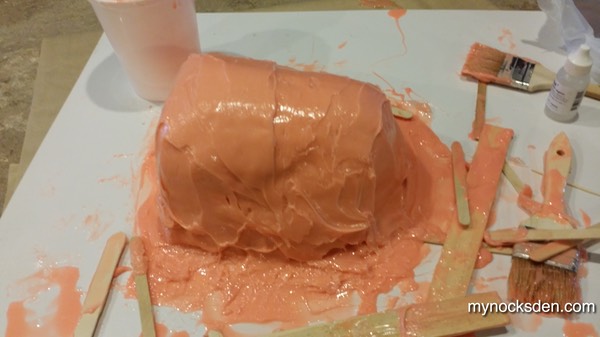
Normally, I would use Plasti Paste, or failing that Bondo to make the support shell, but as the silicone was curing I realized I had neither. I decided to improvise and use Smooth Cast ONYX resin, which I had plenty of. So, I mixed some up in a cup, and spread it around the silicone with a gloved hand. ONYX is a very fast curing resin that gets extremely hot when mixed. It is also mass sensitive, which means the more of if there is, the hotter it gets, and the quicker it sets! I actually burnt my hand scooping it out of the cup, so be careful if you attempt to do this yourself.

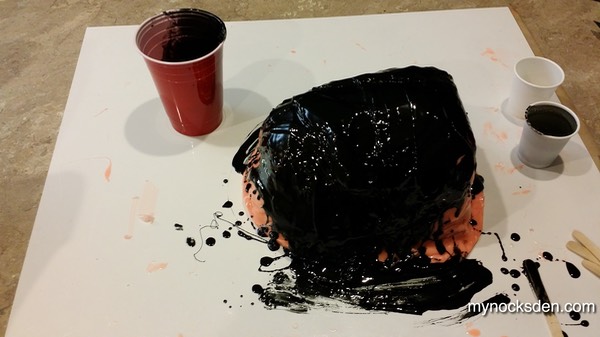
Unlike Plasti Paste which cures with jagged edges all over the place that need to be sanded, the ONYX shell is smooth on the outside, requiring no extra work.
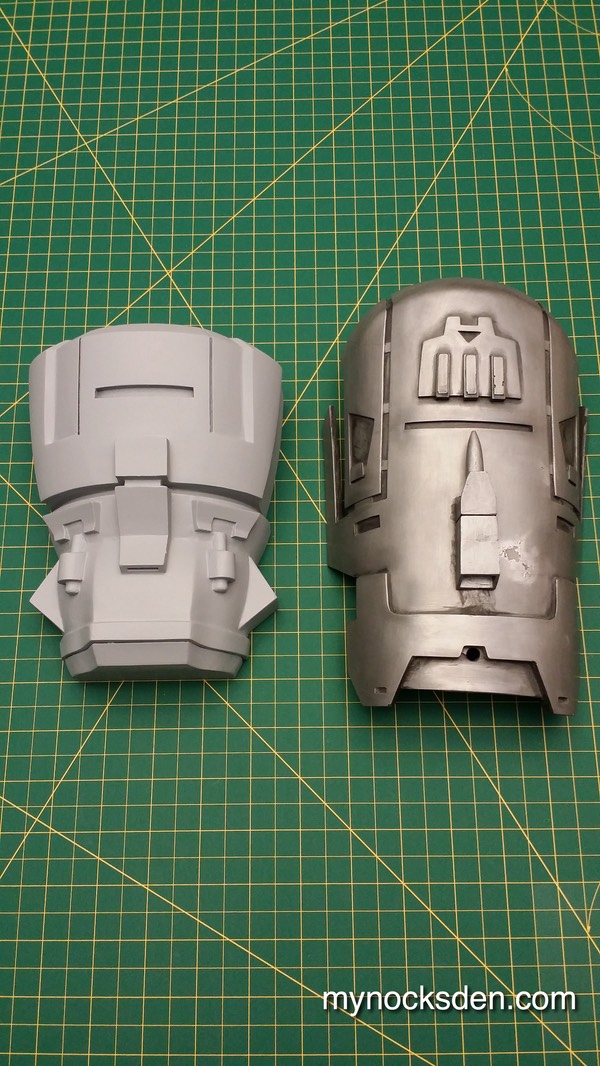
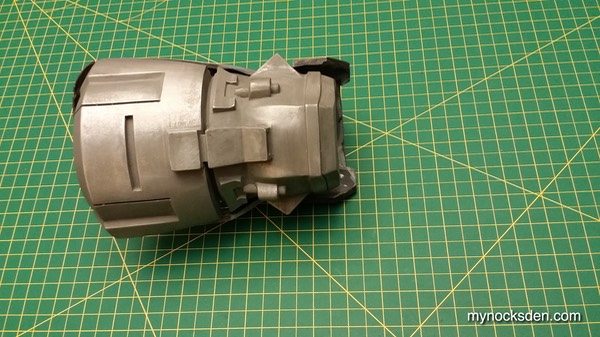
I peeled the shell off the mold, dug the model out of the silicone, and was glad to see that the detail was replicated flawlessly.
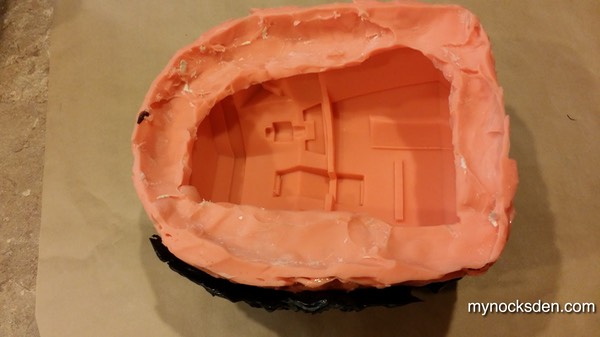
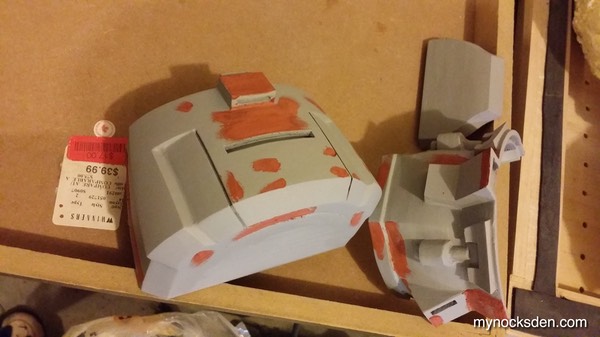
I trimmed the excess silicone off the mold, and whipped up a small batch of ONYX mixed with aluminum powder which would be used for cold casting the outer layer of the gauntlet.
I poured this into the model, and spread it around the surface with a gloved hand (which drives out the air bubbles and eliminates any pinhole imperfections from the final cast). The next layer was then done using Smooth Cast 65D with a few drops of So-Strong black pigment to give the resin that normally cures white a grey finish (I hate the look of white resin in wearable props!)
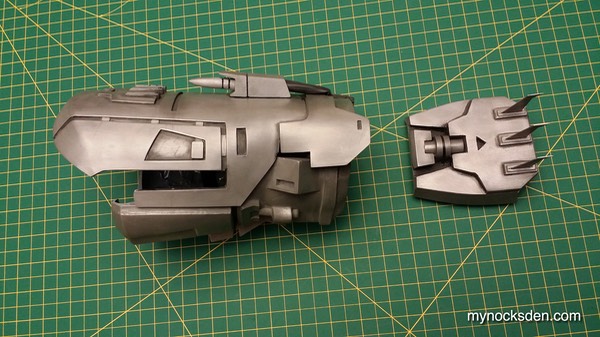
Once the part cured, I peeled it out of the mold and got my trimming tools ready!
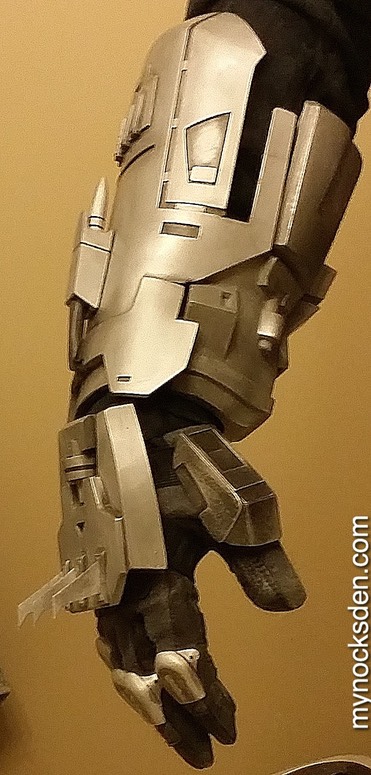
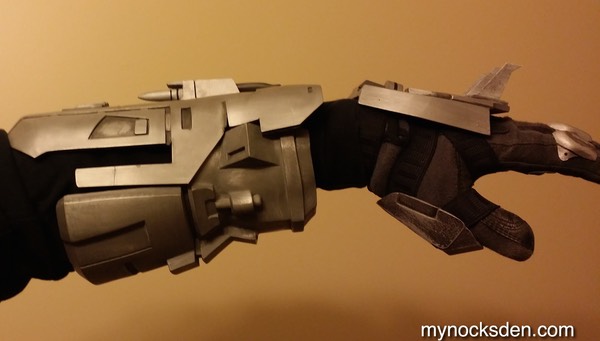
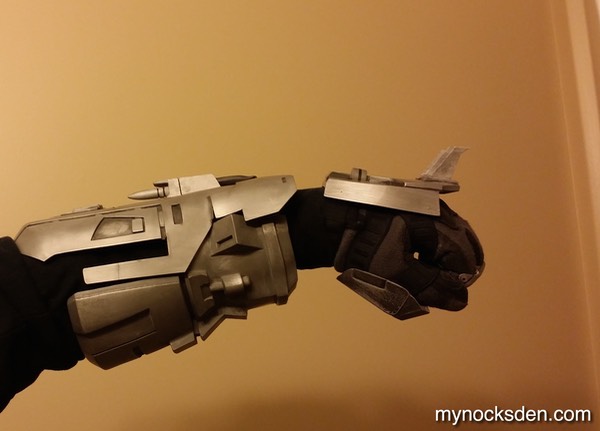
I lightly sanded the surface with 400 grit sandpaper, followed by 0000# steel wool to bring out the shine. To test the fit, I used my very first upper gauntlet prototype that was cast and trimmed many months ago; I joined the two halves (using velcro), and realized that the upper gauntlet backward-running-rail-thing was actually trimmed too short. I will have to fix this in the future, when I cast the final gauntlets for the costume.
Overall though, I think it’s safe to call the gauntlet assembly a success! :)
Thanks for looking!
* * * * * * *
Back to Sith Acolyte Forearm Armour