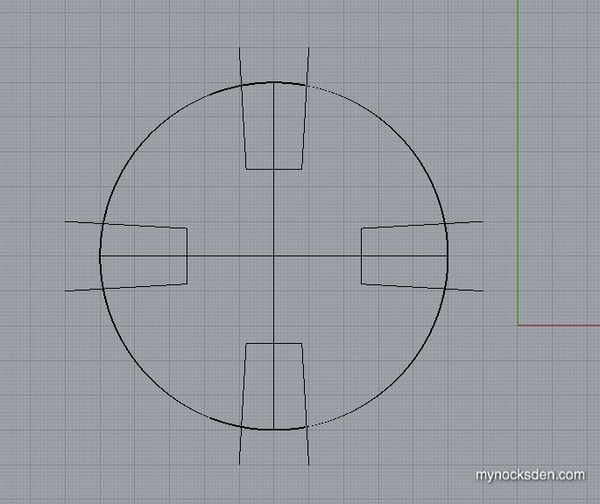
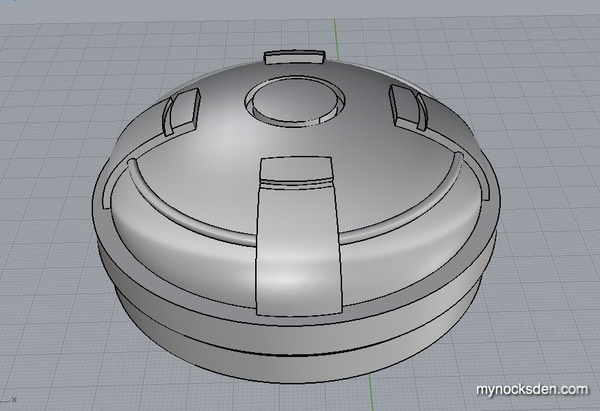
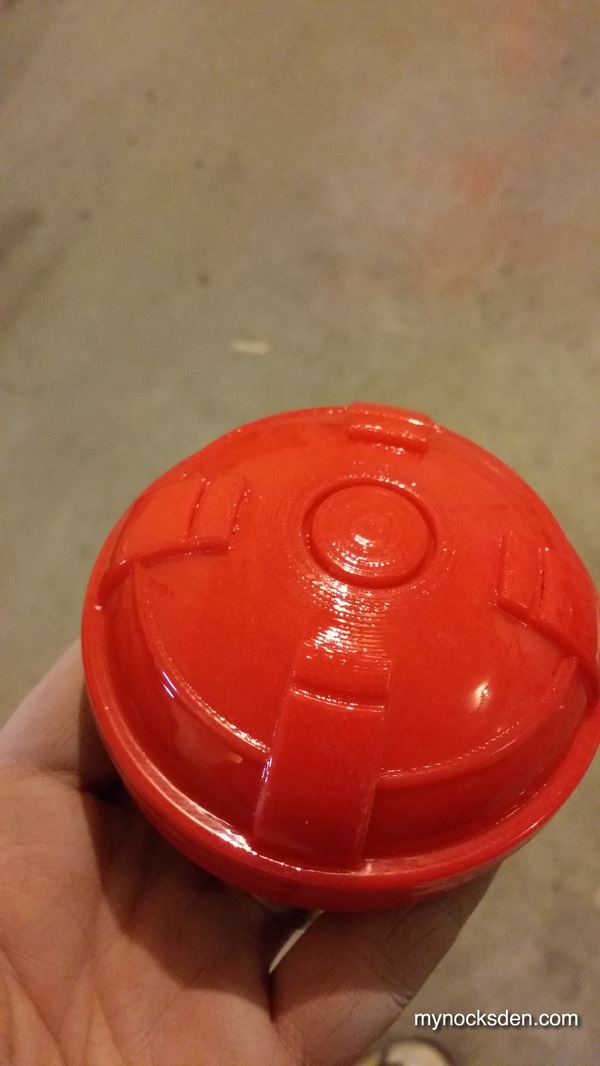
Given the fairly simple design of this piece, modelling went fairly quickly.
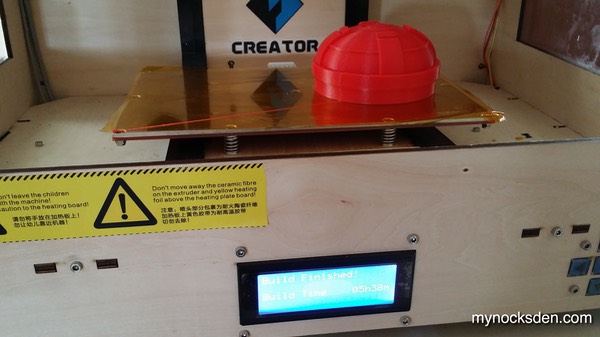
With a layer height of .20, an infill of 10%, feedrate of 40 and travel rate of 70, the part took 5 hours and 38 minutes to print.
I then used acetone vapour method to smooth out the surface.
Next, I primed the model, then used Bondo spot putty to fix up any surface anomalies.
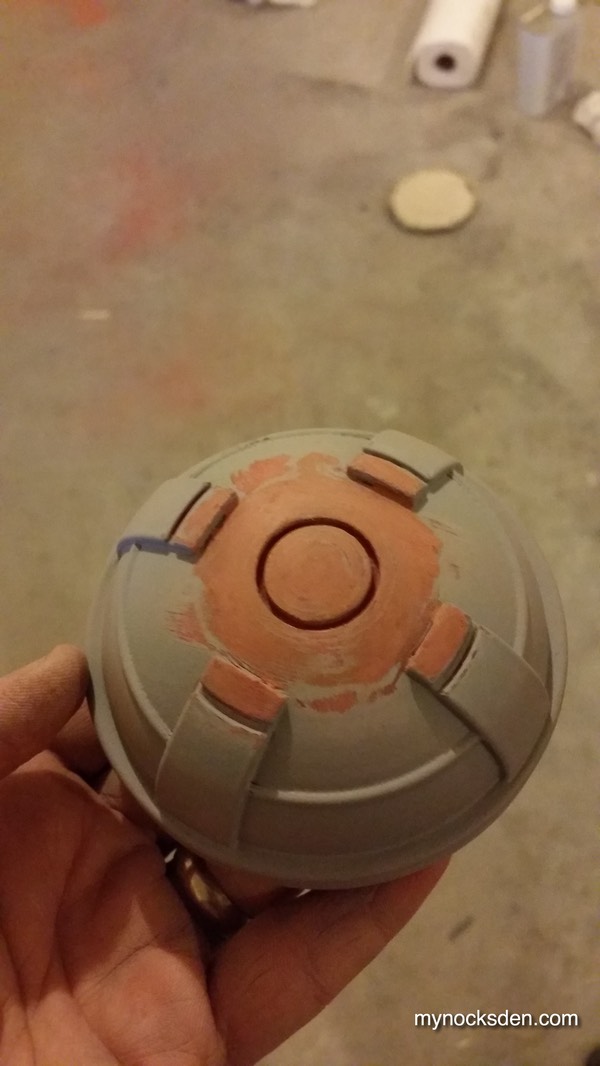
I sanded these spots down, and primed again, applied more putty where needed, and repeated the process until the master was completed. Next, I coated the surface with Super Seal, and let sit for 30 minutes.
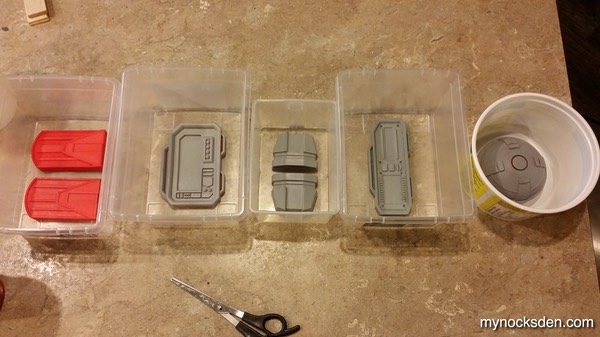
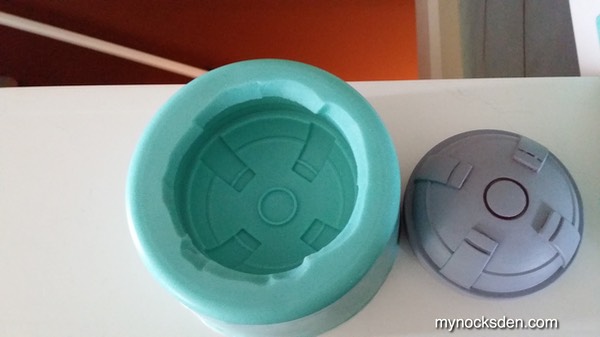
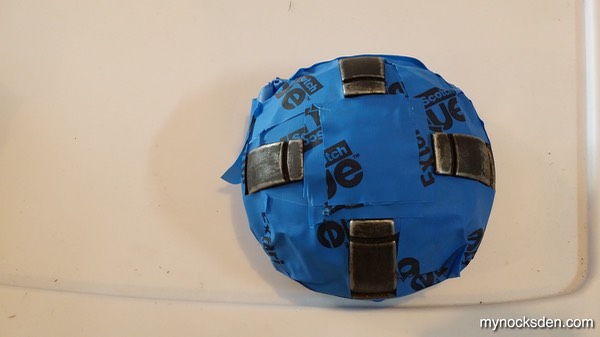
The master was then set up for molding inside an empty "Dessert Whip" container.
NOTE: When molding hollow 3D printed parts, it’s important to fasten the masters down, or they WILL float up to the surface when silicone is poured!
I roughed up the contact surfaces with sand paper, and superglued the model to the bottom of the container.
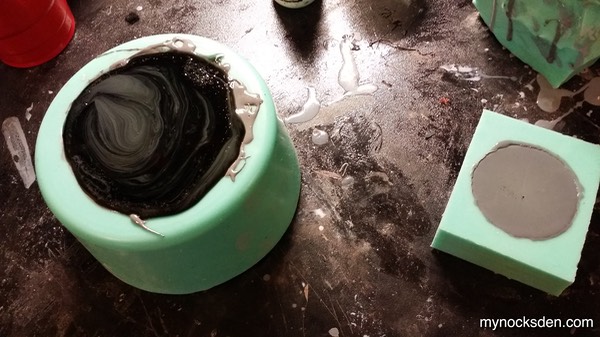
I then whipped up some Mold Star 15 silicone (1A: 1B ratio), and poured it in. I put everything on top of the dryer, turned it on, and let the shaking work any bubbles trapped inside to the surface.

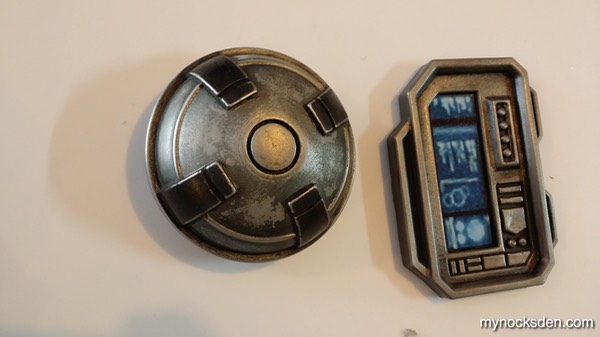
Several hours later, I peeled the master out of the mold, which revealed a perfect print coat!
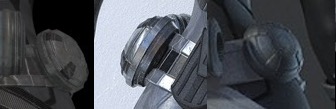
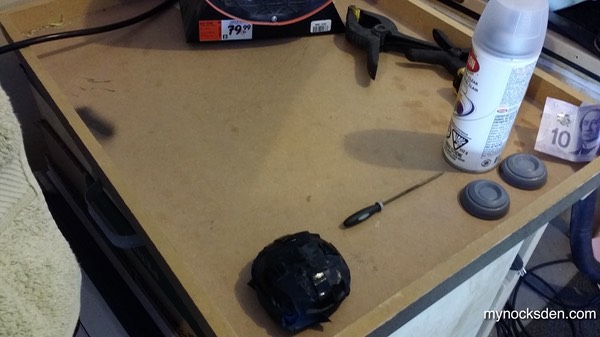
Picking up a few months later, I cast the detonator in cold cast aluminum using SC65D as the main resin medium (left).
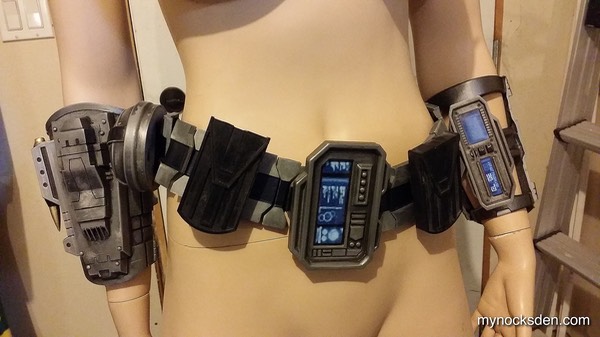
Once demolded, I buffed it with steel wool and shot it with a coat of Dupli-Color automotive paint that I use for the rest of the build. I let this dry for no more than 5 minutes in front of a heater…
...and followed it up with more nbuffing with steel wool. I found that rubbing the paint off while it’s still slightly tacky to be the best way to achieve really great-looking weathered effect. I then masked the four little brackets off, spraypainted them black (Krylon), and used the same technique to weather the look. The end result turned out great!
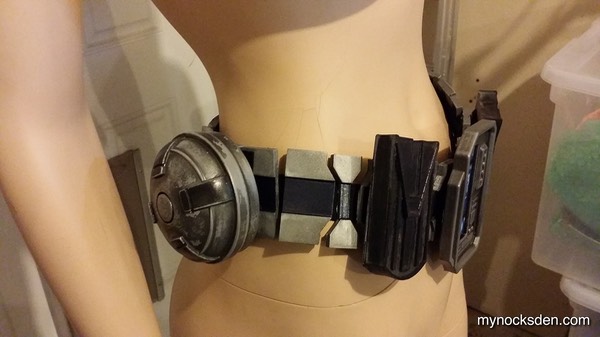
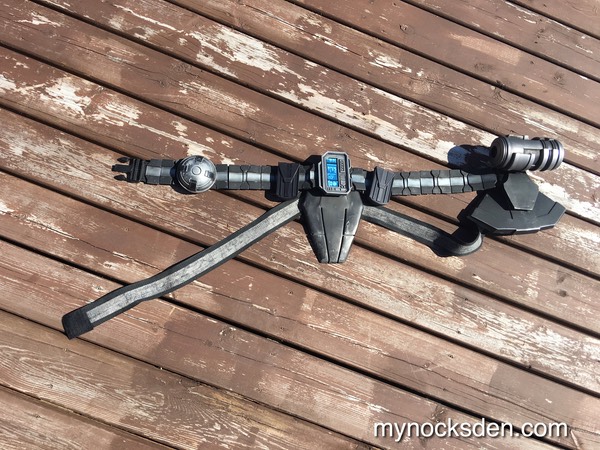
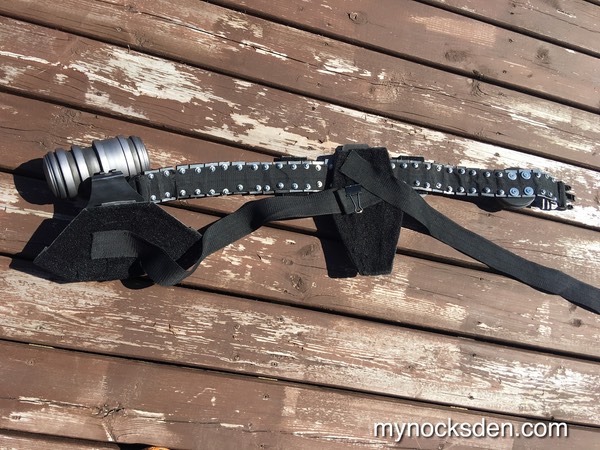
Thanks for looking!
* * * * * * *