Initially, given their relatively simple design, I wanted to vacuum form the elbows. However, after consulting the reference material more closely, I saw that there were some sharp grooves that would not come out well during vacuum forming. I figured that the best way to get the detail would be to create a solid block in the general shape of the elbow plate, vacuum form an ABS shell over it, cut the detail out of that, glue it down to the aforementioned block, and cast the whole thing in silicone.
Using my well-honed method of folding paper, drawing half the design, cutting out said design, unfolding paper, and arriving at a near-perfect symmetry, I began working on the Sith Acolyte elbow pads.
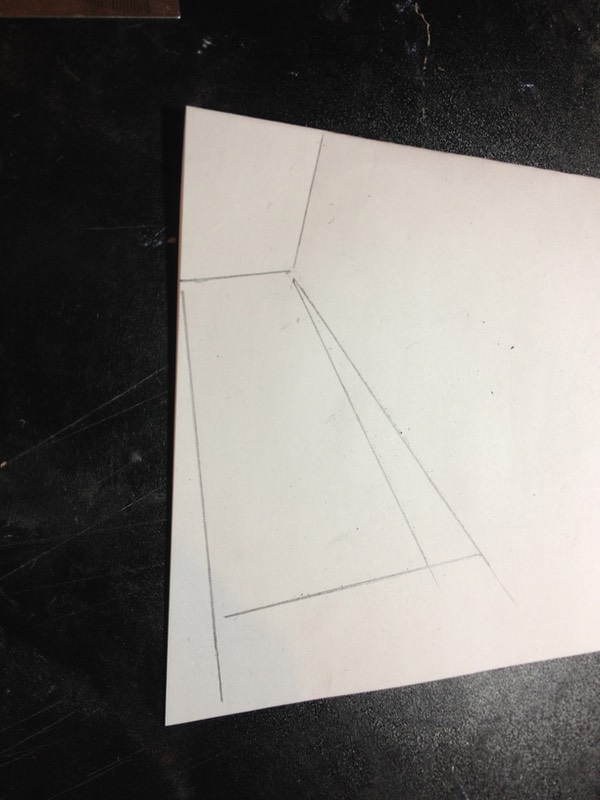
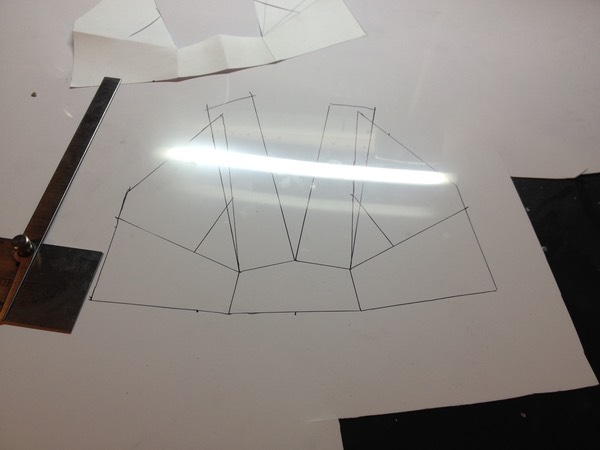
I traced this onto a sheet of .04 ABS plastic, (the are some extra lines/overlaps in the drawing; these are mistakes that have no bearing on the final design)...
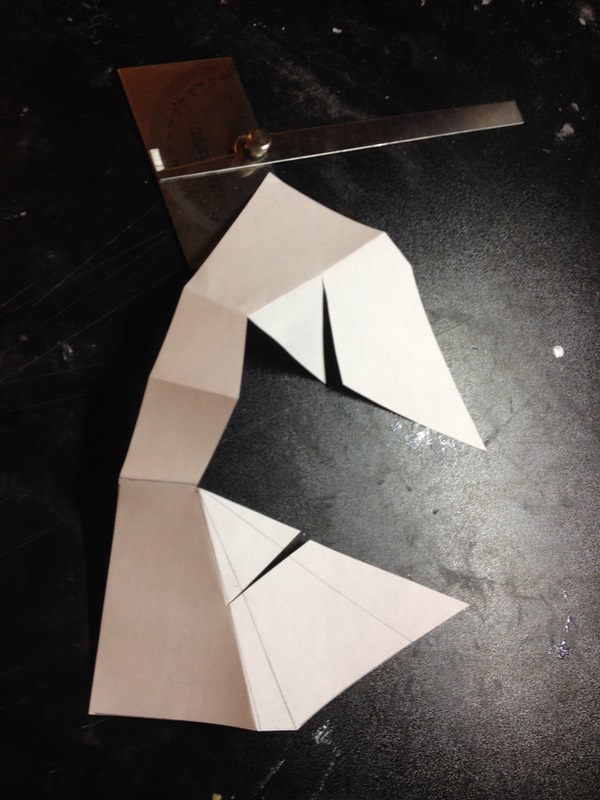
… and cut out the design using a utility knife.
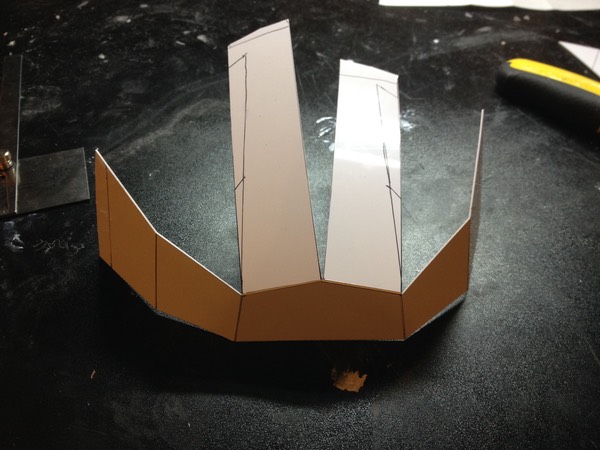
Folding and then gluing the pieces together, and adding some more ABS plastic to complete one of the walls, I arrived at this:
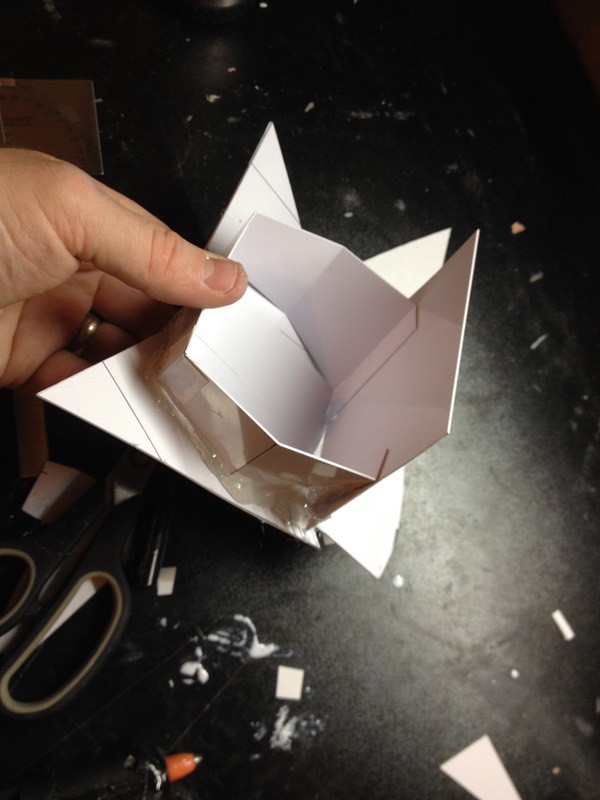
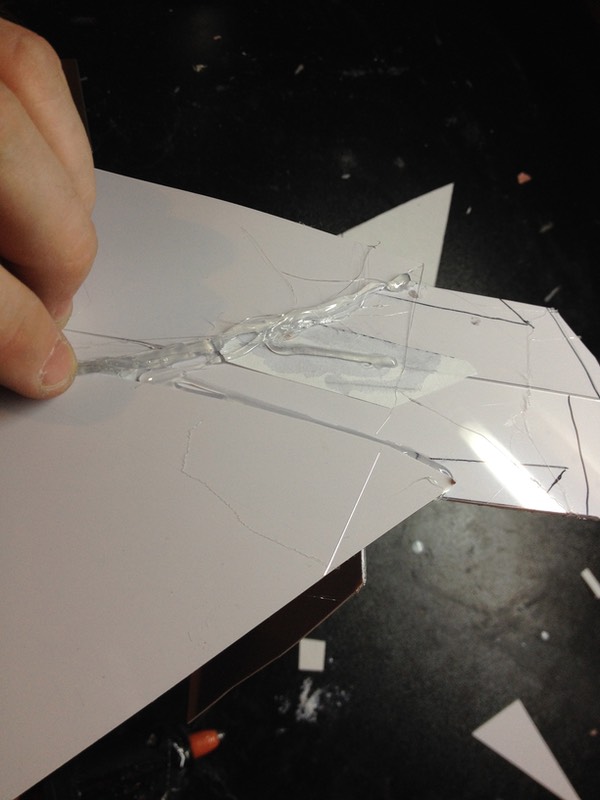
When building the walls, I made sure to put the glue on the outside of the structure, sealing all cracks and joints. This structure would eventually act as a mold to pour resin into, so it needed to be sealed tight.
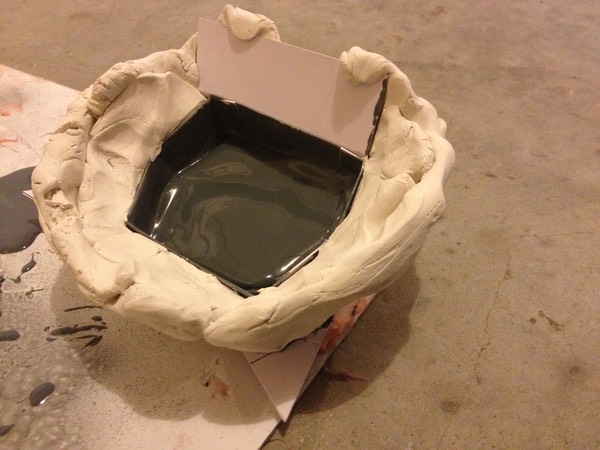
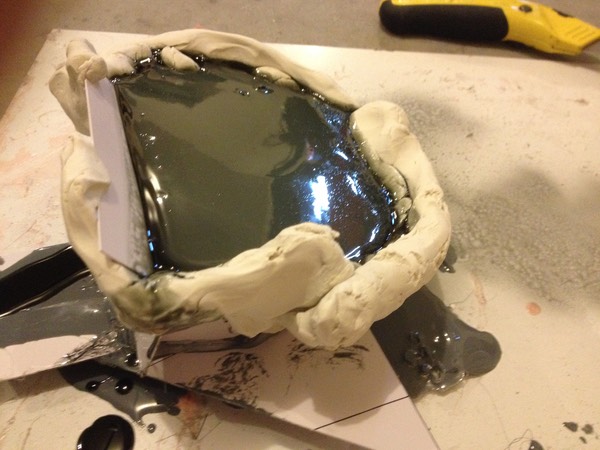
I ended up with a little hollow box; I built up the walls using some plasticine, sprayed the inside with mold release, and filled the box with Smooth Cast 65D resin tinted with black So-Strong pigment.
To fill the box took two pours, since I didn't mix enough the first time. After all that hot glue, I noticed that I didn't seal the bottom well enough, as a little resin seaped through. Luckily, this stuff sets very quickly, and the liquid became viscous enough to seal the leak before too much resin escaped.
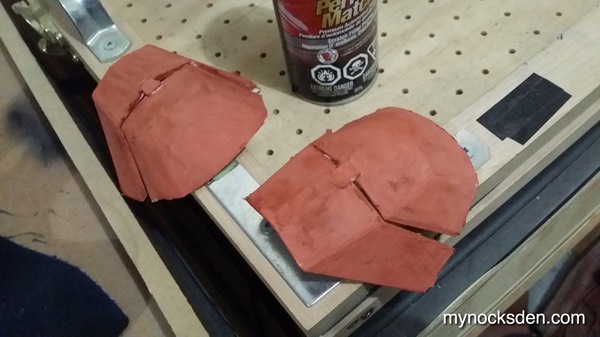
After demolding, I realized I made the front wall bend inward into the mold, which would lock the mold into the plastic during vacuum forming. So, I built this side up with Bondo, and using a belt sander, I ended up with a buck ready for the vac table.
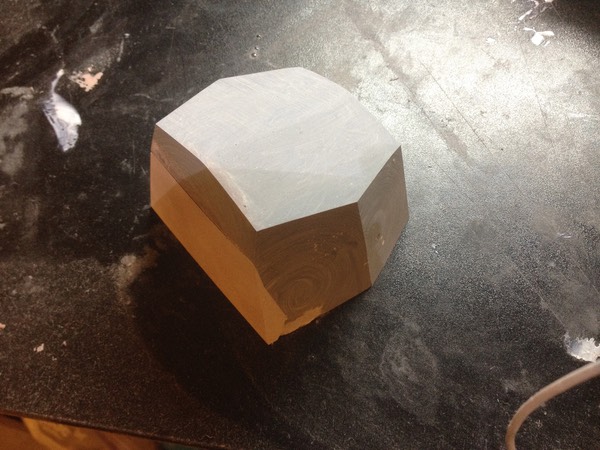
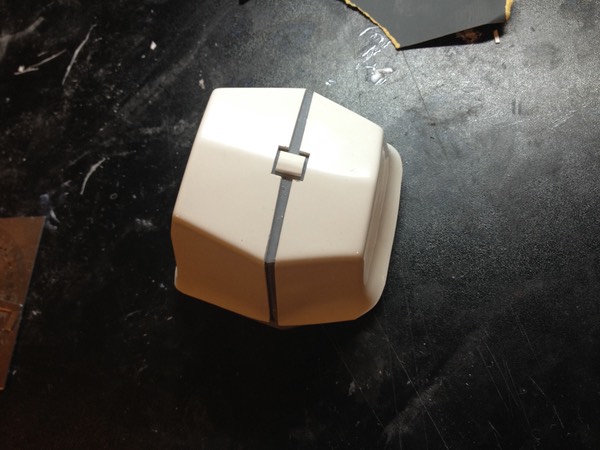
Using .08 gauge ABS, I did a pull.
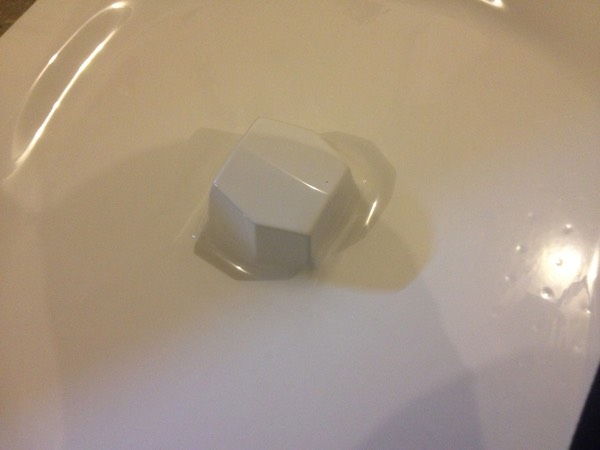
I trimmed the piece out, cut it in half along the middle, cut out the middle rectangle from a scrap piece of ABS, and glued everything to the resin block.
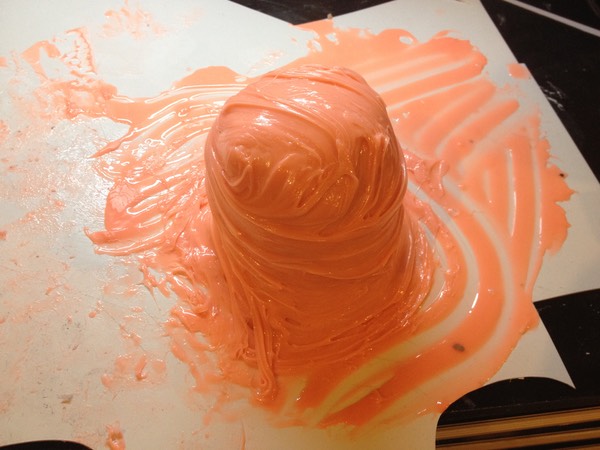
Applying Rebound 25 in two coats - the print coat being sped up by applying heat, with the second coat thickened with Thi-Vex…
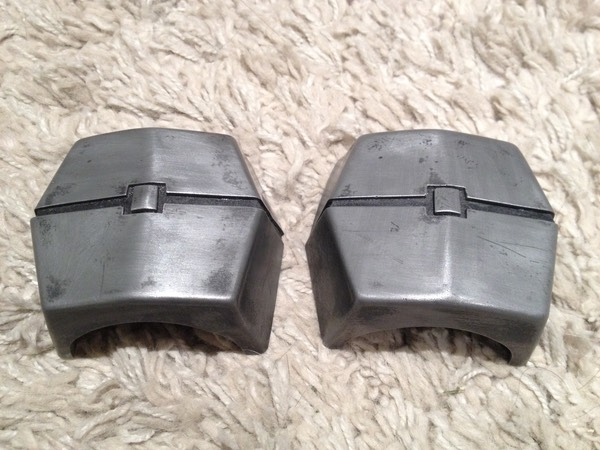
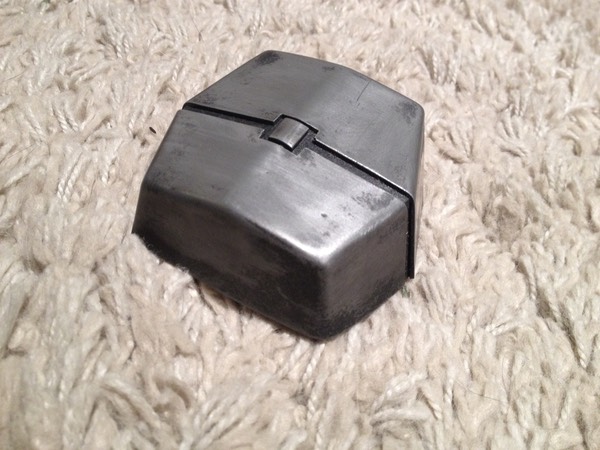
… I cold cast the pieces in aluminum, and trimmed them using my belt sander. Due to the smooth finish of the ABS plastic being perfectly captured by the silicone, it took almost no effort to bring out the shine using steel wool. I added some scratches and imperfections using a rotary tool, lightly sprayed these areas with flat black Krylon paint, let dry, and used steel wool to take the excess paint off the surrounding smooth surface. The scratches and dents captured the black paint, making the pieces look old and weathered.
Sith Acolyte elbow armor plates were thus completed.
Version 2
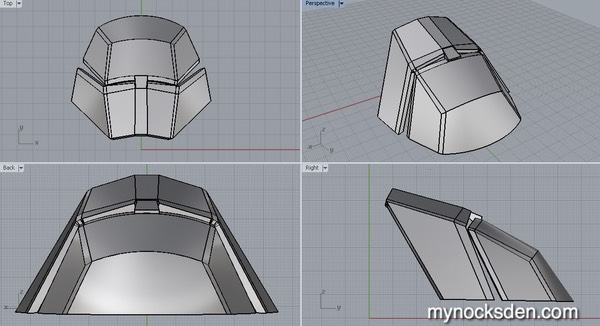
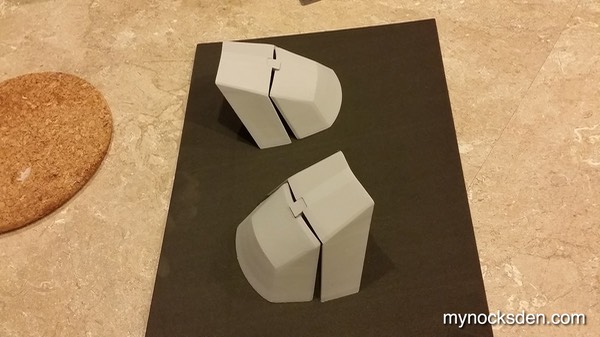
Over a year later, I decided to go back and redo the elbows to a more screen accurate, larger shape. I CAD modelled the new plate on the computer, and exported the STL file for printing.
Once the elbows were 3D printed...
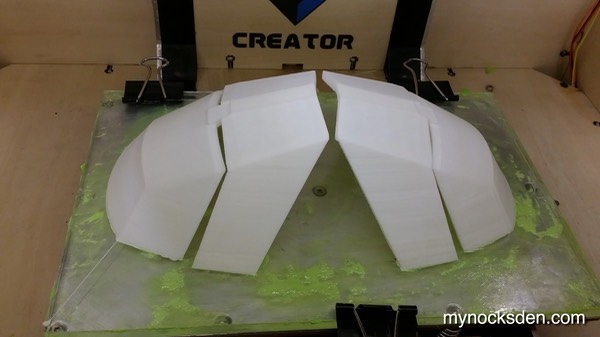
… I covered them with Bondo spot putty and let sit in front of a heater to dry. Sanding revealed some uneven spots, which I filled with more spot putty, sanded and then primed using automotive primer.
A few more rounds of putty, sanding and priming produced a nice, smooth surface, ready for molding.
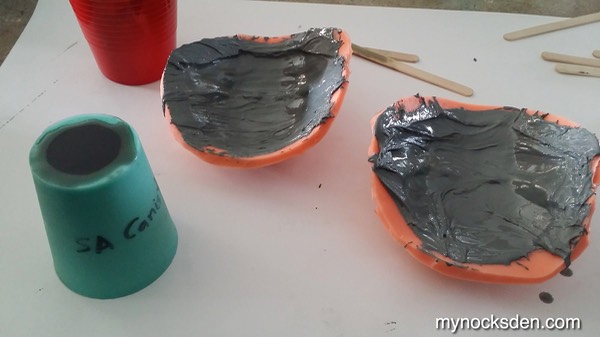
I built up the base underneath the elbow plates with some thin craft foam from Walmart, and coated everything with SuperSeal, which helps seal any pores left on the surface.
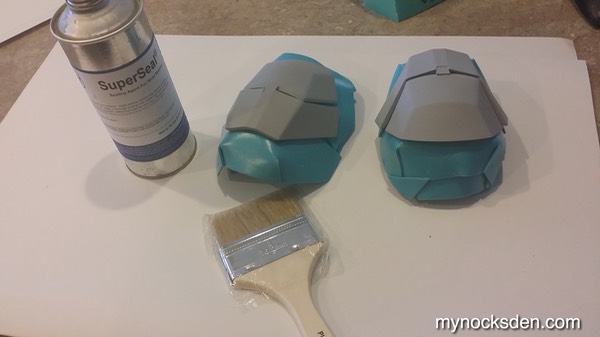
Next, using Rebound 25 Silicone and the same technique used for version 1 plates, I molded the elbows, and trimmed the excess silicone off. Since I made the molds quite thick, there was no need to do a mother mold (or support shell), so I left it as is.
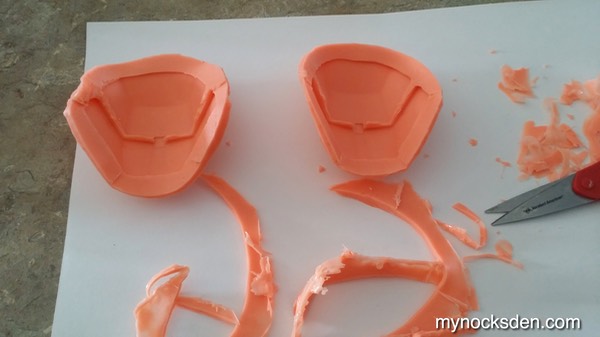
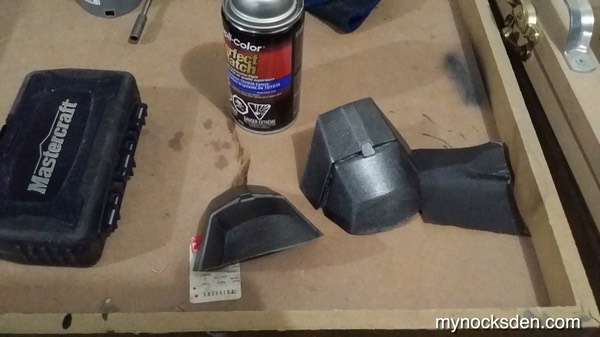
Next, using SmoothCast 65 resin infused with aluminum powder, I slush cast the outer layer of the elbow plates, then followed this up with another layer of 65D, this time pigmented grey, but without the aluminum additive.
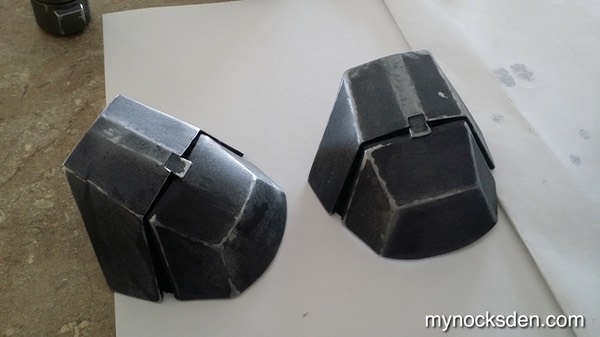
Once the resin cured, I demolded the plates, trimmed and painted using the same Dupli-colour spray paint as before.
The wear effects were done using abrasion as well as silver Testors paint, which completed the piece.
Thanks for looking!
* * * * * * *