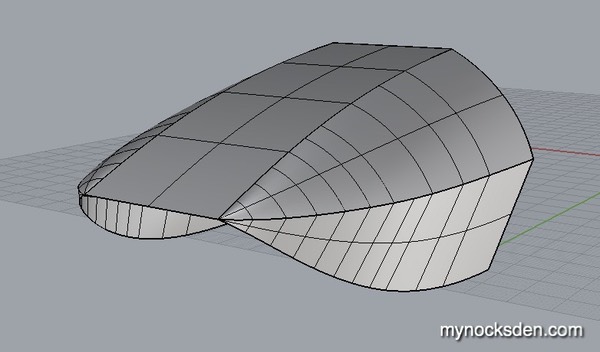
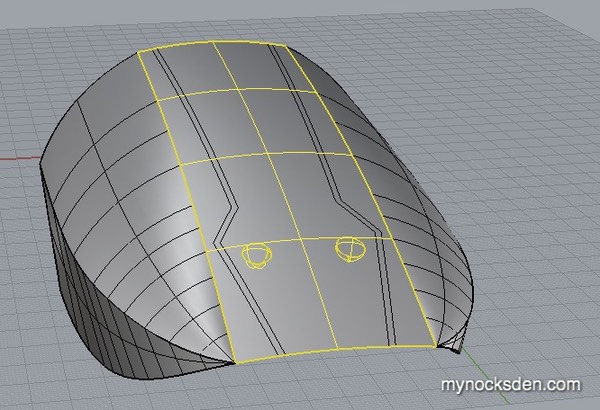
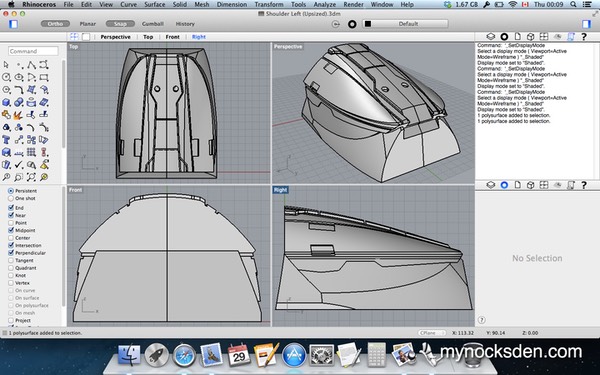
As with the right pauldron, the left pauldron was CAD built in Rhino, to be exported as an STL file and eventually 3D printed.
Once the model was finished, I added a base to raise it off the ground - crucial for rubber molding. I then resized it to be 16cm long and 14cm wide, and exported it to an STL file.
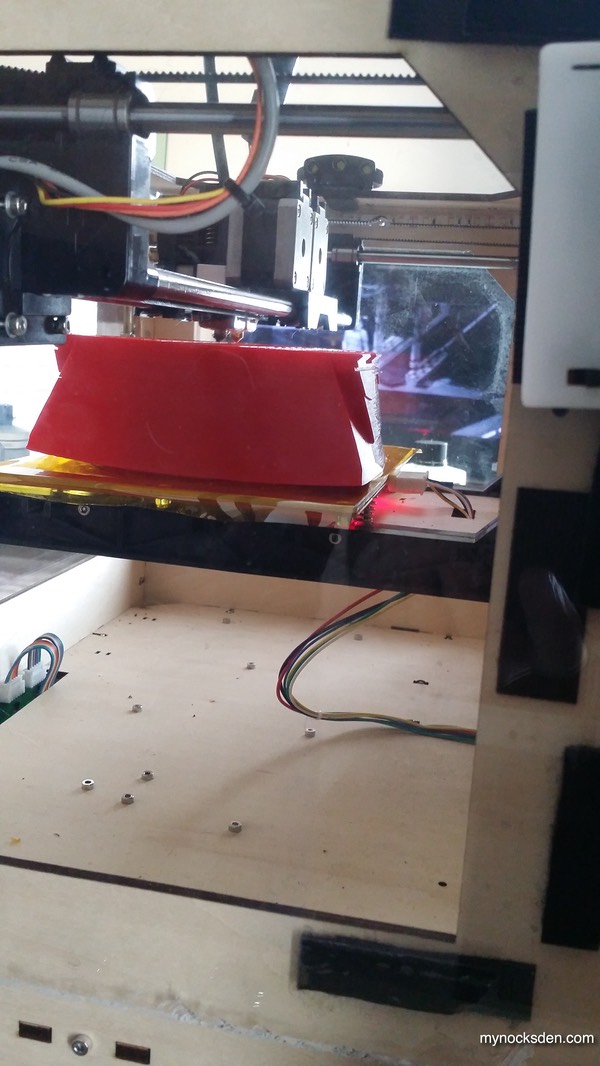
Something must have gone haywire during the ReplicatorG slicing stage, because every few layers, the printer would produce a solid flat cross section through the model, which slowed down the print considerably.
The size of the object also caused the model to lift at the corners quite a bit; actually, even though the print stuck to the Kapton tape due to the ABS sludge I use, the sheer size and mass of the pauldron caused it to curl and pull the tape right off the build plate! This is another good reason to build up the height of your model by a centimetre or two so that if any curling occurs, it will deform into the support base and not into the useable model itself.
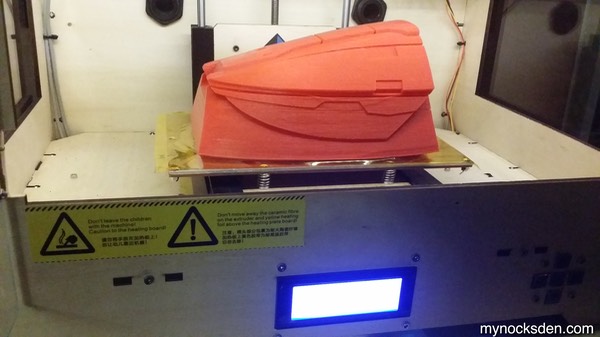
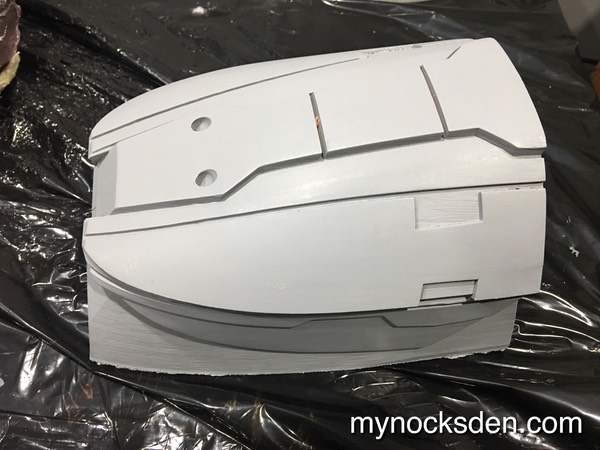
After 24 hours and 3 minutes, the print was finished, and aside from the significant curling at the corners (which would not affect the model itself), the detail came out quite well.
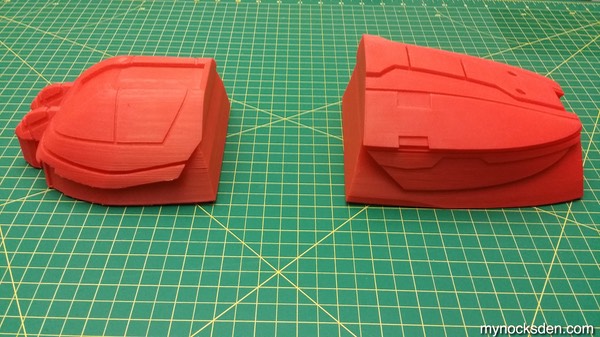
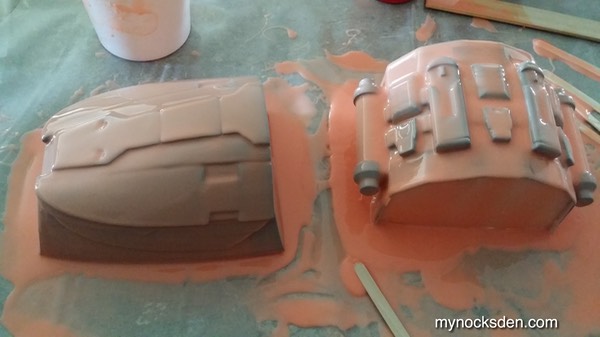
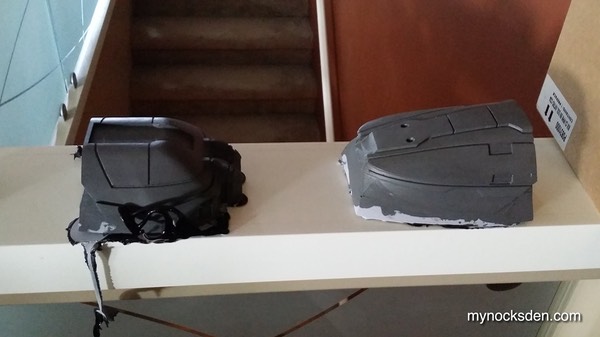
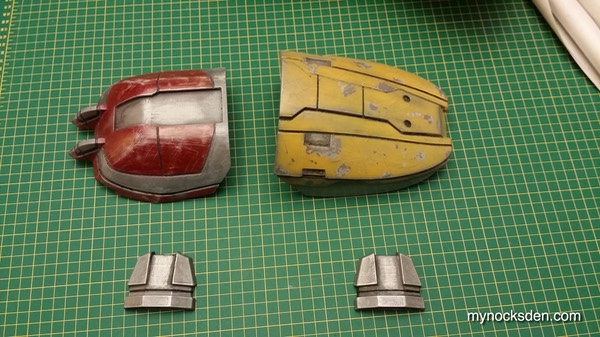
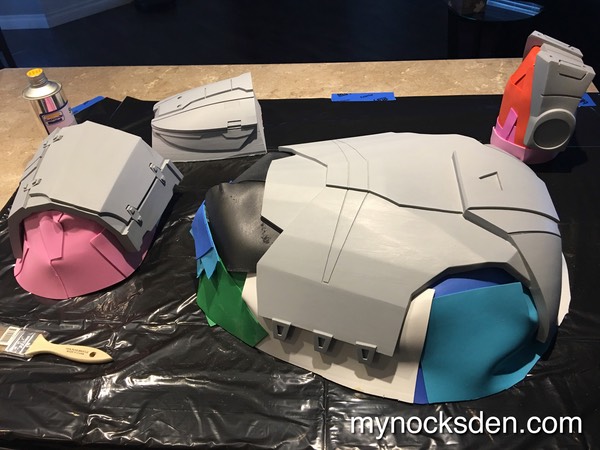
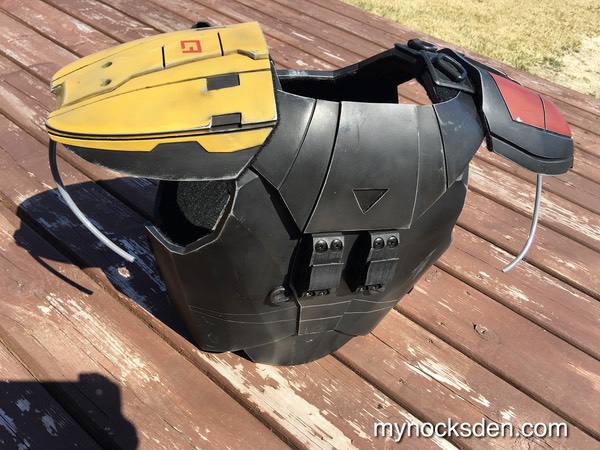
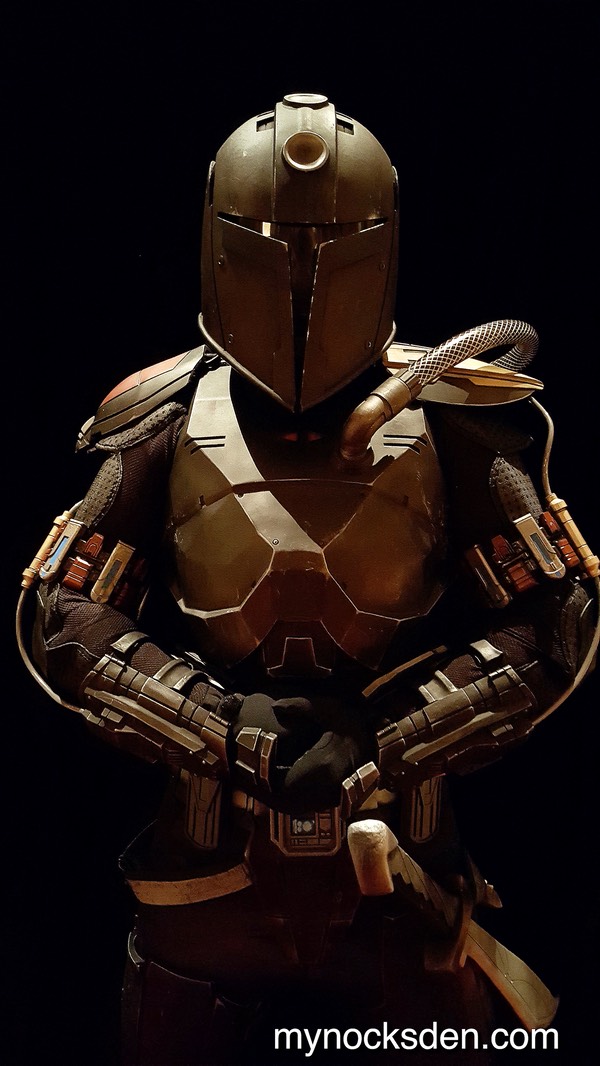
Here is a photo of the left and right pauldrons side by side.
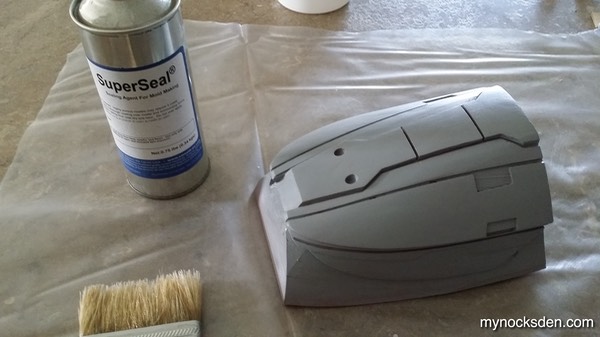
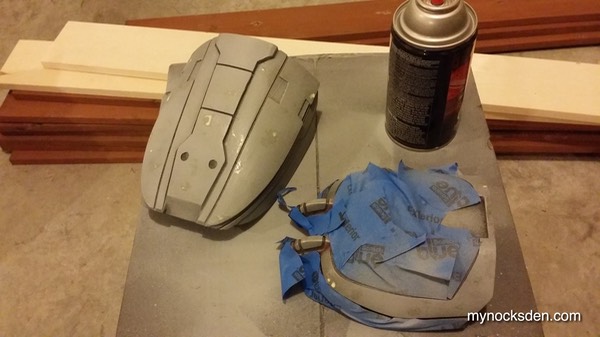
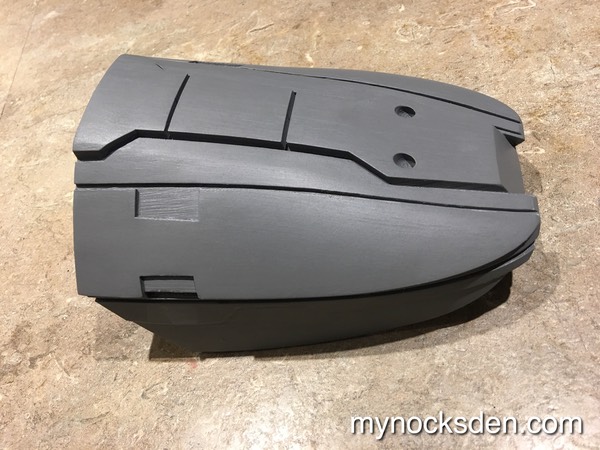
Next, I used Dupli-Color automotive primer on the pauldron, which revealed some trouble areas. I touched these up with Bondo spot putty, sanded and primed again until I had as smooth a surface as I was going to get.

I thought about using Mold Star 15 to mold the left pauldron as well, however the box mold method uses up A LOT of silicone. Since this stuff is incredibly expensive, I decided to do a brush on mold using Rebound 25 (which I have plenty of) instead. The trade off is that this way I would conserve silicone, but the mold would take significantly longer to make, since multiple coats would be needed.
So, I coated the model with Super Seal to fill in all the pores, and let this dry for about 30 minutes.
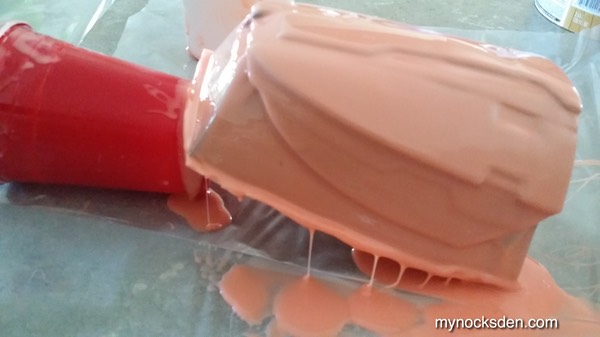
Next, I mixed up some Rebound 25 and began applying the print coat. During the first 20 minutes, I watched the rubber and made sure to pop any bubbles that rose to the surface. Failing to get rid of these during this step can result in tiny craters in the rubber, and ultimately lead to your final cast being covered with tiny resin beads.
After this sat for about 2 hours, I elevated the model slightly and applied another coat, letting the silicone run backwards to the direction it flowed last time, so that all parts and undercuts of the model were coated equally.
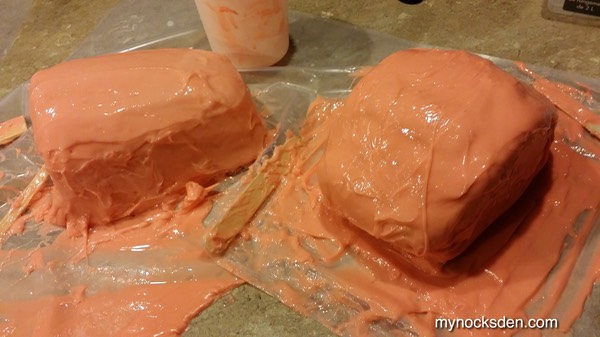
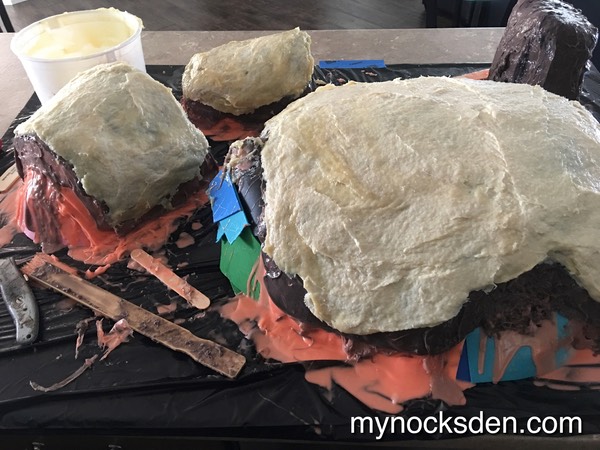
After a few hours, I applied another coat of silione thickened with Thi-Vex, and one more coat a few hours after that.
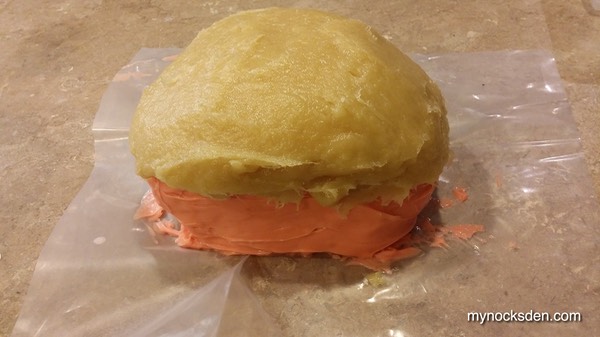
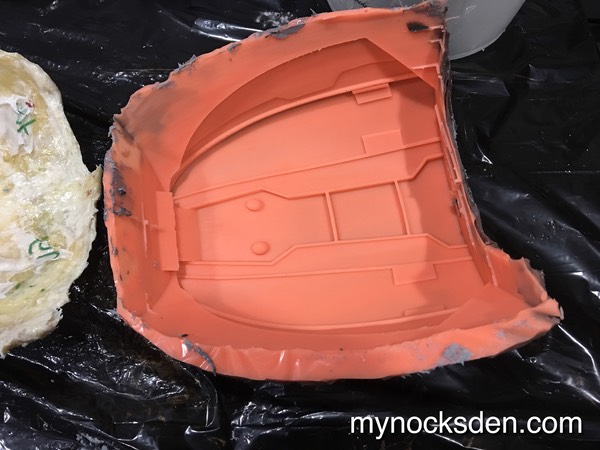
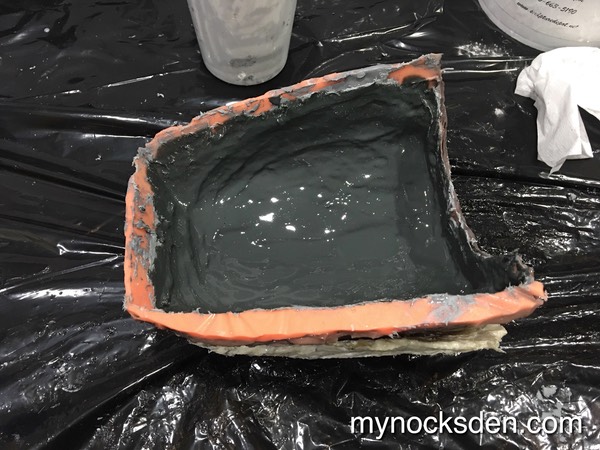
I then used Plasti Paste to create a support shell, which would help the silicone hold its shape during casting. Demolding revealed a perfect print of the detailing!
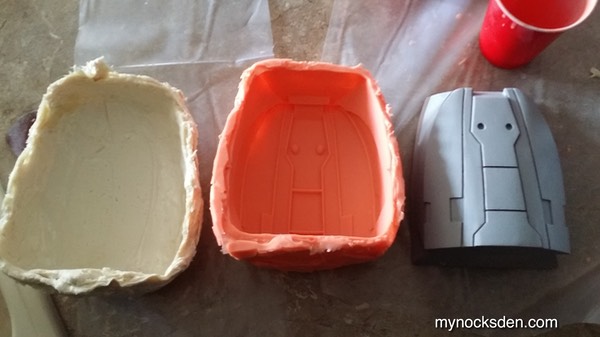
I then cold cast the piece in aluminum using Smooth Cast ONYX for the outer layer, and Smooth Cast 65D for the inner.
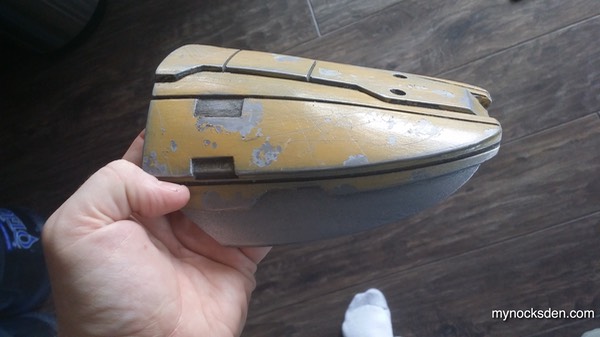
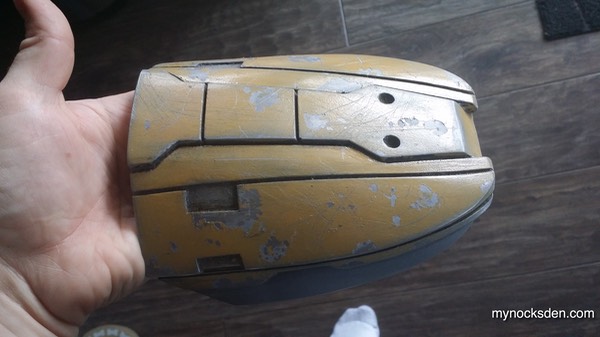
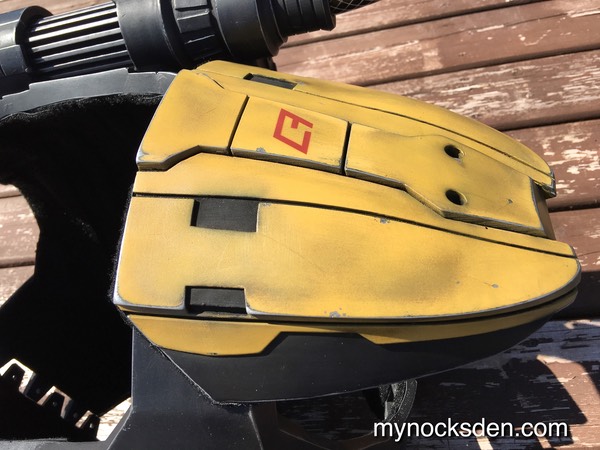
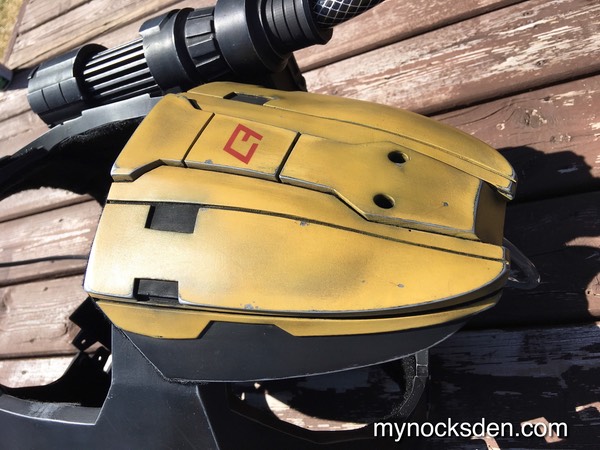
After trimming the cast using a multi saw and a belt sander, I polished the pieces up with steel wool, and used latex masking fluid and blue painter’s tape to mask off the areas that would need to be painted yellow (and red on the right pauldron also shown in the next photo).
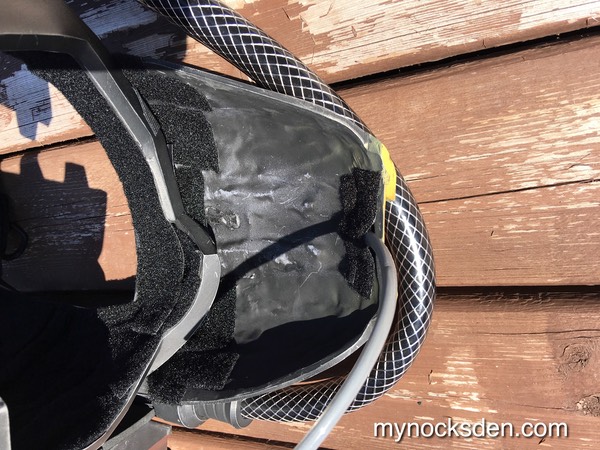
Weathering the piece with some steel wool and black acrylic brush-on paint completed the pauldron.
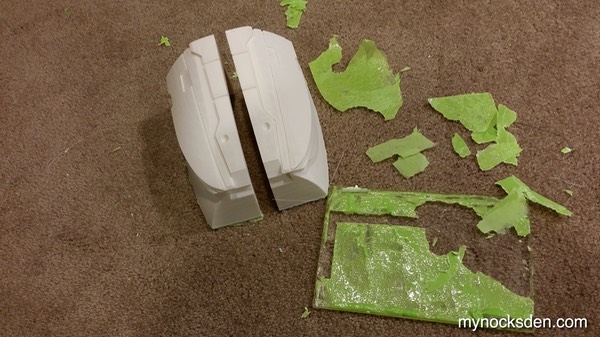
Soon after making this, I realized that the pauldron was way too small. I decided to leave this part as is for now, and continue with the build. Several months later, I resized the CAD model, and printed a new version. This new model was too large to fit onto the build plate of my printers, so I cut it in two, and printed it on two separate machines.
Following the same master preparation and molding steps as before, I molded and then cast the second version of the pauldron.
Thanks for looking!
* * * * * * *