To start, I used my trusty old V1 Sith Acolyte Bondo Mold to use as a base, and used Sculpey to create a rough shape of the face.
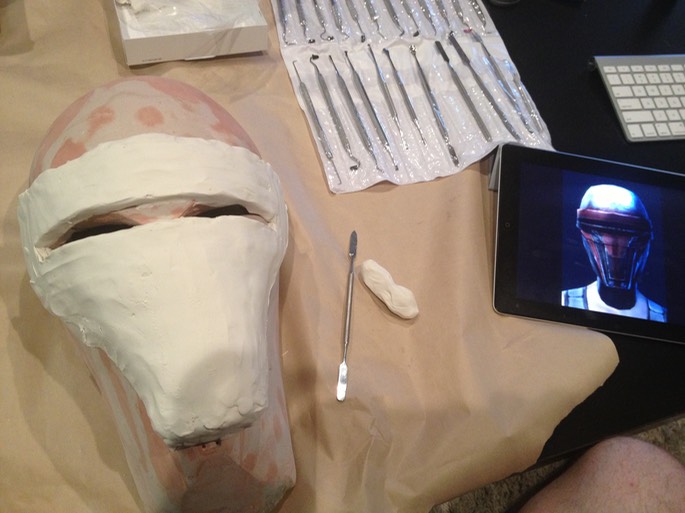
Realizing it would be easier to tackle the visor later, I filled this in, and continued to work on smoothing out the surface.
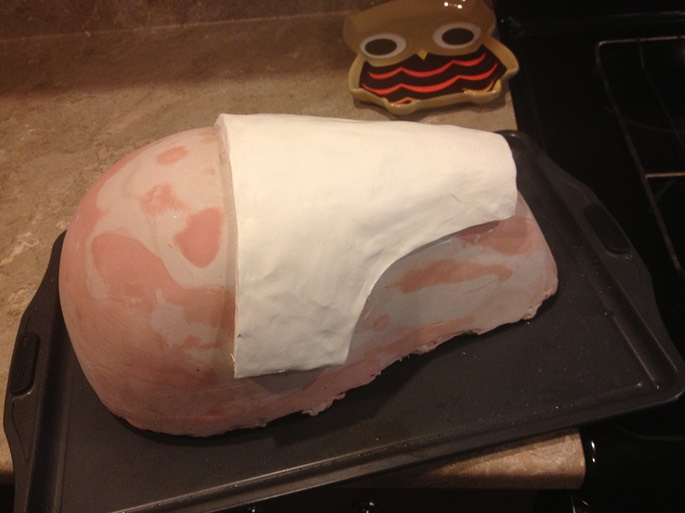
Next, I threw this onto a baking tray and put the whole thing in the oven on 275F for about 70 minutes. While putting Sculpey in the oven is quite safe (and is exactly how you're supposed to cure it), in retrospect, I would NOT recommend putting anything Bondo in the oven. It stinks to high heaven and is actually quite toxic. I did it once, and will never do it again!
Anyway, once the sculpt baked, I used an electric sander to smooth everything out.
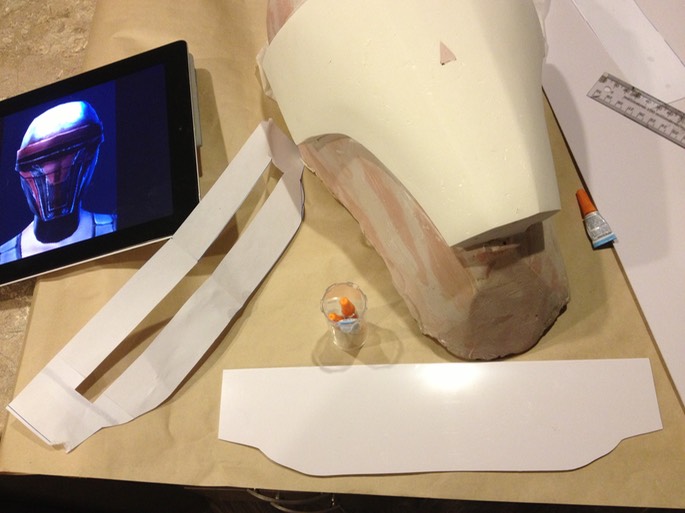
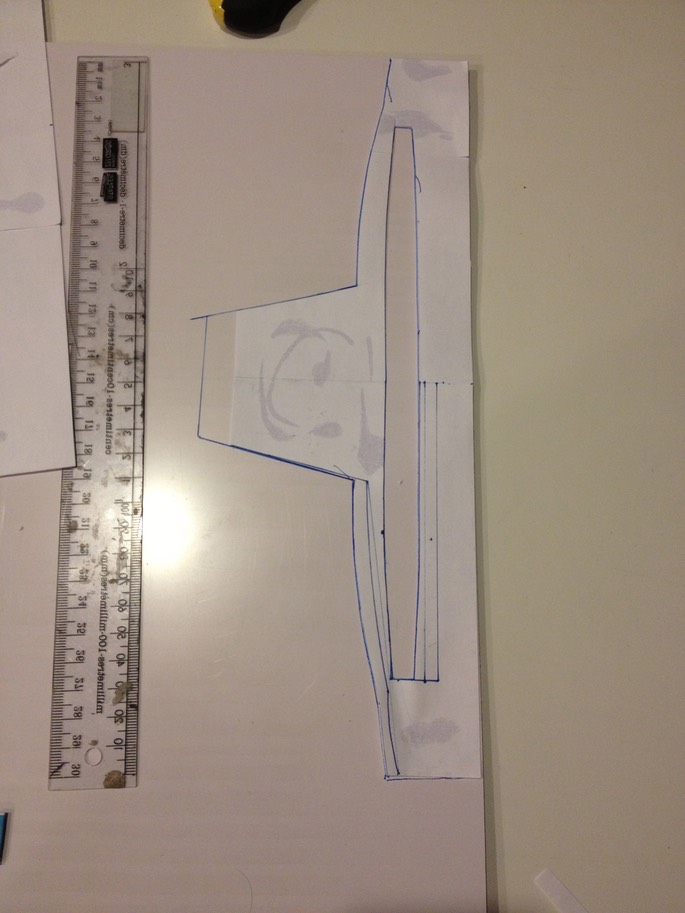
As Revan's mask looks to be made of layers, I decided to use some spare ABS sheets I had lying around to create the features. To make things easy, for each layer of detailing, I took a long sheet of paper, folded it in half, and drew half the design on it.
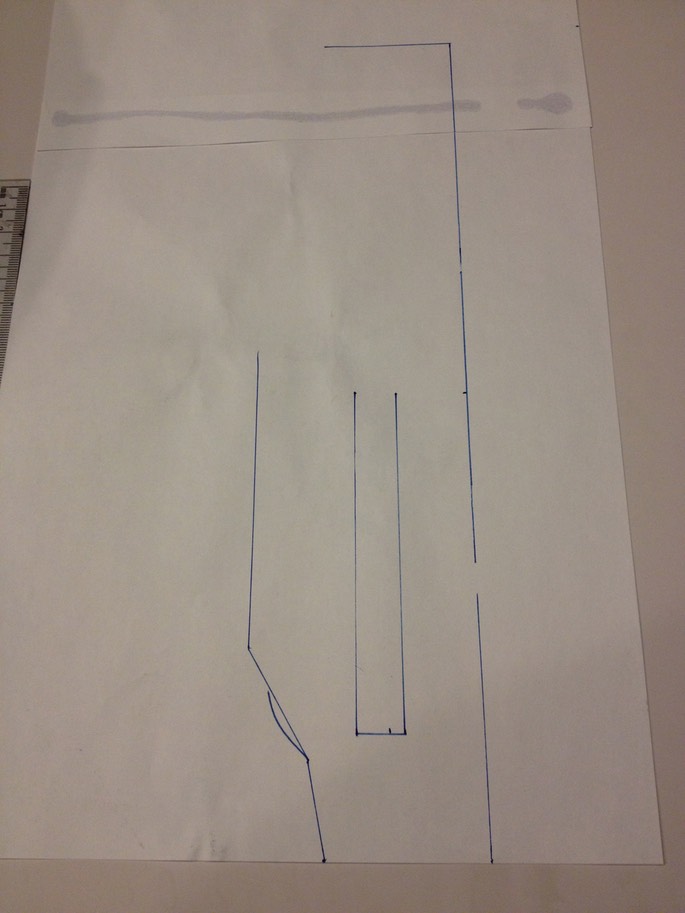
i then cut the design out, unfolded the paper, and got a perfectly symmetrical cutout which I then traced onto a sheet of .06 ABS, and cut out with scissors.
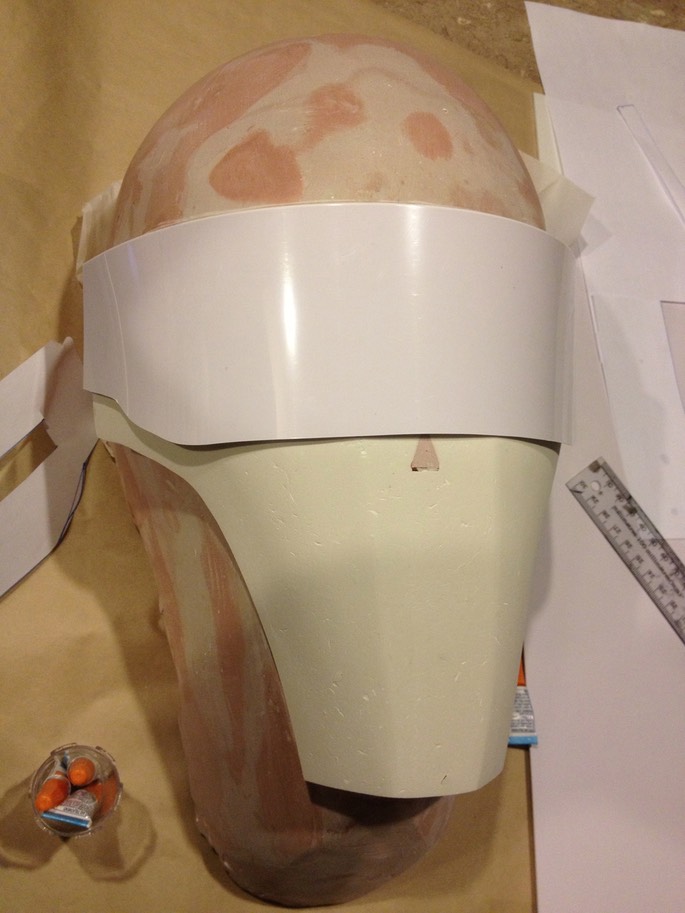
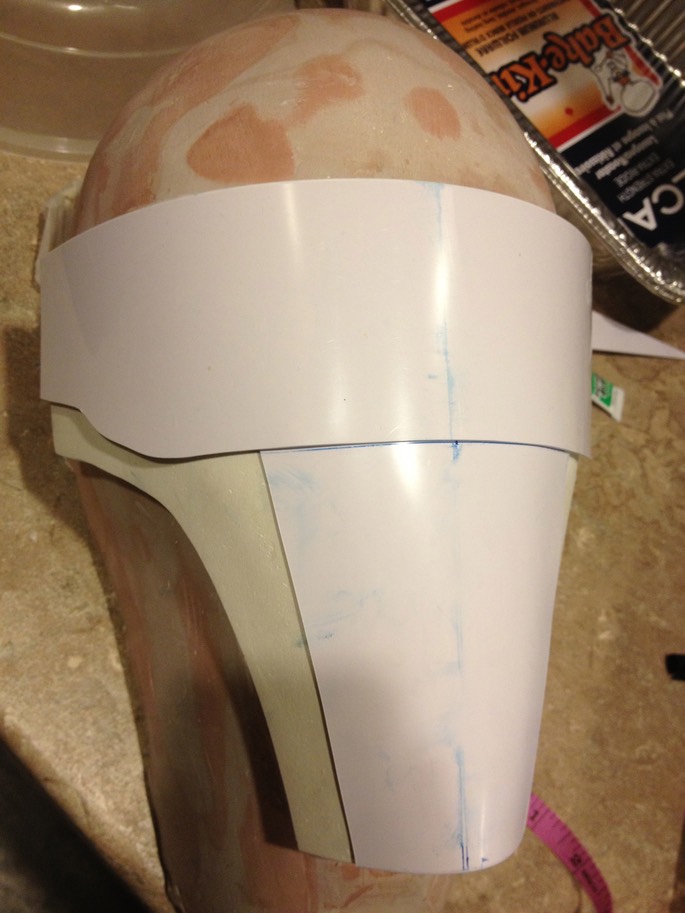
I then glued the first layer onto the cured Sculpey using superglue (which bonds really well to it, by the way), and proceeded to do the same fold-draw-cut-trace method with subsequent layers of the features.
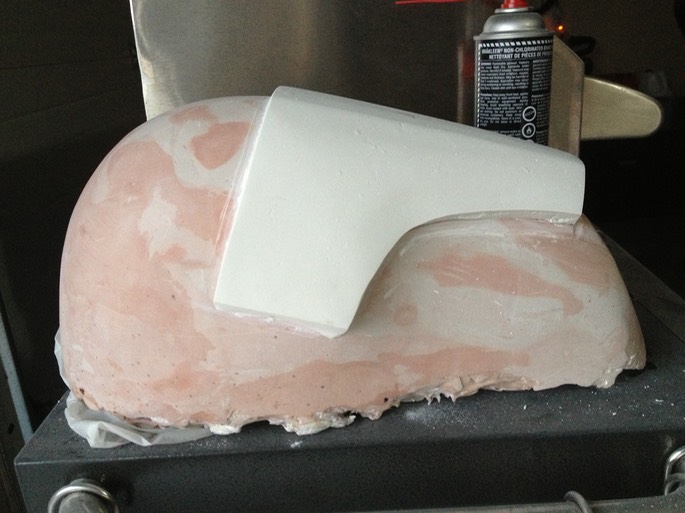
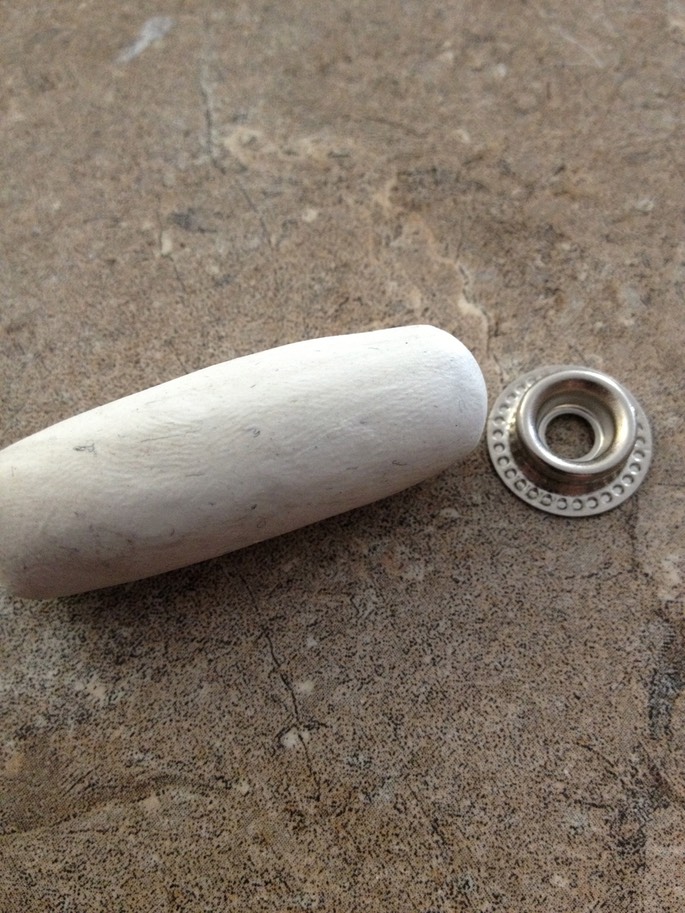
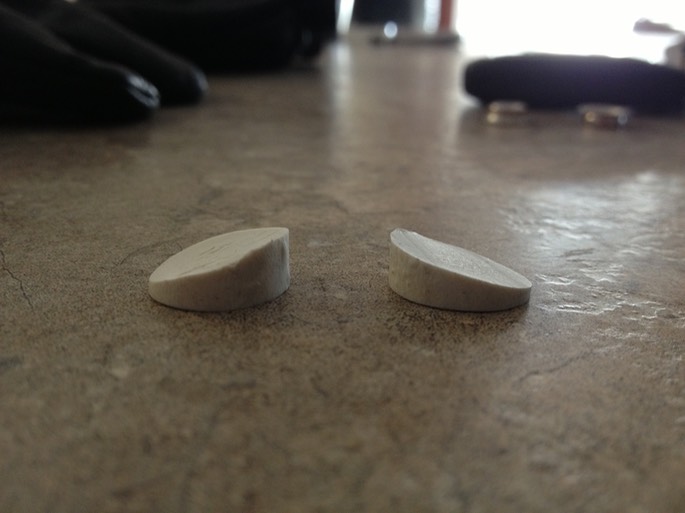
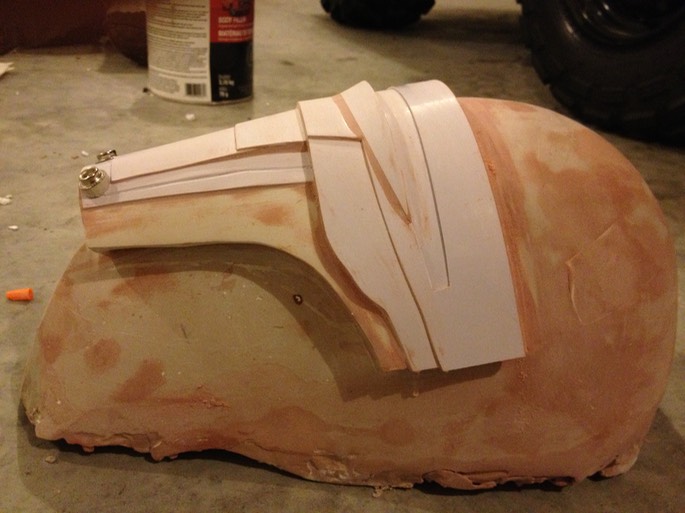
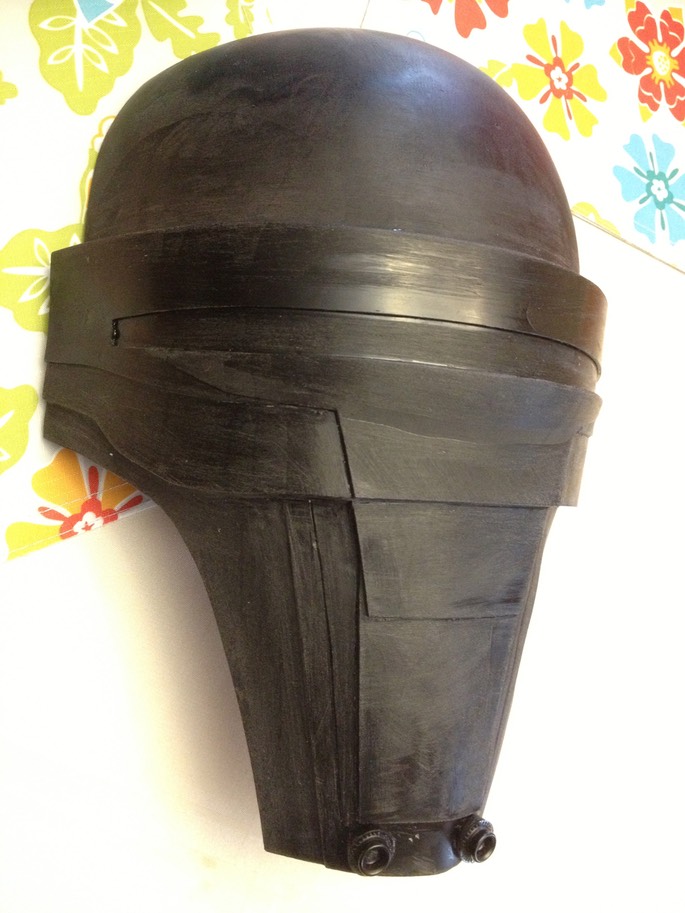
Next I needed to do the two little speakers (or whatever) at the bottom of the mask. I rolled up some sculpey, cured it with a heat gun, then cut two small pieces at an angle, and superglued two snap button (male ends) to make the speakers (or whatever).
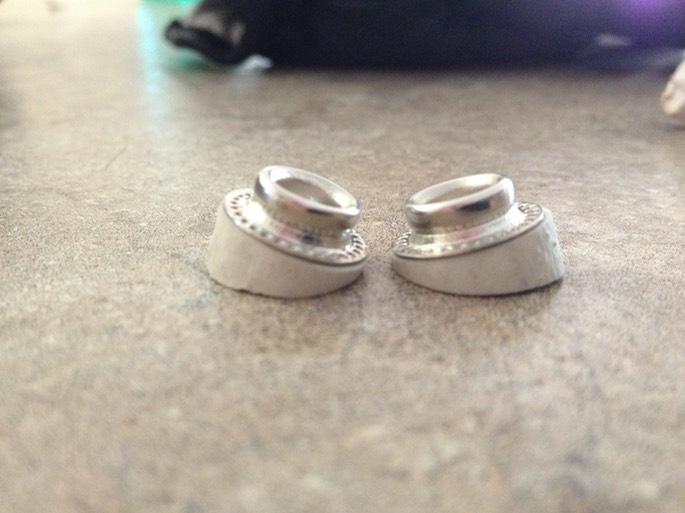
(At this point, the snap-button assembly had to be at an angle as in the above photo in order to face straight ahead on the curved mask surface. This will actually prove to be a needless set of steps when later in the process I end up deciding to change the length and shape of the mouth/chin area).
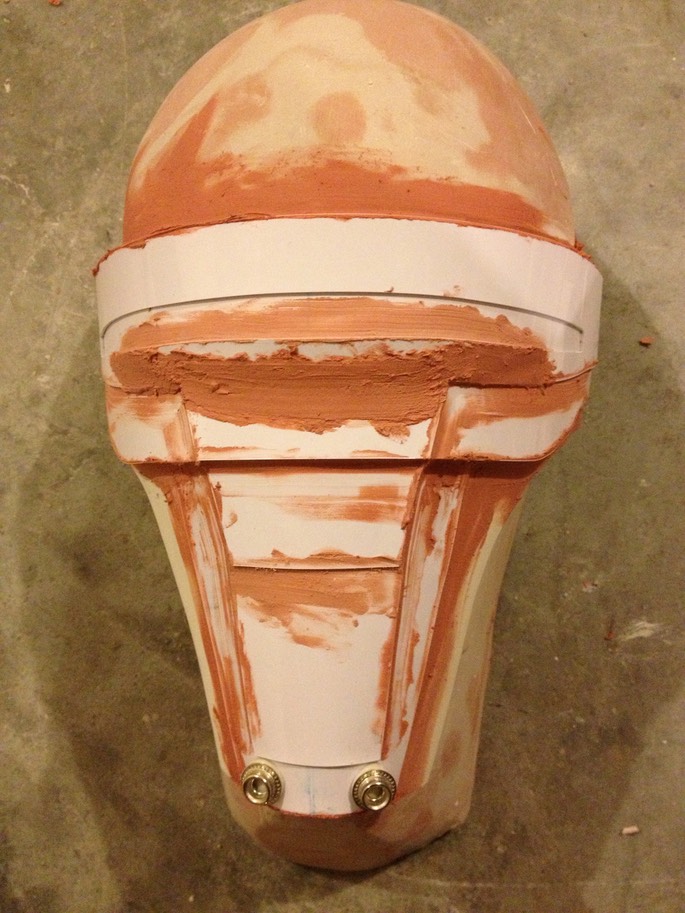
After cutting out more plastic pieces and supergluing them on, I ended up with this.

Next, I applied some Bondo to fill in the transitions, sanding it down to create some smooth Bondo goodness.

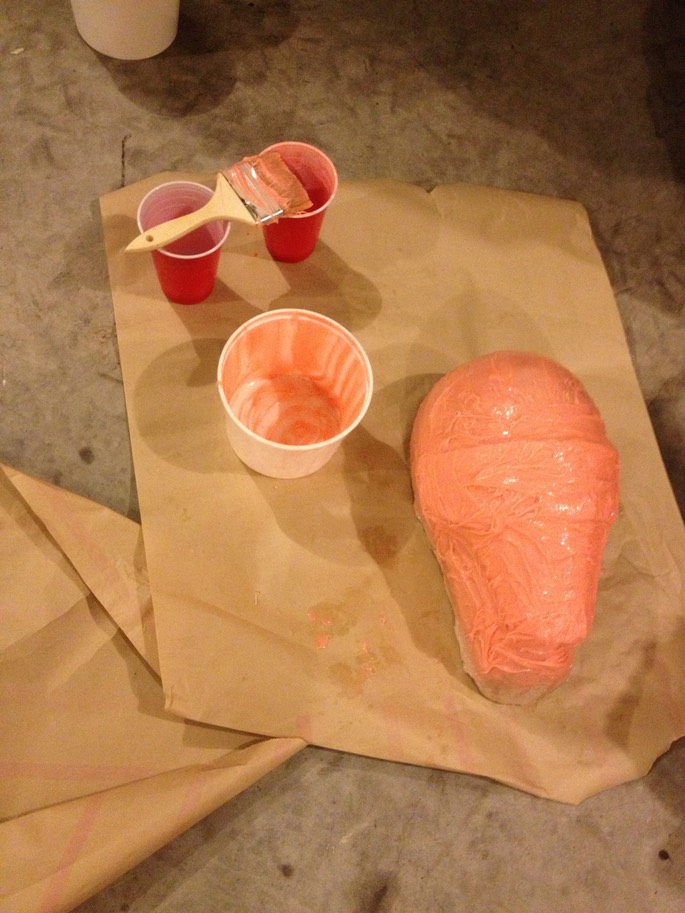
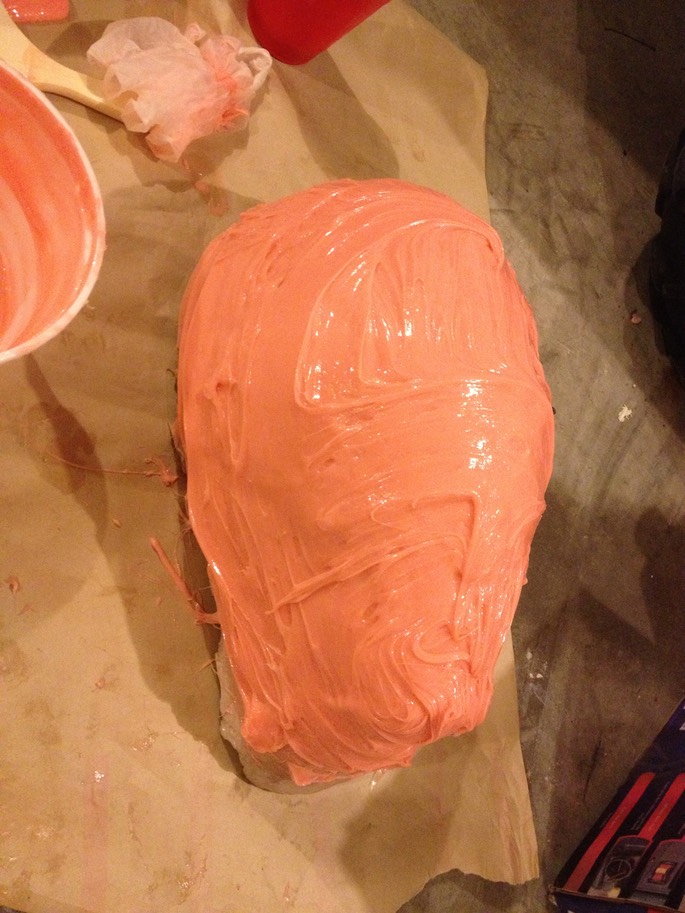
Next, I sprayed the whole thing with mold release, and over the course of 16 hours used two coats of Rebound 25 (also discussed here) thickened with Thi-Vex to make the rubber mold.
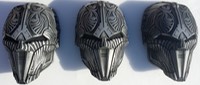
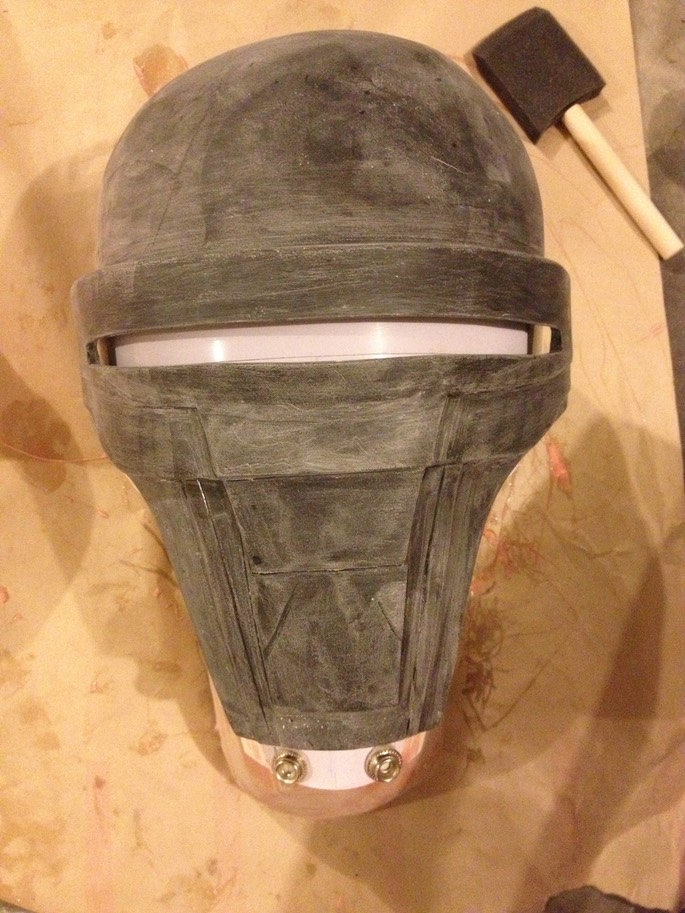
And finally, the first cast.

At this point I realized two things: 1) the mask was a tad too long, and 2) the front chin section was curved way too much compared to the reference photos. I could have left it as is, but no: it has to be perfect!
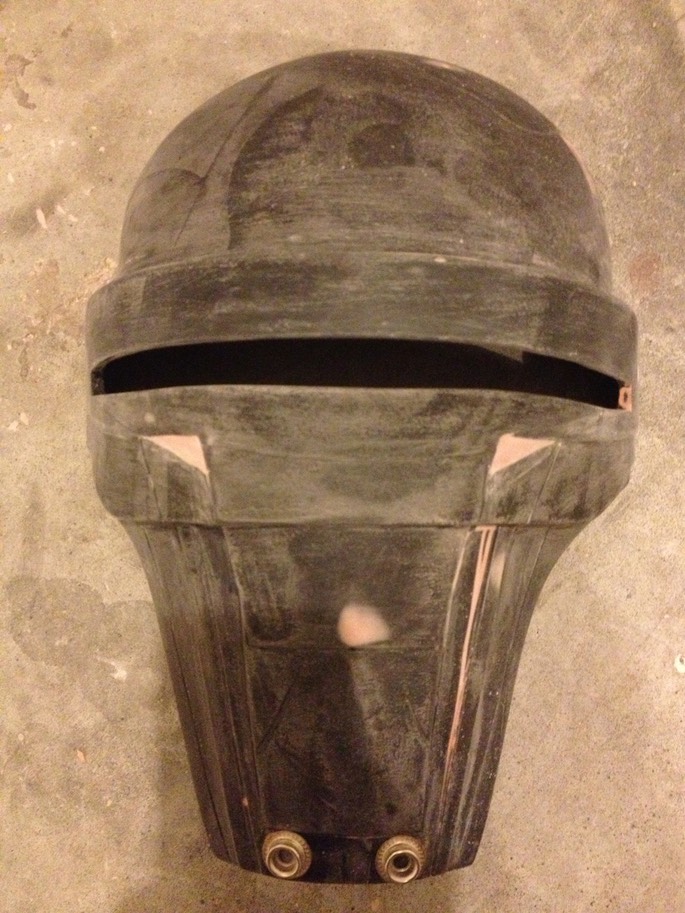
I cut off the chin, shortening the mask by about an inch. (I also cut out the eye slit just to see what it would look like, though I should have left this untouched for now). I used a little bench belt sander I just bought on clearance for $80 to shorten the bottom trapezoid, careful not to chew too far into the surrounding area.
You may notice the curve of the cranium is slightly different from that of the Bondo Mold. This is because I used Smooth Cast 325 resin for this casting, which has a tendency to remain quite rubbery after demolding. This allowed me reshape the curvature of the forehead simply by bending and twisting the resin, thereby letting it harden to correct shape. I used SC 325 for this very purpose: it is a lot easier/cleaner/healthier to bend rubbery plastic into shape than it is to sand a pound of Bondo off a mold to reach the desired shape (which often requires adding more Bondo, more sanding, more Bondo, rinse and repeat).
Next, I dremelled some more lines on the mask, filled in a few trouble spots with Bondo, and used a heat gun to curve out (or flatten) the bottom of the face. I then used a fresh pair of snap-buttons to add the speaker (or whatever) detail.
I then used a progression of 120, 220, 400, 800, and 1000 grit sandpaper to smooth down the surface to get the thing ready for rubber moulding (again *sigh*). I used a piece of ABS to cover the eye slit from the inside, slapped the mask back on the Bondo mold (after busting off the original Sculpey-ABS master), and used a bit of Sculpey to fill in the gaps between the Bondo mold and the mask. I left the Sculpey uncured.
* * * * * * *
- Building the Master