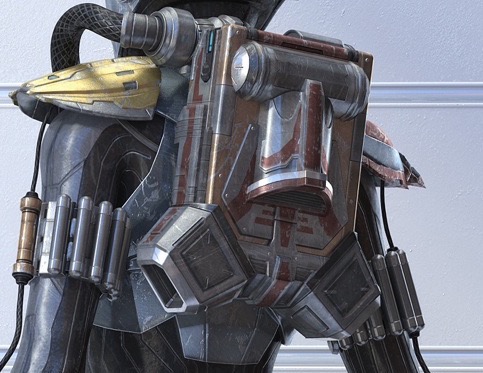
I knew the jetpack was going to be the most challenging part of the entire armor build given how incredibly complex it looks. Still, what’s a little challenge when I’ve already come this far!
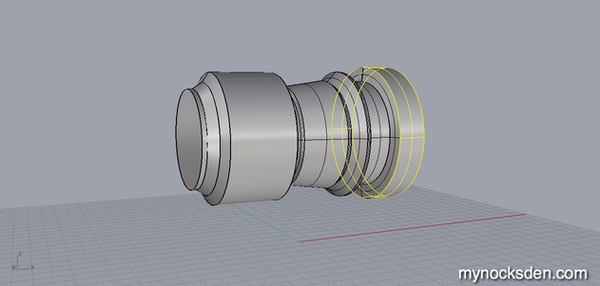
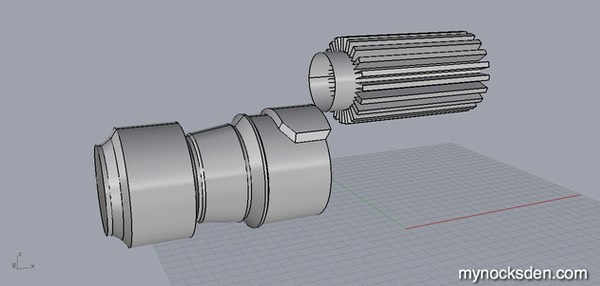
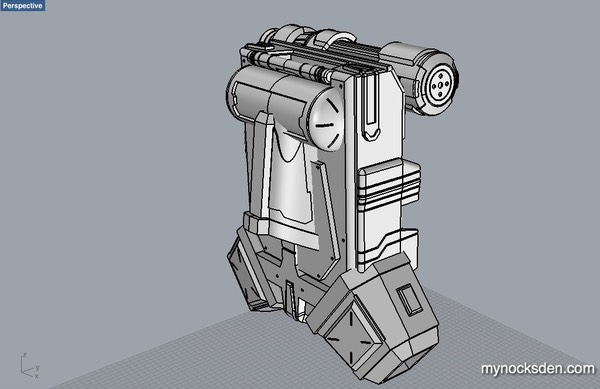
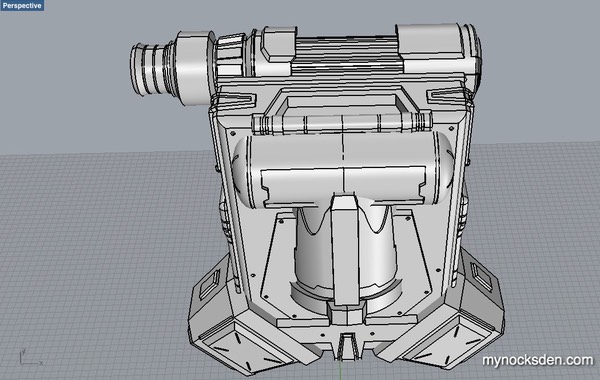
CAD modelling in Rhino took close to 30 hours.
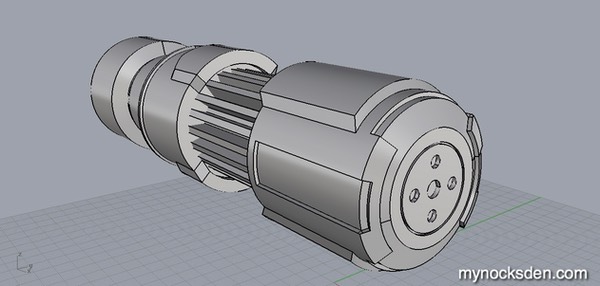
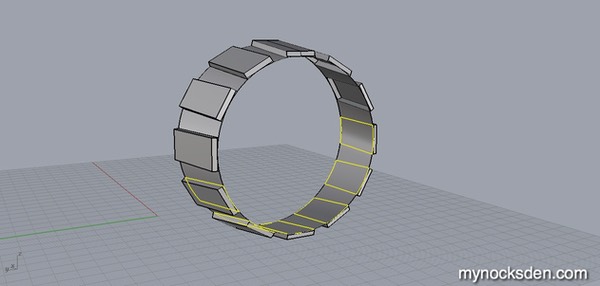
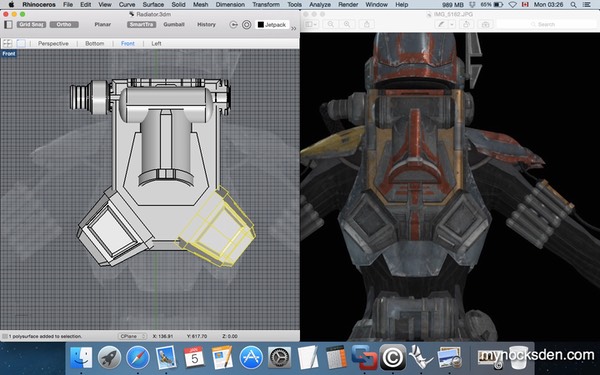
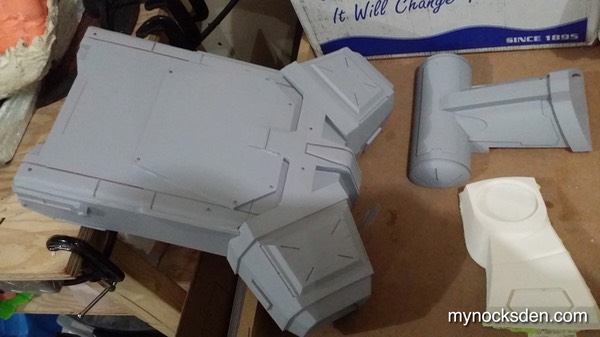
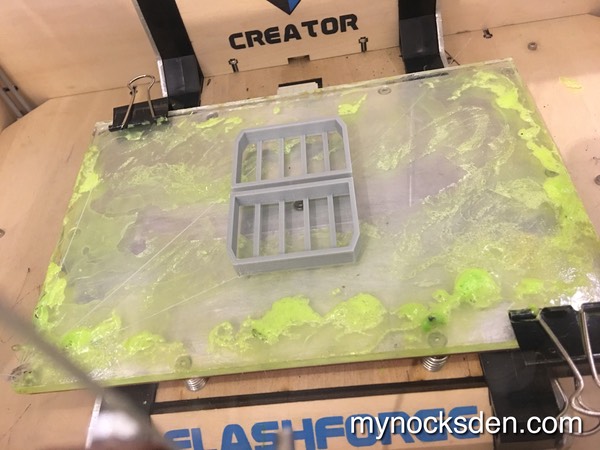
Once the CAD model was complete, I split it up into 11 batches of parts, and set it up for 3D printing.

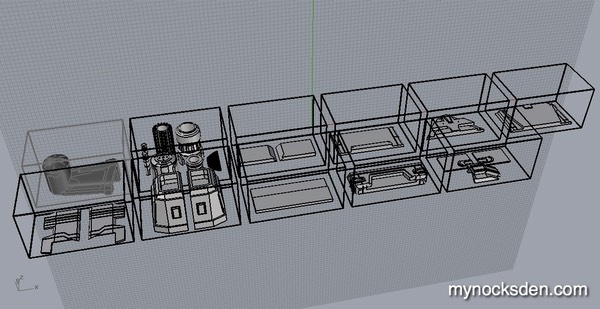
This is where having more than one 3D printer comes in handy! Doing all these pieces on one machine would take a week. With four printers, it took less than 48 hours.
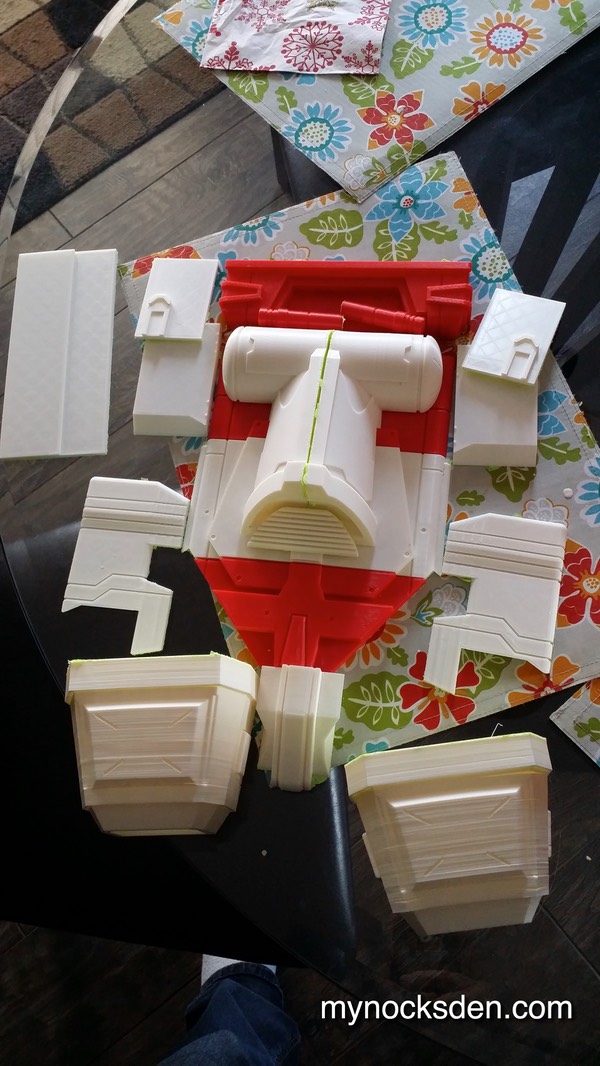
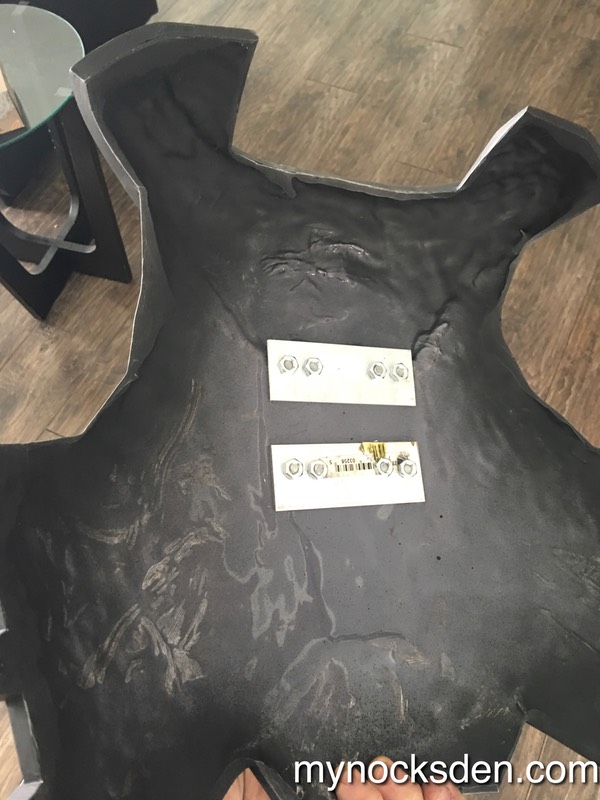
I glued some main body parts together with superglue...
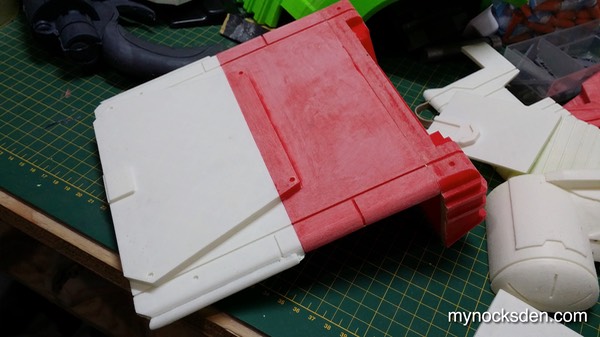

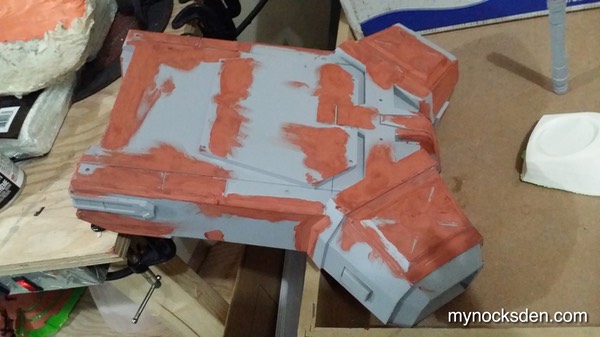
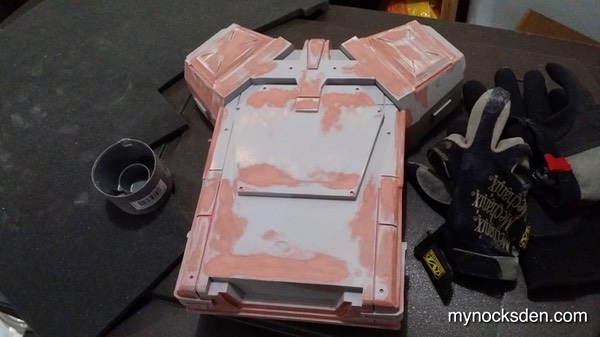
… and began the incredibly long process of smearing Bondo spot putty, sanding, priming, more Bondo putty, more sanding, more priming etc, until all major jetpack pieces were nice and smooth.

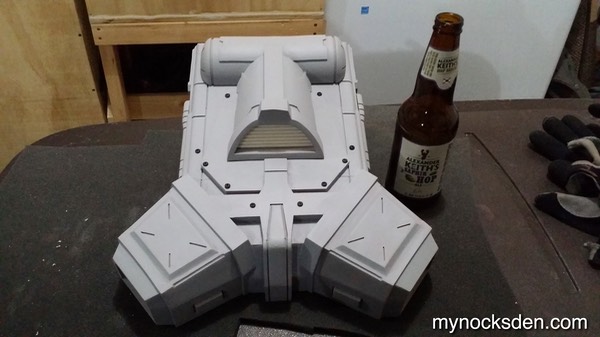
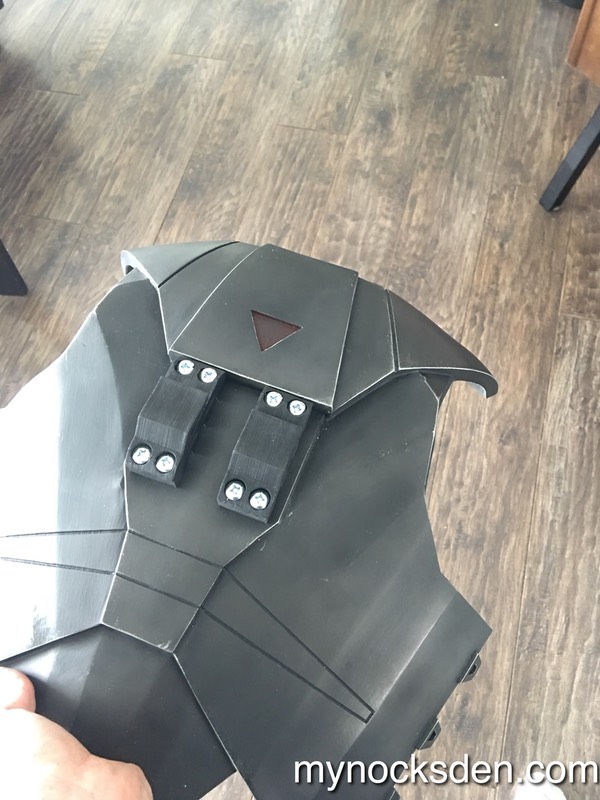
Several days later, the pack was done. I still needed 12 screws to fill in the simulated screw holes on the main surface, but I could not find anything suitable. My 3D printers are held together with some cool looking allen screws, so I literally “borrowed” 12 screws from one of my printers to use on my jetpack!
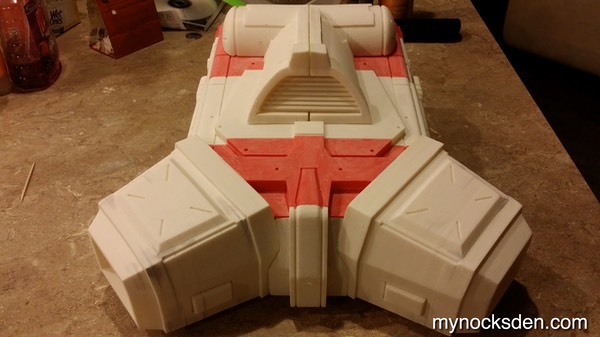
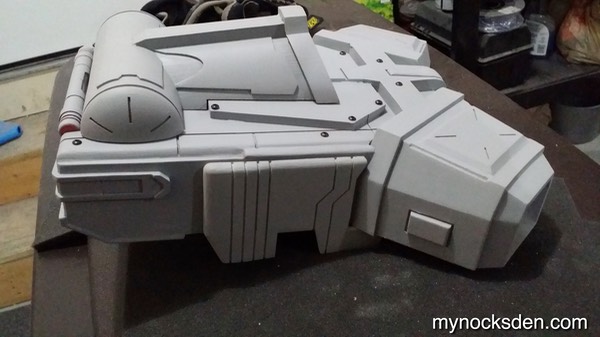
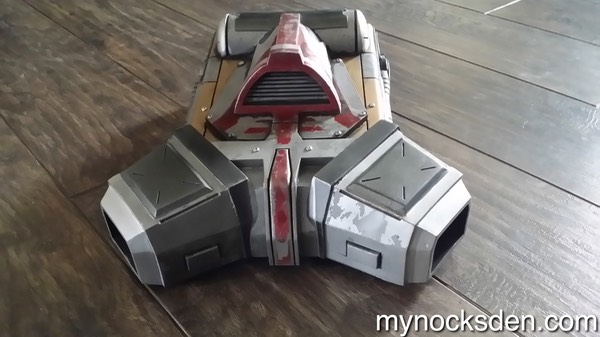
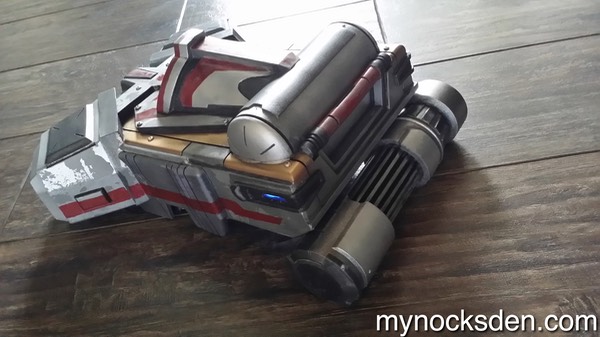
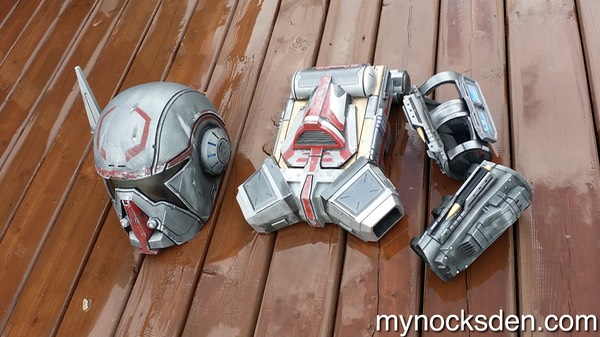
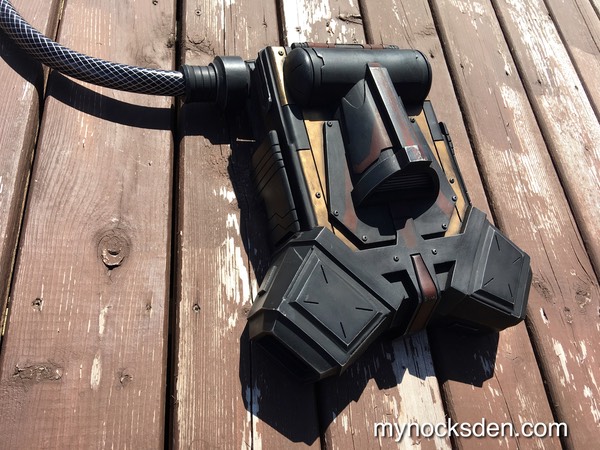
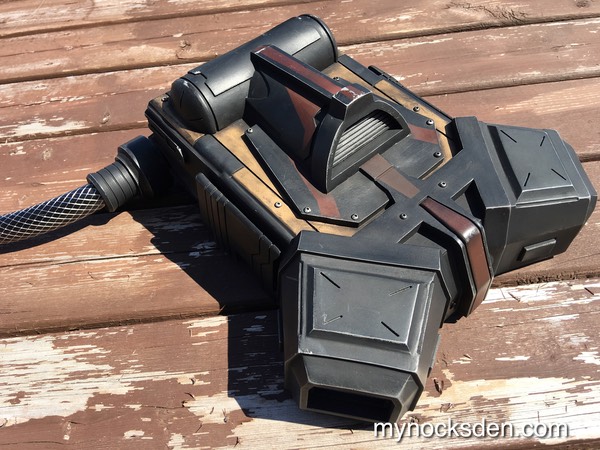
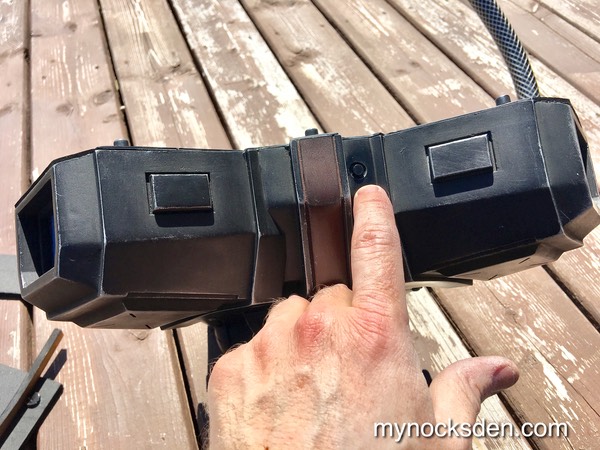
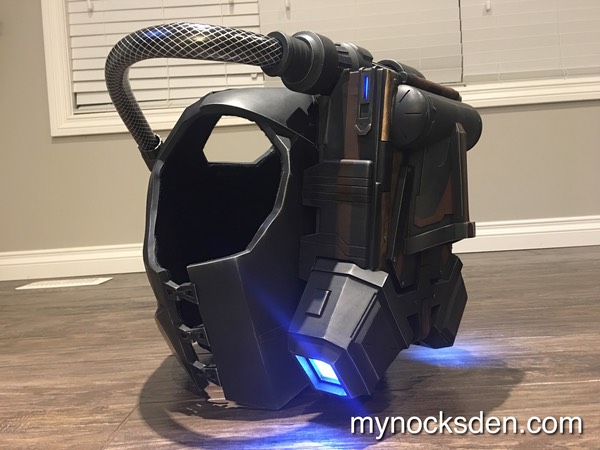
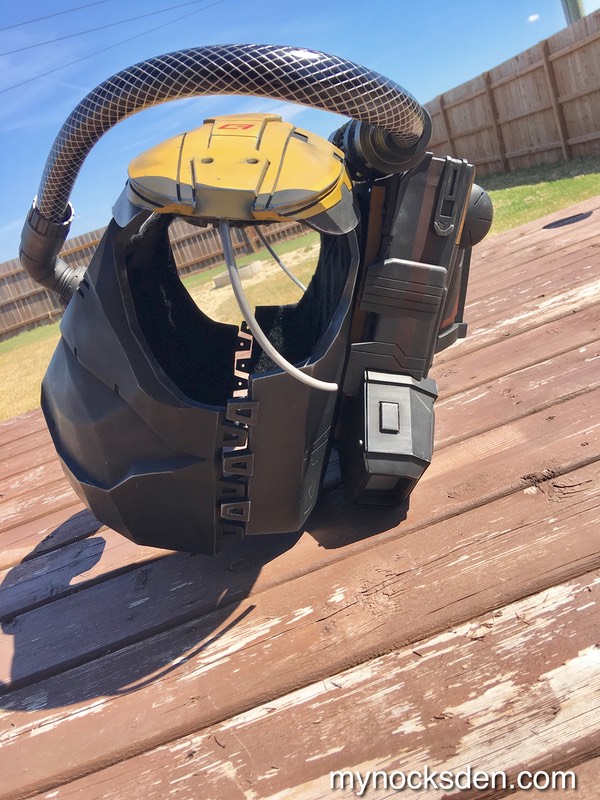
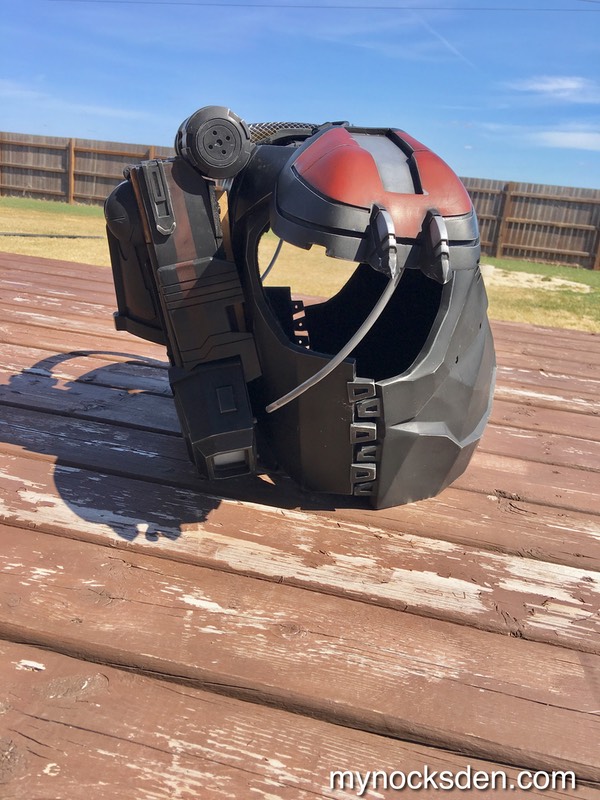
With the screws temporarily in place, the pack was ready for molding! On a side note, if you’ve ever seen anyone dressed as Boba Fett, you’ll know how large his jetpack looks. The Vizla pack is tiny by comparison; take a look at these next two photos and you’ll see what I mean. Tiny!
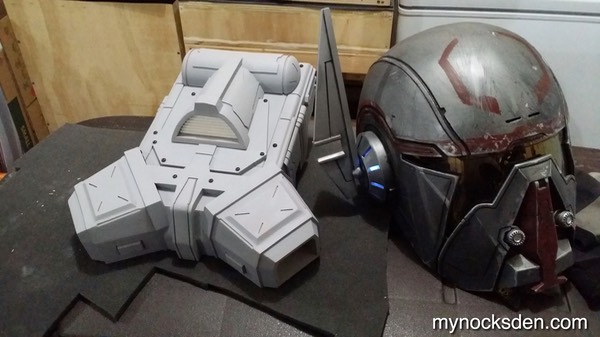
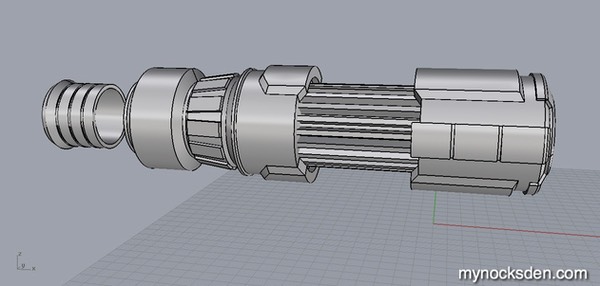
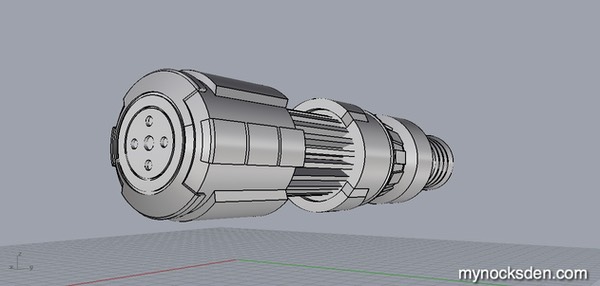
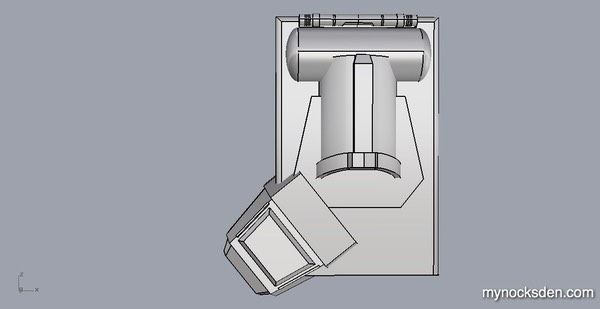
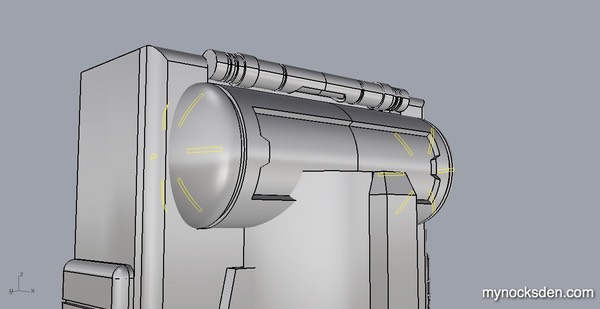
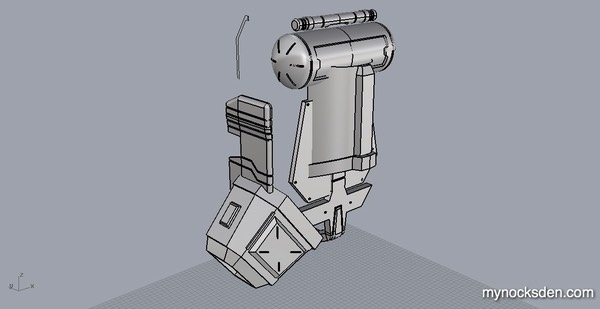
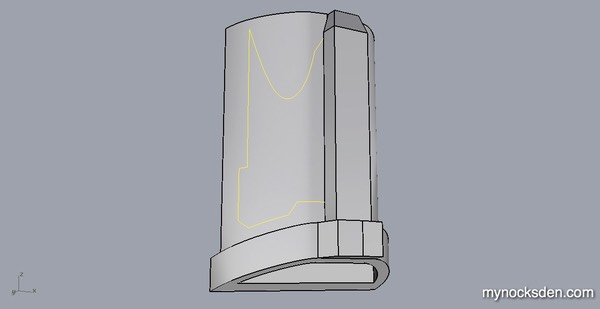
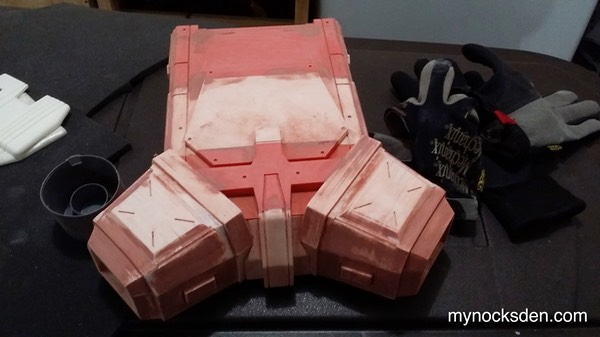
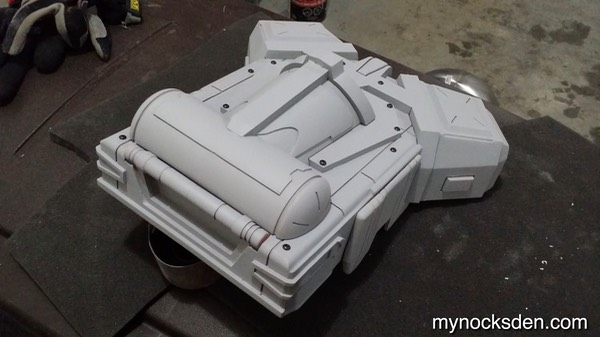
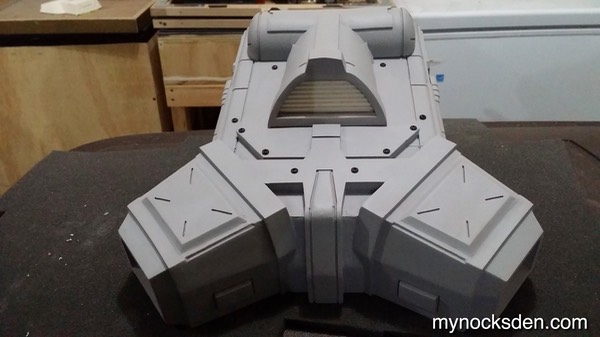
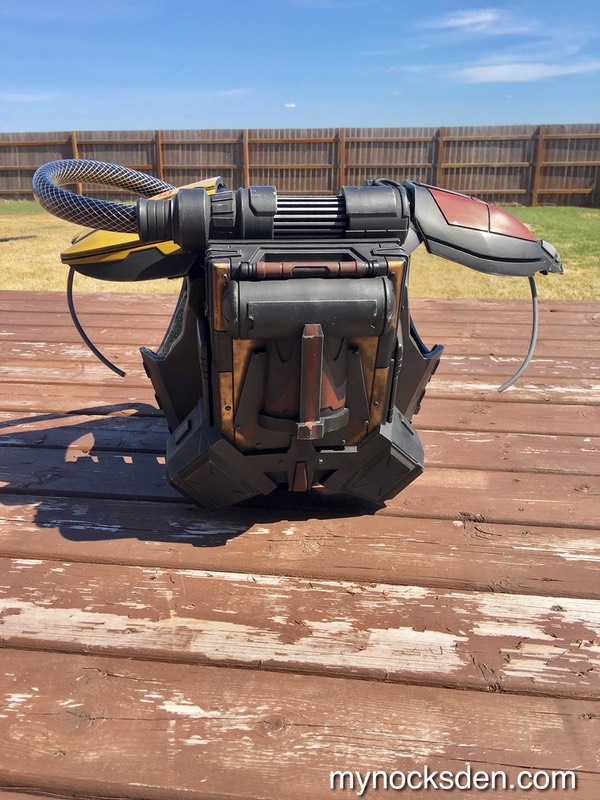
Anyway, the model came out quite nice, and these next few photos show the complexity of the whole thing.
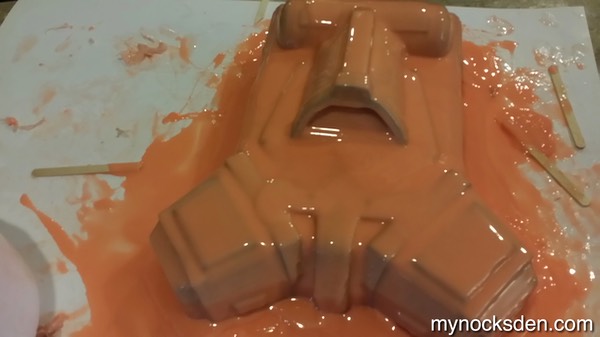
Next came molding. As always, Rebound 25 platinum-cure silicone was the weapon of choice. I mixed up a batch, and applied the first layer to the model.

Once this cured to a tacky feel, I mixed up another batch and did another layer.
The third and fourth layers were thickened with a silicone thickener called Thi-Vex and allowed to fully cure.
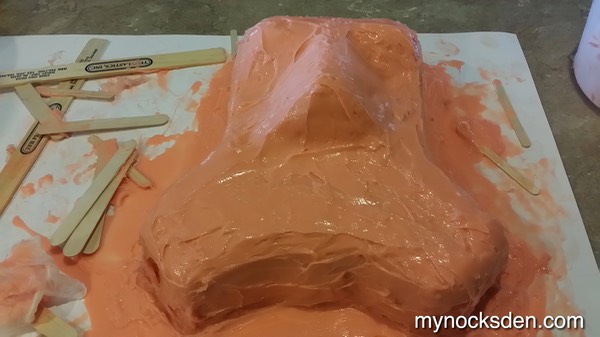
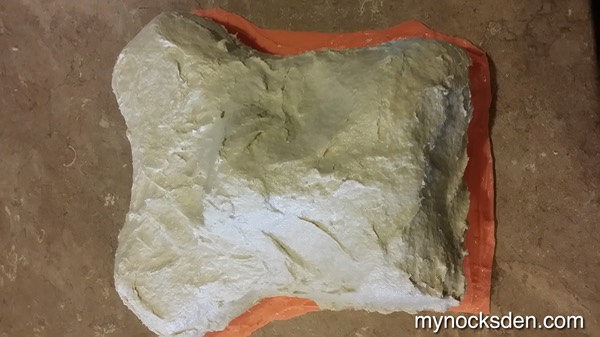
A support shell was then created using a product called Plasti-Paste, which would help the rubber hold its shape during molding.
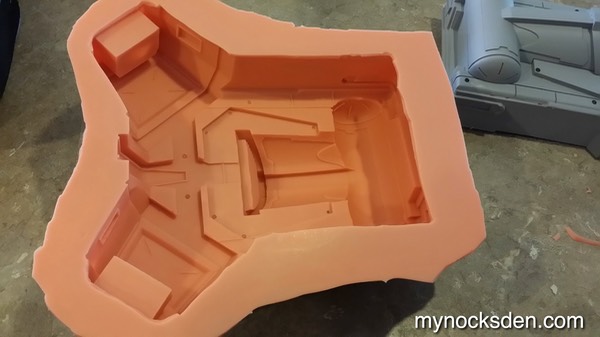
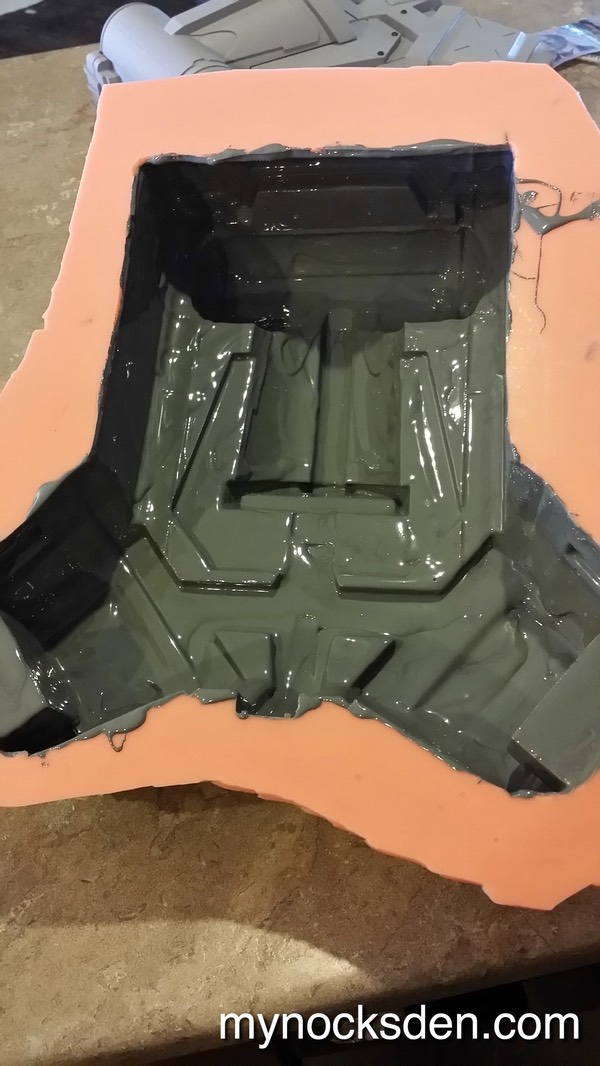
The next day, demolding revealed a near perfect detail capture with a few tiny trouble spots in the form of air bubbles - nothing that can’t be fixed later on the actual cast with some epoxy putty.
Next, I cast the jetpack using 65D resin, infusing the first layer with aluminum powder - a process known as cold casting - to give the surface a metallic look once polished.
I set this aside for the time being, and proceeded to mold the other bits and pieces.
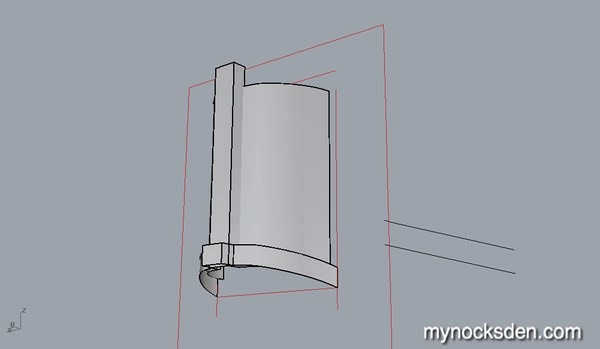
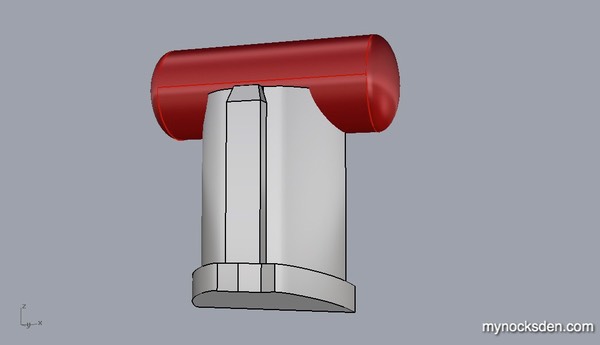
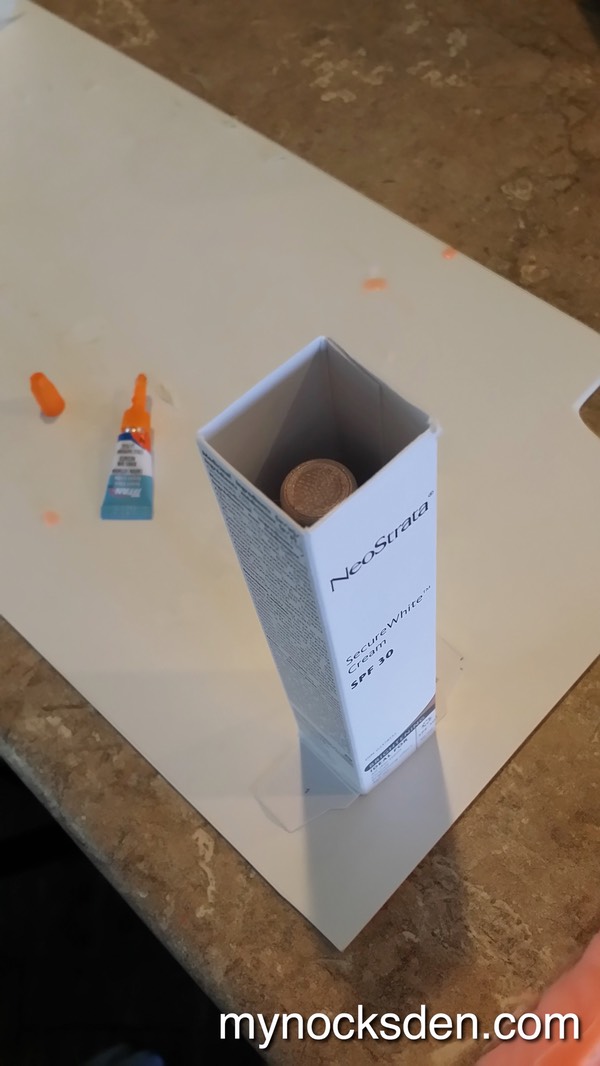
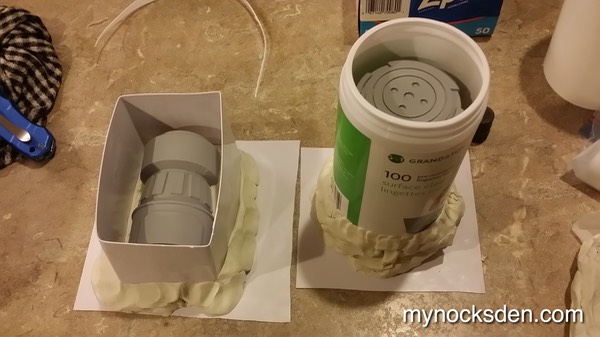
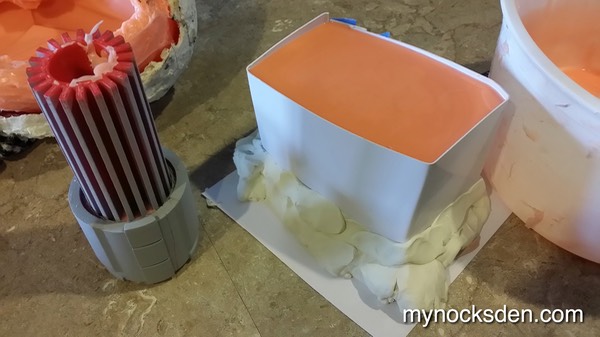
I made a small mold box from a narrow paper box from some cosmetic product my wife had in the bathroom to mold the little cylinder in. I glued the cylinder standing up to a piece of scrap ABS, put the box over it, and secured it in place with plasticine.
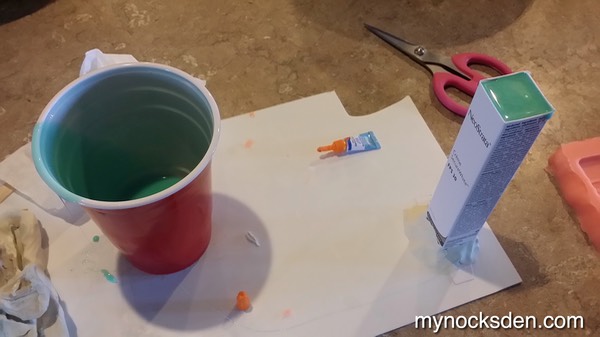
Next, I mixed up some Mold Star 15 silicone, and poured this in. Several hours later, the mold was completed. When a silicone mold is this thin, it’s easy to just peel it off the master model (and subsequently off a cast), so it can easily be done as a one part mold. For something larger, like the O2 filter (or whatever it is – see below), a two-part mold has to be done.
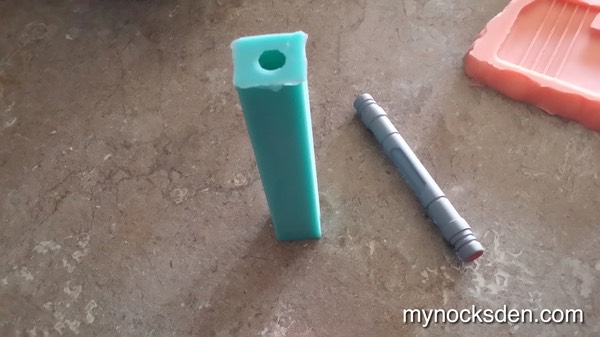
I poured some 65D resin inside the mold, and cast the thin cylinder, leaving it alone for the time being.

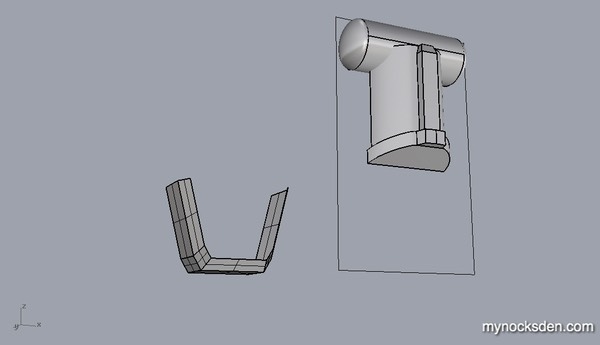
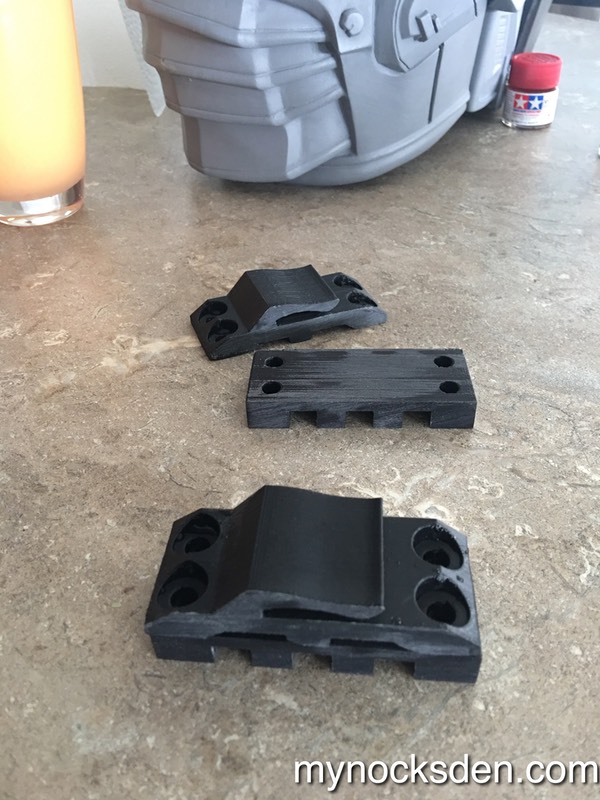
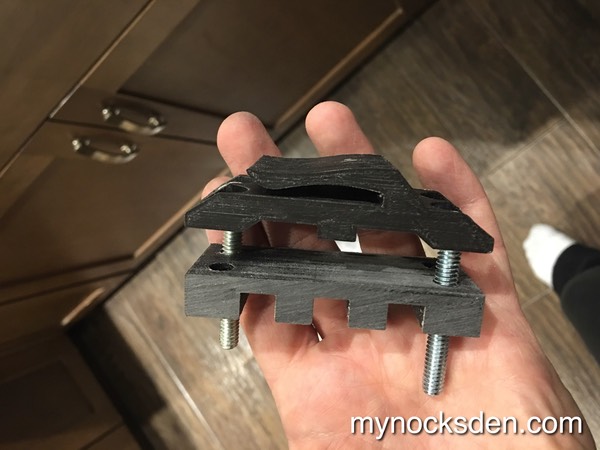
Next came two mounting brackets that attach onto the sides of the jetpack. I set these up on the table, and built up mold walls using plasticine. Because I ran out of the pourable Mold Star 15 silicone, I used Rebound 25 instead, which I degassed with my vacuum tank. I poured this in, and let the silicone cure.
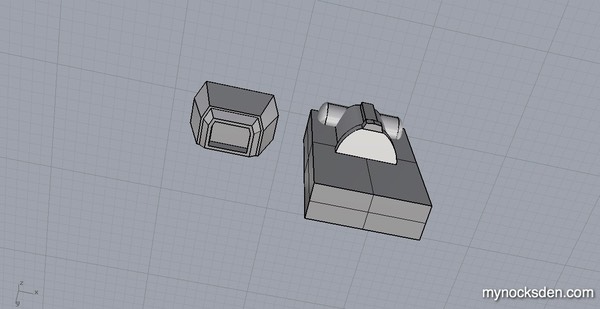
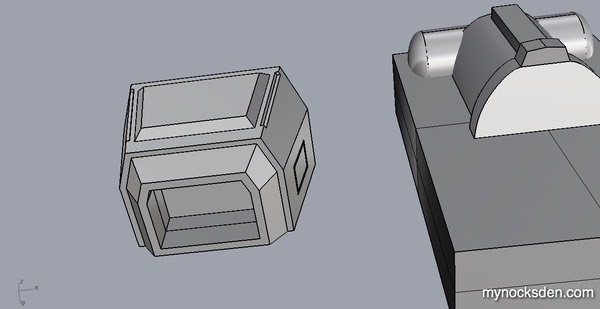
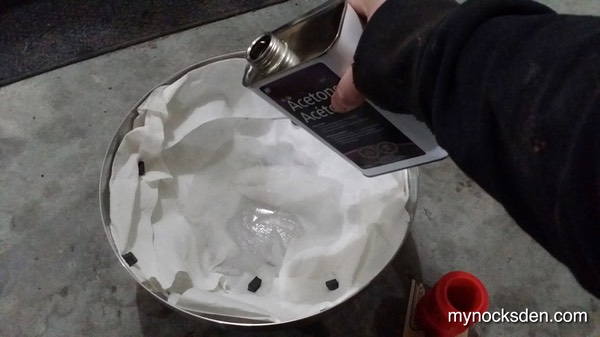
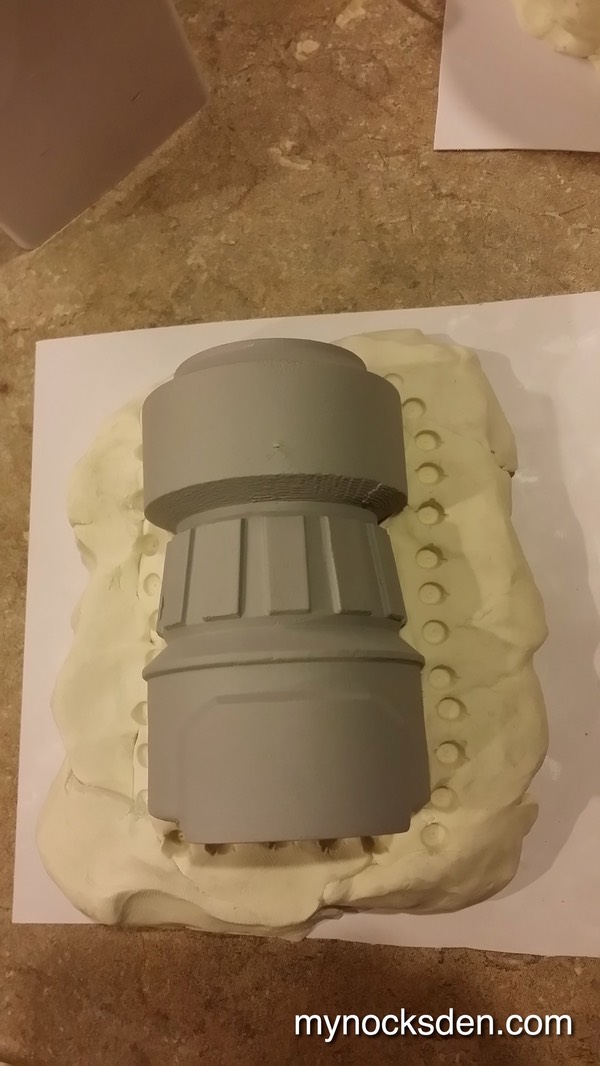
Next came the O2 filter/radiator/whatever. I smoothed out the 3D printed parts using acetone vapour: using a method I’ve seen on various sites, I lined a large metal bowl with paper towels, secured them in place with magnets, poured in some acetone (not too much – you don’t want it to drip onto your part!), and inverted this over the 3D printed parts. The idea behind this is that as the acetone evaporates, it has nowhere to go but concentrate inside the closed system, and eventually settle onto the 3D printed part. As it does this, it mildly dissolves the surface, creating the glossy effect.
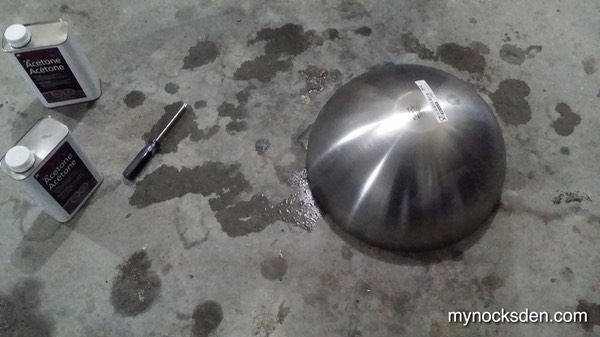
There is a better and much quicker method for doing this that utilizes heat (I will do a video on this soon), but at this time in my prop-making endeavours I was using the inverted container method.
In any case, the acetone vapour method doesn’t always work for large parts, especially those that need to be perfectly flat or smooth; the surface often turns glossy, but is still uneven or wavy with striation.
That was the case here, so I ended up sanding the part with an electric sander, and using Bondo putty to fill in any imperfections. I then sanded and primed the parts, used more Bondo putty, sanded some more, and primed some more until the parts were smooth and ready for molding.
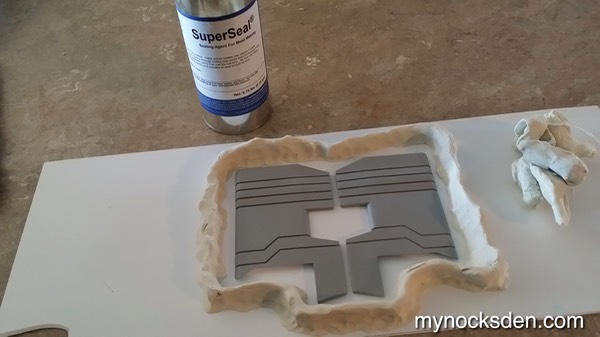
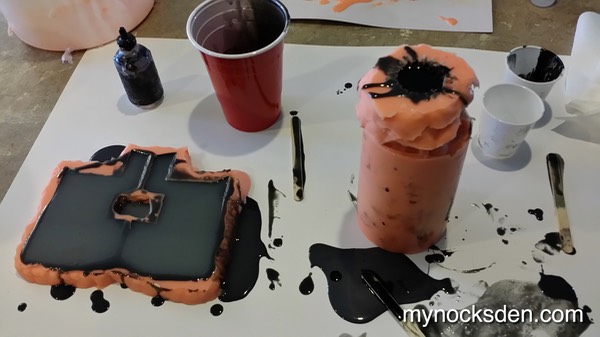
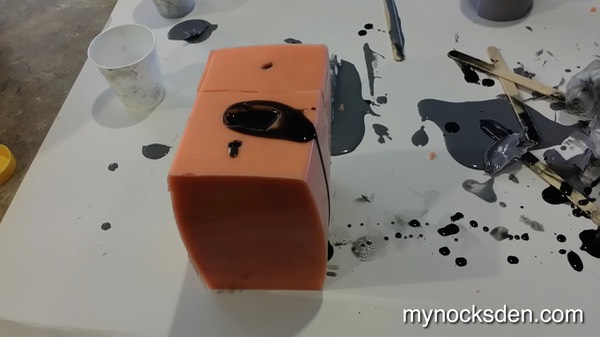
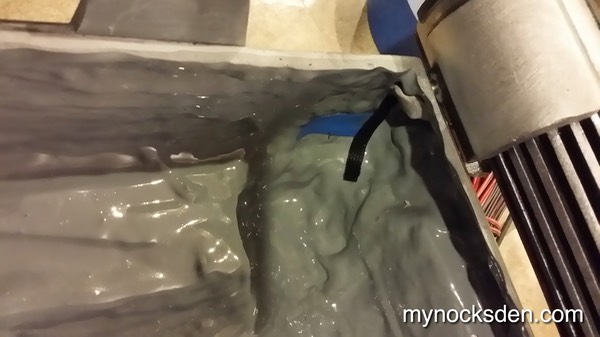
Once again, creating a few mold boxes out of various scrap materials, I secured the objects to be molded in place, coated them with SuperSeal and poured in the silicone.
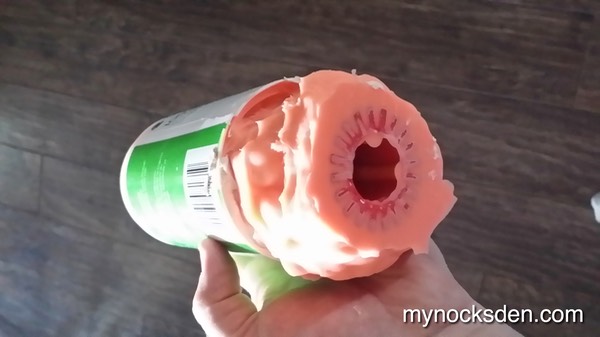
This part would have to be done as a two part mold, so I built up plasticine around it, made registration key holes in using the butt end of a sharpie, and pretty followed the steps I describe in this page (opens in new window) to mold the piece.
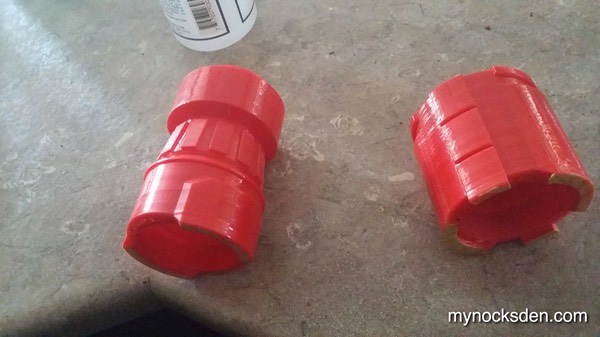
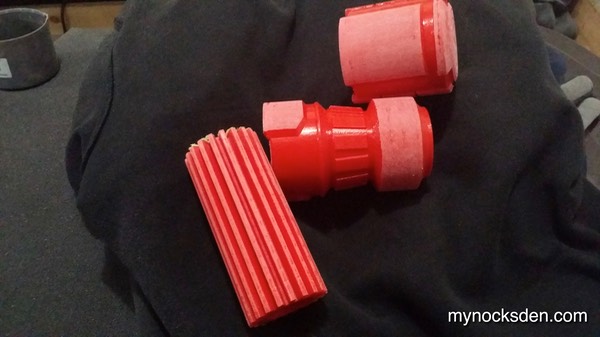
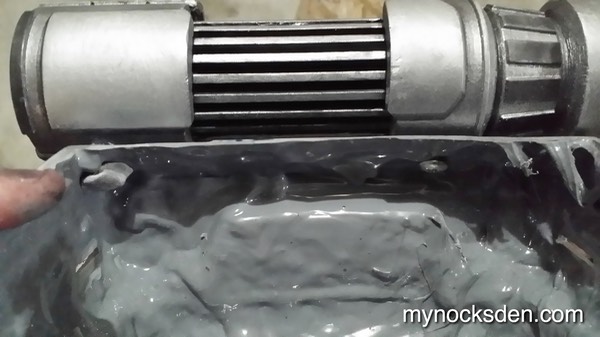
The long, dubious-looking mold was done as a one part mold, however because of the large bulb on the end, the only way to remove it was to make a cut along one side of the mold. I actually planned it this way knowing that molding it this way would produce only one seam instead of two if done as a two part mold, so this would make for less work in the end.
I cast all the parts in Smooth Cast 65D resin...
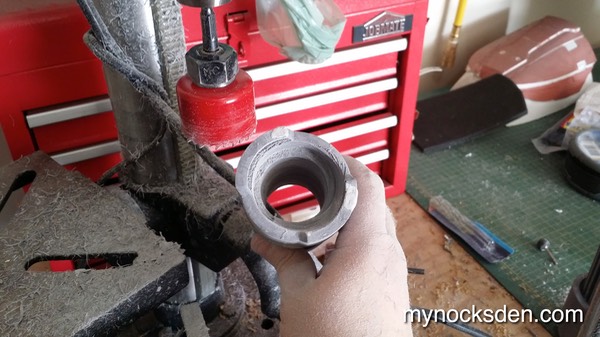
… and used a door knob jig to cut a large hole through the end piece that will be connected to the chest hose.
Next, I fitted the two parts together, and used hot glue to bind them from the inside. To affix the O2 processing thing to the jet pack, I drilled some pilot holes, and used wood screws, which are ideal for this type of resin due to its softness.
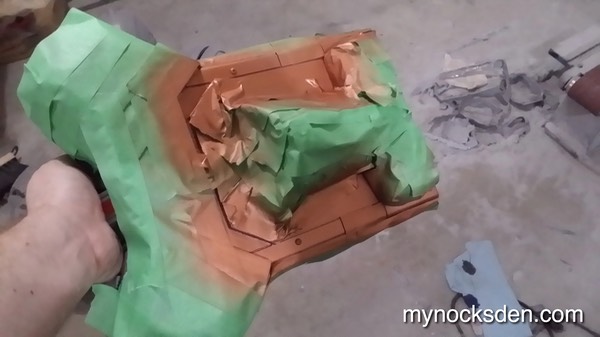
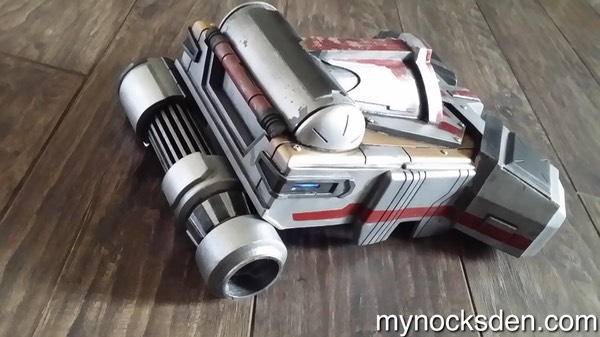
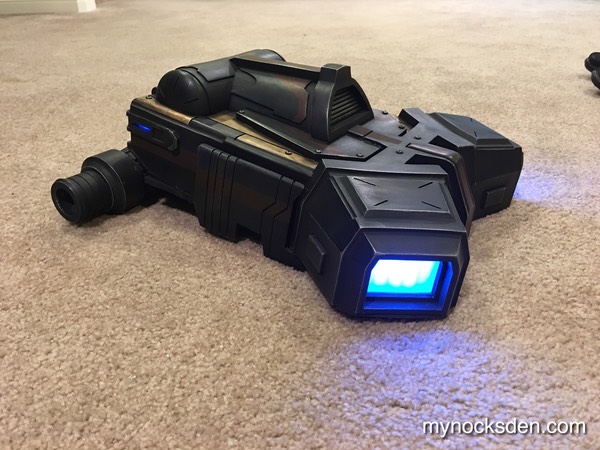
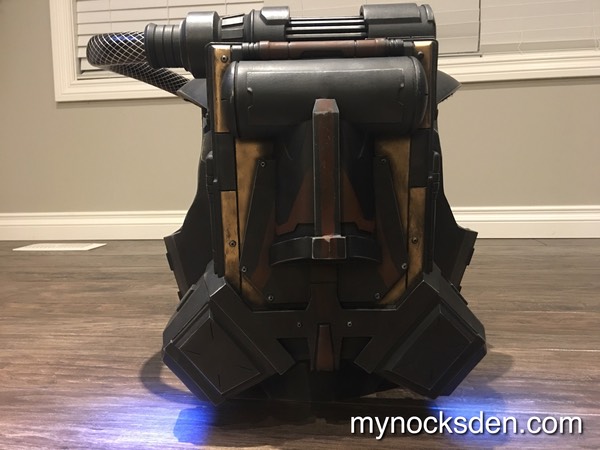
Then came painting. I masked off the various sections, and layer by layer, colour by colour painted the pack.
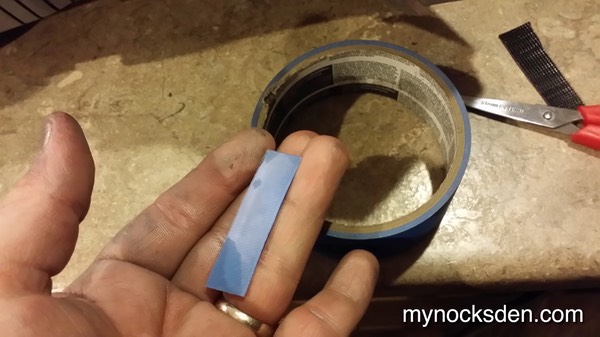
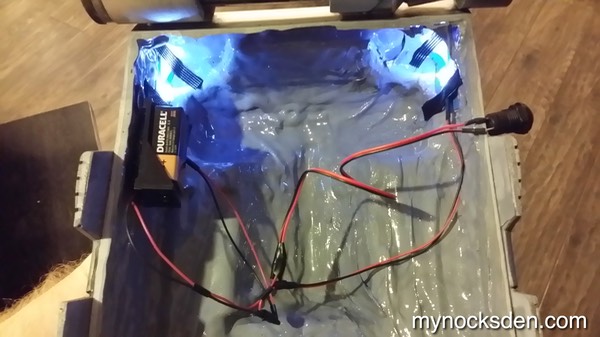
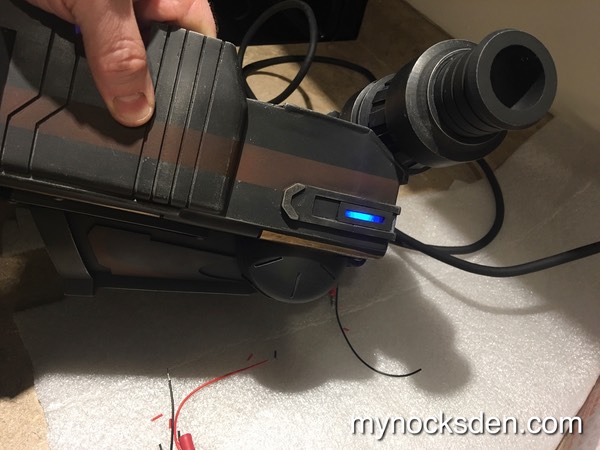
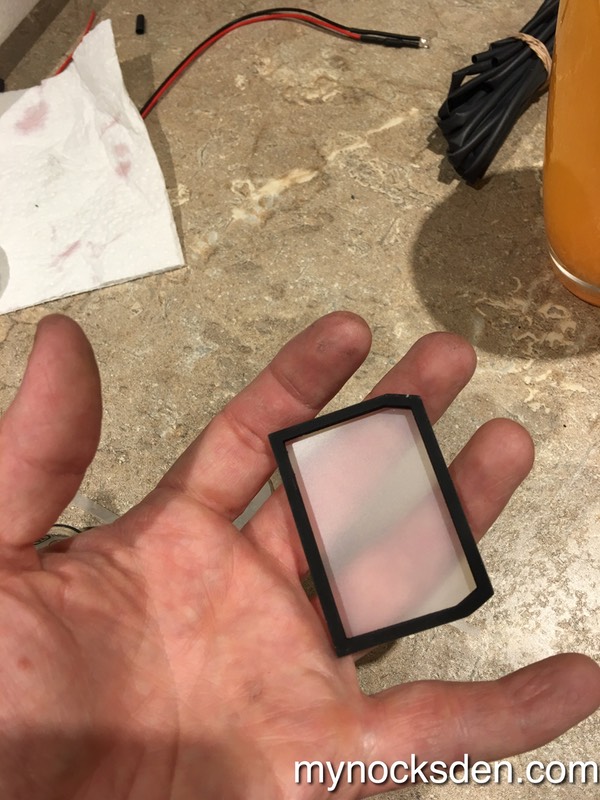
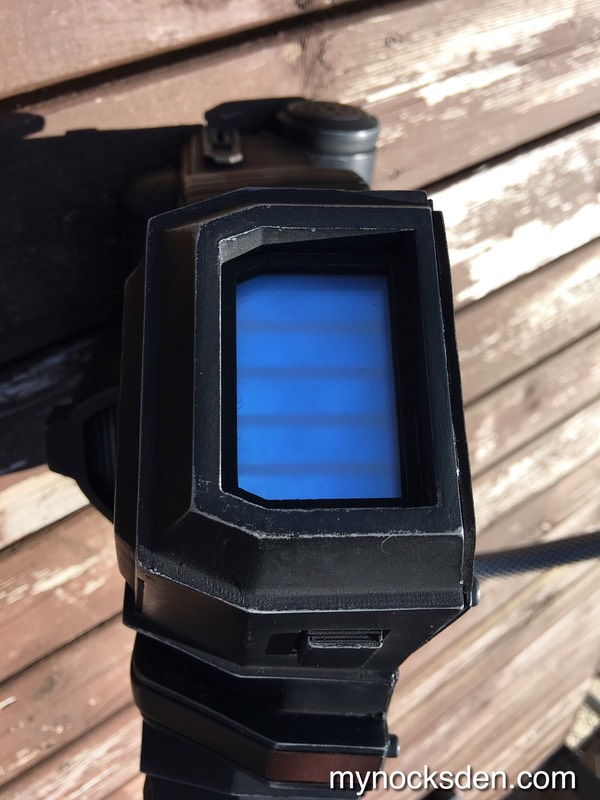
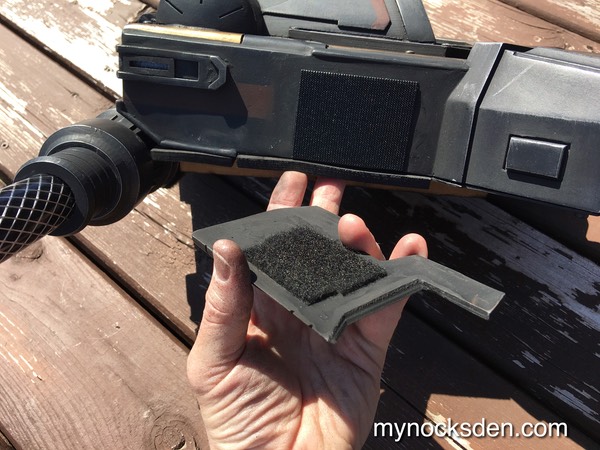
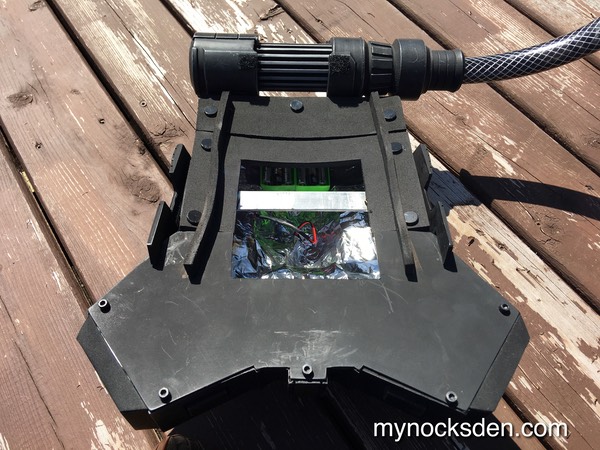
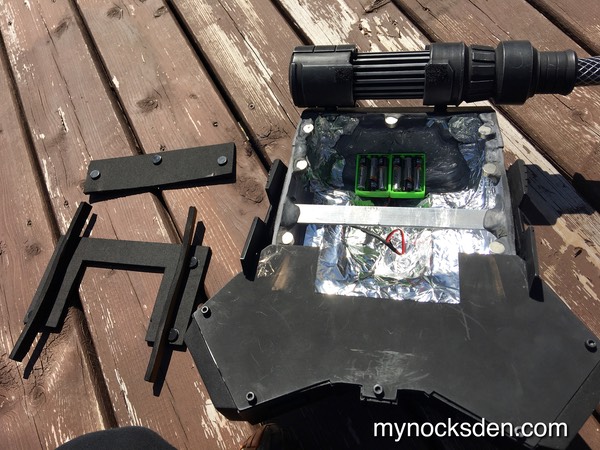
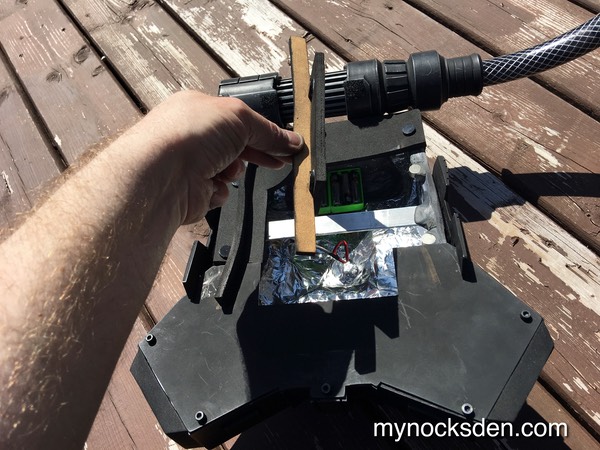
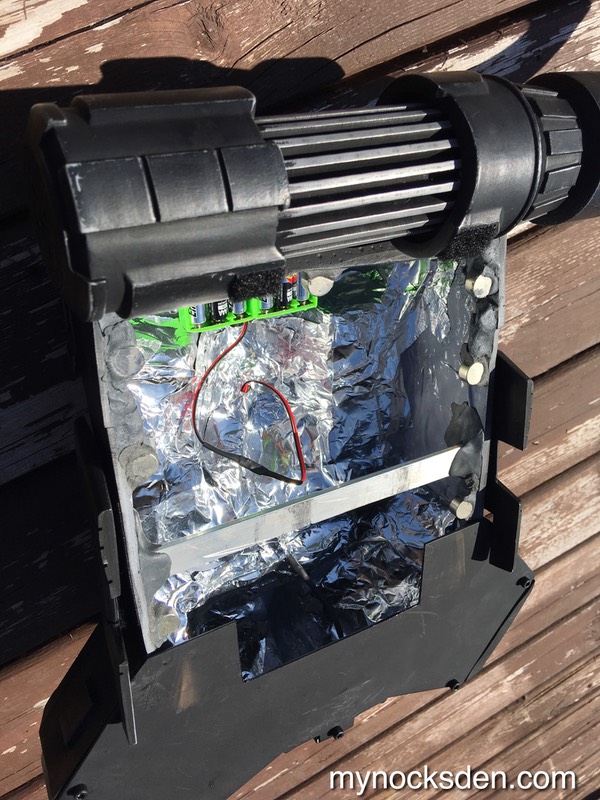
Last but not least, I dremelled out little window holes for the LED lights, which I then wired up with a switch and a 9V battery. I used some Blue Painter’s tape to cover the windows to diffuse the light and make the white LEDs look blue.
This completed the jetpack for the time being. I left the back open for now; once I complete the back plate for the torso armor, I will add a back piece to the jetpack and figure out the strapping mechanism. More on that soon!

a
a
Thanks for looking!
* * * * * * *