
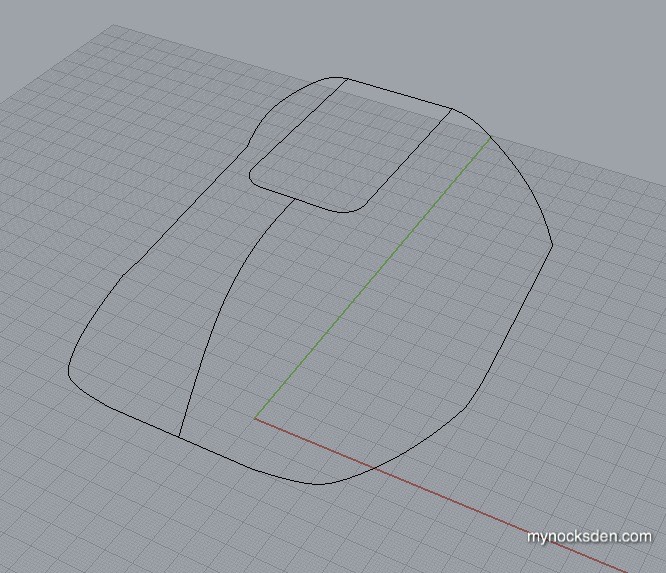
I began modelling the shoulder plate on the computer by drawing lines, or “curves”. Once I had the main outline done, I began by joining those curves into surfaces.
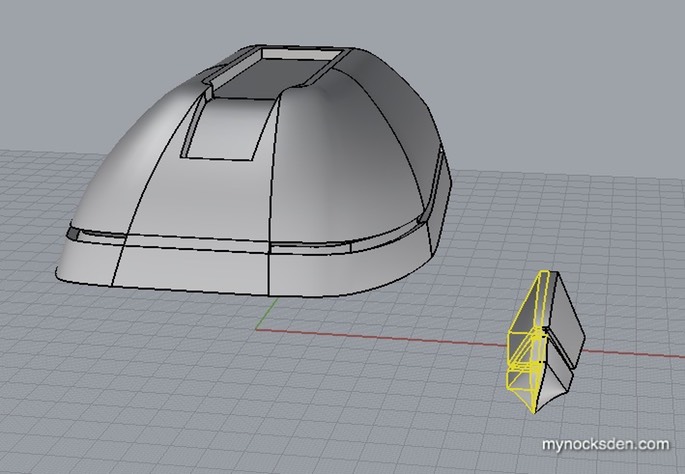
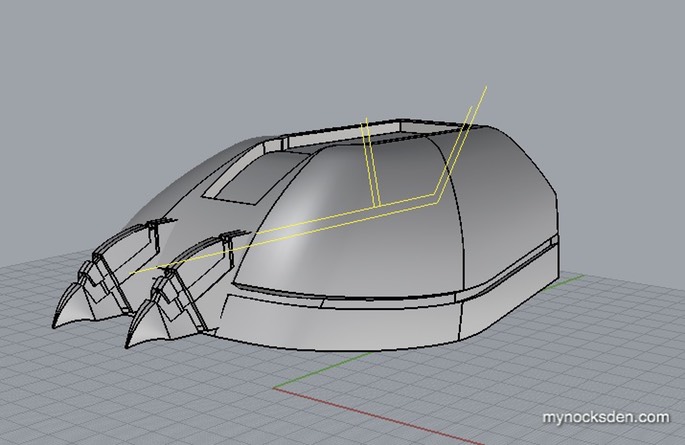
Once the surfaces were created, I began adding detail by drawing more curves in a flat plane, and projecting them onto the three-dimensional surfaces. The surfaces were then split into sections, which were extruded to make the various cuts and grooves.
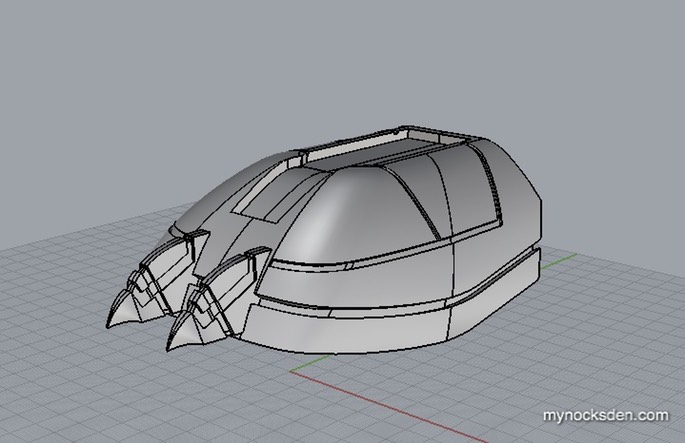
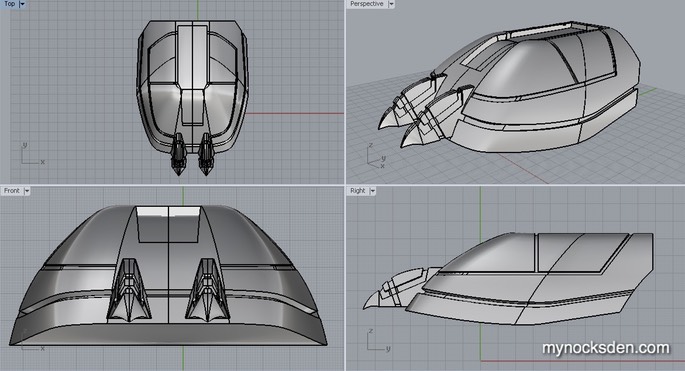
An extension was then modelled to give the model some dead surface at the bottom, necessary for molding. The pauldron was then resized to be 15cm long and 14cm wide, and exported as an STL file.
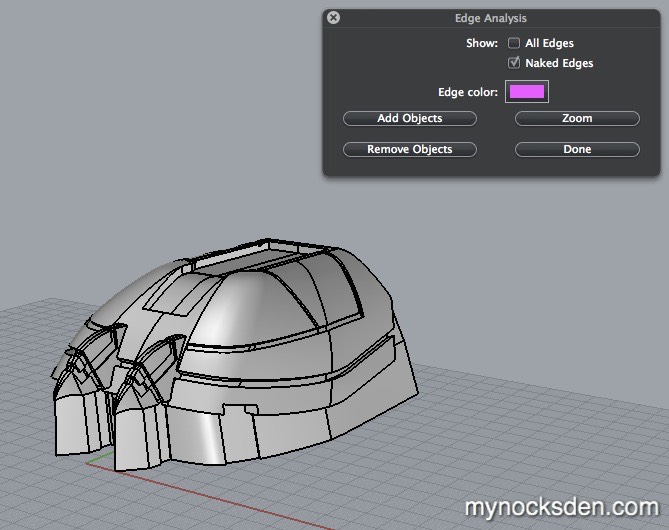
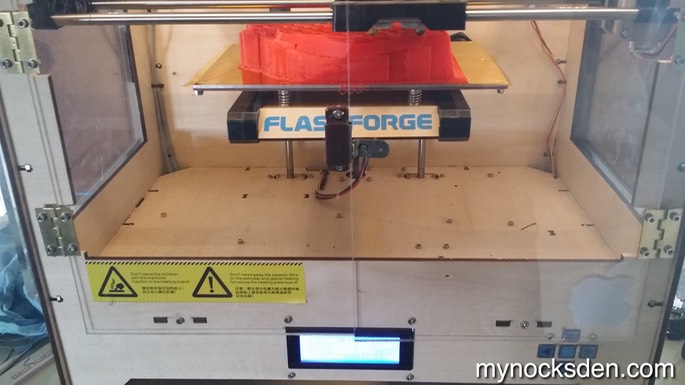
I imported the STL file into ReplicatorG, sliced the file for 3D printing, and loaded it into the 3D printer.
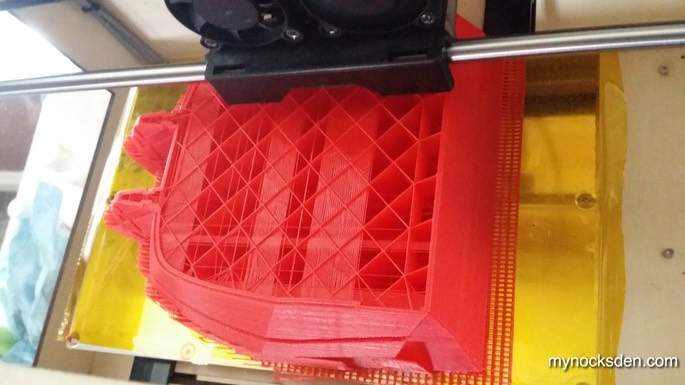
Twelve hours into the print; nice cross-section view of the 5% infill honeycomb.
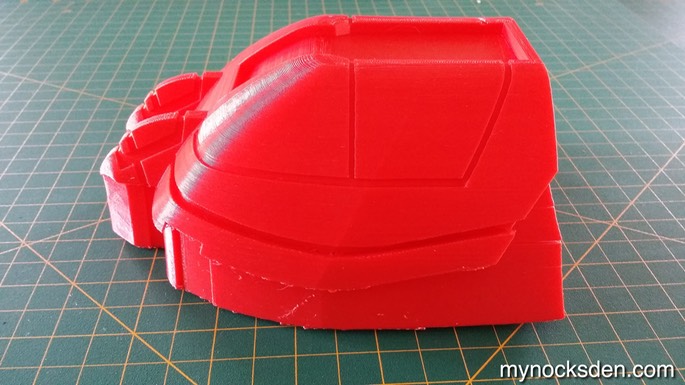
16 hours and 21minutes later, the piece was successfully printed.
The next step was to apply Bondo spot putty to smooth out the 3D printed striations, sand this down, prime with automotive primer (to spot imperfections), apple more Bondo putty, and rinse and repeat until the part was completely smooth and ready for molding.
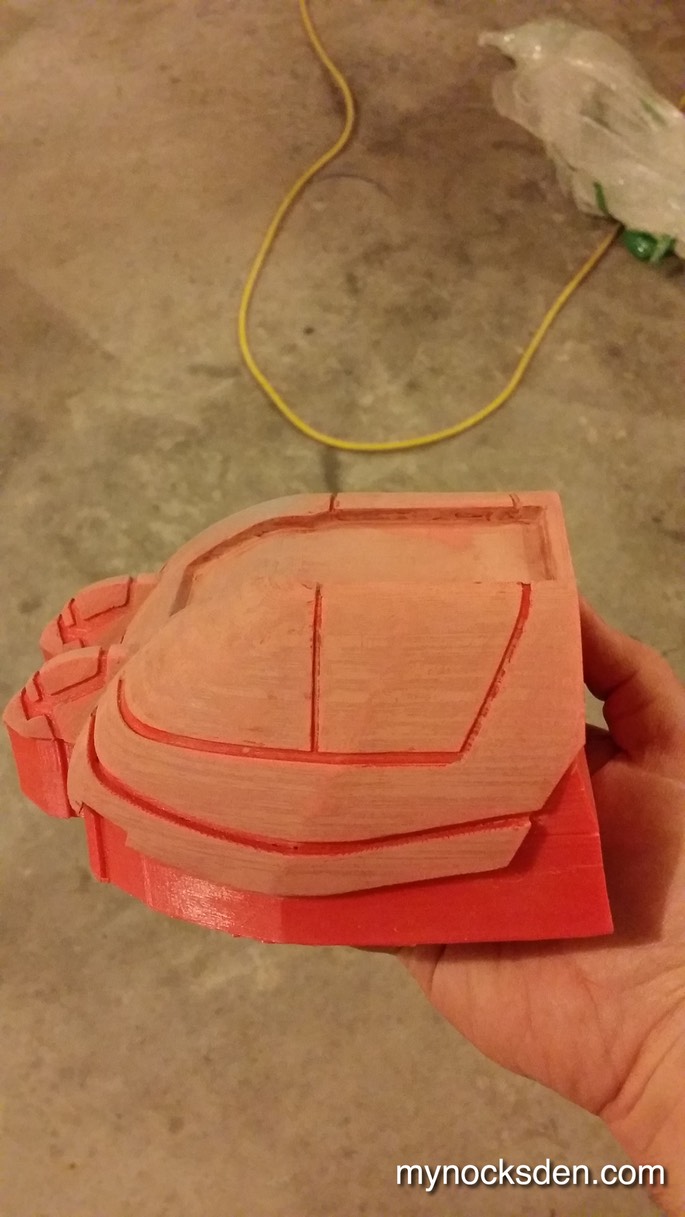
For some strange reason, I though that I had taken photos of the priming, spot putty, and pre-molding stages, but apparently not. Anyway, I used Dupli-Color automotive primer on the pauldron, which revealed some trouble areas. I touched these up with Bondo spot putty, sanded and primed again until I had as smooth a surface as I was going to get.
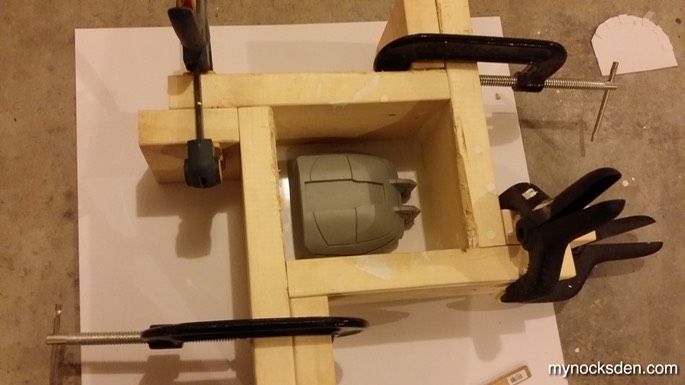
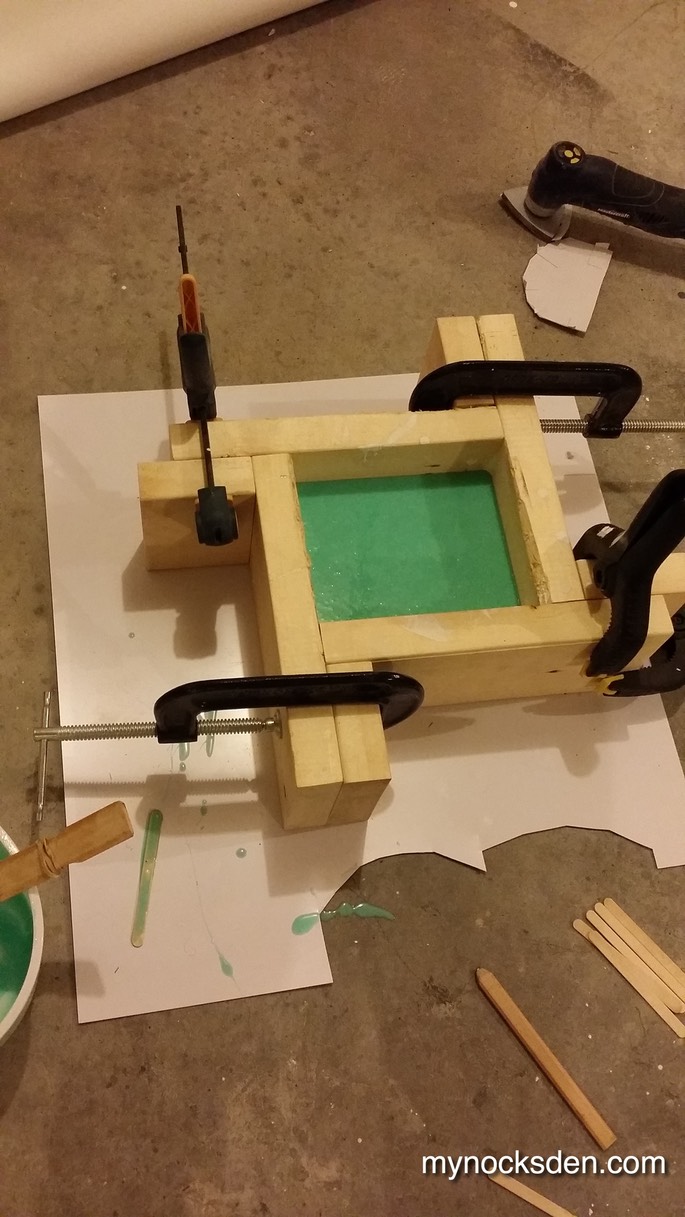
Next, I superglued the model down to a scrap piece of ABS sheeting, coated is using Smooth-On’s Super Seal to help fill in any porous areas, and let this dry for about 30 minutes. Then, using some wooden L brackets I build from a two-by-six, I sized and clamped together a box large enough to hold the mold with a clearance of about 1 cm on the side, and used plasticine to seal all the joints inside the box to make it watertight. I then sprayed the whole thing with mold release for good measure, and let this sit for 10 minutes.
I then whipped up some Mold Star 15 silicone (1A: 1B ratio), and poured it in.
I went to bed for the night shortly thereafter, slept for 3 hours, woke up and was back at it. Demolding time!

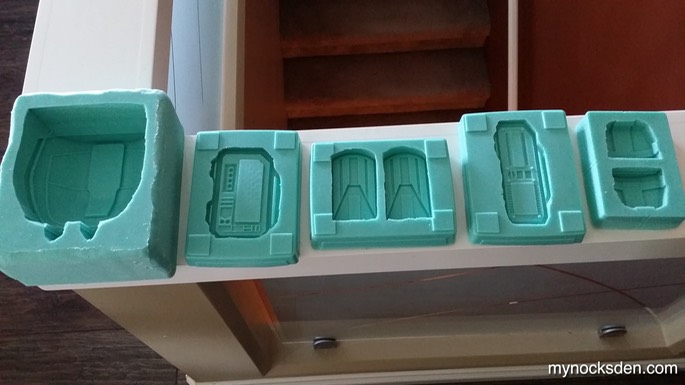
I peeled the master out of the mold, which revealed a perfect print coat (on the far left in the next photo).
To be continued…
* * * * * * *
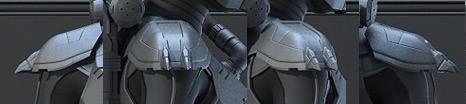
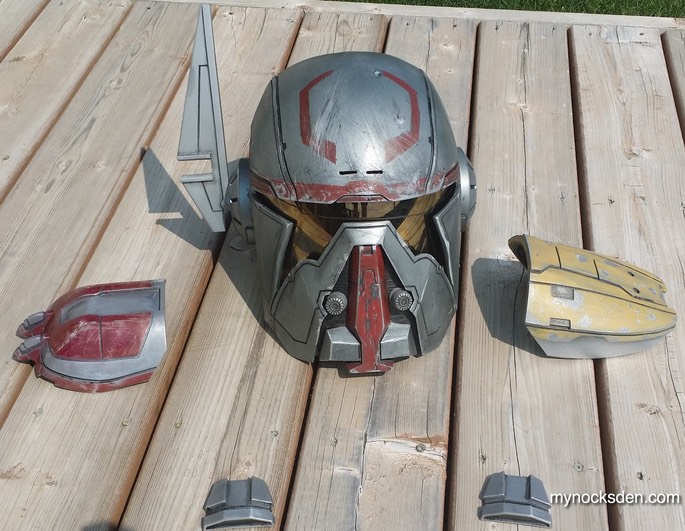
SWTOR Hunter’s Exalted Mandalorian Helmet
- SWTOR Hunter’s Exalted Right Pauldron
SWTOR Hunter's Exalted Left Pauldron
SWTOR Hunter’s Exalted Hand Plate
SWTOR Hunter’s Exalted Bicep Assembly
SWTOR Hunter’s Exalted Datapad
SWTOR Hunter’s Exalted Thermal Detonator
SWTOR Hunter’s Exalted Belt Pouches
SWTOR Hunter’s Exalted Gauntlet Assembly