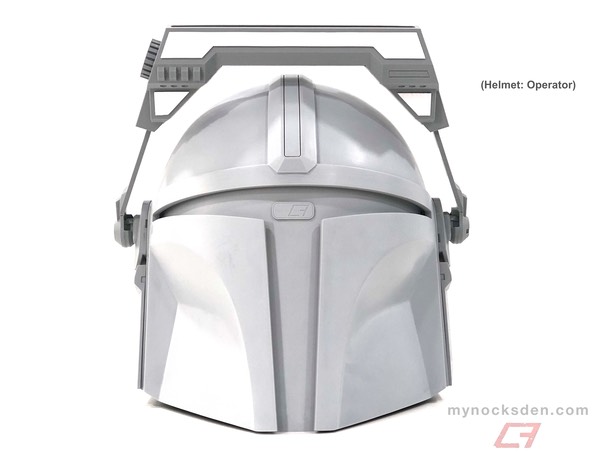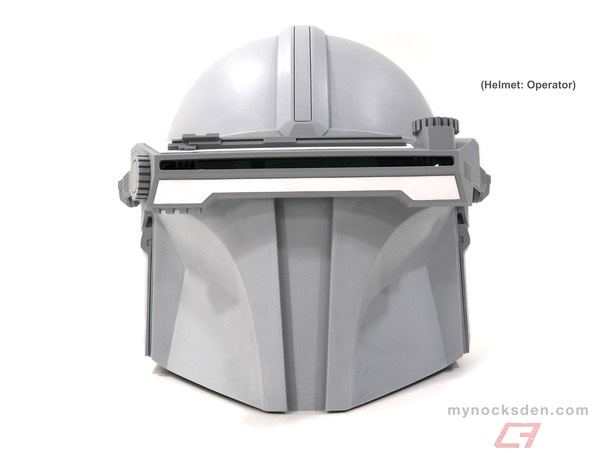
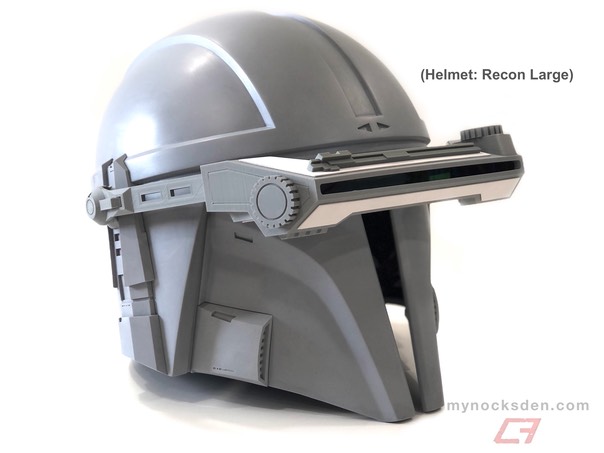

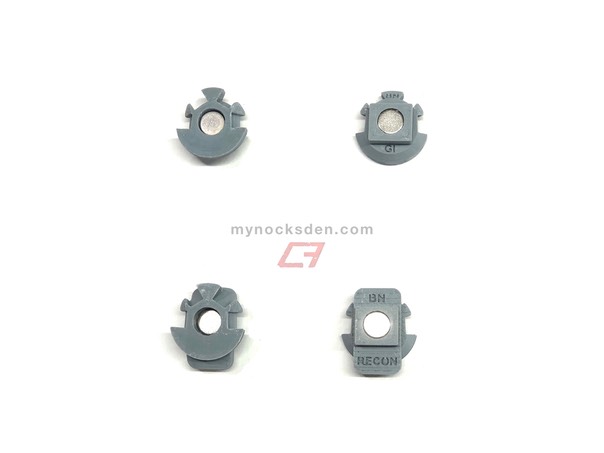
The MHAS Macrobinoculars attach to Mynock’s Den MHAS-Compatible helmets like the Recon, Recon Large, Gunslinger, GI, and Operator using magnetic adapters that snap into the corresponding ear ports. To attach the macrobinoculars to the “Recon” and “Recon Large" helmets, use Recon-style ear adapters. For the “GI”, “Gunslinger”, and “Operator” helmets, use the GI-style adapter. You can select either or both styles of adapter when placing an order in our Etsy shop.
We will come back to ear adapters later.
Since many of the parts in this kit are 3D printed from either PLA or ABS plastic filament using Fused Deposition Modelling technology, many parts will exhibit some level of striation. Prior to painting 3D printed parts, many people choose to smooth out the surface first. For brevity, we will skip this process and focus on overall assembly.
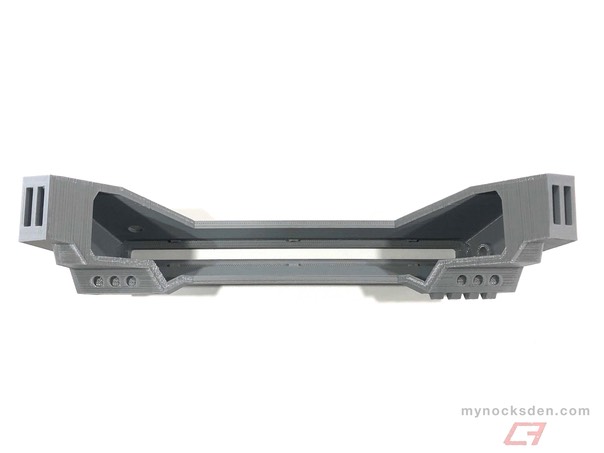
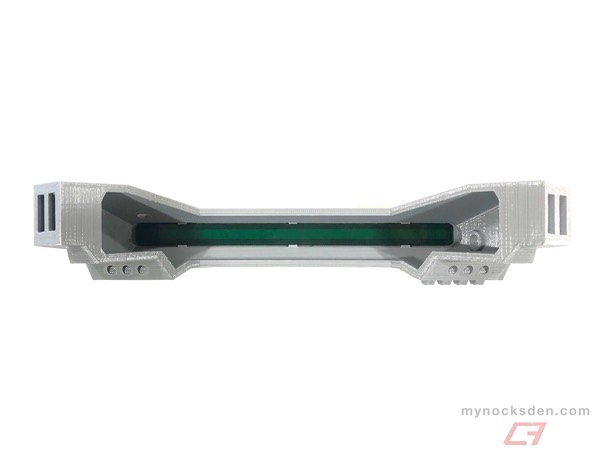
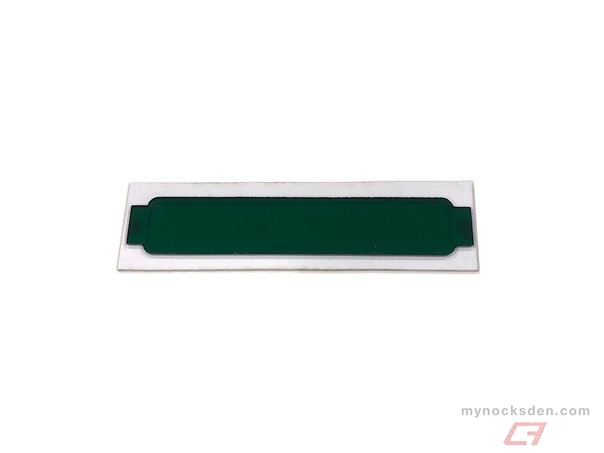
First, snap the long outer green plastic window into the main housing as shown below.
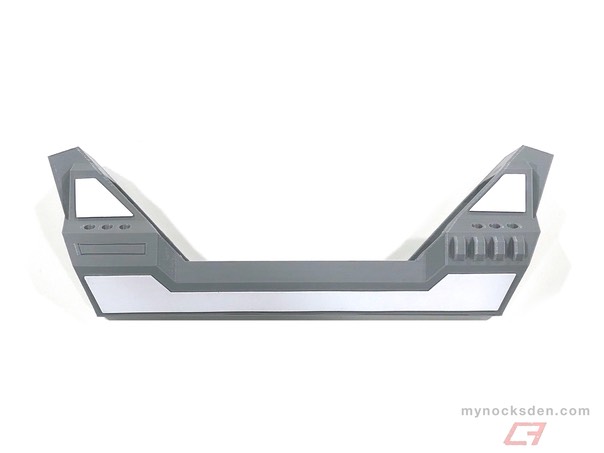
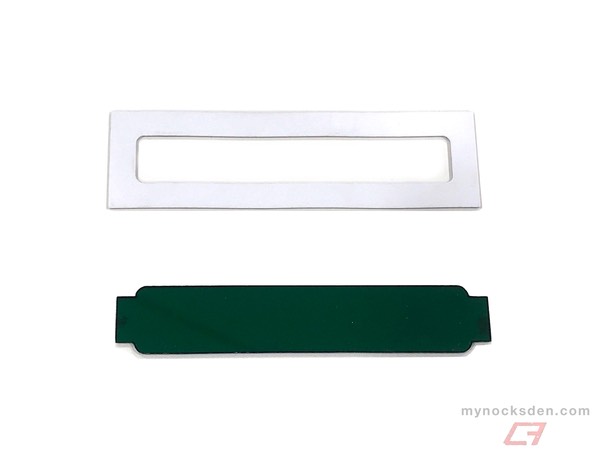
You’ll notice that the white plastic panels included with the kit have a clean white (outer) side and a rougher (inner) side. Glue the white plastic panels to the main housing as shown below by applying glue to the rough side. Unless otherwise specified, we recommend using superglue for all adhesive work during this assembly process.

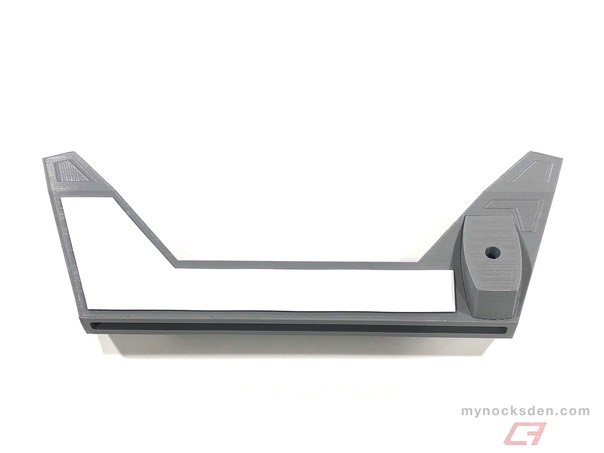
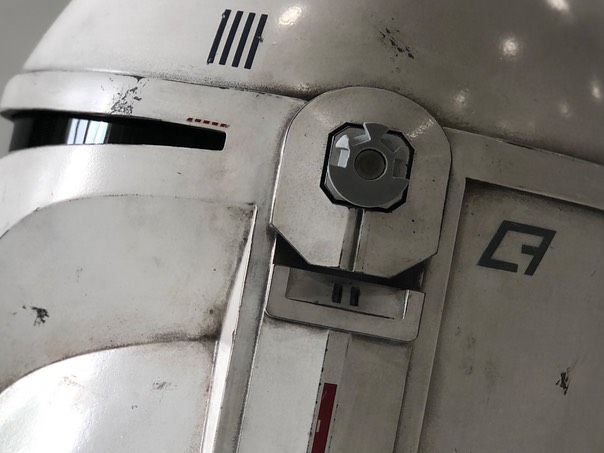
Superglue the windage dial base to the main housing as shown below.
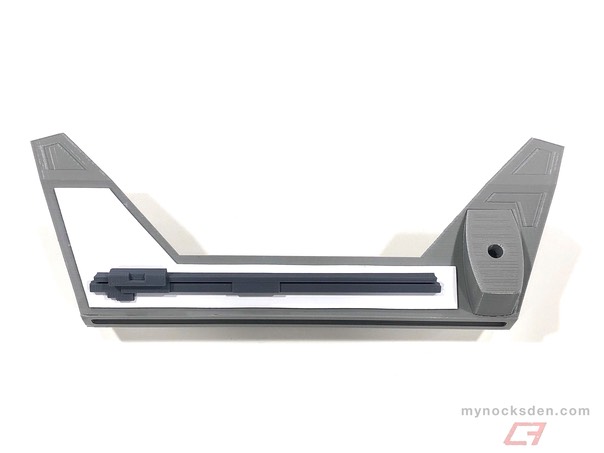
Superglue the top sensor strip to the white panel on top of the main housing as shown below.
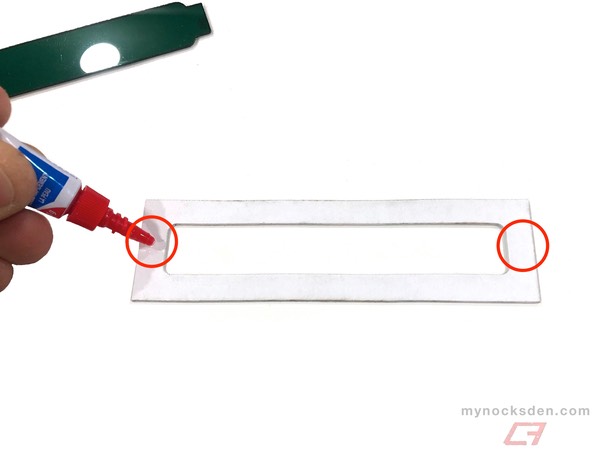
Next, superglue the shorter green (or clear) screen window at points shown below. You may choose to secure the two parts further by taping the window in place with clear tape, or with hot glue (be careful not to go all the way to the edge)..
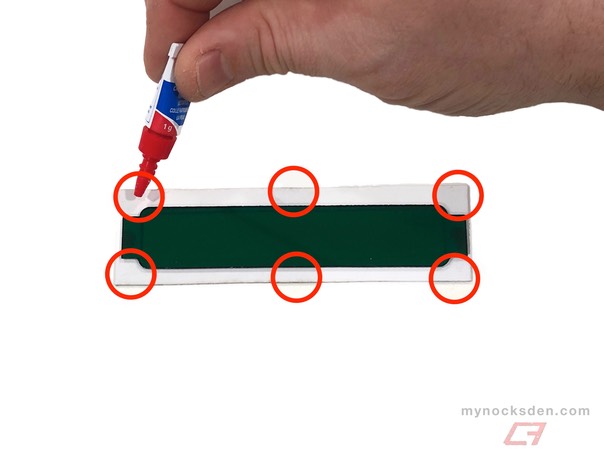
Next, apply superglue in roughly the areas shown below, and glue the inner window assembly to the main housing.
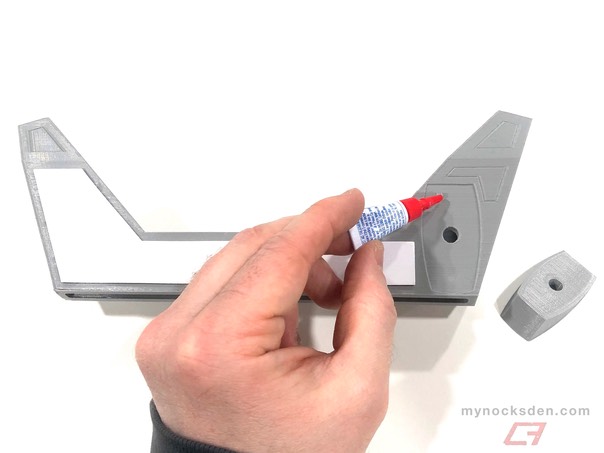
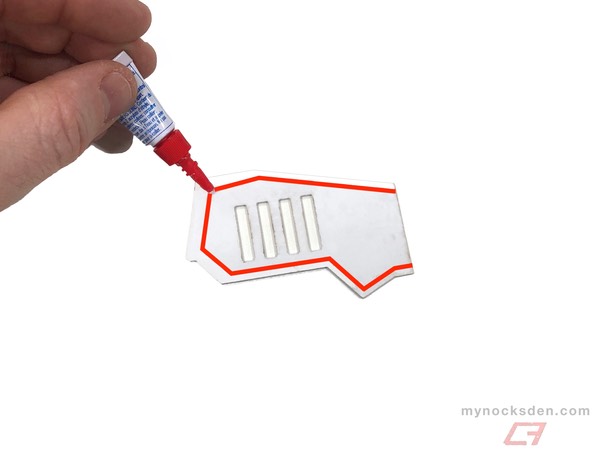
Next, apply a thin bead of superglue along the path outlined in red below, then glue the panel to the main housing. Repeat the process for the mirror panel.
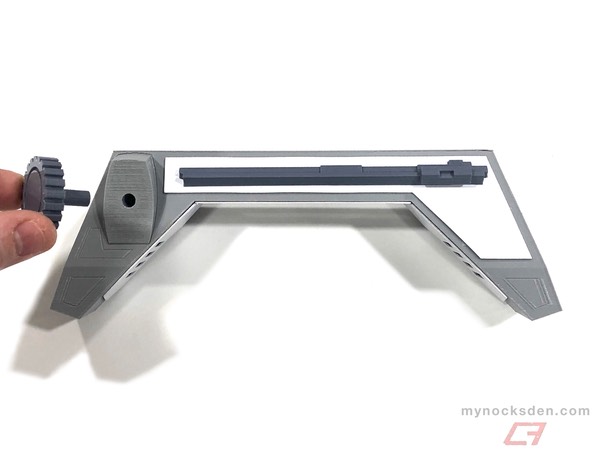
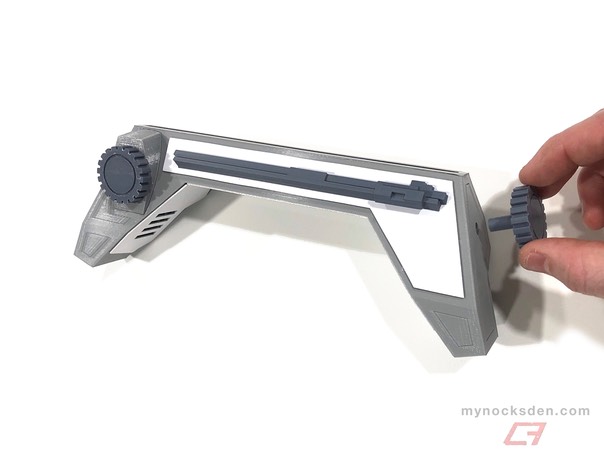
Insert the windage and elevation dials into the main housing as shown below.
You’ll notice that only one of the two arms has a square locking pin installed; this is intentional, as only one is needed for operation. You’ll also note that the arms are comprised of two separate pieces that have been welded together for structural strength. Please do not try to pull them apart as doing so can break them.
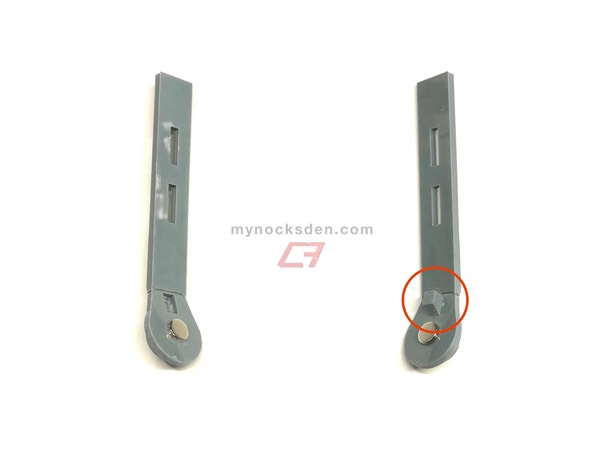
The arm with the locking pin is the one you’ll manipulate to activate the macrobinoculars, so keep that in mind when deciding which side to put it on. For the purpose of this guide, the locking pin will be on the left arm.
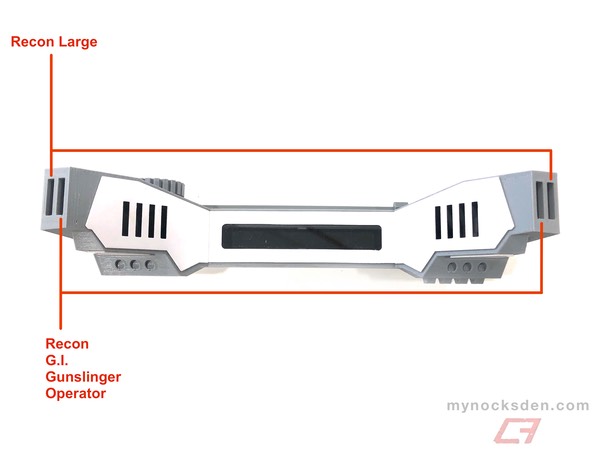
Depending on which MHAS-compatible helmet you have, insert the arms into the main housing as indicated in the mext image.
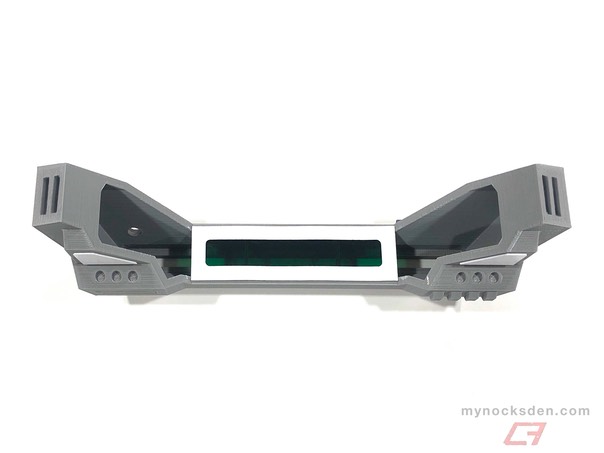
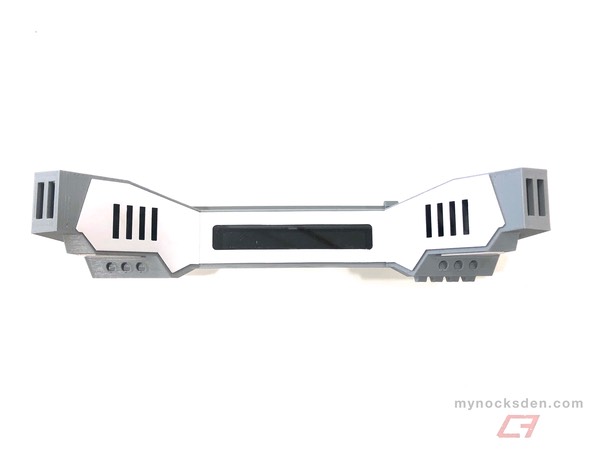
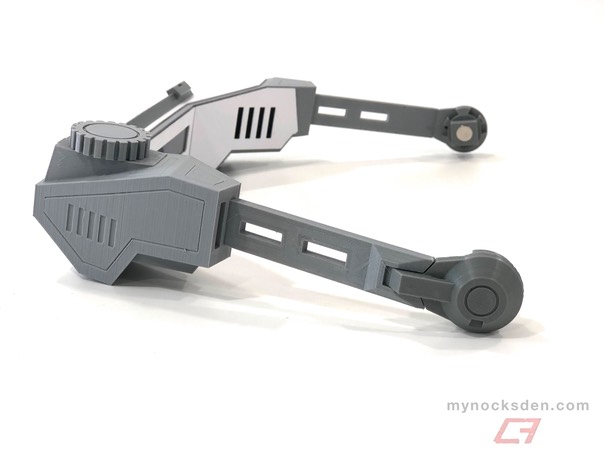
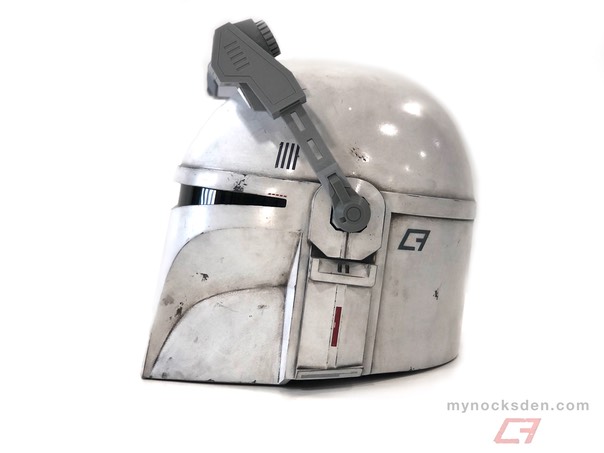
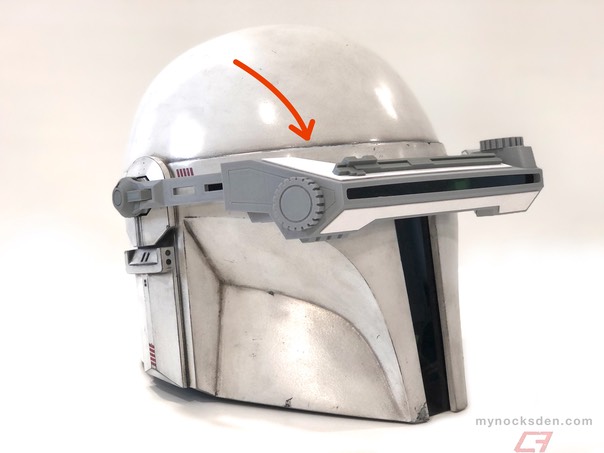
Your Macrobinoulars are now fully assembled and should look like this.
Snap the ear adapters into the corresponding helmet ear ports. For reference, we will use a G.I. helmet with G.I.-style adapters below.
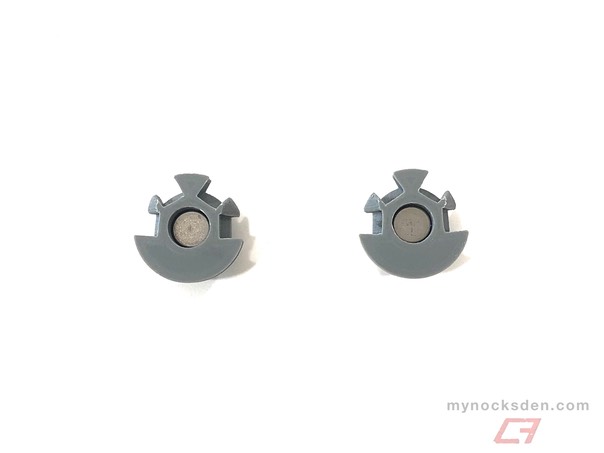
Attach the ear adapters to the helmet receptacles in the orientation shown above; the adapters are bilaterally symmetrical and will work in either ear.
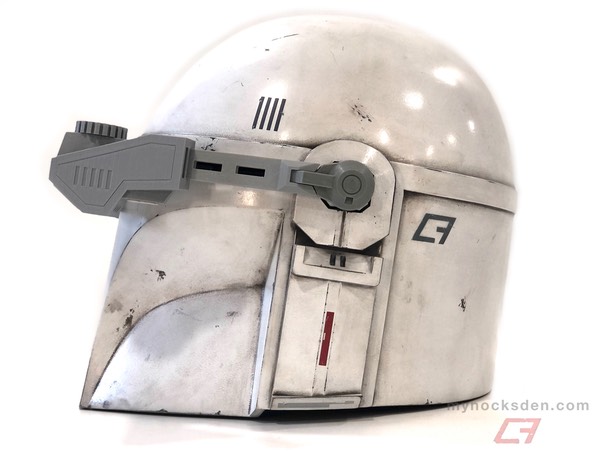
Align the Macrobinoculars with the helmet as seen below until each arm snaps into place.
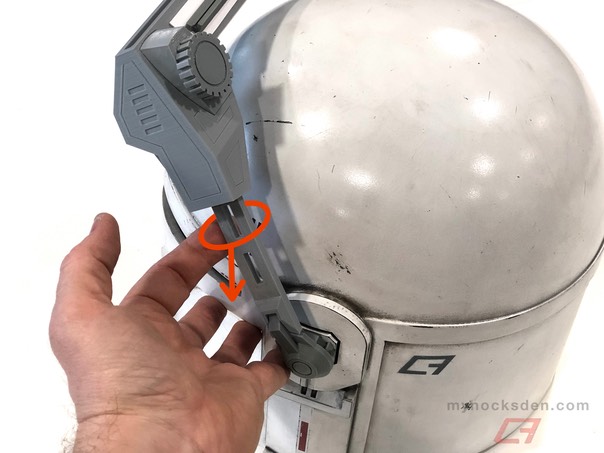
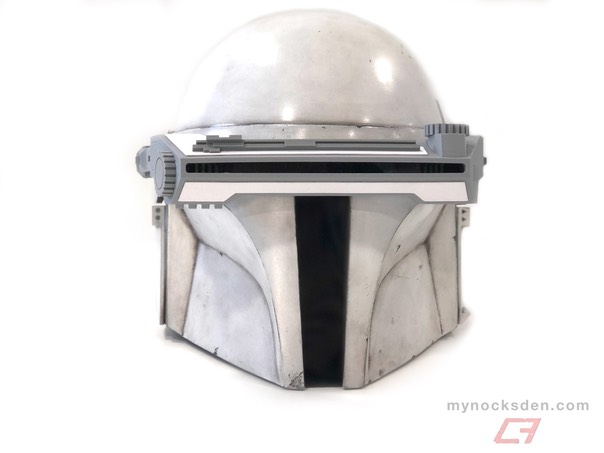
Gently pull on the locking arm as shown in the photo below to disengage the locking pin, and the macrobinoculars will swing down and lock in position with gravity. DO NOT TRY TO SIMPLY FORCE THE MACROBINOCULARS DOWN IN A FORWARD MOTION AS DOING SO WILL BREAK THE LOCKING MECHANISM. If this does happen and the locking side adapter becomes damaged, do not panic! The two adapters are identical; you can swap them and put the undamaged one on the locking side, and the damaged one on the non-locking side to get the system working again 😀.
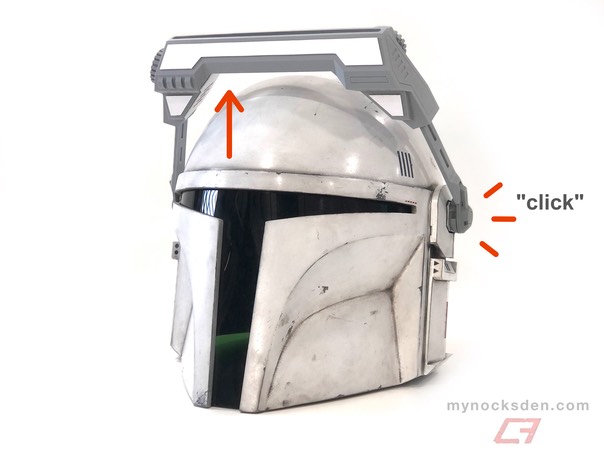
To bring the Macrobinoculars back up, simply push them up until they lock in the raised position with an audible “click".
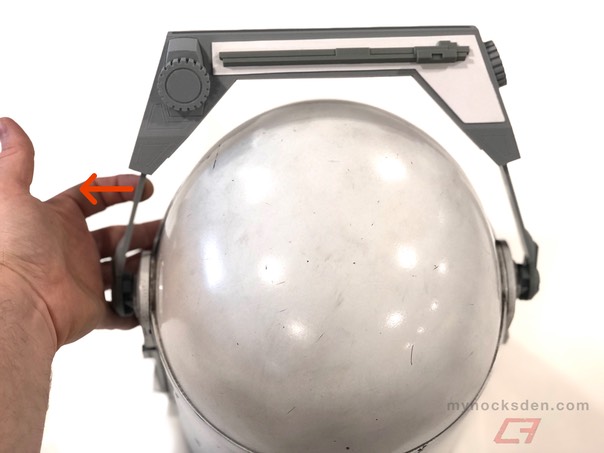
To remove the Macrobinoculars, one side at a time, pull each arm off the adapter until the magnets disengage, then remove the adapters separately. Congratulations, you’re done! That’s it, and enjoy! 😀
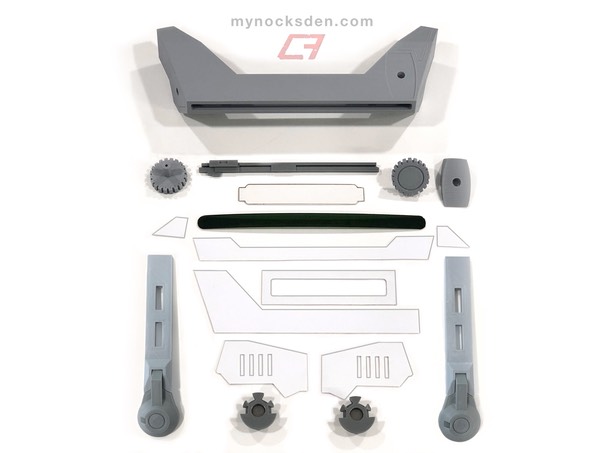
Kit