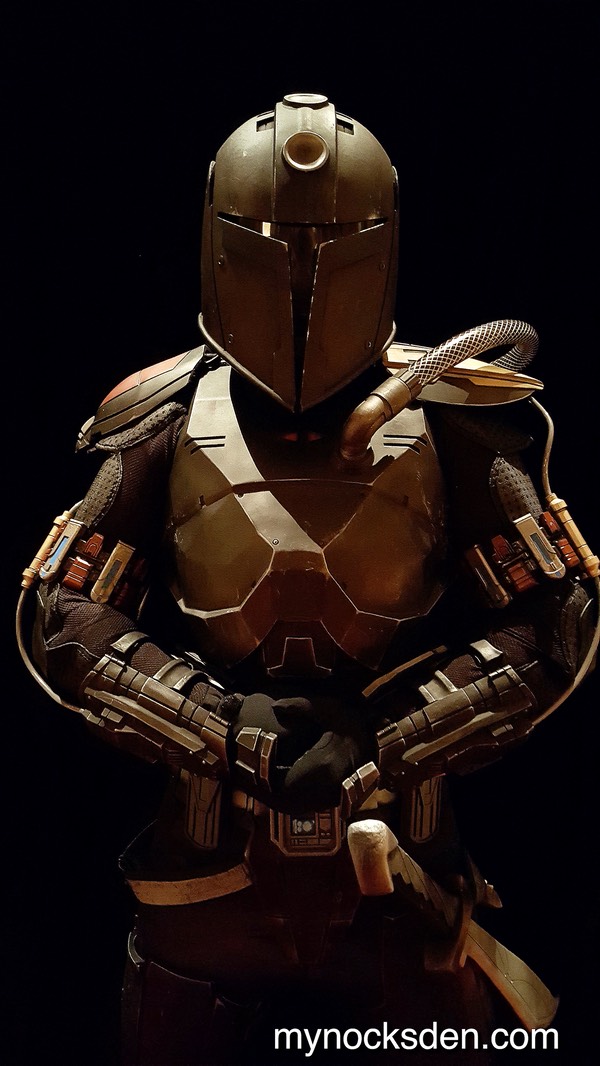
Star Wars the Old Republic MMO has no shortage of cool helmets, and another one of my favourites is the Foundry Mercenary helmet. Since this is the bucket my Bounty Hunter Niiner wore throughout most of his adventures, I decided to bring it to life as a wearable prop.


I completed the Mandalorian Warrior helmet (link opens in new tab) model some time before beginning this project, and given the similarities between the Warrior and the Foundry lids, I decided to save time by reusing the Warrior CAD model.

I therefore began deconstructing and reshaping the Warrior model into the Foundry helm in Rhino.


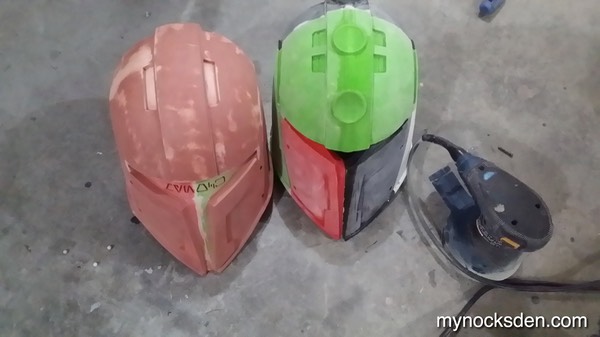
After modelling was completed, the model was split into 3D printable STL files, printed, and assembled using epoxy putty. (The next photo shows the Warrior Helmet on the left in a more advanced state of completion than the Foundry on the right.)
Lots and lots of sanding later, the helmet surface was ready for spot putty.

I applied some Bondo Glazing Spot Putty and left this to cure. At this point the project was put on hold for several months as I focused on some commitments.

In January of 2016, I resumed work on the helmet; I sanded the first layer of the spot putty off, and applied the first coat of primer. Unifying the colour revealed areas of the helmet that needed to be touched up.

The trouble spots that were revealed were filled in with more Bondo Spot putty, and sanded smooth before the colour was unified with another coat of primer.

This process was repeated several times before the surface was blemish-free and the helmet ready for molding.

Next, I did a quick digital sketch of some improvised cheek detailing (below the ear vents) in CAD, and then laser engraved and cut them from a sheet of sintra...

… glued them in place, and primed the helmet one last time. I then used some 800 grit sand paper on the surface, followed by Turtle Car wax to smooth things out further. (Though I’ve used Turtle Wax before prior to applying silicone with decent results, this time I followed it with SuperSeal - which, in hindsight, was a mistake, since the silicone would end up curing improperly. More on that later, though!)

Molding the helmet in silicone followed the steps I already outlined in the following video (which explains how I molded my Mando Warrior helmet), so I will not go into detail here.
After the mold cured, and the master was demolded, I noticed some of the silicone did not cure very well, remaining tacky to the touch. I’m guessing SuperSeal reacted with the car wax, which in turn inhibited the curing of silicone.

I was able to cast a copy of the helmet in Smooth Cast 65D (outer layer being cold cast in aluminum), however the mold was damaged in the process, becoming virtually unusable :(. If I want to make more of these helmets in the future, I will have to remake the mold.

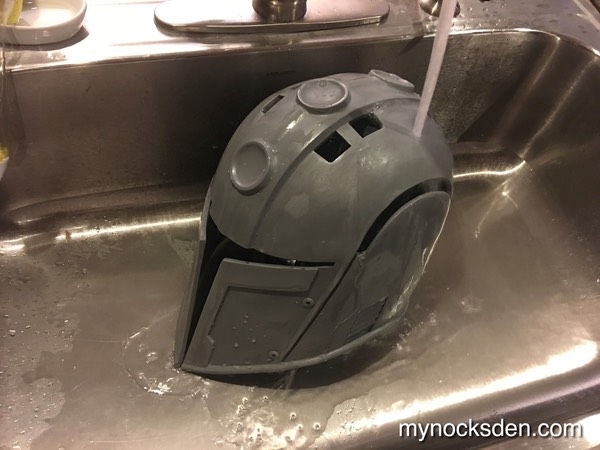
Next, I dremelled out the sections seen in the next photo, and washed the entire thing with acetone, followed by a good scrub in the sink.
Painting came next. I polished some parts of the surface with steel wool to make the aluminum in the resin shine, and used Rub-n-Buff silver paste to vary the colour of the surface. If you look at painted metal objects, when the paint gets old and peels up, the metal underneath oxidizes and takes on many different shades and hues. I wanted to achieve a similar effect by varying the shinier appearance of Rub-n-Buff, with natural aluminum.

To vary the colour further, I sprayed certain areas with grey primer as well.

Next, using latex masking fluid, I covered up some sections of the surface in the shape of battle damage scratches and flakes, painted the helmet black, and followed this up with the final beige colour (all colours being spray paint).

Once the paint dried, I masked off the various sections that needed to be painted white and brown, and spray painted these respectively in turn.


Once the paint dried, I peeled off the latex, which revealed some nice-looking battle marks. I used a utility knife to add more scratches and scuffs, and followed this up with some black paint which I airbrushed on, giving it an aged look. The visor was then cut from a dark green face shield (I buy these things in bulk on eBay)...

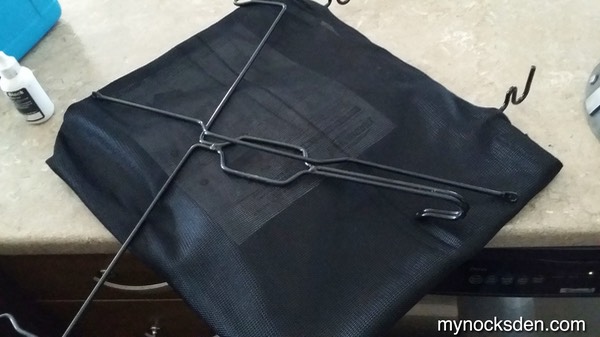
…and just velcroed in. After this, I glued in some black mesh strips cut from a lawnmower grass catcher bag (the same fabric I use for my Sith Acolyte Helmet eyes) over the air vents from the inside, and painted this brown.
After gluing in some foam padding, the helmet was finished and ready to be worn!


And here is a paint variant I made to use with my “Mynock" Mando armor build.


Thanks for looking!
* * * * * * *