
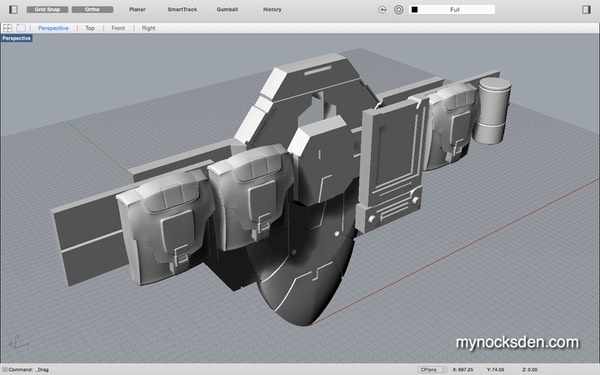
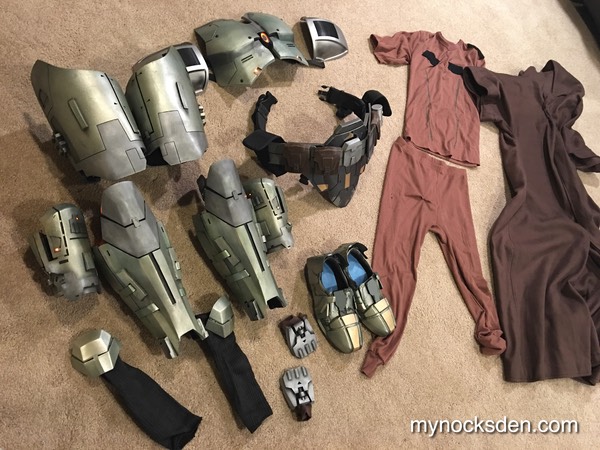
When Blur Studio created the cinematic trailers for Star Wars the Old Republic, they used the same base CG model material for both the Sith Acolyte and armoured Jedi characters. Because the differences between the two are so small, I was able to recreate the Jedi armour by using most of the molds I had already built for the Sith Acolyte. This page summarizes my Jedi armour build, with most attention given to the Jedi-specific components.
* * * * * * *
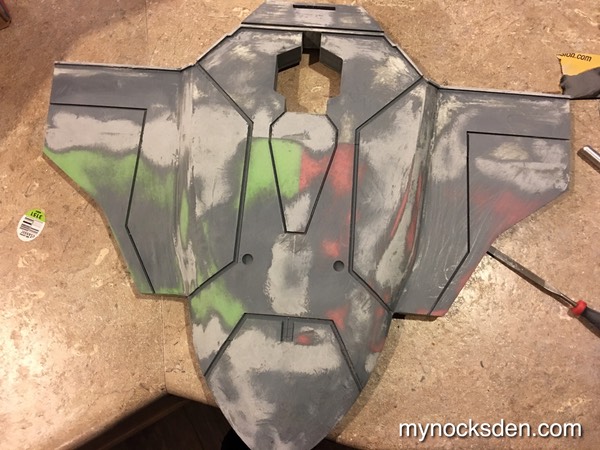
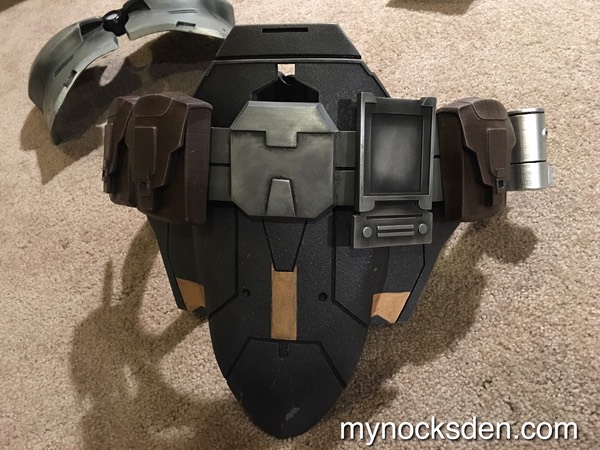
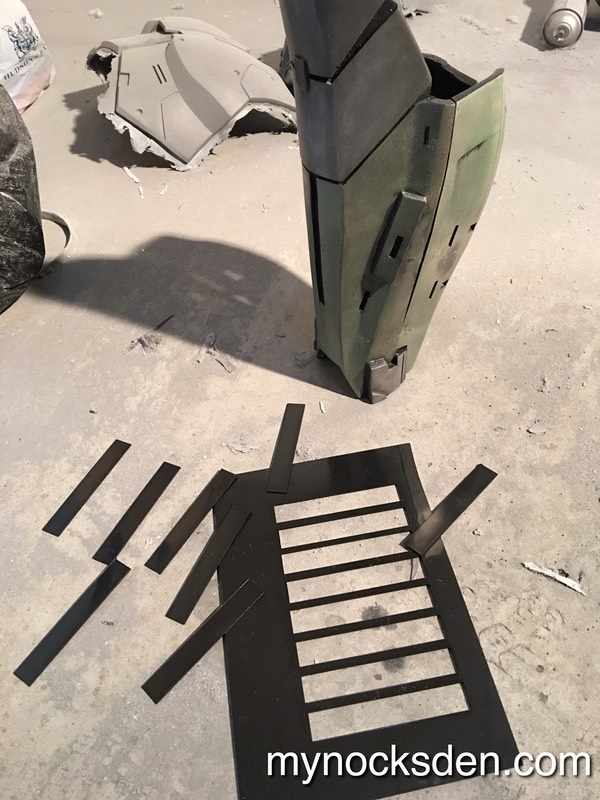
Cod Assembly
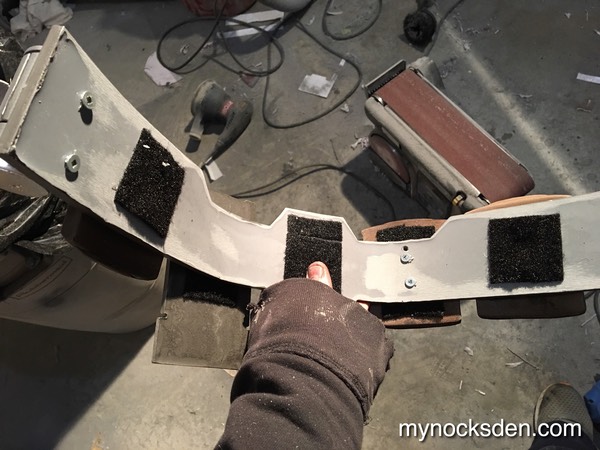
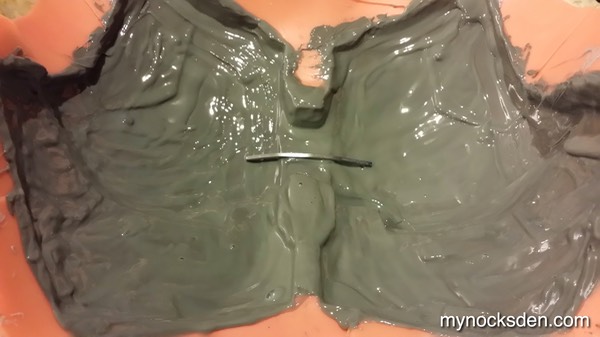
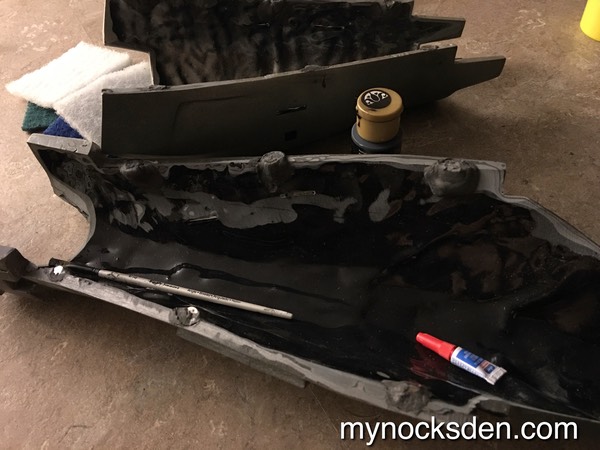
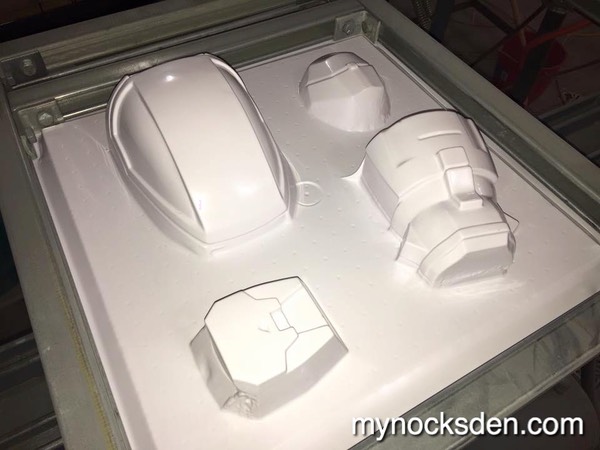
The Jedi pouches and belt canister are identical to the Acolyte, which I had previously made. However, the COD plate, belt and data pad are unique to the Jedi, so I had to build these from scratch. I modelled these in Rhino, and the 3D printed the COD and belt in pieces.
I used Bondo Spot Putty to fill in the seams and smooth out the surface...
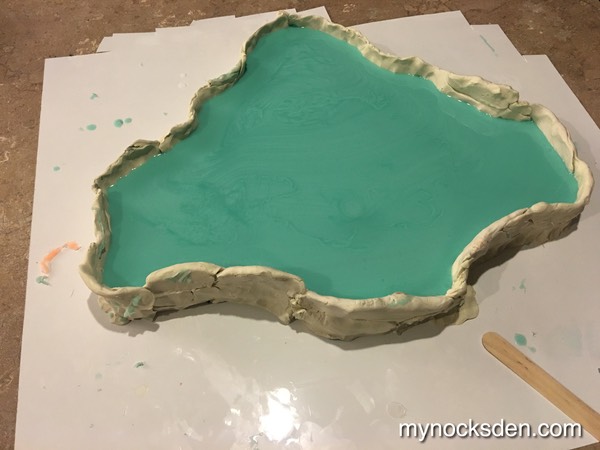
…and used a coarse grain Dupli-Color spray paint to coat the COD plate (to give it a gritty texture). The belt I left smooth. Next, I set these up for molding: I coated them with a release agent, and built walls around them to contain the silicone.

I molded said items using Mold Star 15 silicone.
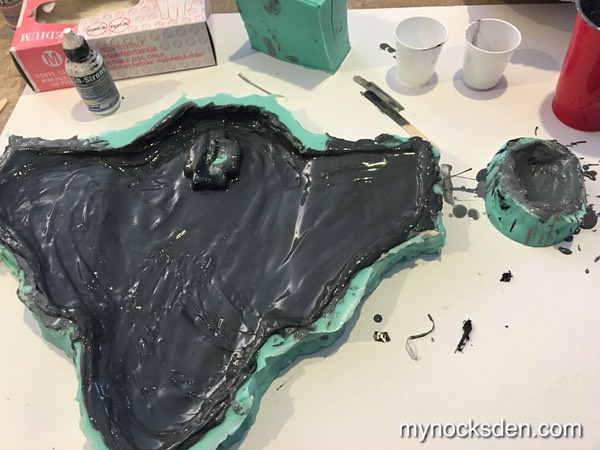
Once the silicone cured, I cold-cast the cod plate and belt using Smooth-Cast 65D resin (outer layer of which was infused with aluminum powder)
Once the resin cured to the consistency of hard rubber, I pulled the parts out of the molds and bent them so that they would cure in a curved shape needed to fit around the mid-section. I screwed the canister and belt pouches to the belt, and covered the screw heads with some sticky-back velcro.
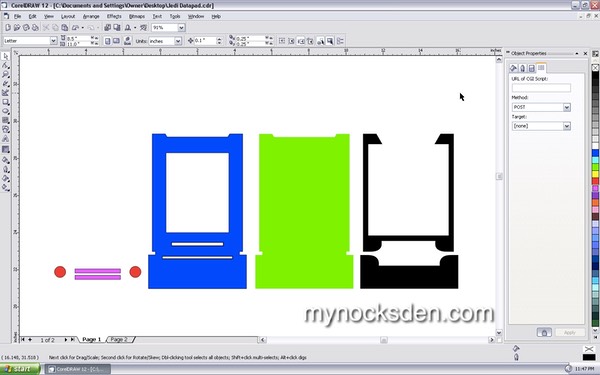
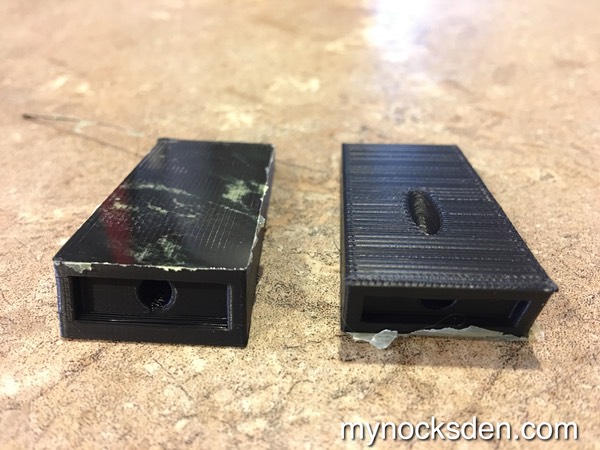
The data pad layers were drawn in CorelDRAW 12,
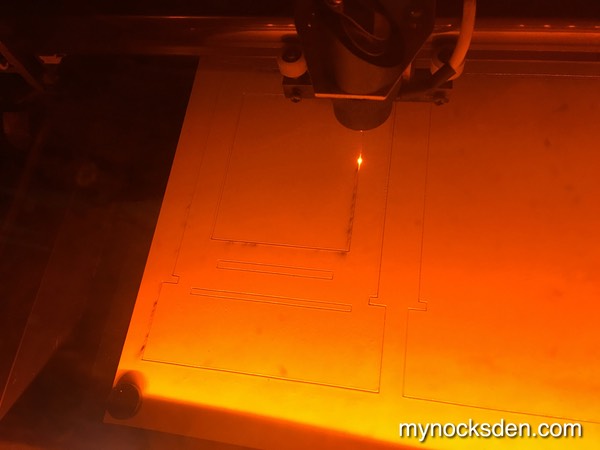
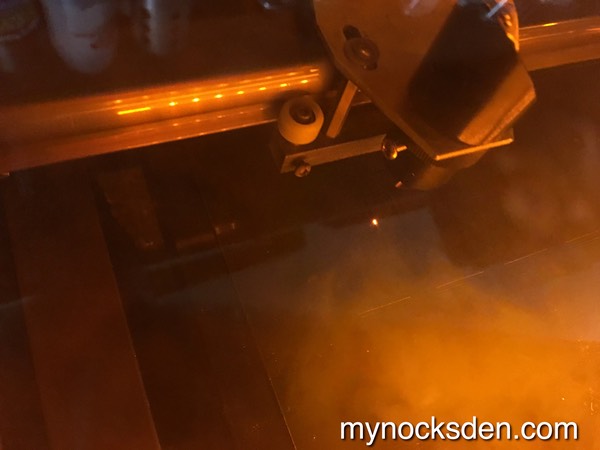
...cut out of .06 gauge ABS plastic (the same stuff I use for vacuum forming) using my $300 Chinese 40watt laser,
…superglued together,
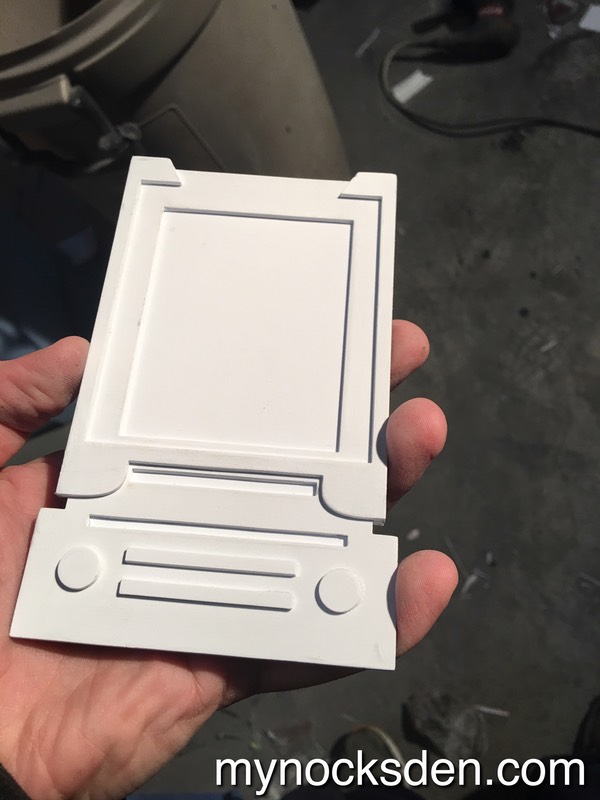
… primed, and finally molded in Rebound 25 silicone so the final version could be cast in resin.
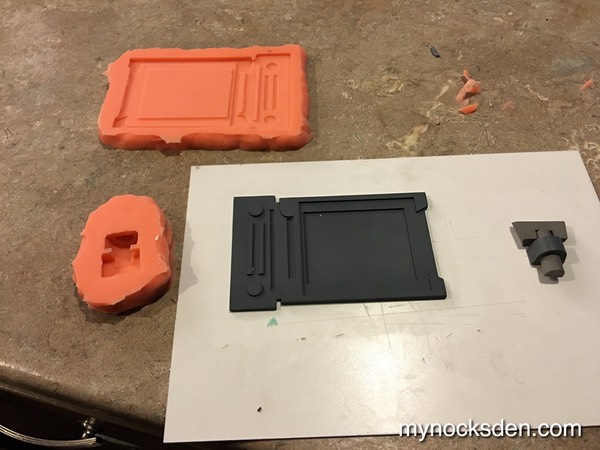
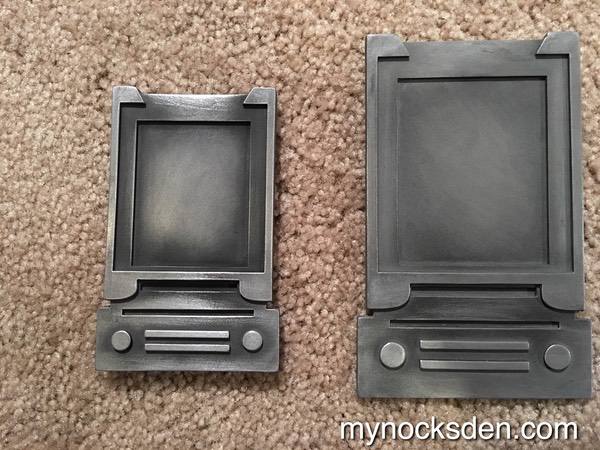
I actually created two versions of the data pad; the first one was too large, so I remade it smaller. Both versions of the pad were cast from 65D resin infused with aluminum powder for that realistic metal finish.
After painting all the parts, I screwed everything together with wood screws, using a 2” web duty belt as the main means of wearing the entire assembly. I added some black pouches on the sides (which would be concealed by the robe) to hold my wallet and cellphone while in costume.
* * * * * * *
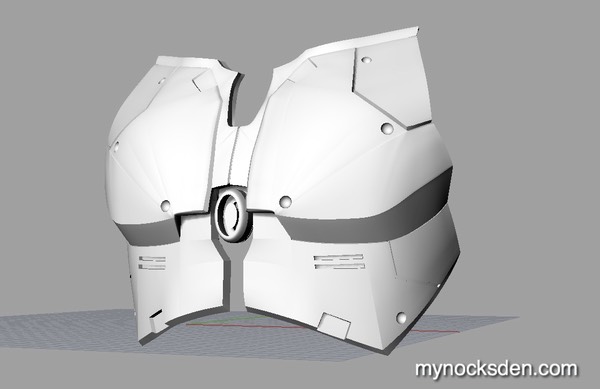
Chest Plate
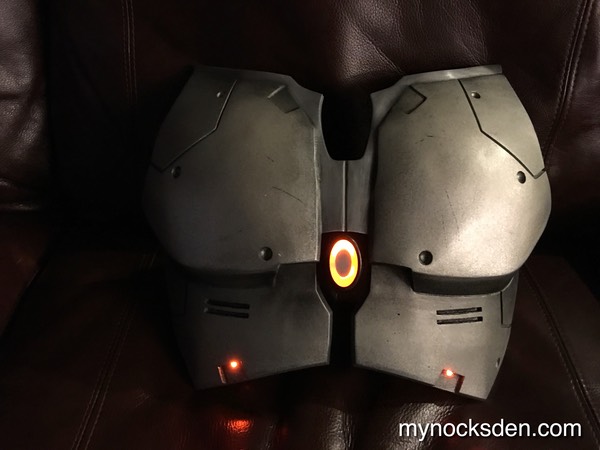
The Jedi chest plate is identical to the Sith Acolyte in everything but the paint job. (You can click on the image below to view the detailed production diary for this piece.)
Using the methods outlined on my Sith Acolyte Chest plate WIP page, I cast a new chest plate,
...and painted it using a combination of Dupli-Color automotive paints to give it that greenish-beige look.
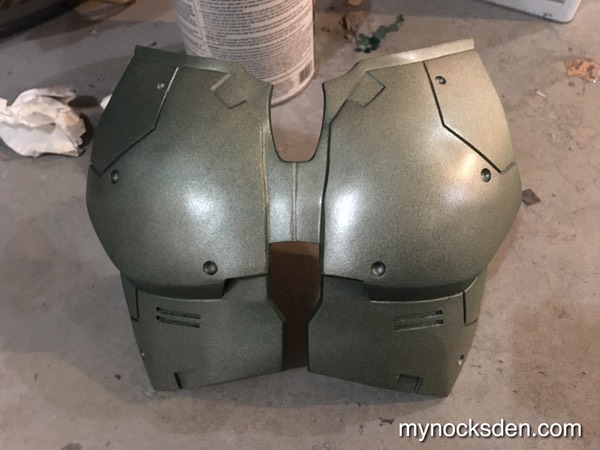
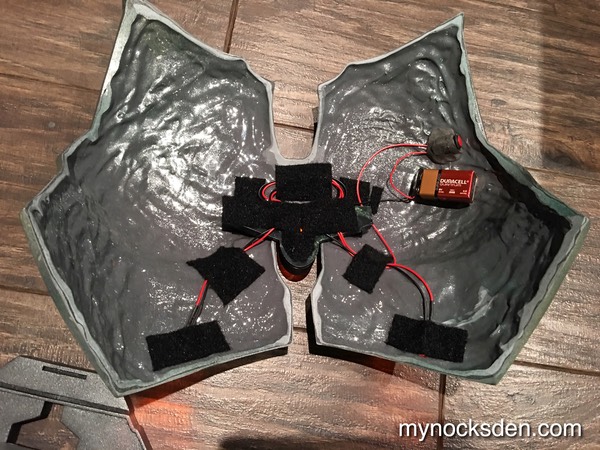
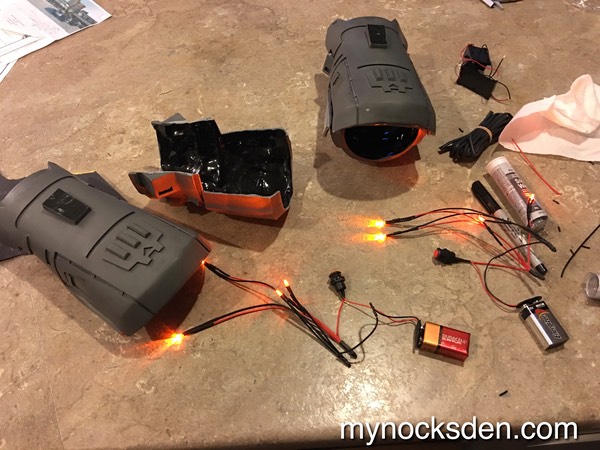
The Jedi chest piece features a lighted center oval piece that is not found in the Sith Version, so I modelled a little housing that would hold some LED light bulbs.
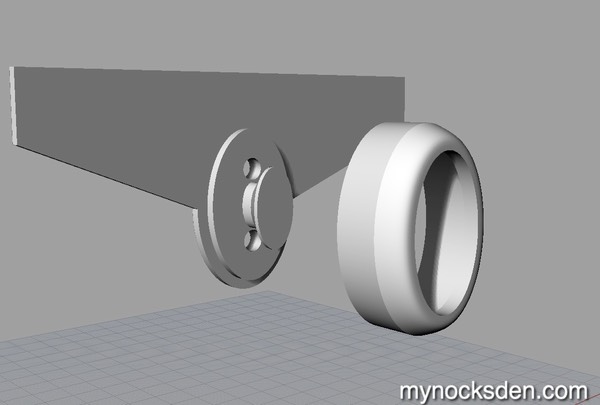
I then 3D printed the pieces,
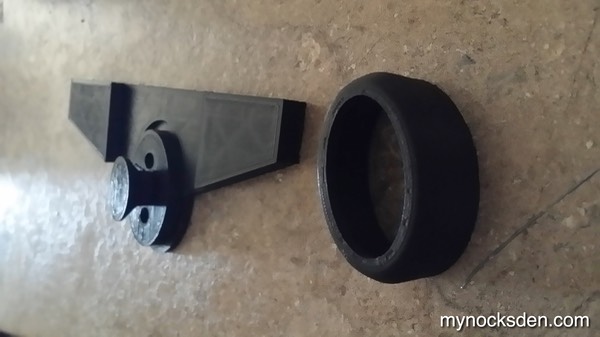
…and wired two amber 3mm LED lights to the center piece. I painted the backing silver in order to help with light reflection, and laser cut an oval shape from a piece of transparent plastic I salvaged from some type of product packaging. I then sanded the oval to make it opaque to help with light diffusion.
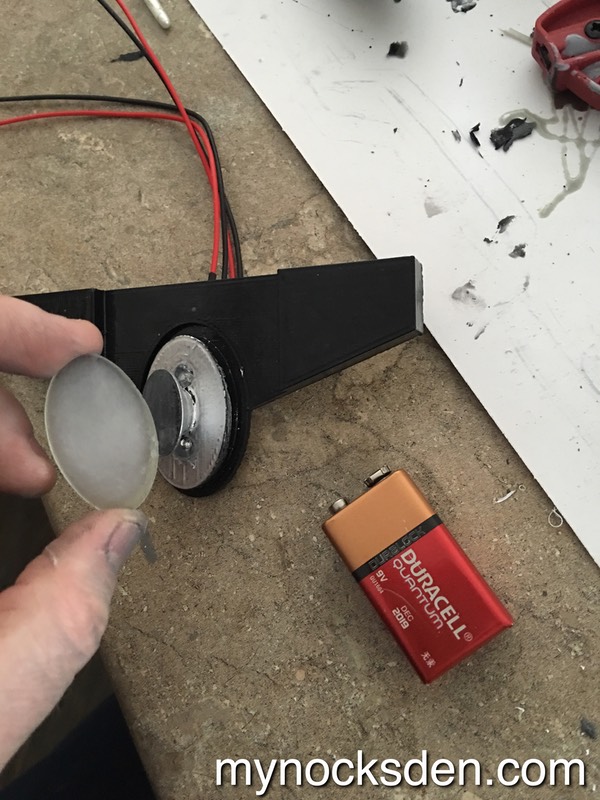
I wired two more 3mm LEDs and fit them through holes I drilled under the rib cage. The entire setup is driven by a generic 9V battery.
* * * * * * *
Legs
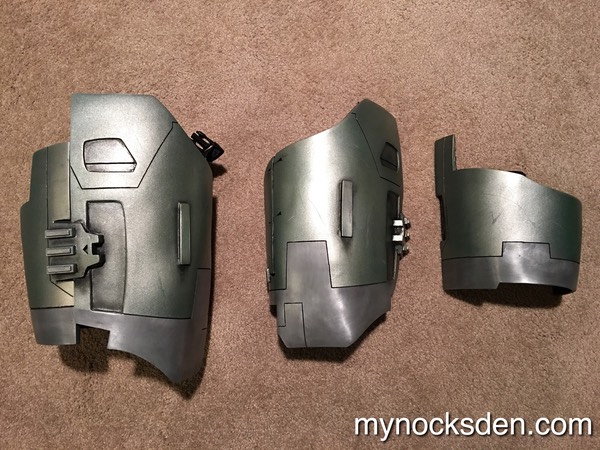
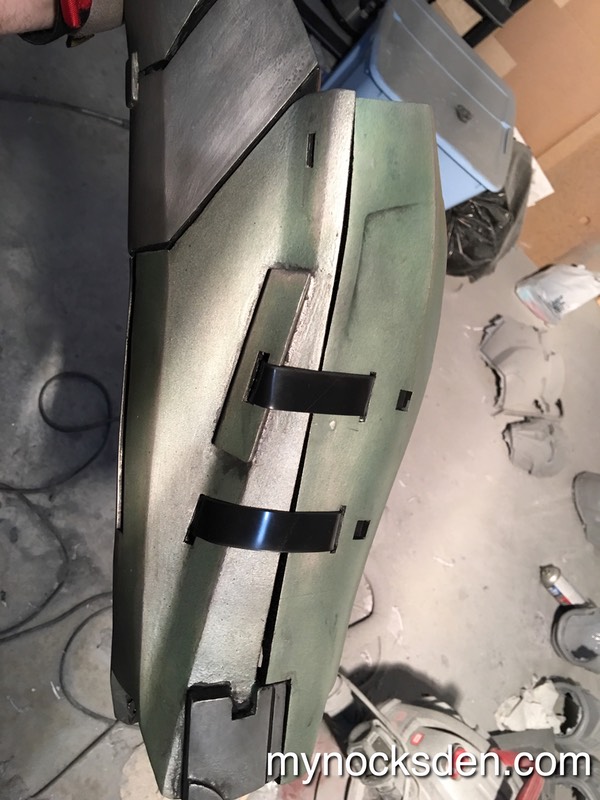
The leg pieces are identical to the Sith Acolyte, so I simply used my Acolyte molds to cast these, and then painted them in Jedi colours using Dupli-Color paints.
What I decided to do differently however, is to make the shins/calves and thighs clam over the legs with magnets instead of using straps.
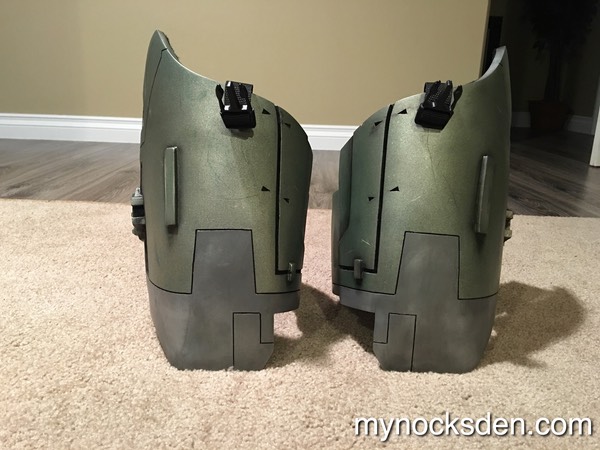
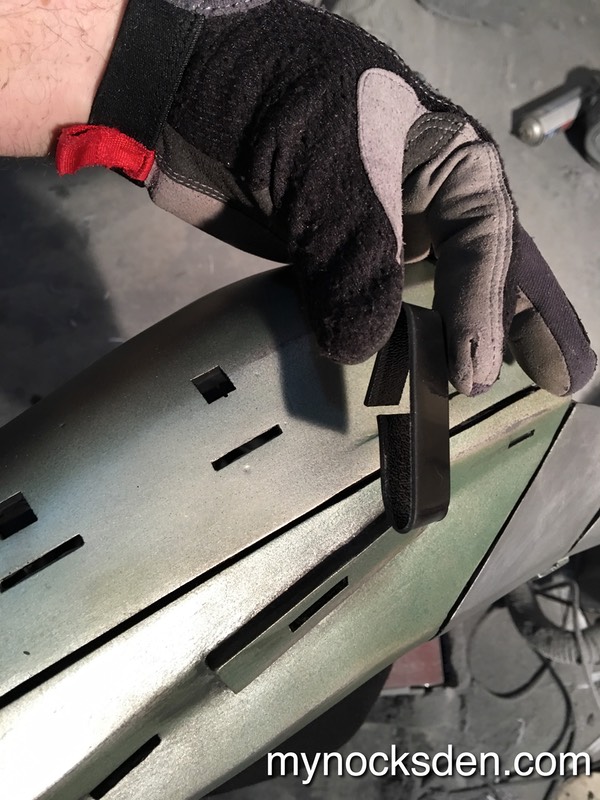
I replaced the shin straps I used in my Acolyte build with strips that I laser-cut out of ABS plastic, subsequently bending them into shape with the help of a heat gun. These became more of a cosmetic piece rather than a structurally important part of the leg armour.
Here’s a video that demonstrates how easy it is to get in and out of this setup.
* * * * * * *
Pauldrons
The Sith Acolyte Pauldrons I previously made have the Sith Empire logo recessed into them. For the Jedi version, this had to be removed. Instead of creating a whole new mold without the logo, I simply cast two Sith Acolyte pauldrons in hard ONYX resin, and filled the Empire emblem in with Bondo.
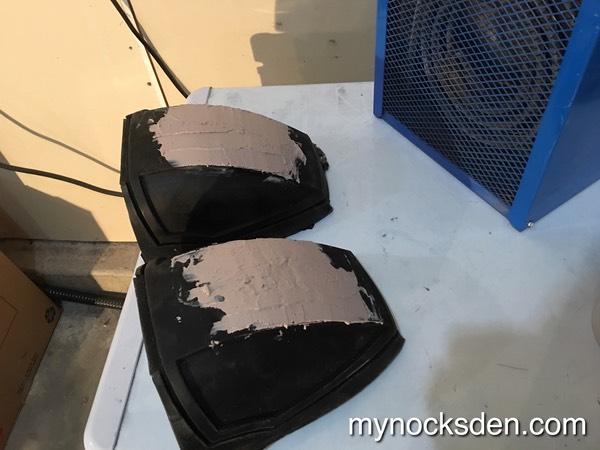
I then vacuum formed the new pauldrons out of .06 gauge ABS plastic.
I then painted these silver, and weathered them to make them look slightly used.


* * * * * * *
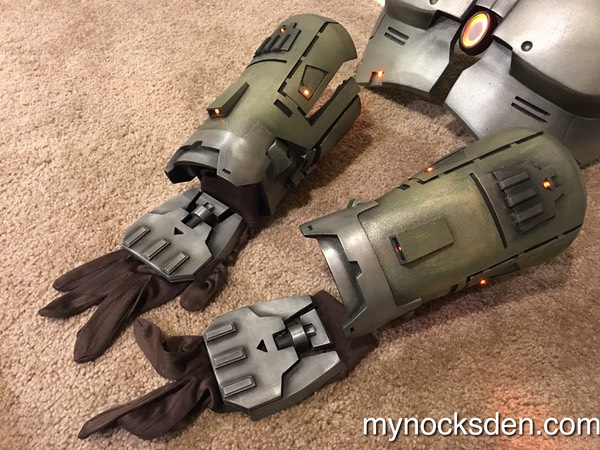
Bracers
The Jedi bracers are almost exactly the same as their Sith Acolyte counterparts. The rocket on the Acolyte bracers is replaced by a small rectangular box containing a single LED light on the Jedi version, with two other LEDs embedded on either side of the upper bracer.
I modelled and subsequently 3D printed the top LED housing, incorporating a channel for positioning the LED light.
I cast a set of bracers in the usual manner, painted them using Jedi colours, drilled some holes, superglued the 3D printed LED housing to the top of the upper bracer, and wired up some amber LEDs powered by one 9V battery per arm to complete the bracers.
I then cold-cast a set of hand plates, and hot glued them to a pair of generic brown gloves from Amazon, which completed the gantlet assembly. The gauntlets are by far my favourite part of the Jedi costume.
* * * * * * *
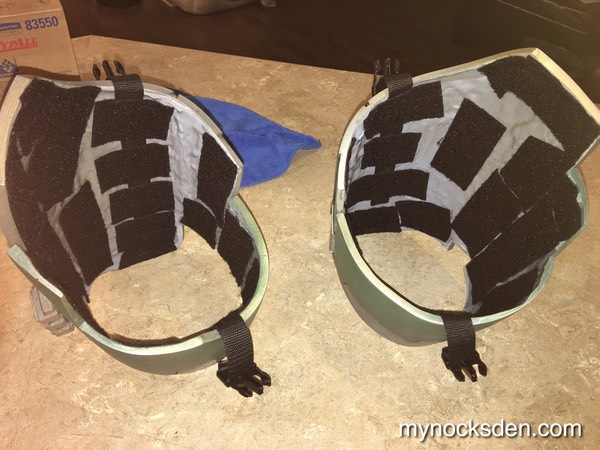
Soft Parts
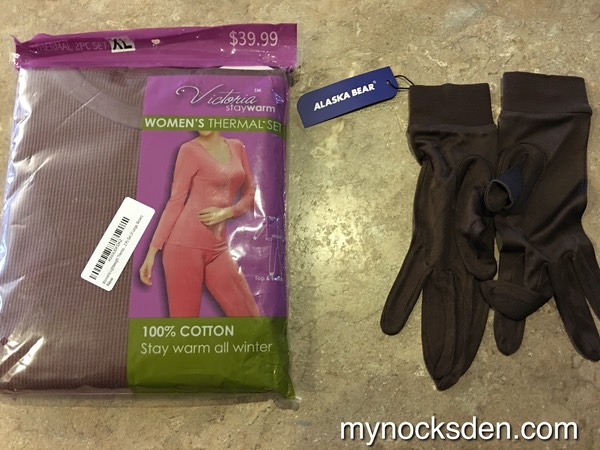
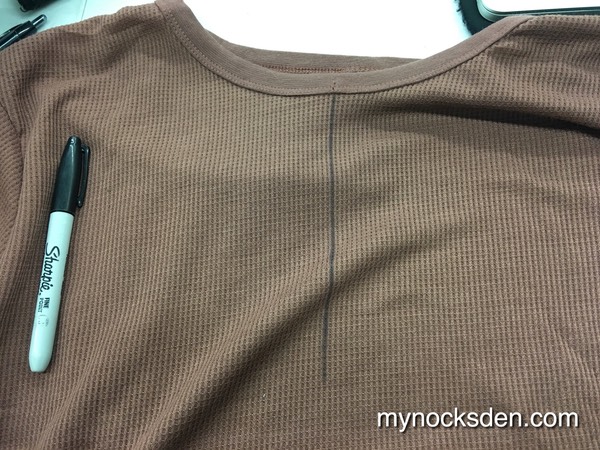
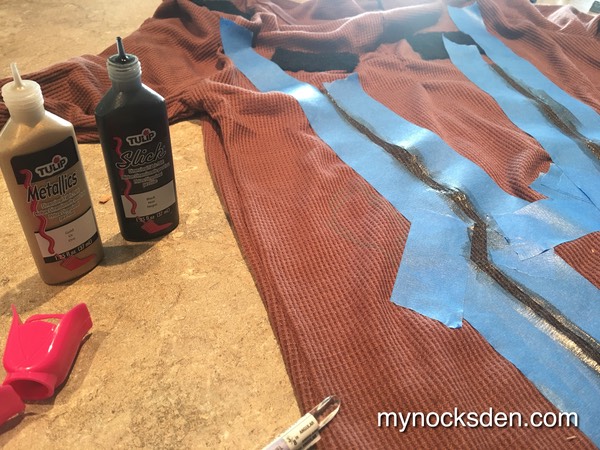
For the shirt, I bought a women’s brown waffle pattern thermal shirt (i couldn’t find a men’s one in that colour), and sewed a small seam into the chest.
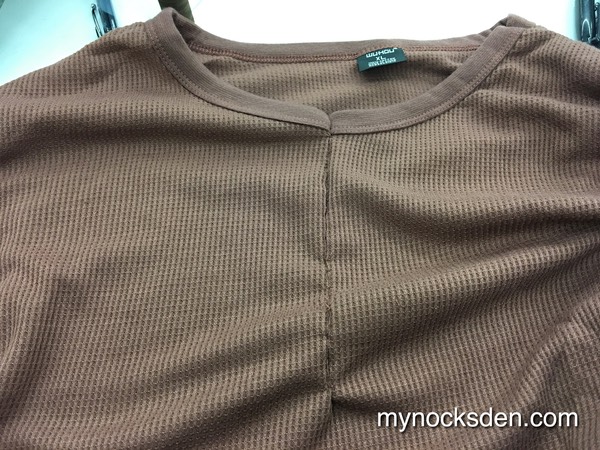
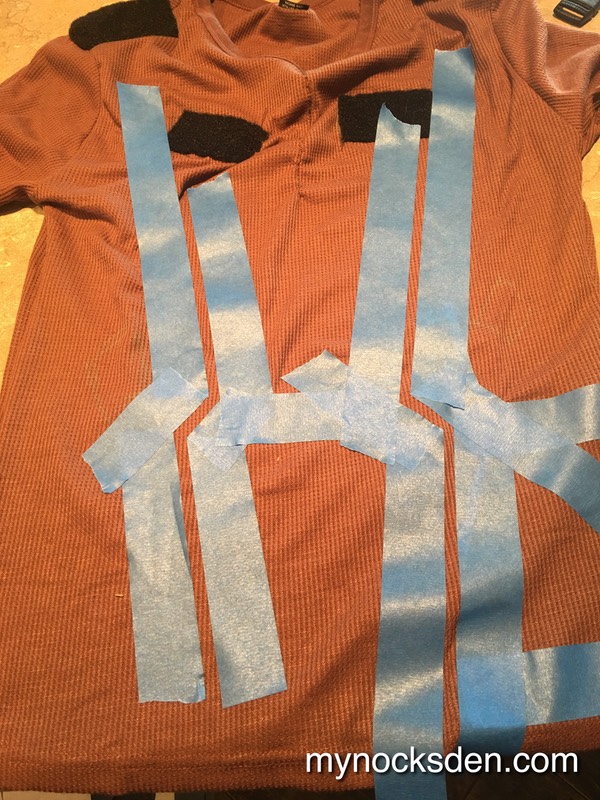
I then sewed some velcro patches onto the chest and shoulders to help keep the chest plate and the pauldrons stay in one place during wear. Next, I taped off and painted on the shirt lines using volumetric Tulip paint (the same type and brand of paint I used to paint the sleeves of my Sith Acolyte robe).
* * * * * * *
Completed Armour

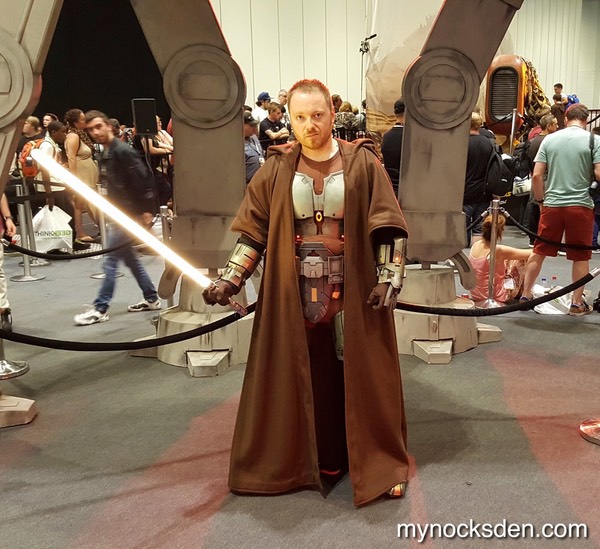
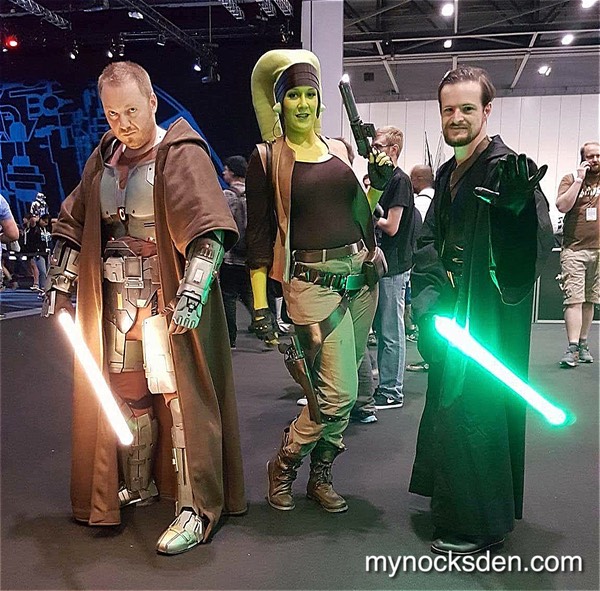
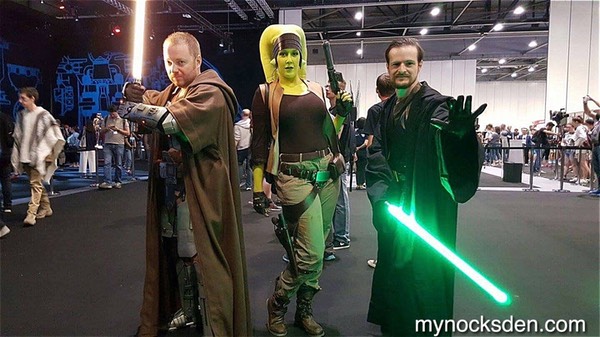
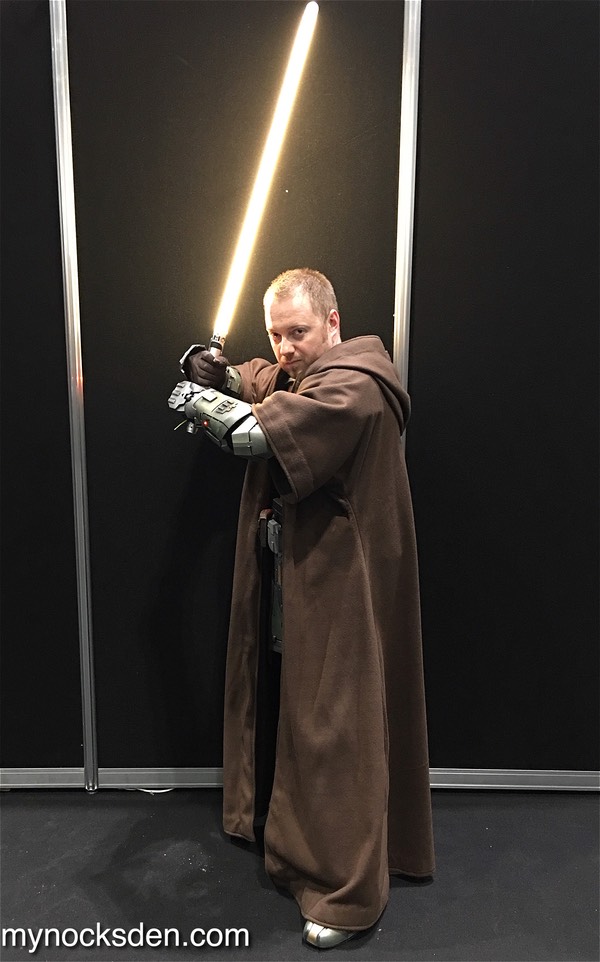
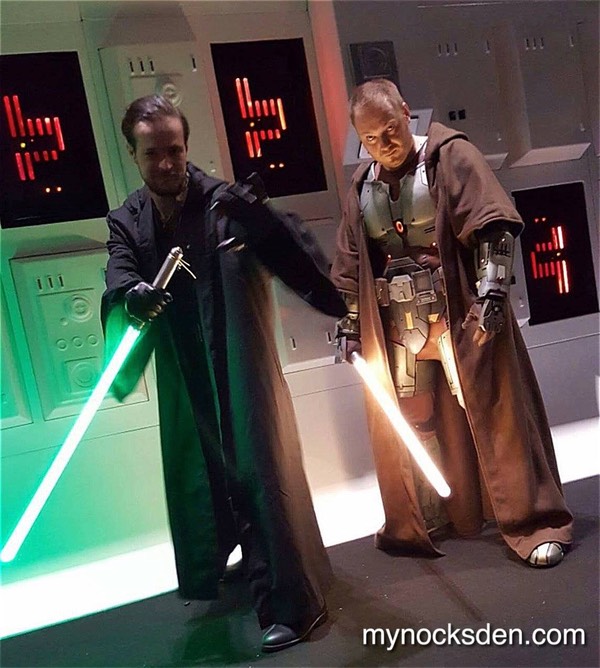
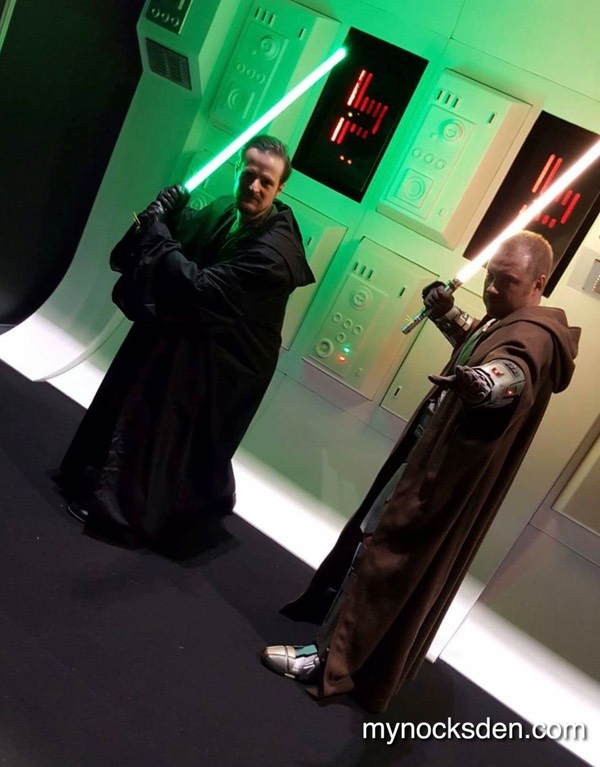
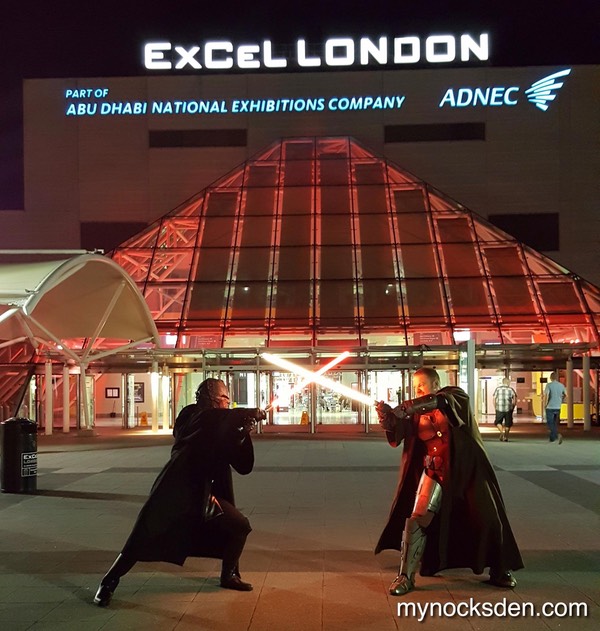
I had a chance to debut the SWTOR Jedi Armour at Celebration Europe in London UK in July of 2016, and I had an absolute blast doing it!
Thanks for looking!