I began by building the base for the piece by drawing some basic support structures on paper, and tracing these onto a sheet of ABS plastic.
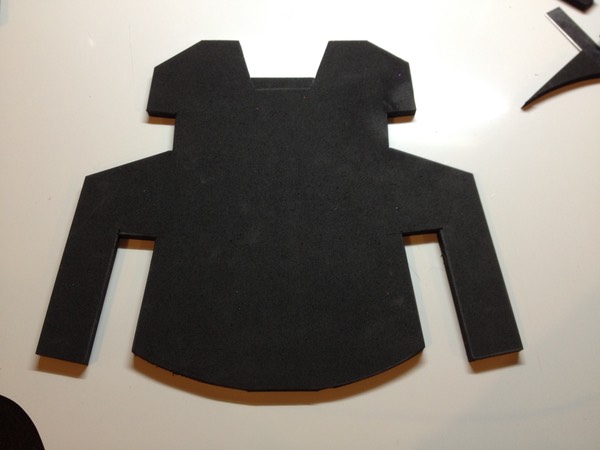
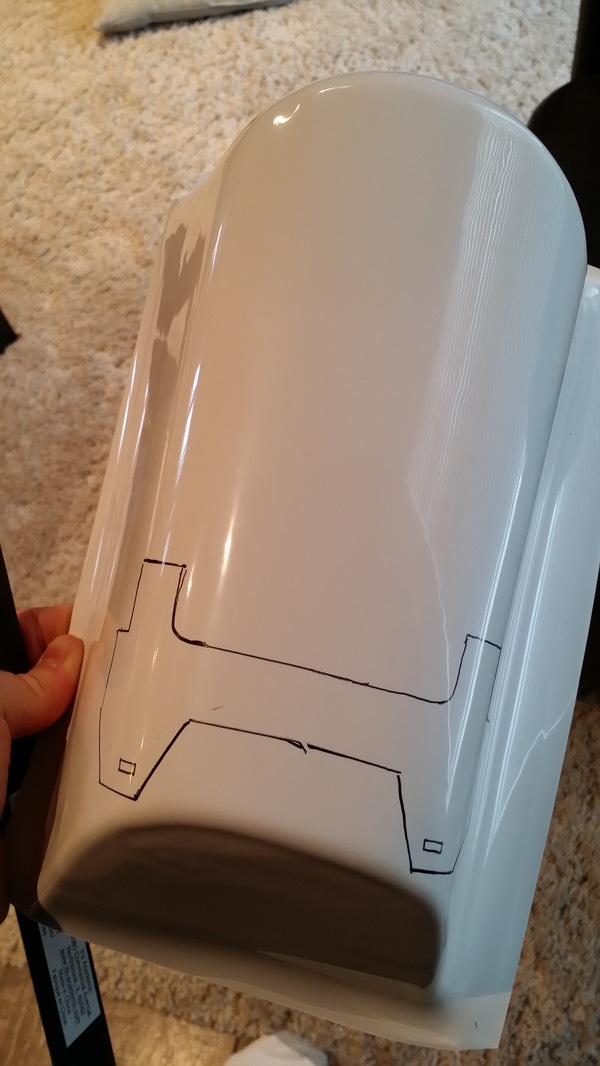
I then drew the basic frog shape of the gauntlet onto a sheet of paper, and traced this onto a piece of foam.
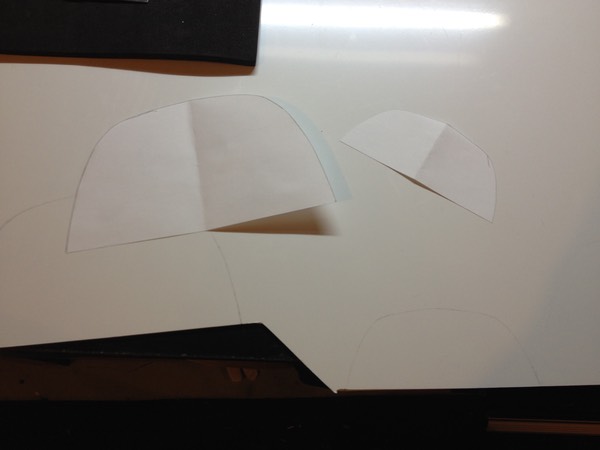
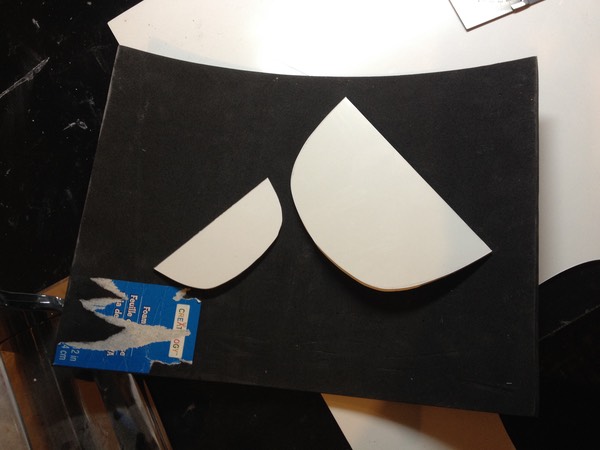
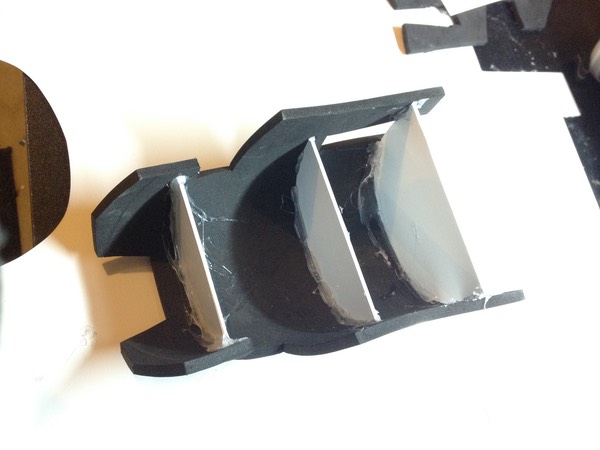
I then hot glued the half moon plastic shapes from a previous step to the center of the foam cutout, bent the assembly around the curve of the plastic, and hot glued it in place.

Next, I drew the forward sleeve on paper, traced it onto another foam sheet, and glued it onto the main assembly.
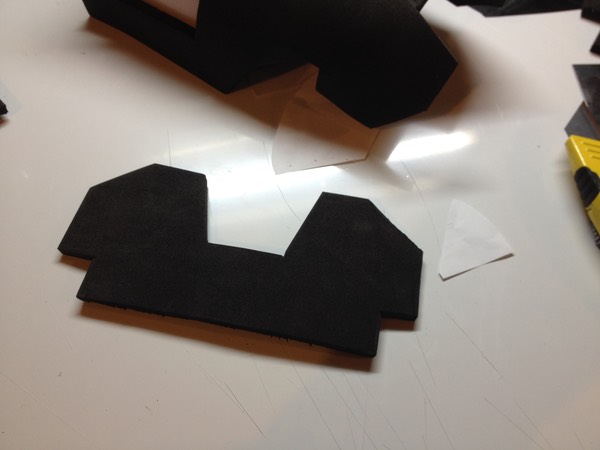
Next, I cut out the center line and the trapezoidal shapes on the sides, and backed the holes with some ABS plastic sheeting. I cut out the little "hand" and the three knuckles (which is actually a scaled down hand plate assembly) towards the posterior end from a separate piece of foam, and superglued these in place.
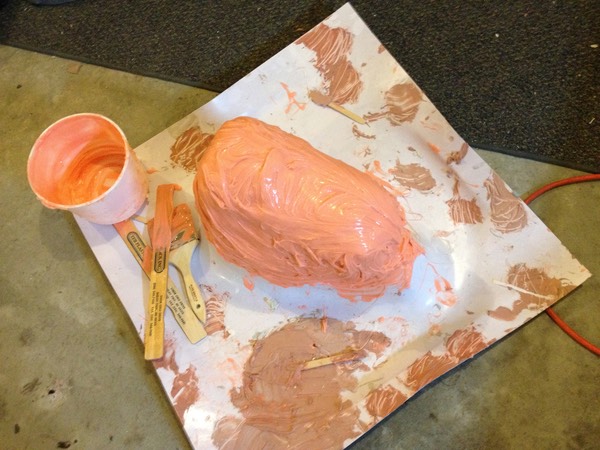
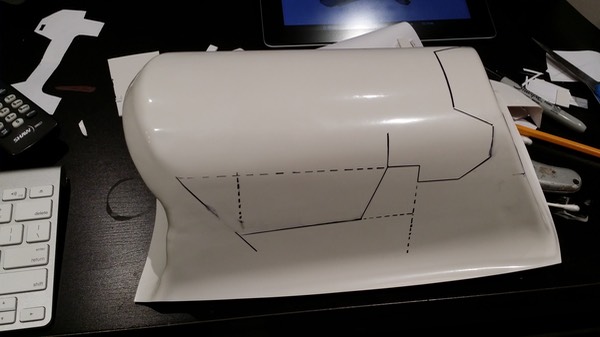
At this point, I was ready to transfer this general shape to a more workable resin medium. So, I set this onto my V1 Bondo pull, and sealed up the gaps with plasticine.
Then, I covered the whole thing in a thin film of SC 65 D resin to seal the pores, and put a heater on it to expedite the hardening.
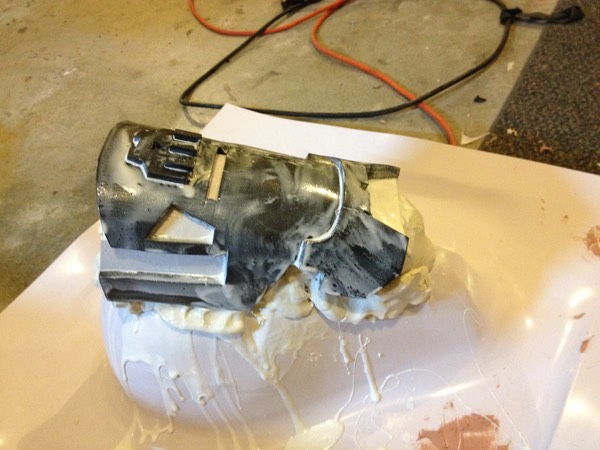
Using Rebound 25 cloning methods discussed here, I then created a negative silicone mold of the piece, using Plasti-Paste I for the mother mold.
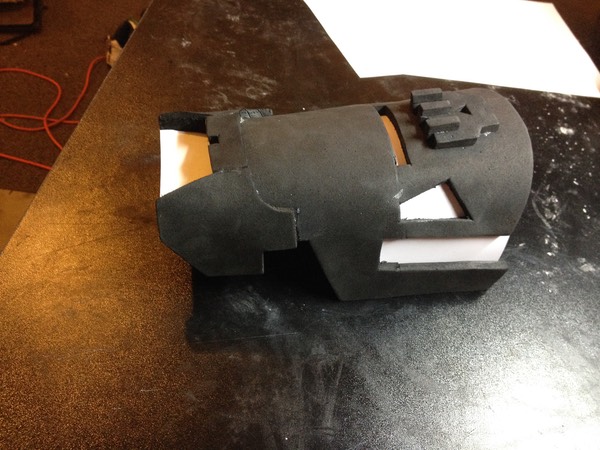
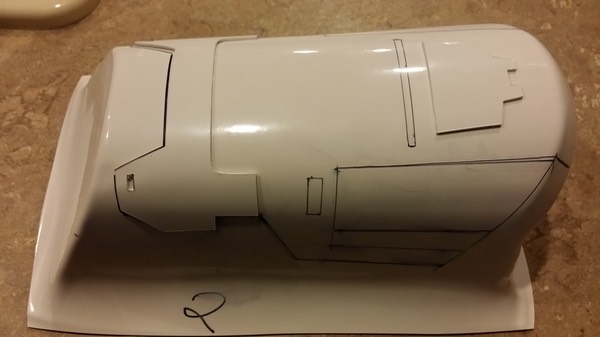
Next, I cast the piece in SC 65D, and began the task of cleaning up the cast and fixing up the trouble spots using Bondo.
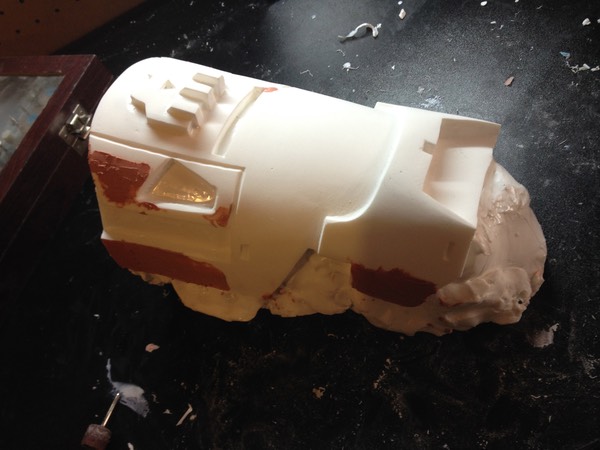
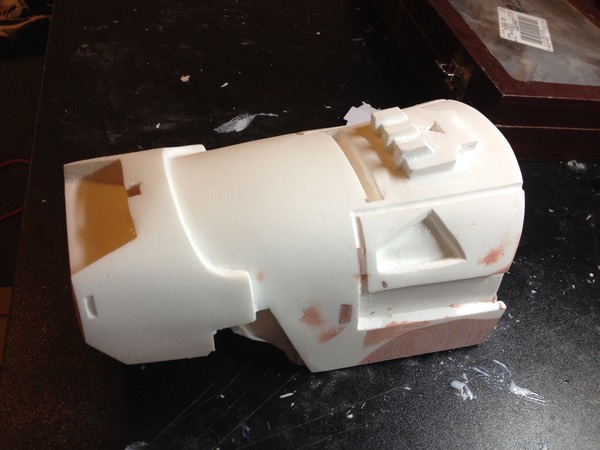
Next, I tackled the rear section slope by affixing a strip of ABS plastic to the mold using screws, and then filling the inside with Bondo.
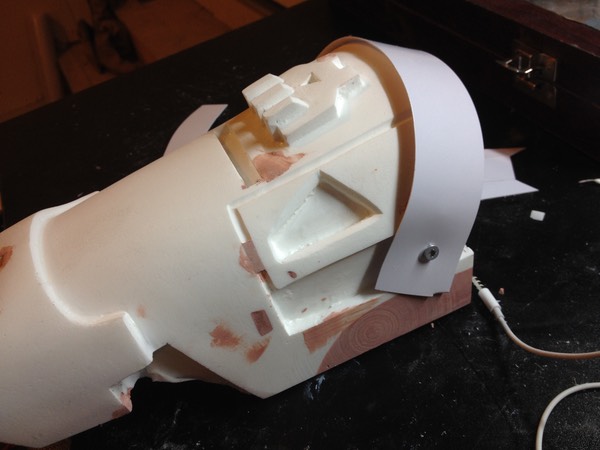
When Bondo cured, I was left with very little work to fix the trouble spots (using more Bondo).
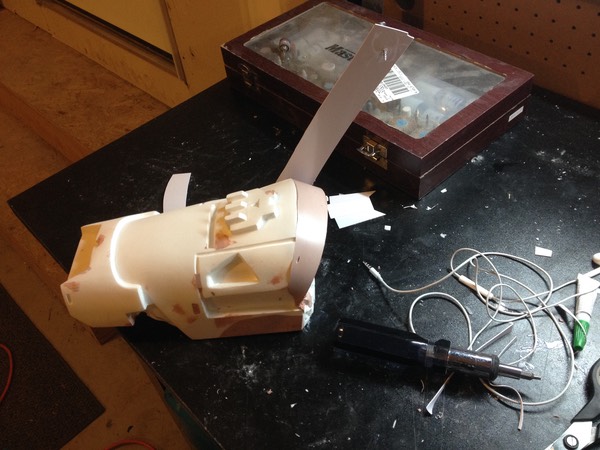
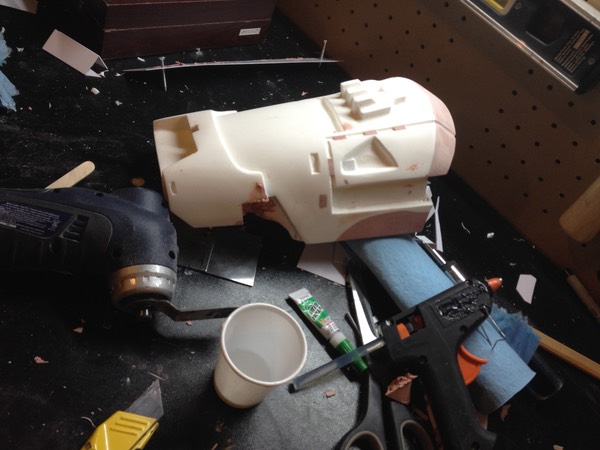
Next, I primed the piece to spot any imperfections, as they are hard to see on a white surface. (In retrospect, I should have used some So-Strong black tint in my SC 65D cast to turn it grey, which would eliminate the need for priming later). After using Bondo to fix some trouble spots, I primed it again, and got ready for a final round of silicone molding. (Note, the little rocket assembly is simply sitting on top of the gauntlet, and is not affixed to it. The making of that piece is discussed here).
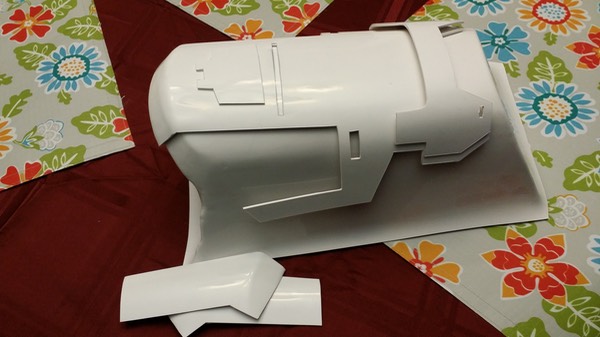
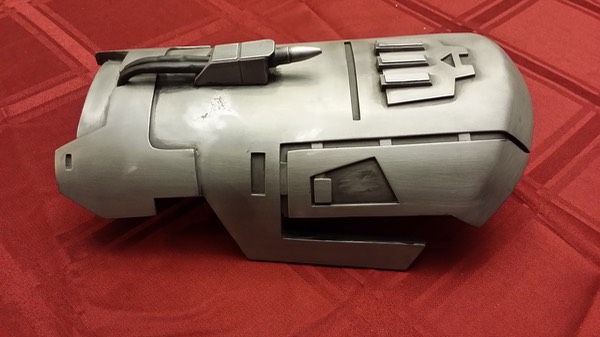
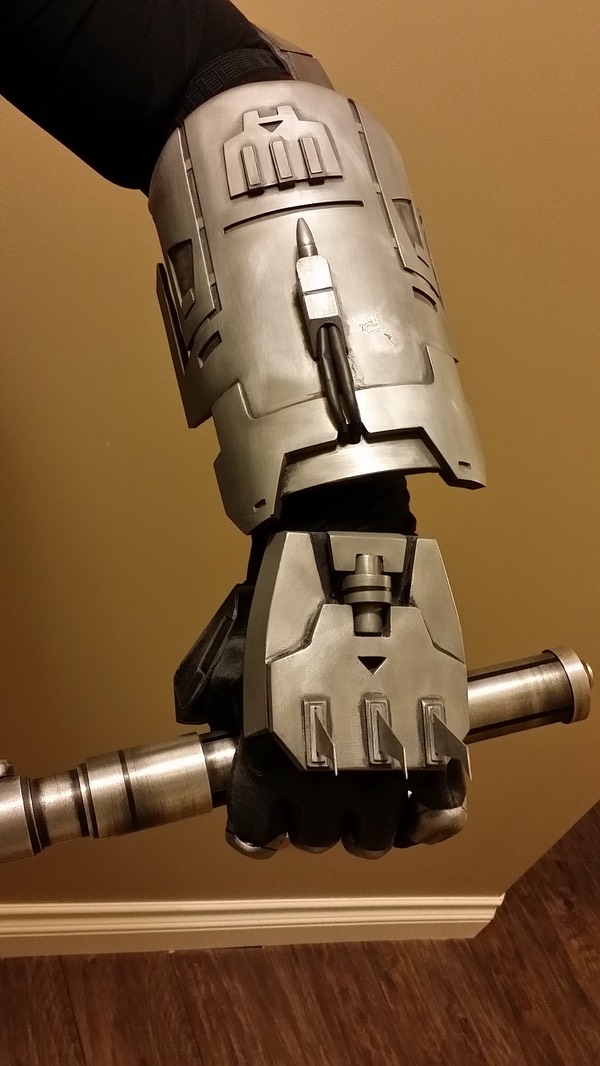
After finishing the mold, the piece was cold cast in aluminum (discussed in detail here), and weathered using spray paint and lots of steel wool. The rocket assembly was glued on using superglue gel, which completed the dorsal forearm plate.
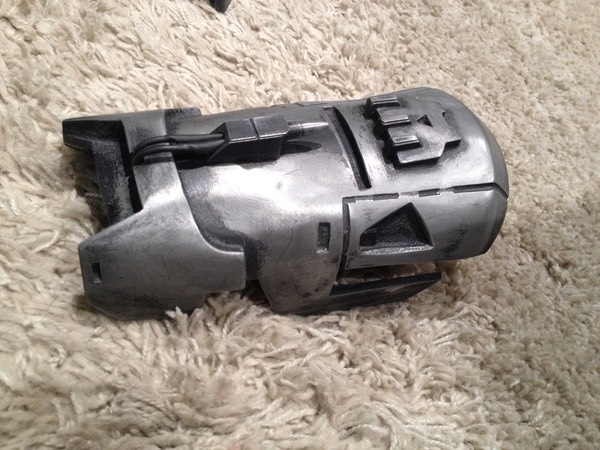
Having completed this piece, I am sad to say that I am not 100% happy with the results. The detail isn't as crisp as I would have liked, and the symmetry isn't quite there. I rushed through this particular part of the build, working late at night after arriving home from work. So, I decided to rebuild the gauntlet from scratch. Well, almost from scratch.
FAIL. Back to drawing board.
Several weeks later...
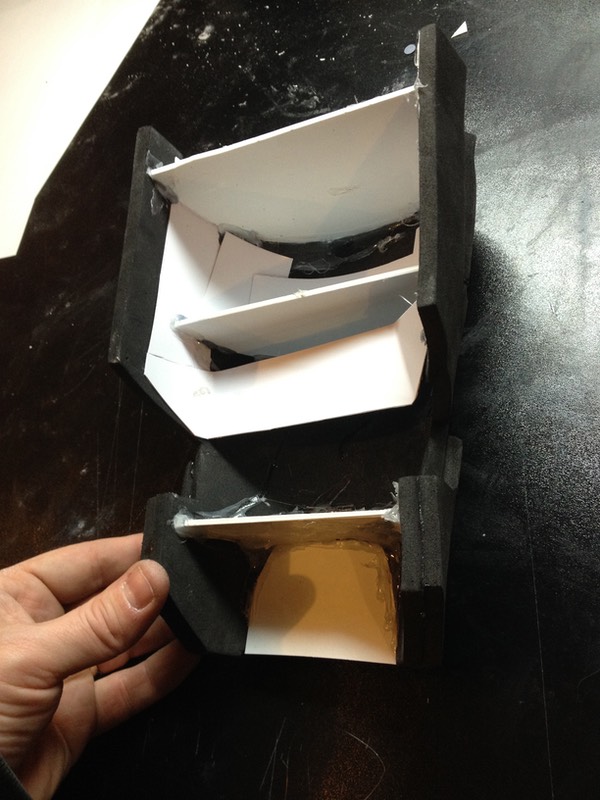
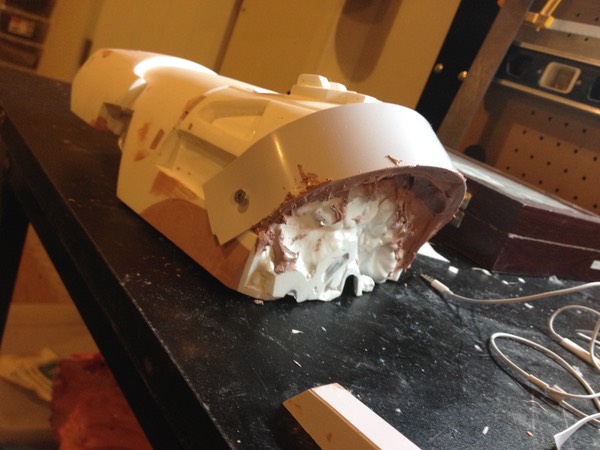
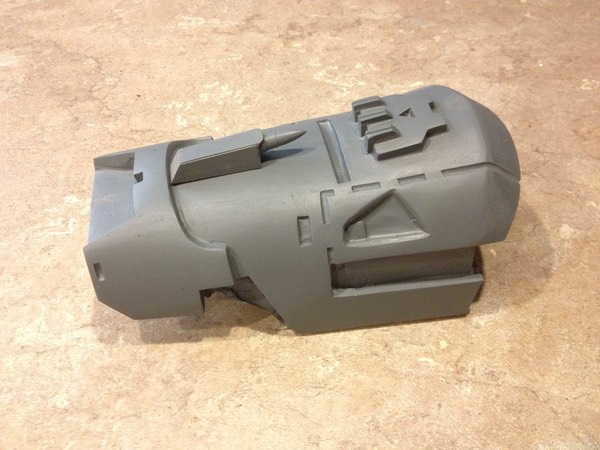
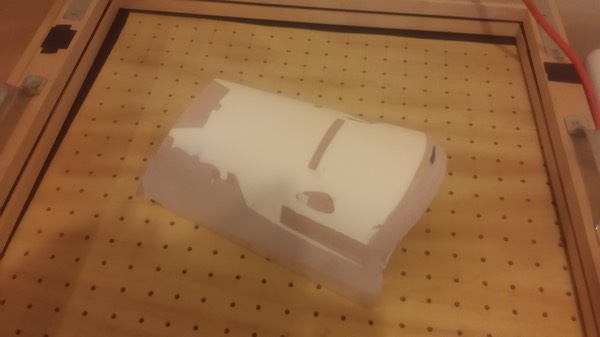
Since I already had the general shape of the gauntlet finished, I decided to take a page out of my Sith Acolyte Mask book and recreate the piece in layers using my vacuum former. I began by casting the gauntlet in 65D resin using the existing mold, sanding all the detailing off, and filling the recessed areas with Bondo.
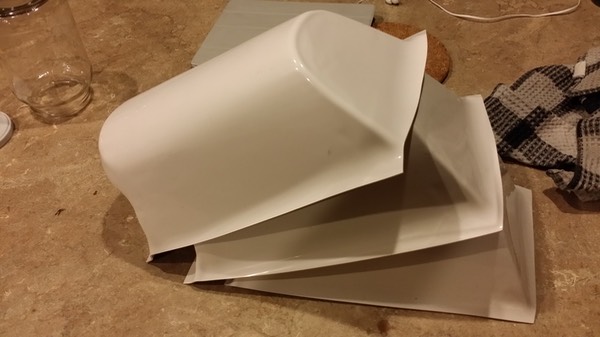
Next, using .08 gauge ABS plastic, I did a pull,
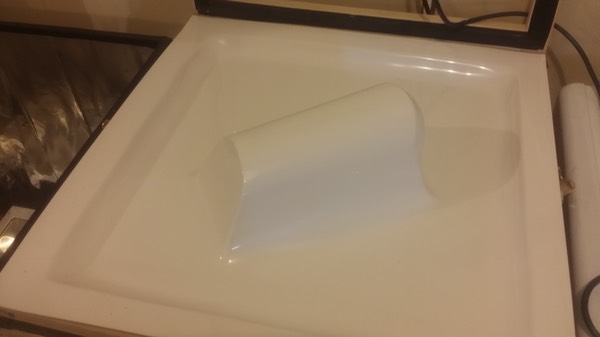
trimmed the piece out of the sheet, left the shell over the master, and proceeded to do another pull. I did three pulls in total, with each subsequent one being slightly larger than the one below it.
Next I began the painstaking process of drawing out each layer of detailing on paper and tracing it onto the appropriate ABS shell.
Finally, after about 2 days of measuring, cutting, and sanding/filing Bondo-ing layer edges, the dorsal gauntlet was finished and prepped for silicone.
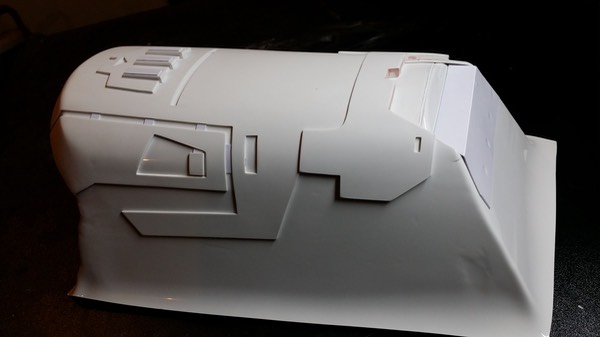
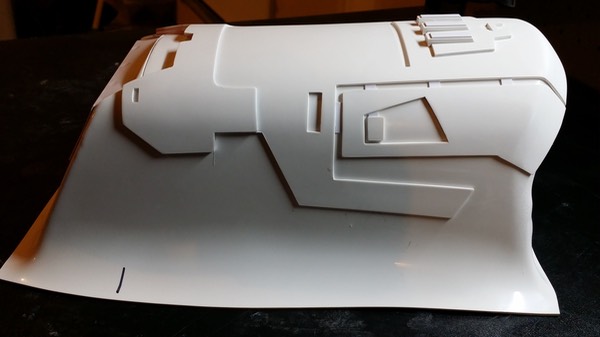

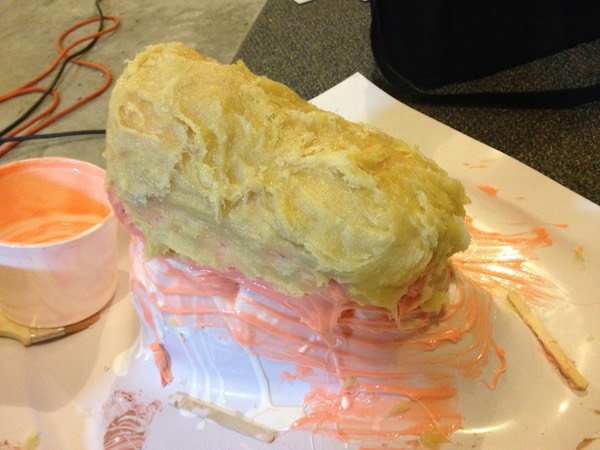
Next, I sprayed the model with mold release, and began applying the print coat of Rebound 25.

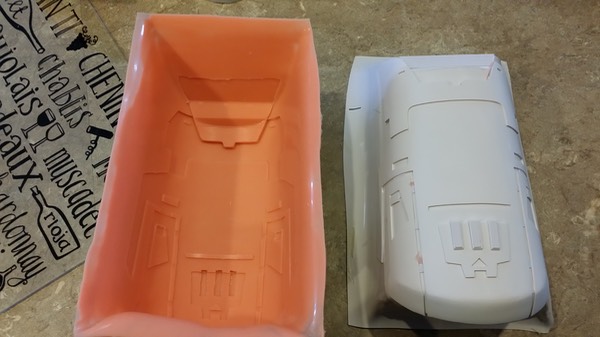
After speeding up curing with a heat gun set on low, I applied two subsequent coats of Rebound 25 thickened with Thi-Vex, followed by a Plasti-Paste mother mold.
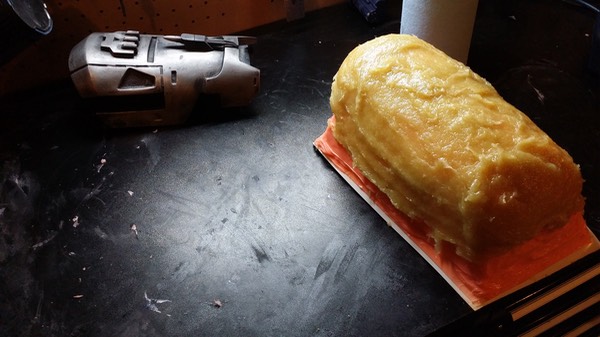
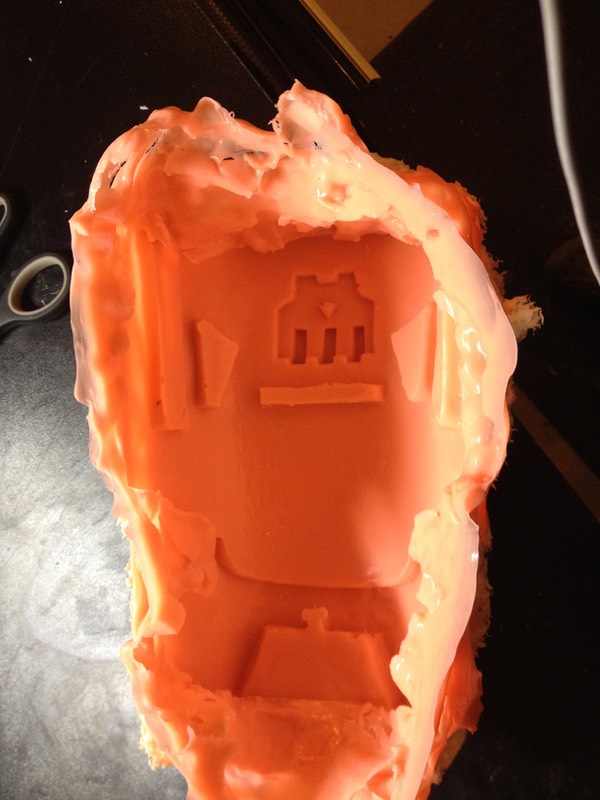
Demolding revealed a near perfect detail print!
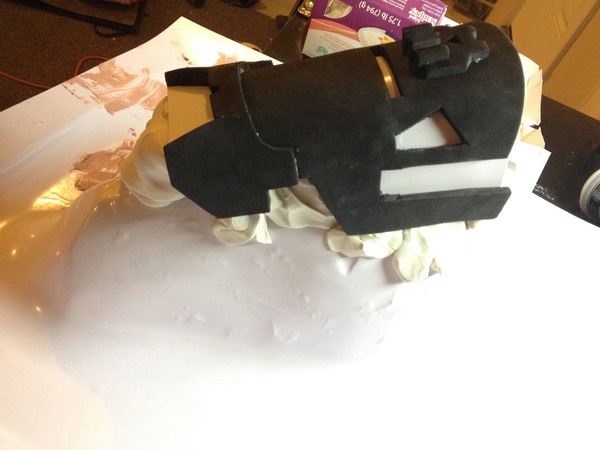
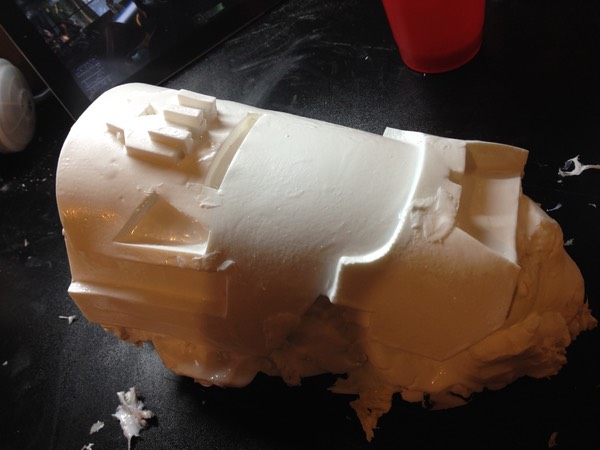
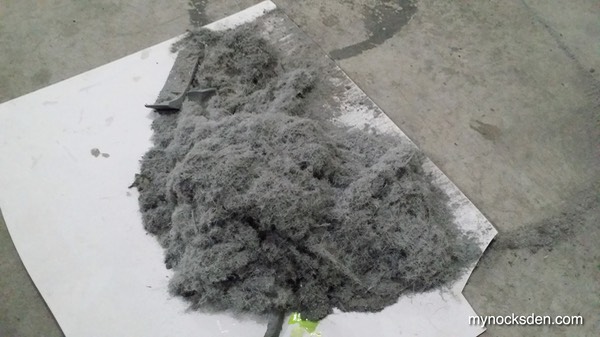
I then cast the gauntlet in Onyx mixed with aluminum, and the subsequent layers using 65D tinted grey to allow the gauntlet some flex. After trimming - and in the next photo you can see the mess trimming resin makes…
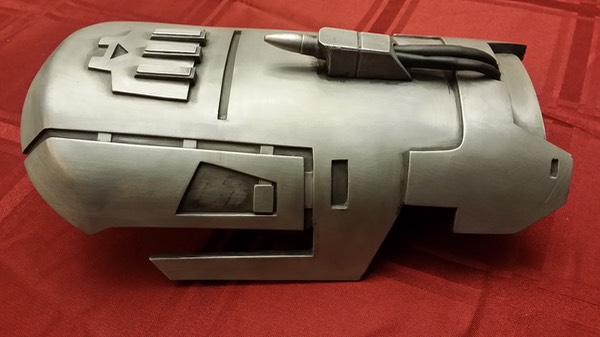
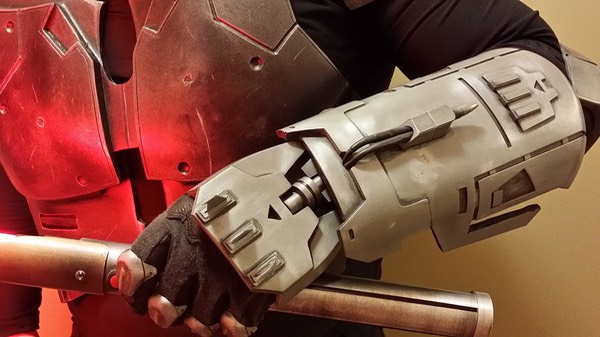
… and polishing up with steel wool, adding battle damage and weathering, and finally gluing down the rocket assembly, we have a finished upper Sith Acolyte forearm / gauntlet.
Thanks for looking!
* * * * * * *
Back to Sith Acolyte Forearm Armour