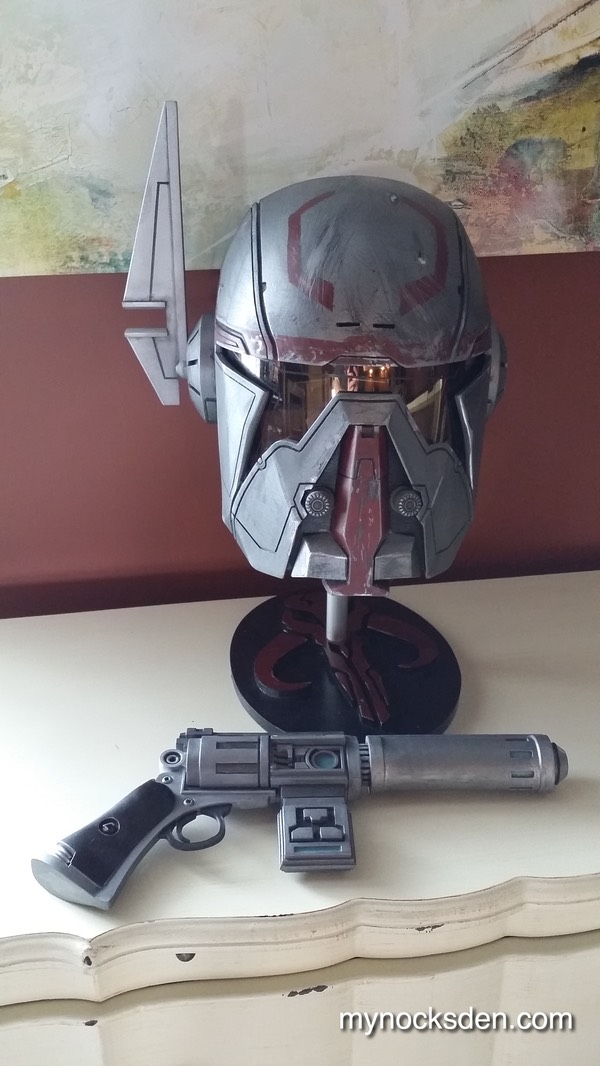
Having completed my Hunter’s Exalted Shae Vizla helmet, I realized I wanted a stand to display it on. I looked around online to find something appropriate, but nothing seemed to hook me. So, I decided to make one myself.
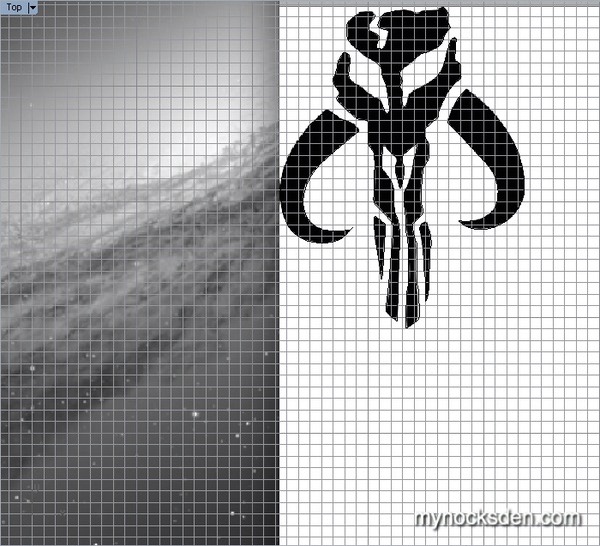
I began by searching the net for an image of the Mandalorian skull symbol, and having found one, I imported it into my CAD program and began manually tracing the outlines.
Once all the outlines were traced, I pulled the image out into 3D.
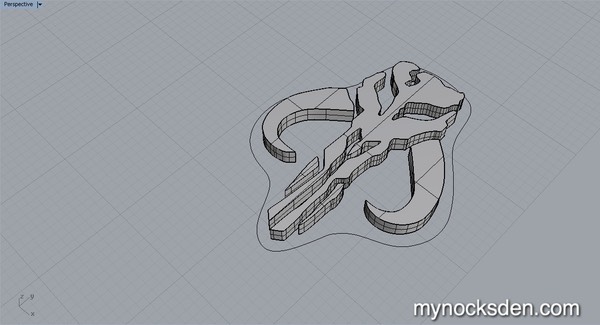
I then resized the model to make it approximately 21 centimetres long from tip of jaw to top of forehead, and exported it as two .STL files to be printed separately (due to printer build plate size restriction).
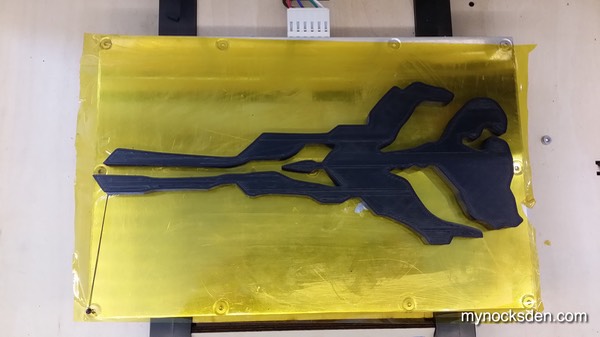
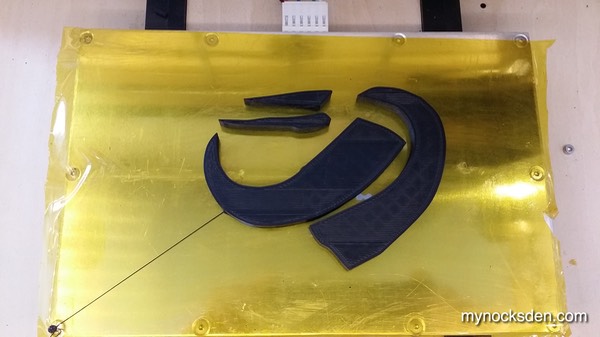
I converted the .STL files to .x3g for 3D printing, and loaded them into my FlashForge Creator. Several hours later, I had my physical pieces.
Next, I applied Bondo spot putty to all the pieces, and sanded everything smooth.

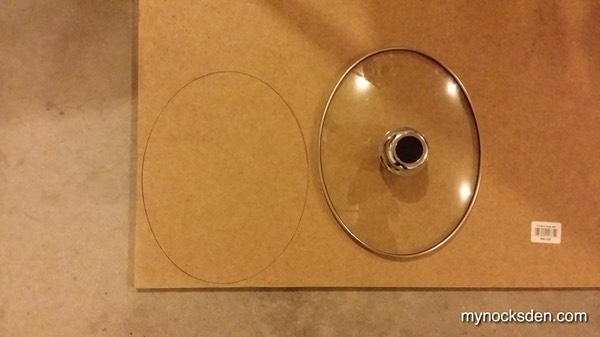
Now I needed to make a base. I didn’t want it to be too big, or to be circular, so I rampaged through the kitchen until I found my oval slow cooker lid, and traced that onto an MDF sheet twice (for layering to achieve greater thickness.
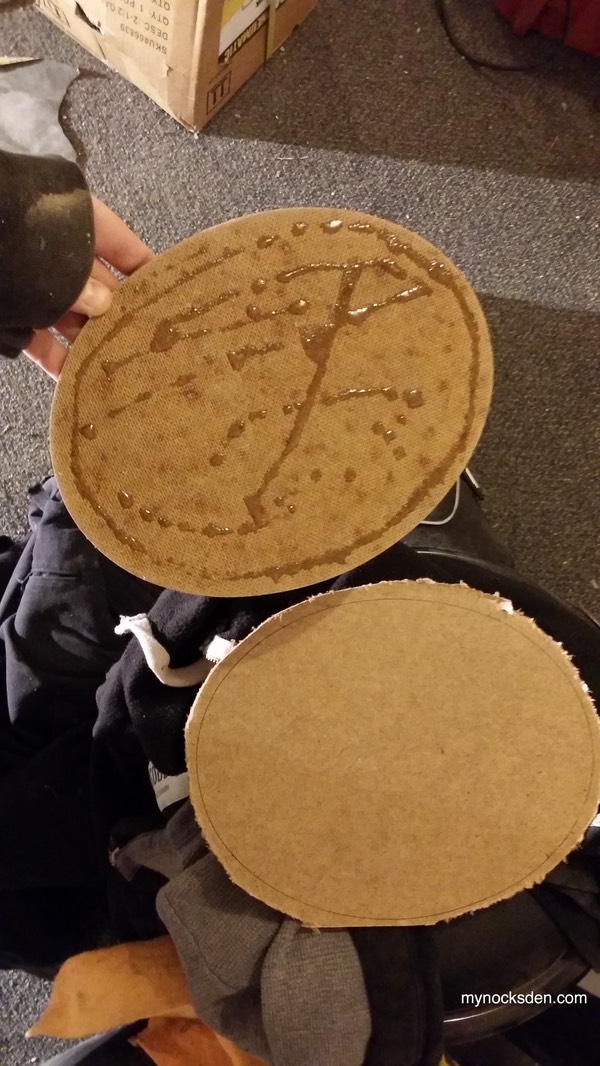
I roughly cut out both ovals using a jigsaw (which is broken and missing the guiding base, hence the "roughly"), and glued these together using superglue.
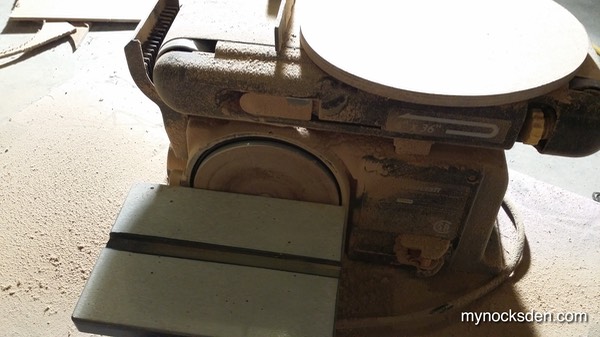
I sanded the edges on a belt sander and got a perfectly smooth oval.
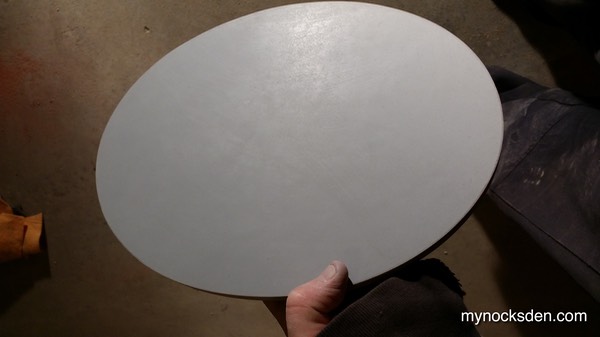
Using Dupli-Color automotive primer I’ve come to love, I coated the base.
Now, technically, I could have skipped the molding and casting steps altogether and proceeded straight to the final assembly stage. However, I wanted the ability to reproduce the base at need (you know, to make stands for other Mando-style helmets, to use as plaque on the wall, etc), so I decided to mold the base.
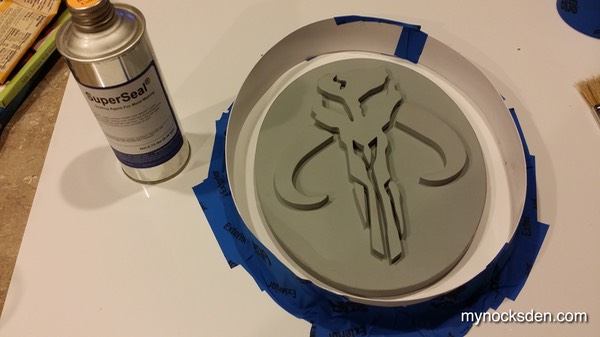
I primed the 3D printed skull pieces, and glued these onto the oval base. Next, I used a thin strip of ABS plastic and some blue painter’s tape to make a wall around the base, and with a brush sealed all surfaces with Smooth-On’s Super Seal.
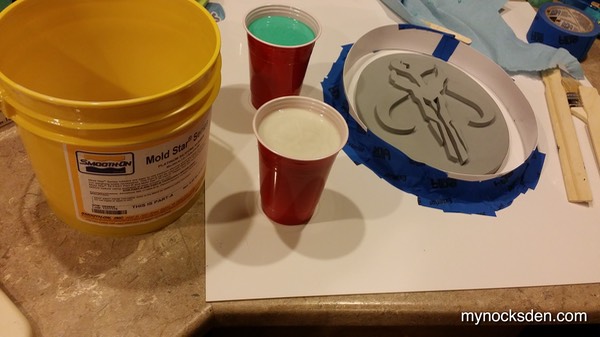
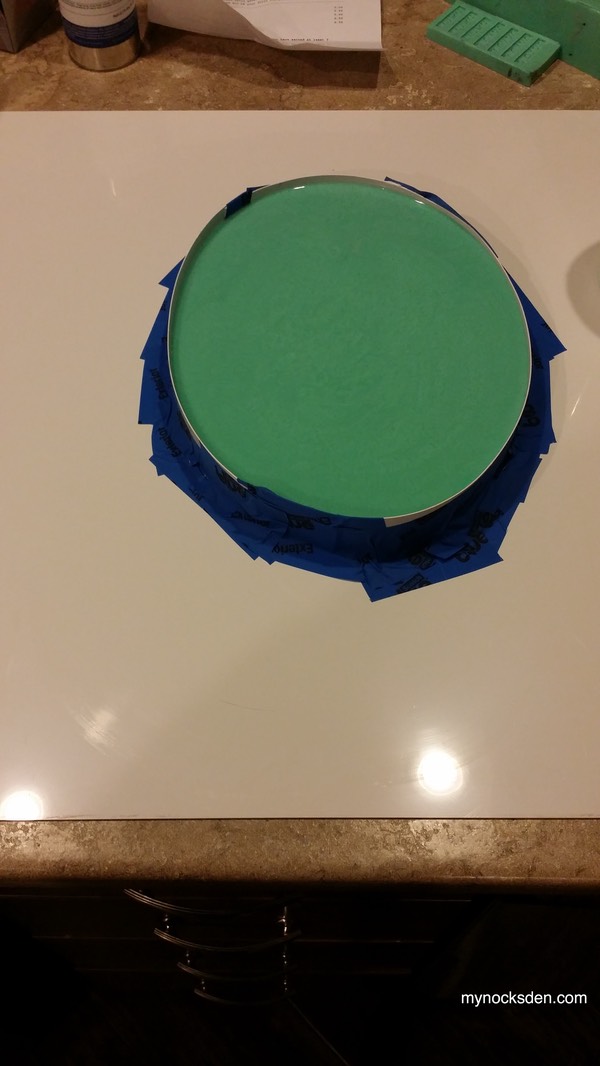
Next, I mixed up enough Mold Star 15 silicone to fill the little basin.
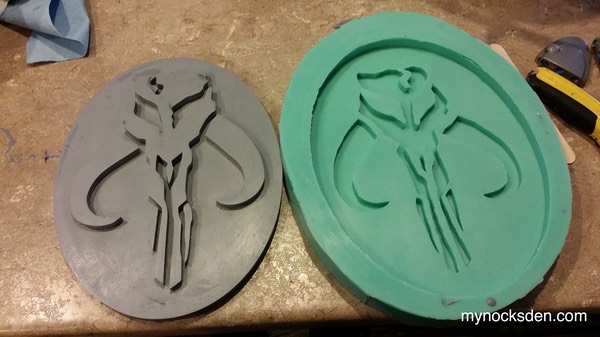
Once this cured, I peeled the silicone off, cleaned up some excess rubber, whipped up some Smooth Cast 65D, and viola! Perfect first cast!
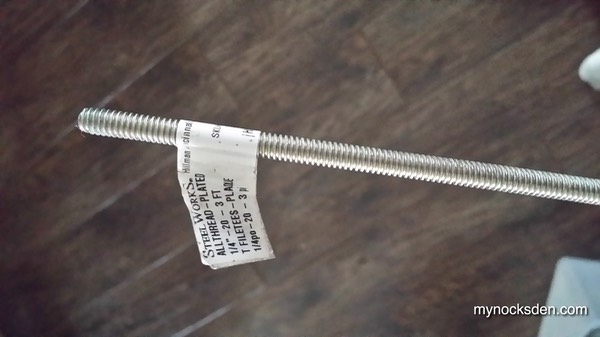
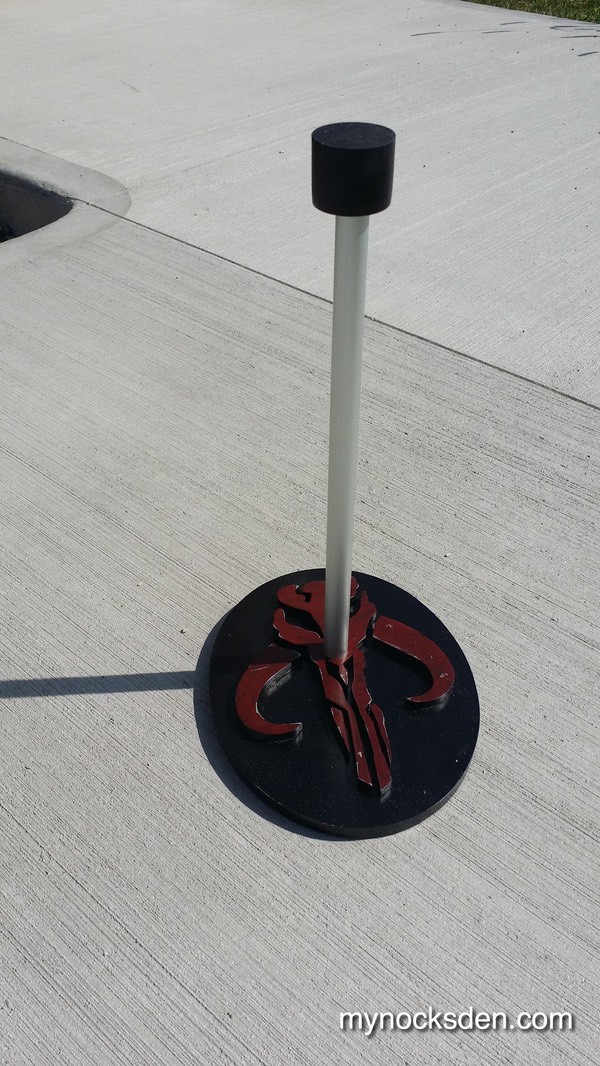
Next, I needed to create the stalk of the stand on top of which the helmet would sit. So, I purchased a 1/4" threaded rod from the local Canadian Tire. These are really inexpensive and are quite handy for all sorts of projects; they are available in 36” segments, and varying thicknesses, so I made sure to get one that was thin yet strong enough to support a helmet. I cut this in half using a hacksaw with a metal cutting blade I've had for about 5 years, and set it aside for the time being.
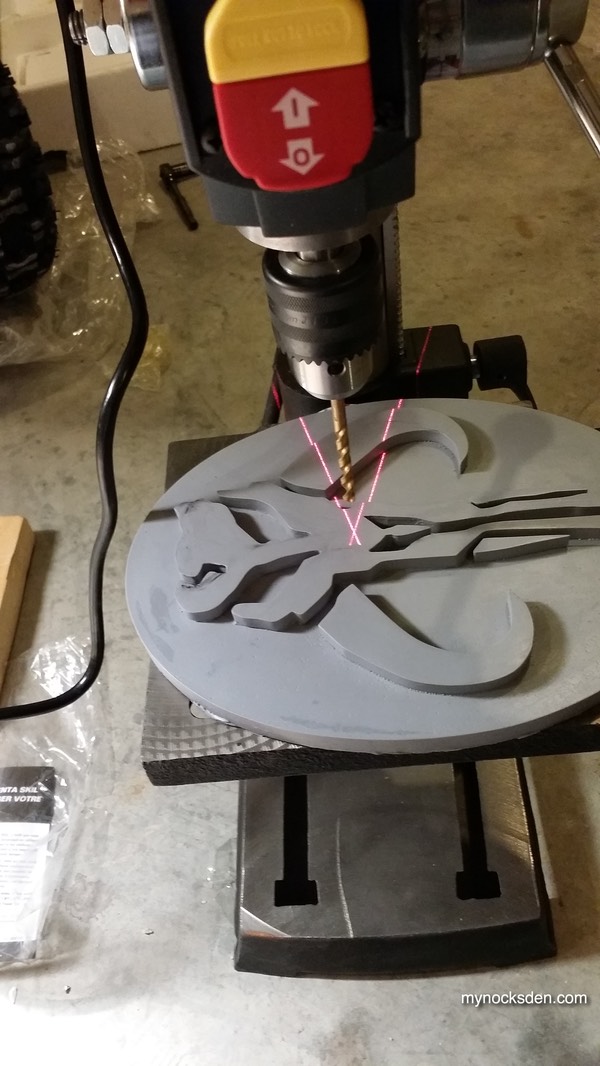
Next, I placed the helmet base onto my cheap little drill press, and drilled a "stand rod" hole using a 7/32 drill bit. Since the metal rod would be going into the much softer resin, the hole would self thread, thus saving the trouble of having to do it using other means.
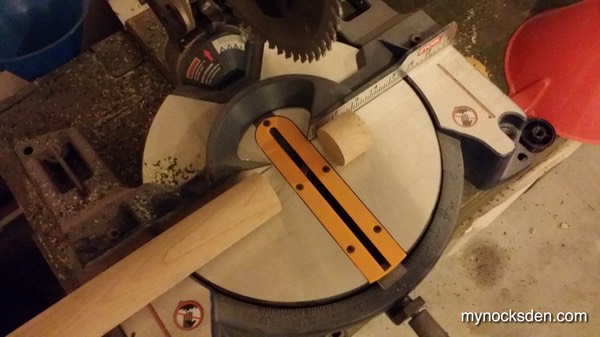
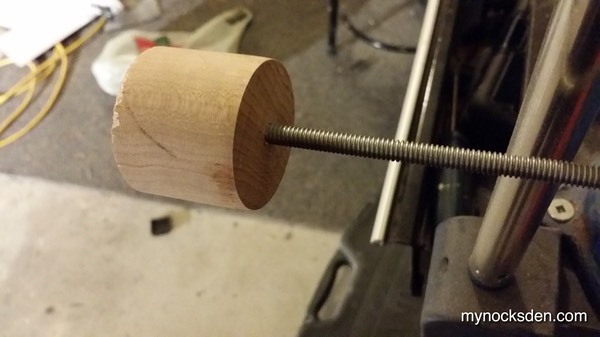
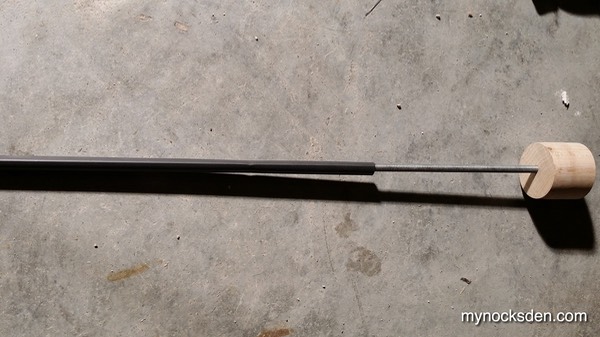
I also had a wooden pole lying around that I got a long time ago for another project that never got off the ground. I cut a small piece off the end, drilled a hole in the middle, and screwed the threaded rod in.
First, I thought of painting the threaded rod, but then I had another idea: heat shrink tubing! You know, for that cool, rubbery look. Since I had some lying around (my garage really does have a lot of odds and ends lying around), I decided to give it a try!
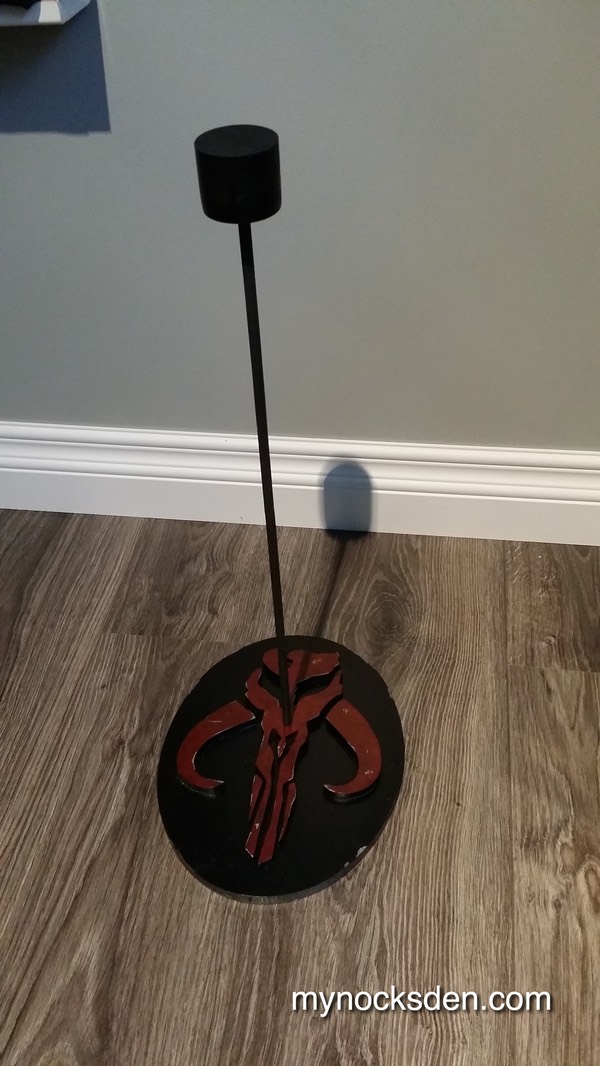
I spray painted both the base and wooden bulb with Krylon gloss black, painted the mandalorian symbol a custom Testor's red I whipped up for my Revan masks, and weathered it down with some black and silver Testor’s paints. Lastly, I sealed the heat shrink tubing onto the threaded rod, screwed it into the base, and BOOM! Stand.
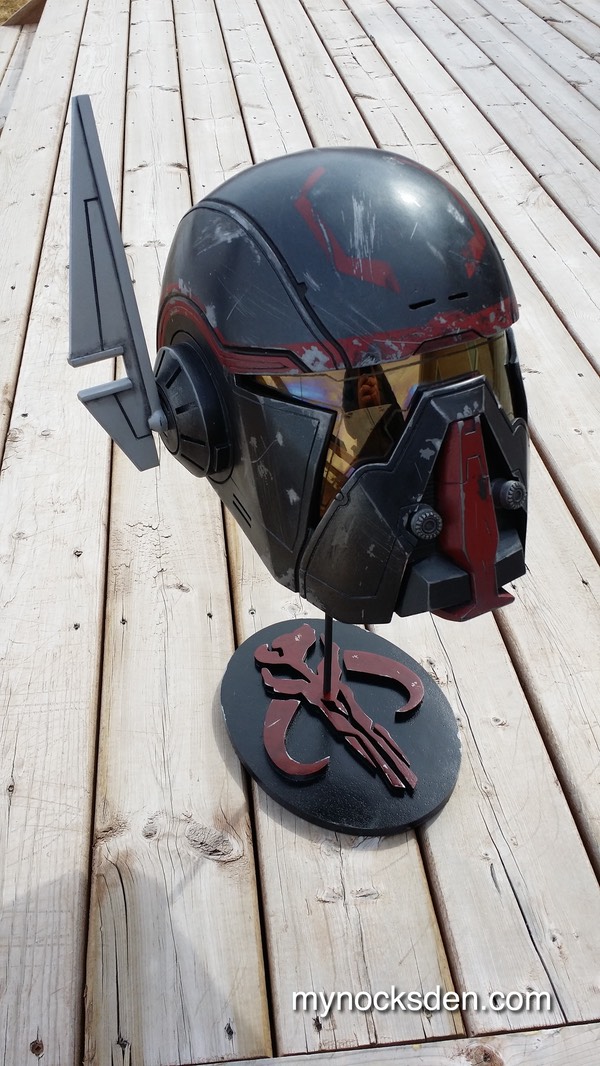
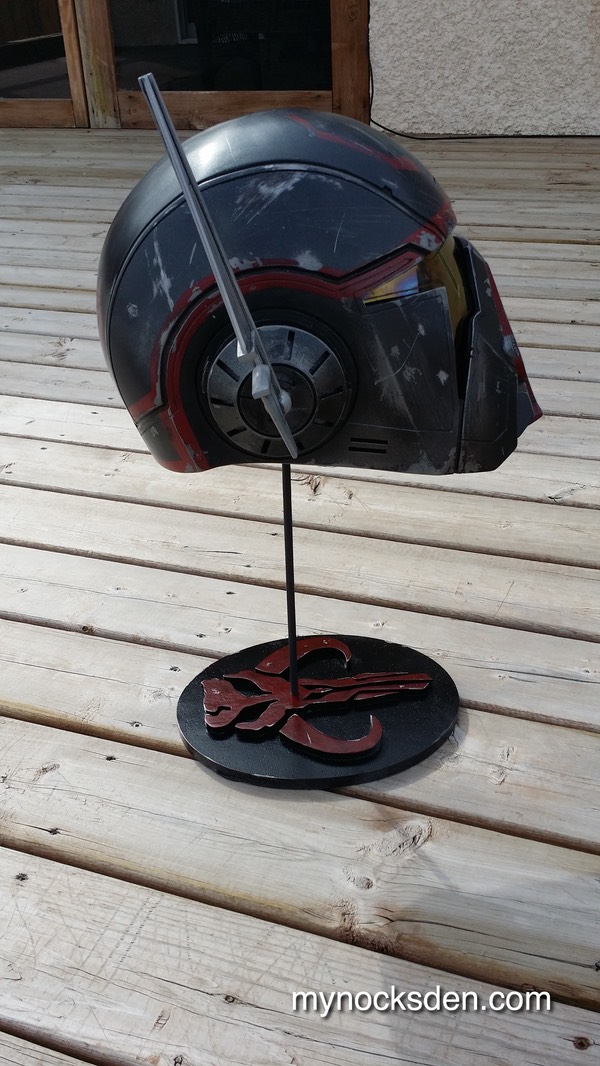
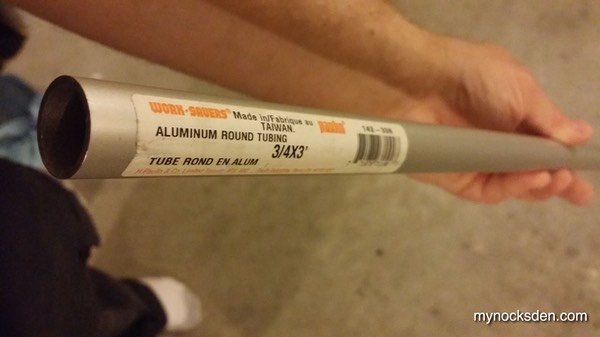
Some time later, while walking through Hope Depot looking for rubber washers for another project, I spoted some aluminum piping for $9.99 for a 3 foot section. I decided to pick up two of these, thinking this could really beef up the look of the stand.
Once I got home, I cut the pipe to 14” sections, unscrewed the wooden cap off the threaded stand pole, fitted the pipe over it, and fastened the wooden cap back onto the pole, locking the aluminum tube in place.
This simple modification beefed up the look of the stand significantly! From now on, this is how I will do all my stands!
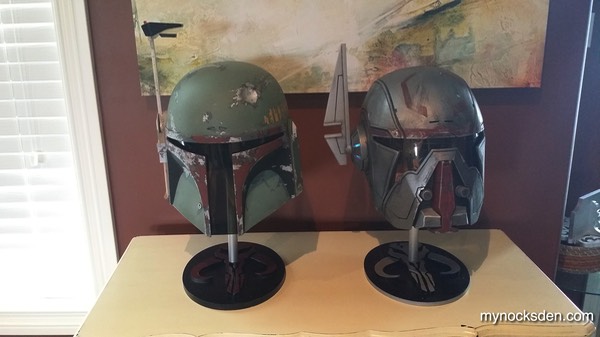
Below, my Shae Vizla helmet next to an FP Boba Fett helmet as painted by superjedi on the Dented Helmet here.
Thanks for looking!
* * * * * * *