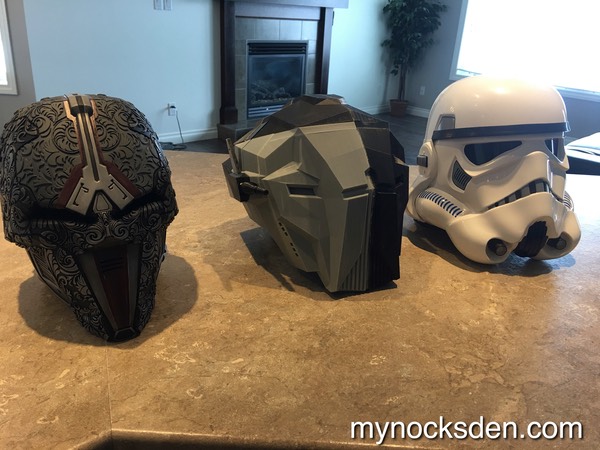
I took this project on as a commission for someone who wanted the head of their favourite hunter-killer droid from Star Wars the Old Republic to wear as a helmet. Given the anatomical differences between droids and meat-bags, I knew this could prove to be a bit of a challenge. But then, hey! When has this ever stopped me!?
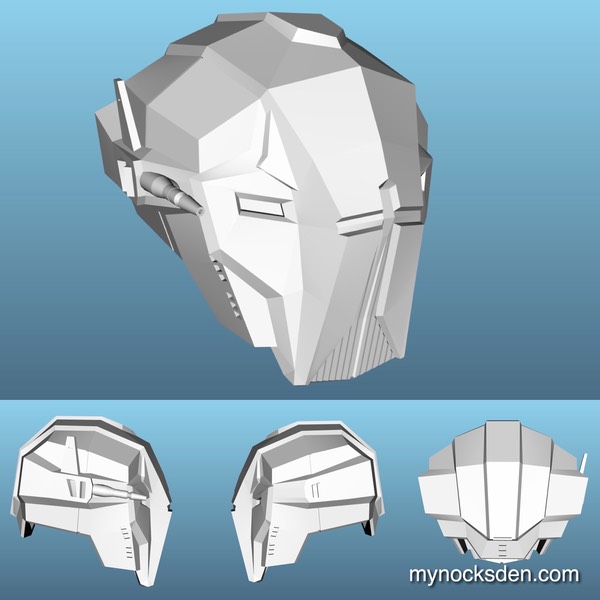
I obtained the rough, low resolution 3D mesh game model somewhere from the bowels of the internet, and over the course of a few weeks turned it into a series of watertight, 3D-printer friendly STL files.
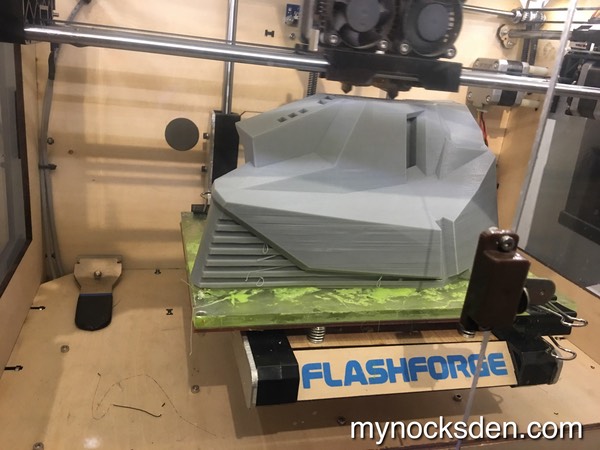
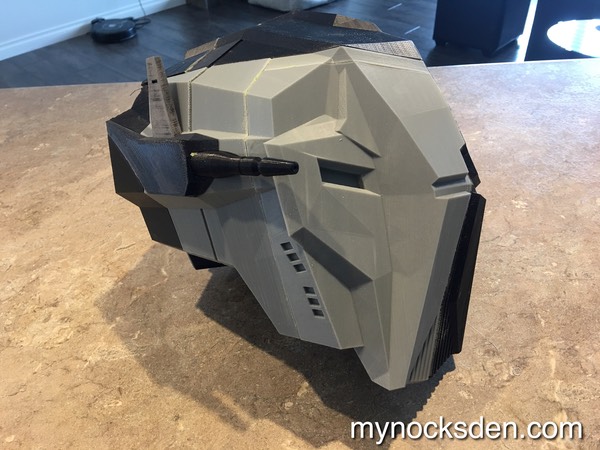
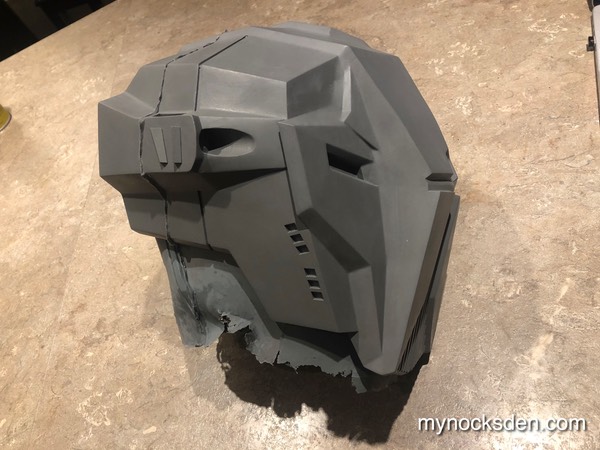
As with most objects of this size, the helmet had to be printed in sections.
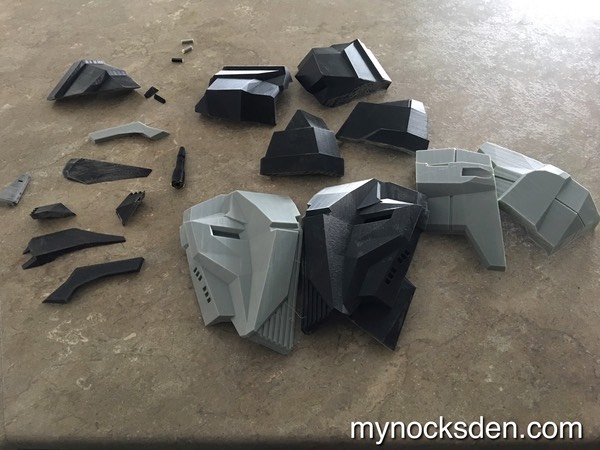
Once all the pieces were printed, I superglued them together, and filled and reinforced the seams with epoxy putty.
The next step was to smooth out the 3D printed striation with the use of Bondo Plastic Metal automotive filler.
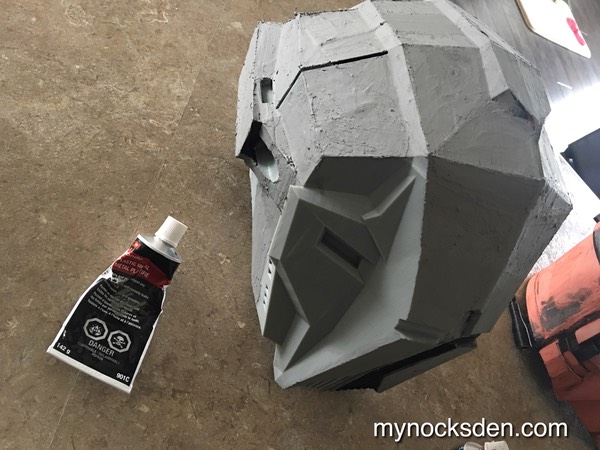
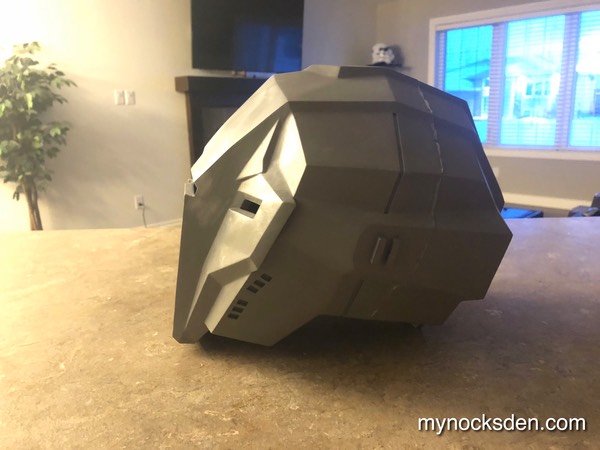
The surface was then sanded smooth, and for the second and subsequent coats, I chose the softer, more easily sanded red-coloured Bondo Glazing Spot Putty.
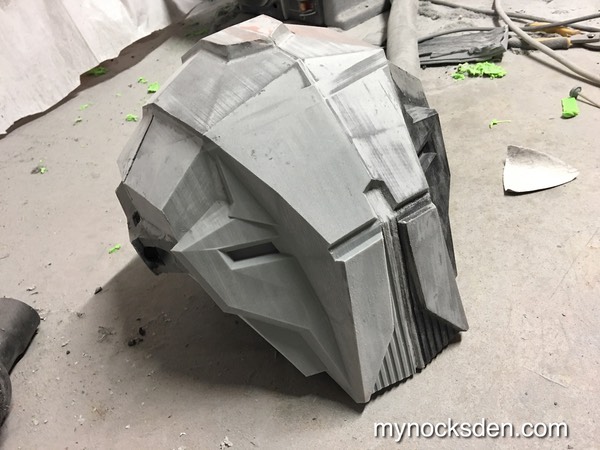
The surface was sanded again, and coated with Dupli-Colour automotive primer. Priming unifies the colour and makes spotting surface blemishes easier; you can then go back and apply more putty, followed by sanding, and more priming until a desired surface quality is achieved.
After half a dozen putty-primer cycles, the helmet master was finished and ready for silicone molding.
I built up the base of the helmet with some crafting foam, and coated everything with SuperSeal sealing agent from Smooth On. The sealer's wax-like property helps fill in any pores and micro imperfections, smoothing the surface further.
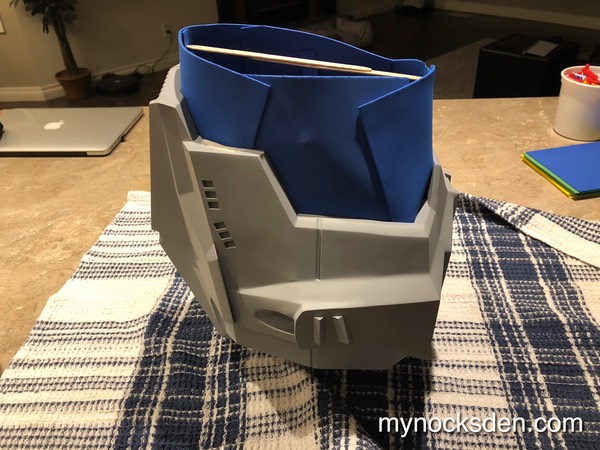
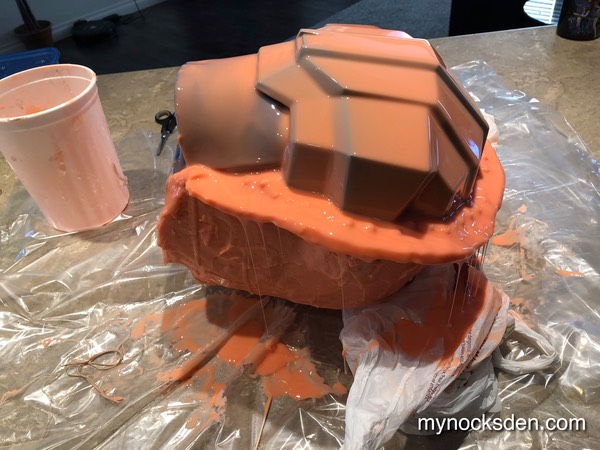
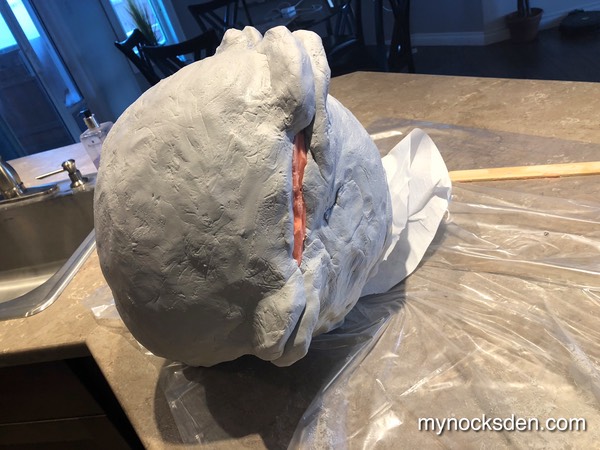
Because of the size and shape of the master, a two-part silicone mold needed to be created. I used plasticine to build a separator wall that would act as a barrier between the two silicone mold halves. I then created registration keys in the plasticine with the round end of a permanent marker cap; these keys play a pivotal role in ensuring the two halves of the silicone mold line up correctly during the casting process.

Next, I prepared a batch of Rebound 25 Silicone, which I degassed using my vacuum chamber, and applied it to the helmet. I was careful to pop any bubbles that were trapped in the silicone before it cured.
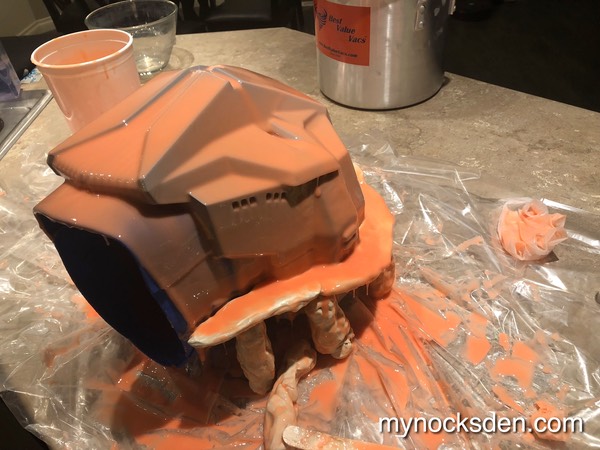
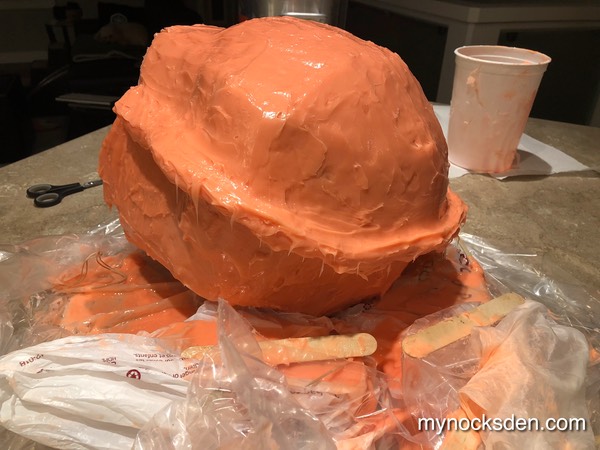
I followed this up with two more layers of degassed silicone, and then a final layer thickened with Thi-Vex to increase mold thickness.
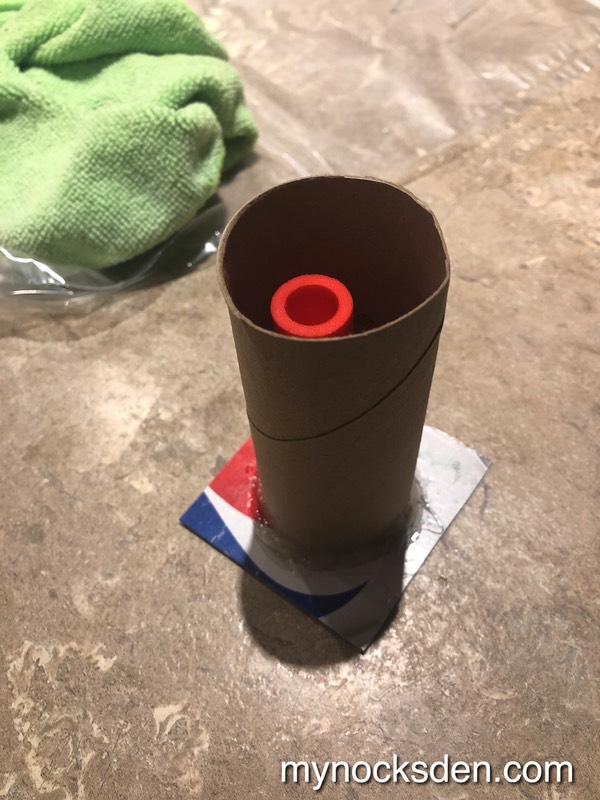
At this time I created a pourable mold for the ear antenna and the right eye laser pointer thingy; I used an empty toilet paper roll for the mold wall, which I hot glued atop a cardboard base. The silicone for this was once again degassed Rebound 25, which I thinned with a silicone thinning oil from Smooth-On.
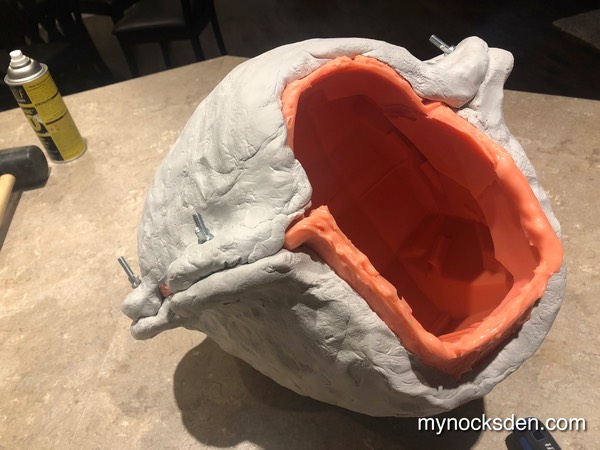
Once the helmet silicone cured, I peeled off the plasticine, and coated the other side of the helmet with Super-Seal. It’s important to coat the exposed separator wall silicone well because we don’t want subsequent applications of silicone to stick to it.
I then repeated the molding process described above for the second half of the mold.
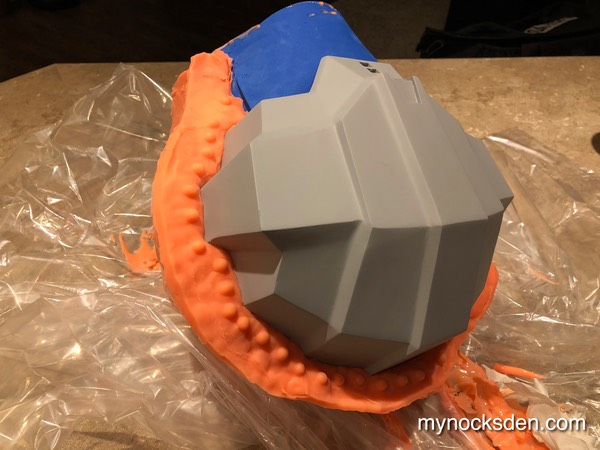
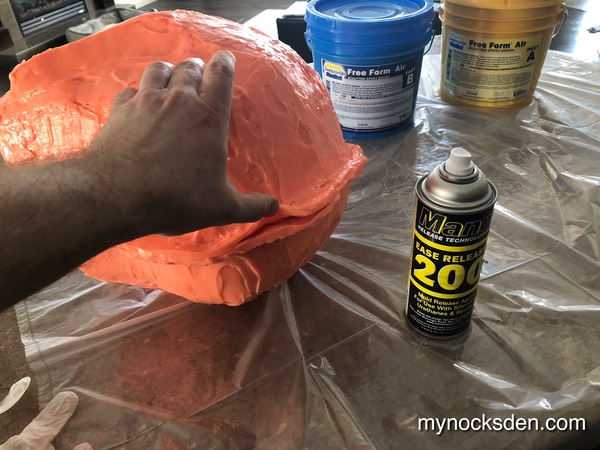
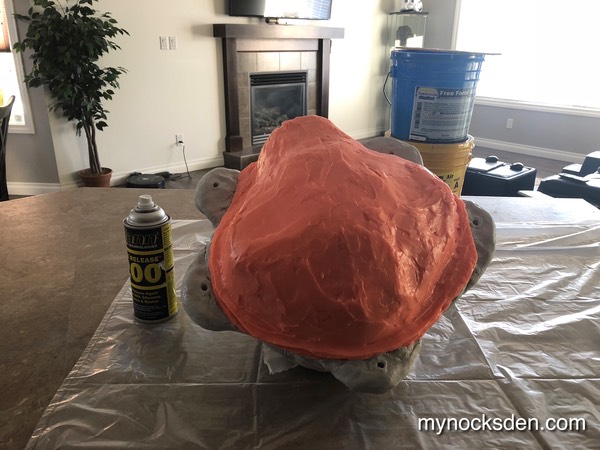
Once the silicone was cured, I sprayed the outside of the mold with Mann 200 mold release, and created a mother-mold shell using Free Form Air epoxy clay one half at a time.

Once the outer shell cured, I proceeded to demold the helmet, which sadly ended up destroying the master.
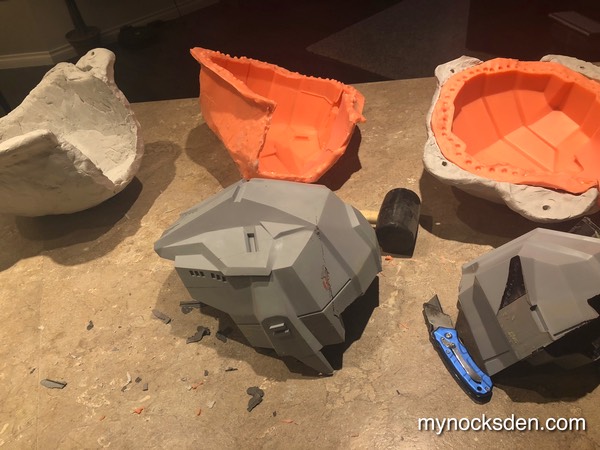
Once the master fragments were completely removed and the inside of the silicone mold cleaned up, the helmet mold was ready for casting.
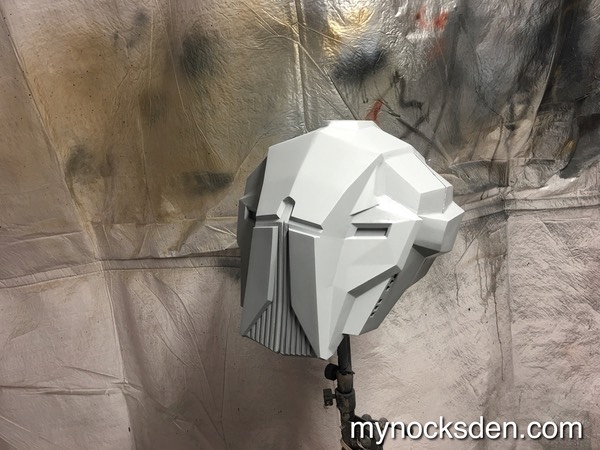
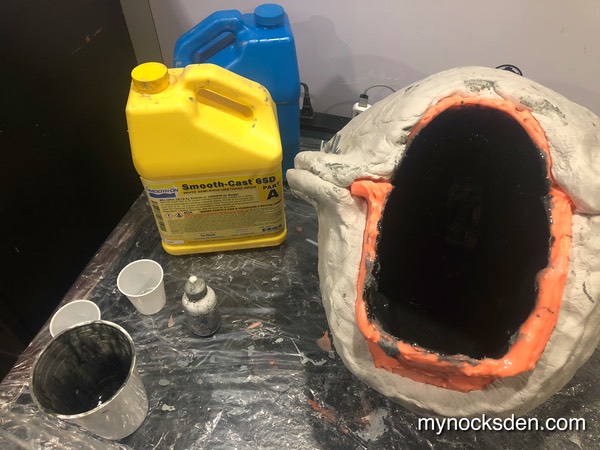
I slush cast the helmet using Smooth-Cast 65D resin, cold-casting the outer layer with aluminum powder (cold casting process is fully described here).
Once the final casting was demolded, I proceeded to remove the flashing, and clean up the mold seam with a hand sander.
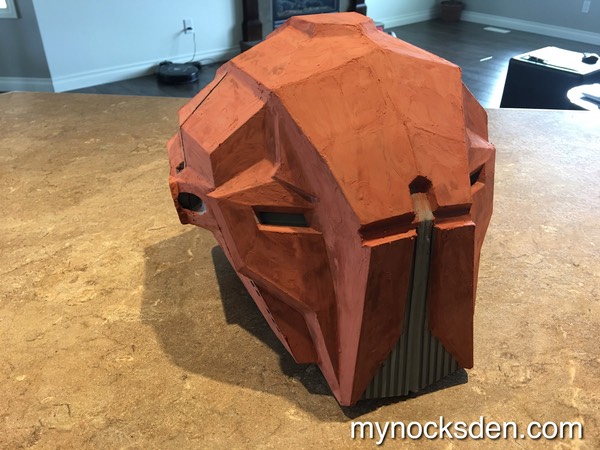
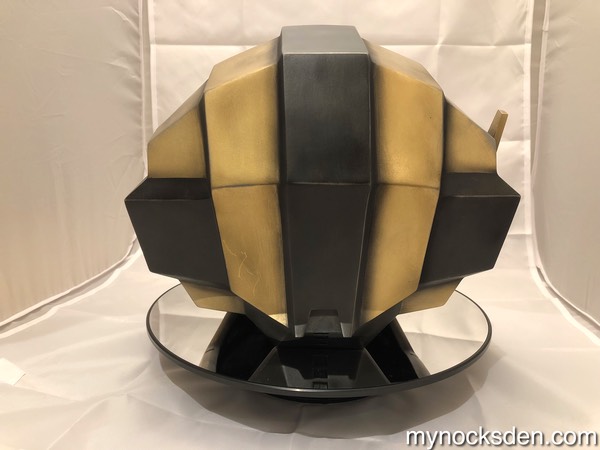
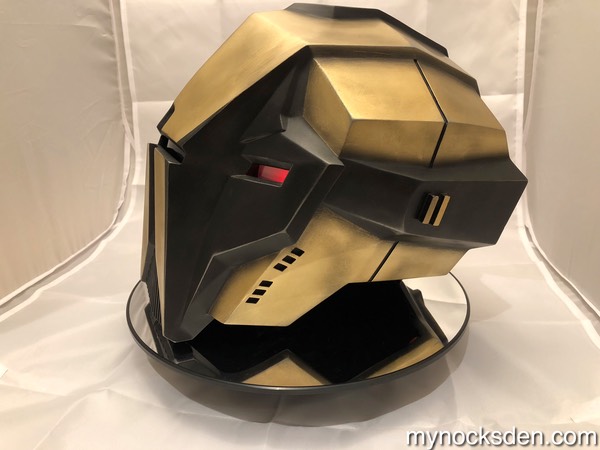
I then trimmed out the eyes and the horizontal nose slit which would allow a meat-bag to see out of the helmet.
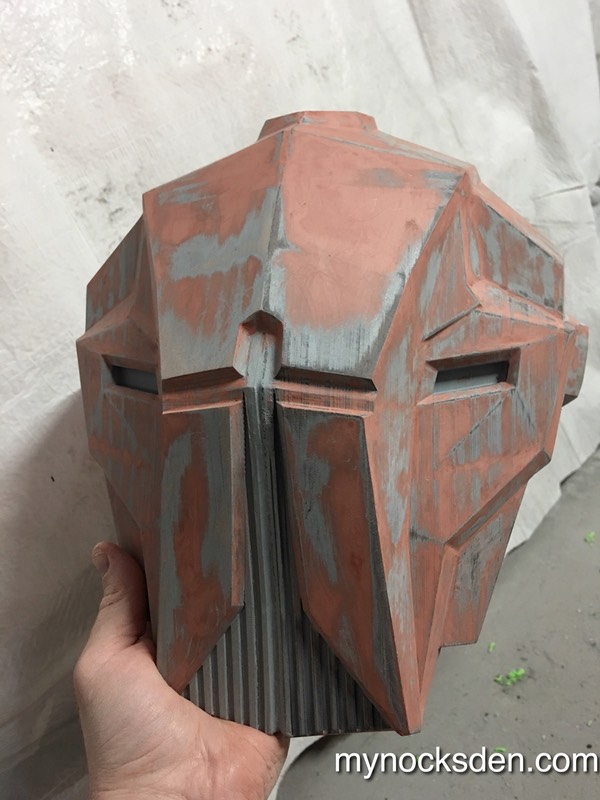
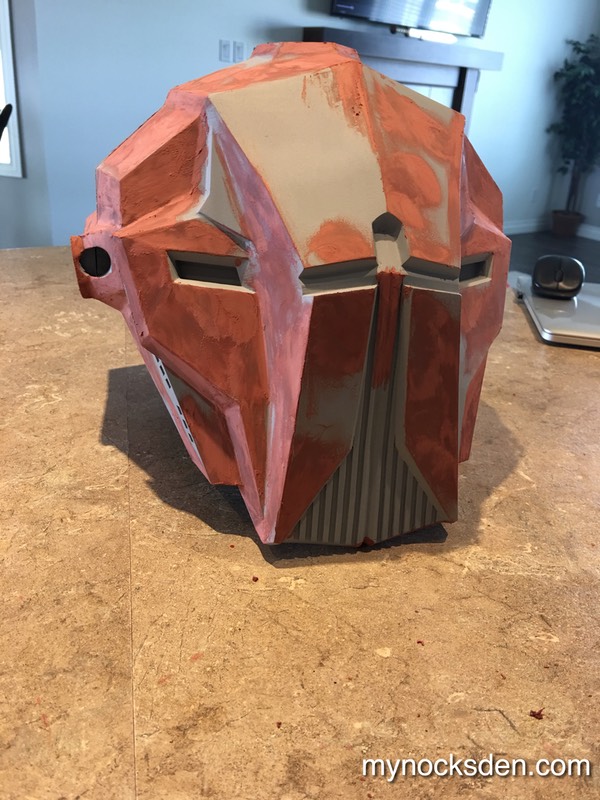
Painting the helmet proved challenging; Initially I chose some paints that didn’t quite match the colour seen in the reference material. After many days of trying and failing to get the desired hues, I stripped all paint from the helmet with acetone, and started again from scratch.
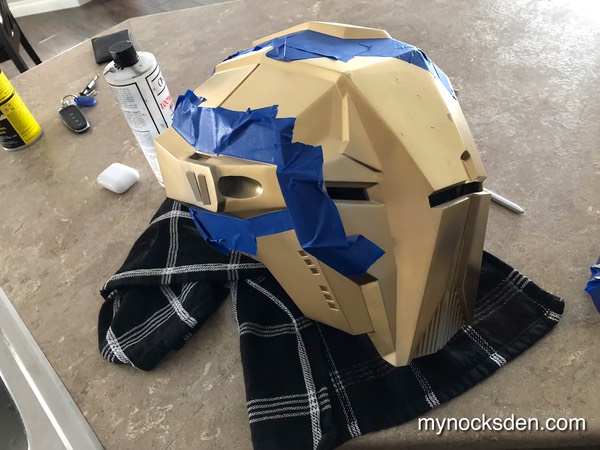
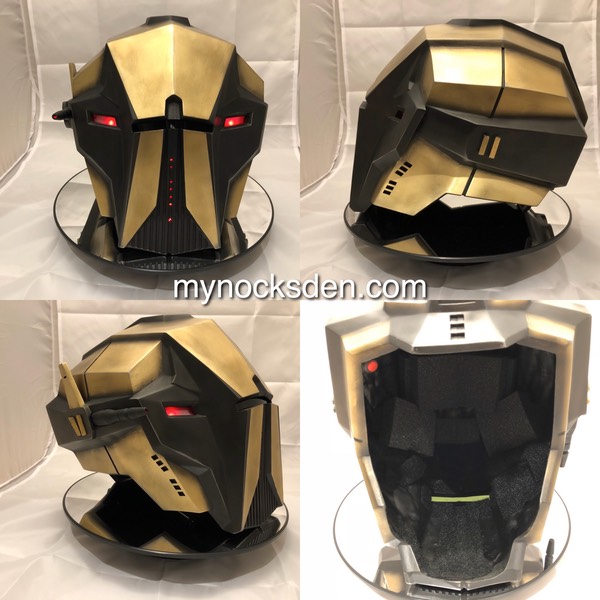
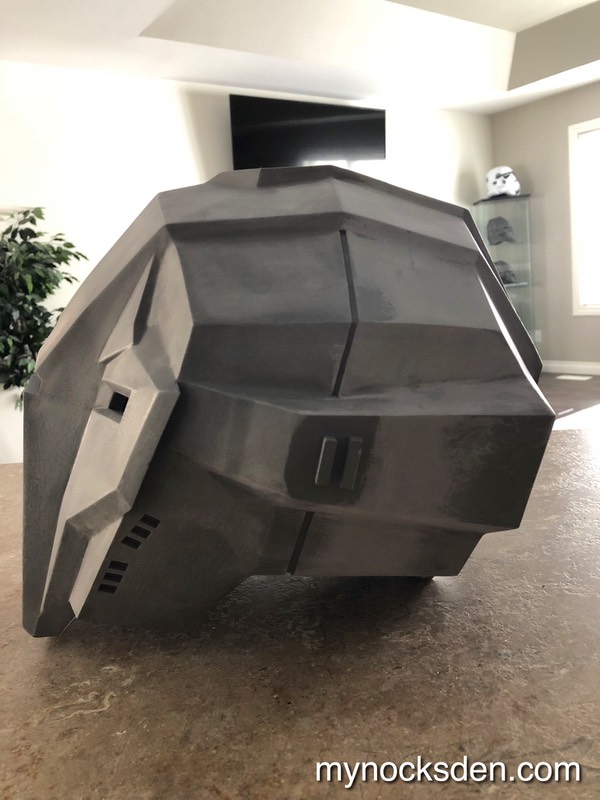
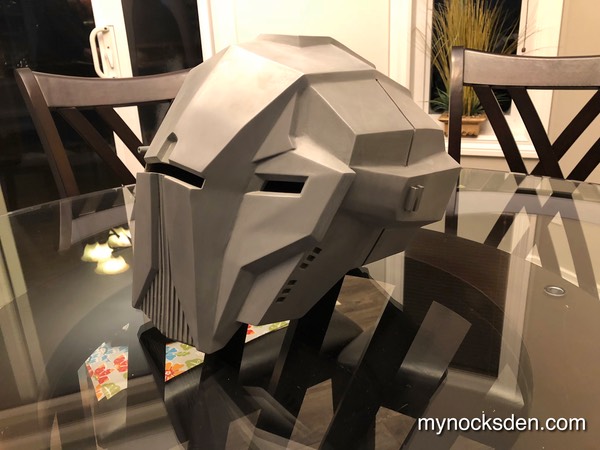
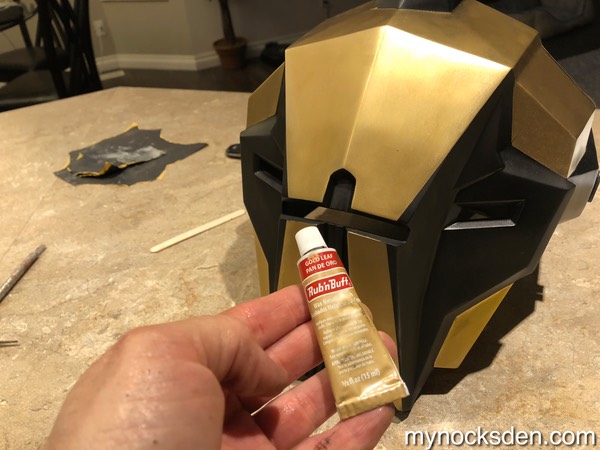
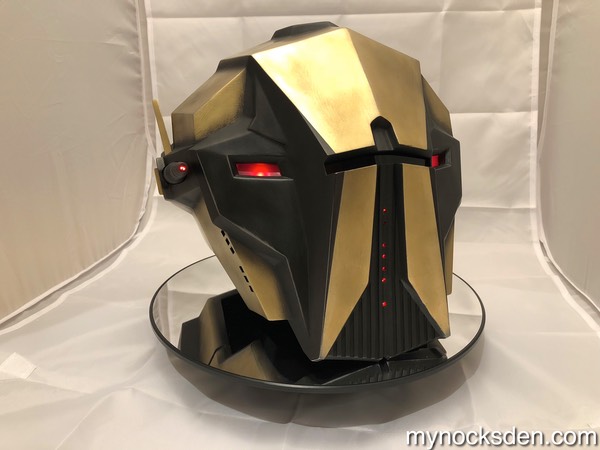
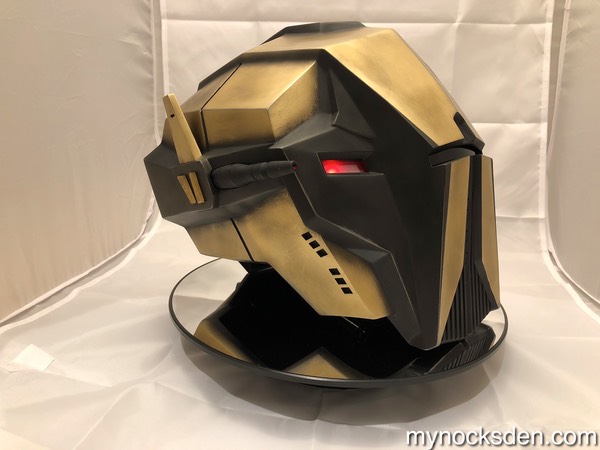
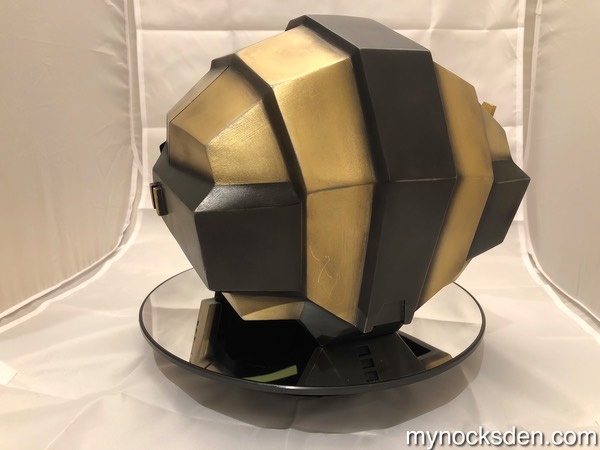
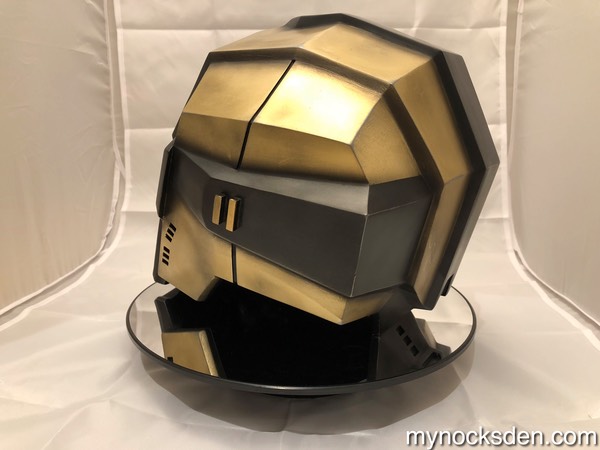
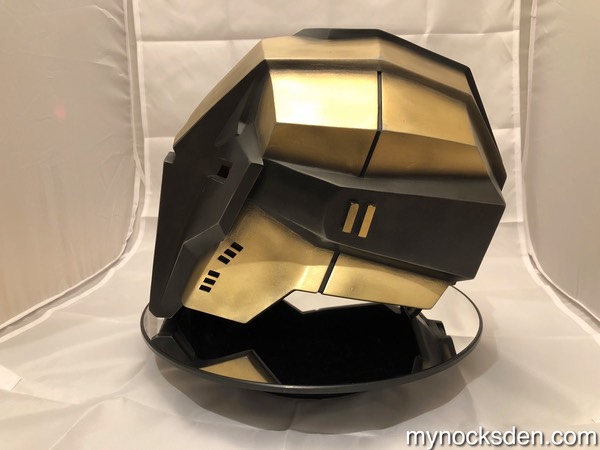
To get the final colour, I spray painted the helmet with Rust-O-Leum gold...
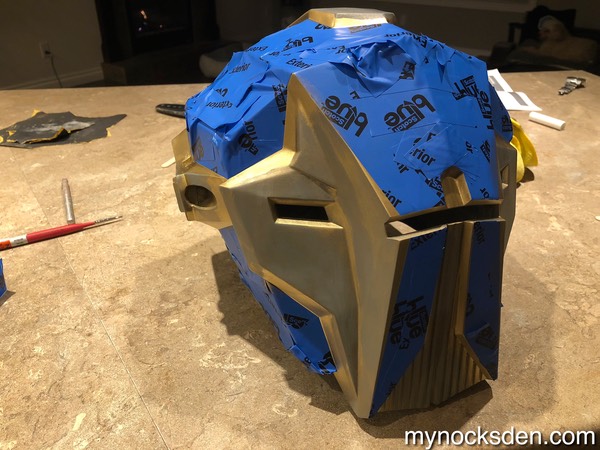
…and then went over the gold surface with Rub 'n Buff gold leaf, which created the desired colour. The black areas were masked off and airbrushed on with Tamiya flat black acrylic paint; the same paint was then used to create dirt and weathering effects.
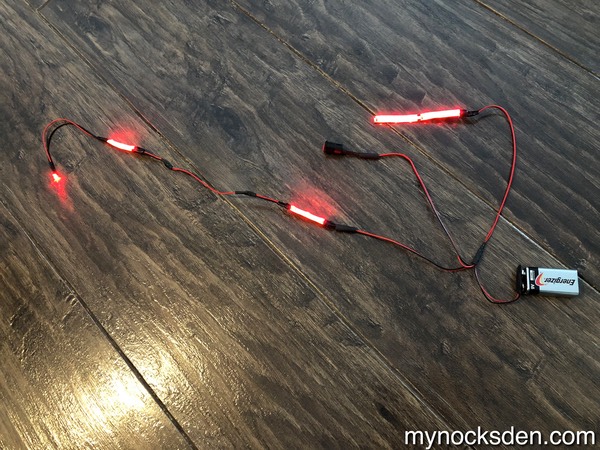
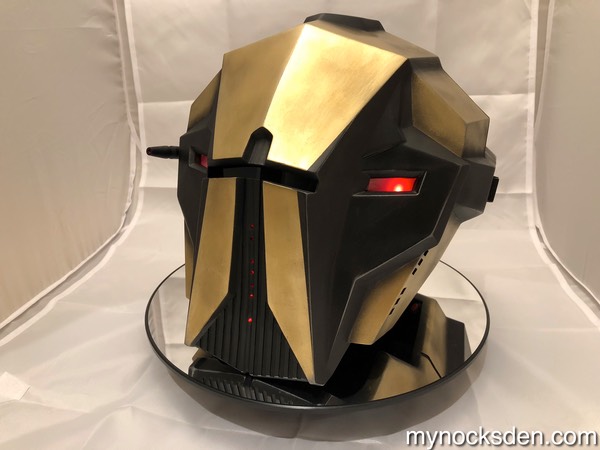
Next, I wired up some LED lights to a 9V battery...
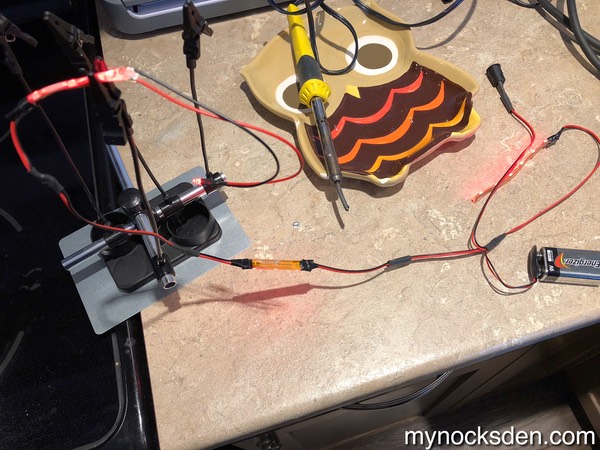
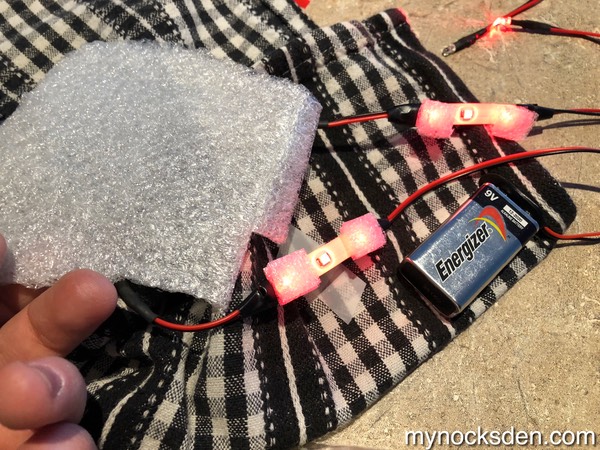
…and added some diffusion foam to wash out the eye lights a bit.
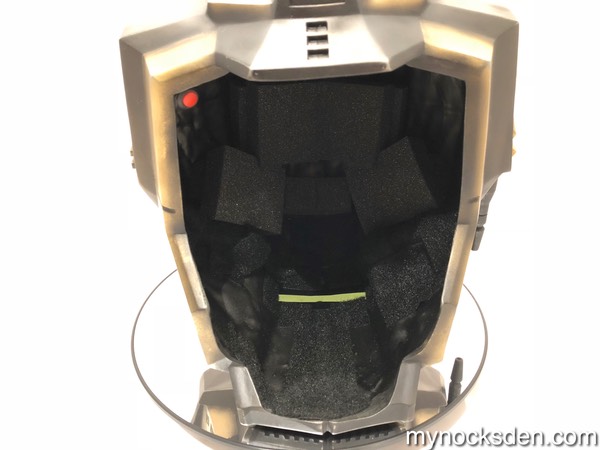
I backed the eye slits with some clear plastic strips before installing the eye lights, and installed a green-tented visor behind the meatbag eye hole.
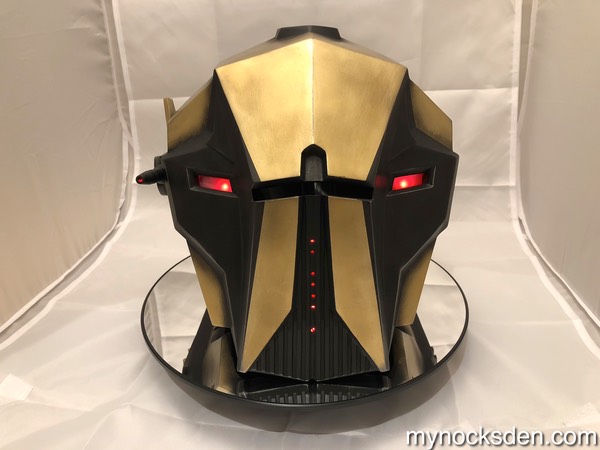
Lastly, I padded the helmet with some open-celled foam, and covered the LEDs with black velcro, which completed the helmet!

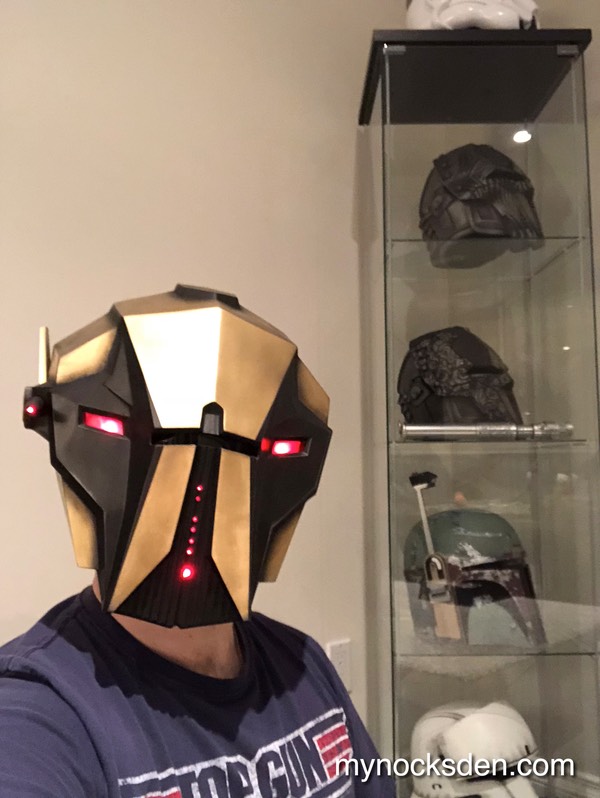
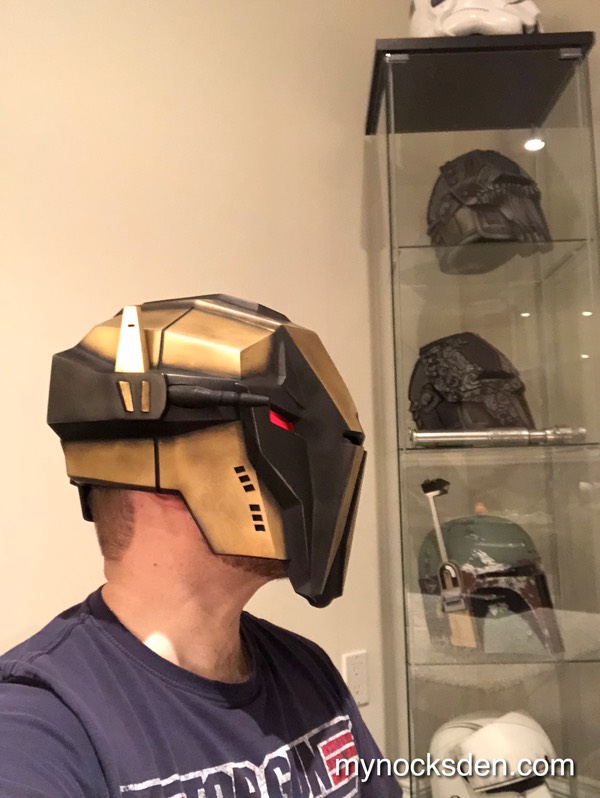
Thanks for looking!
* * * * * * *