
The KOTOR II Darth Nihilus mask was essentially the guinea pig project that taught me some of the basic DOs and DONTs of mold making. Initially, I decided to do this as one of my first projects because I thought it would be a fairly easy mask to do…. I was wrong….
I started off sculpting the mold out of Plaster of Paris.
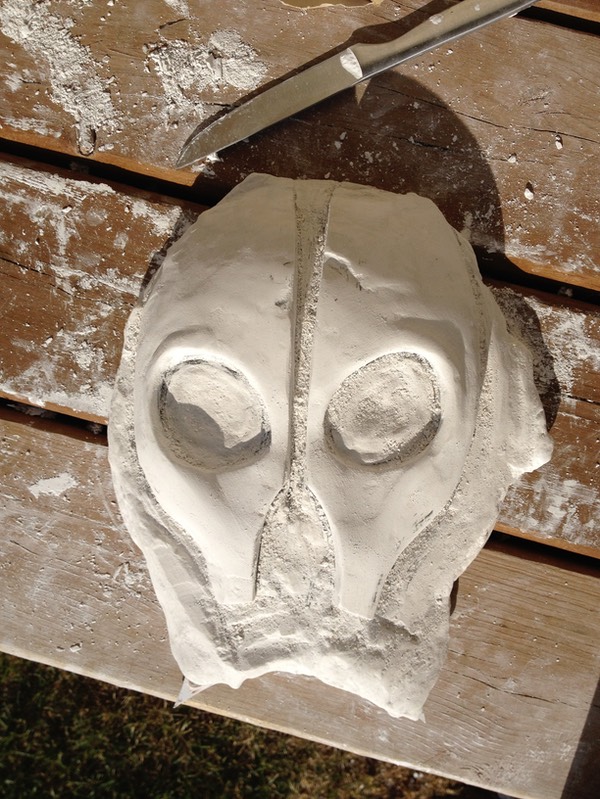
When plaster is still damp, it can be easily carved and even cut using basic kitchen utensils. It offers a good working time of many hours before it dries completely, after which virtually all shaping has to be done by sanding. Once plaster is fully cured however, it chips quite easily and has to be handled with extreme care.
Once the general shape was created, I put the plaster in the oven on low temperature for a few hours to drive the moisture out. I noticed I made the shape a little too small, so I coated it in bondo to increase the overall proportions, and added the sideways nose "teeth" on the mask. (Yeah, nose teeth. You know what I mean!)
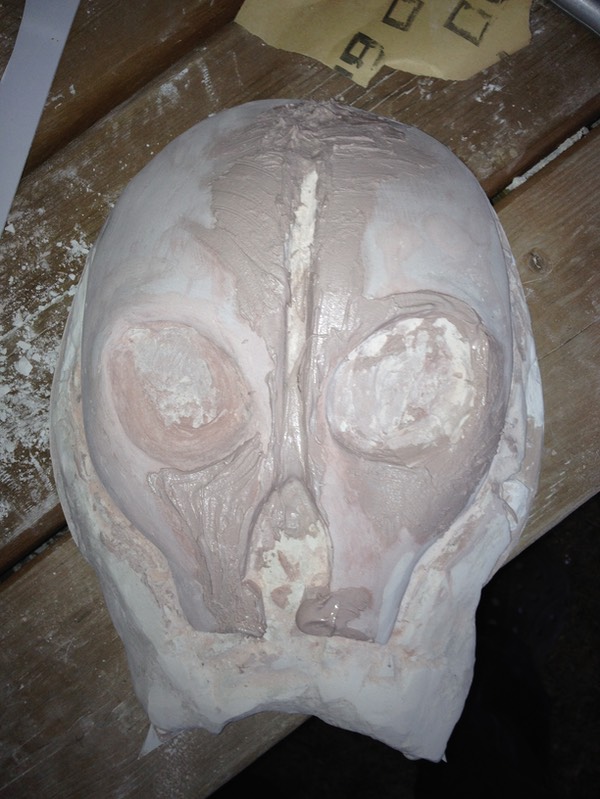
After some sanding and bond-ing, the mold was good enough to be vacuum formed over. At this stage I intended to make the middle forehead ridge and ornamental pieces separately, so that's why they are missing from the picture.
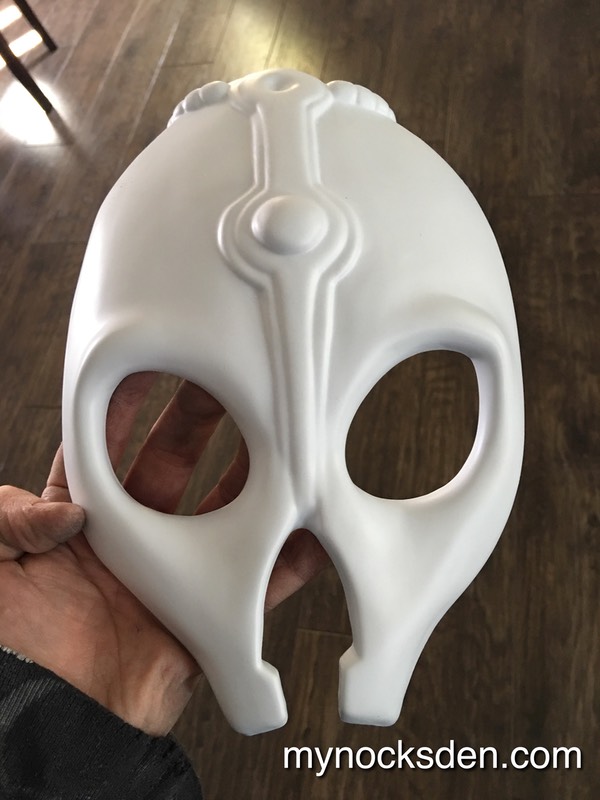
Here's a photo of the first pull.
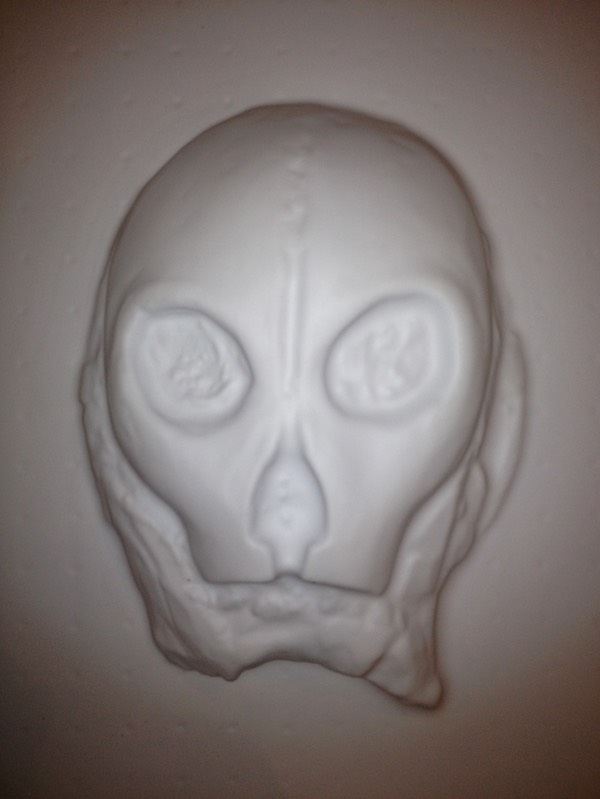
After I cut the mask out, I realized I did not like the shape; to me, it was not accurate to the shape found in the game art photo from KOTOR II.
So, I cheated. I used a heat gun to heat up sections of the mask and twisted and bent it until I attained the shape I wanted. Changing the mold at this point would be too difficult, so what I did was "recast" my own heat-gun modified mask by sealing the inside of it with vaseline, and filling it with Bondo. After the Bondo cured, I peeled off the plastic, and ended up with a more or less correctly shaped 100% Bondo mold.
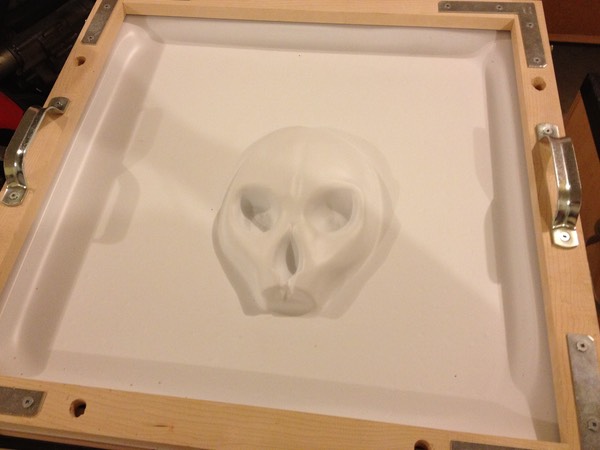
I traced the outline of the mold onto a sheet of particle board I had lying around, cut this out, and glued it to the back of the mold to give it some height clearance for vacuum forming. I drilled some air holes in the eyes and nose to help with suction, and did another test pull.

After some further modifications to the mold, and a few test pulls, I decided that doing the middle ridge separately would be too much work.
So, I sculpted the middle ridge directly onto the mold, added a particle board backing to elevate the buck off the table (to give the mask a bit more depth), and drilled some holes in the eyes and nose for tighter pulls.

And finally, the pull:
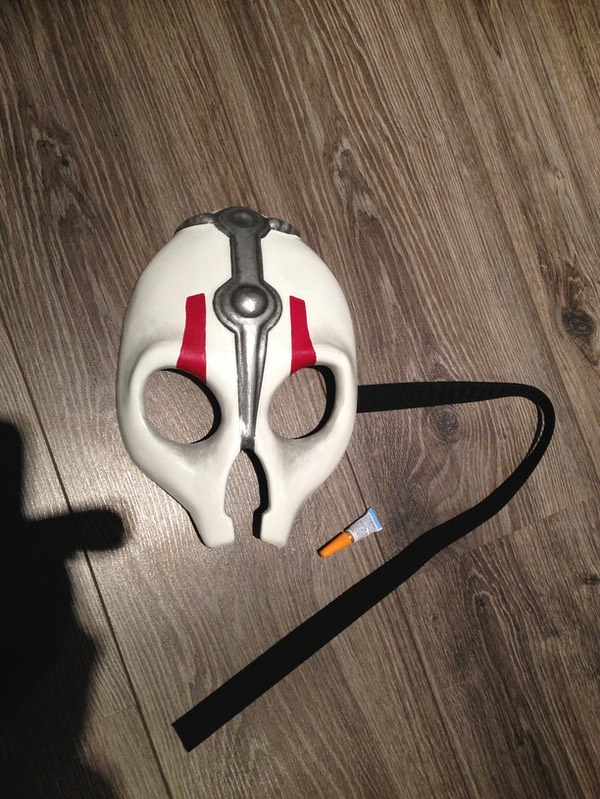
After trimming and doing the middle ridge and red stripes by hand using Testor’s paints, behold the final product!
And KOTOR II game art vs my mask comparison shot:
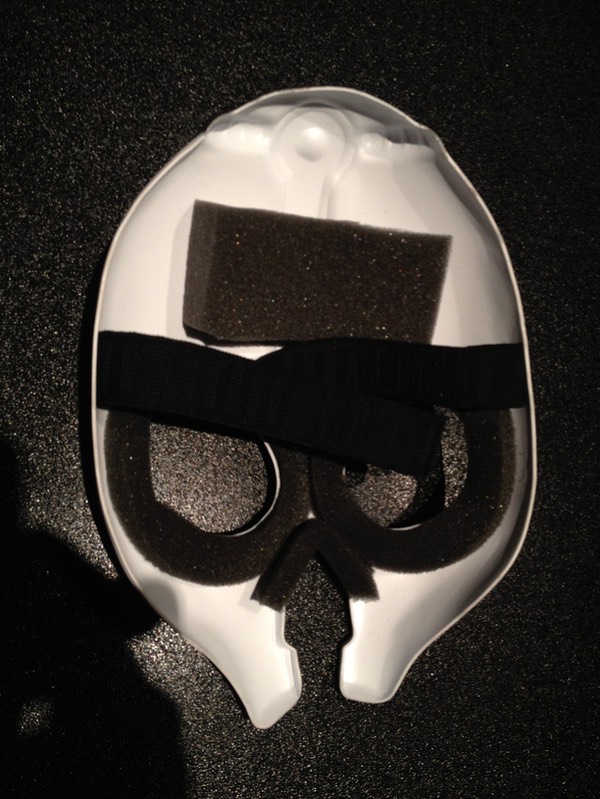
The hastily-padded inside:
And me demonstrating the mask:
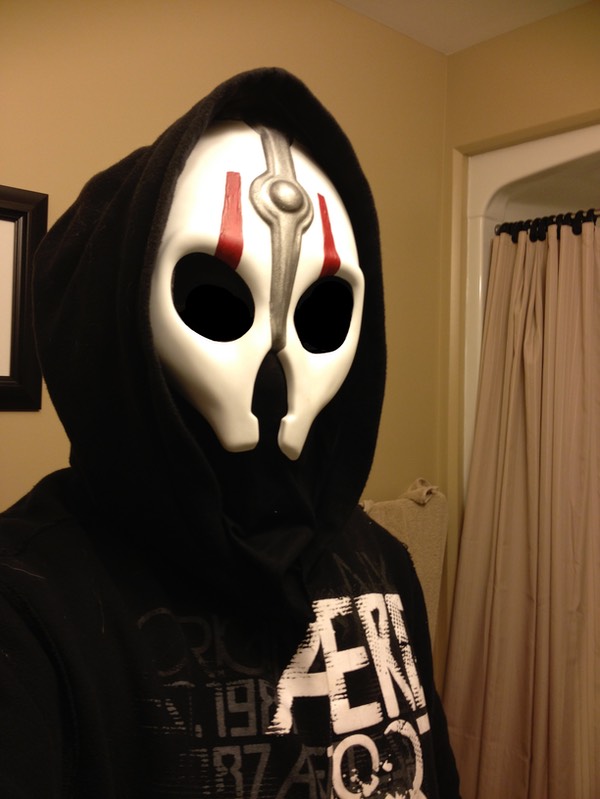
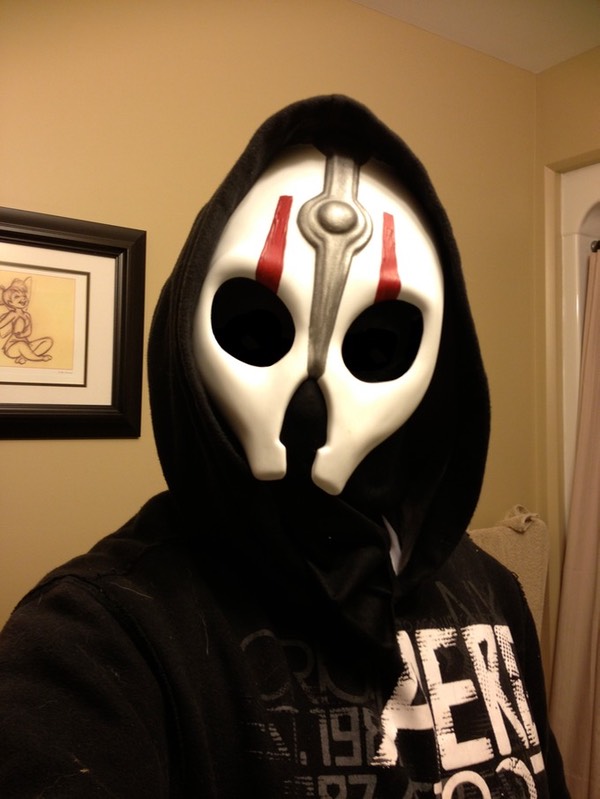
In the two above photos, I am wearing a balaclava, with the eyes photoshopped out for effect. I do not own a Sith robe, nor the correct headpiece to give the hood the correct shape - hence the black hoodie.
Thanks for looking!
* * * * * * *