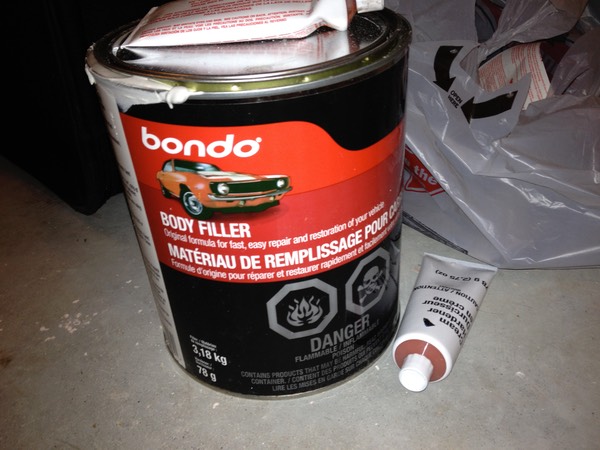
The Acolyte mold is made out of Bondo.
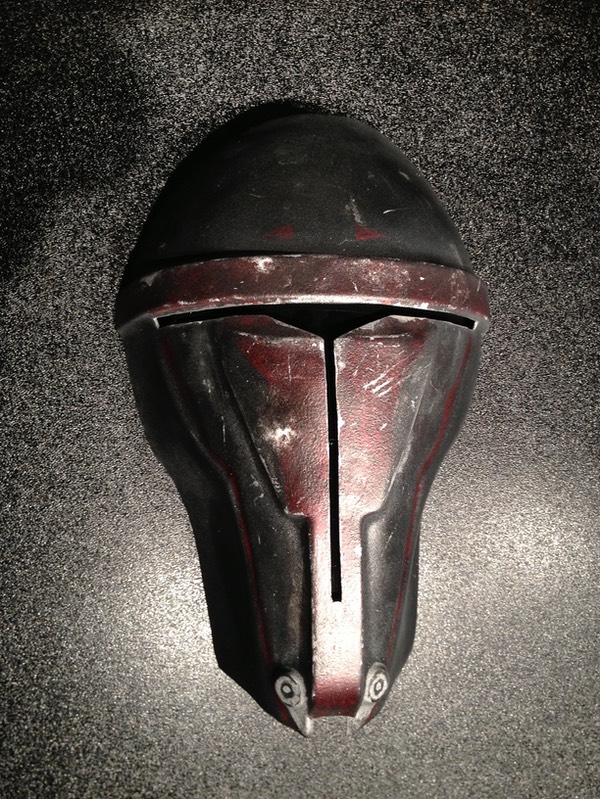
It's actually the very first mold I ever made (which was for a Revan-esque bounty hunter mask I did as my very first project!), reworked into a different shape (on the left in the photo below).
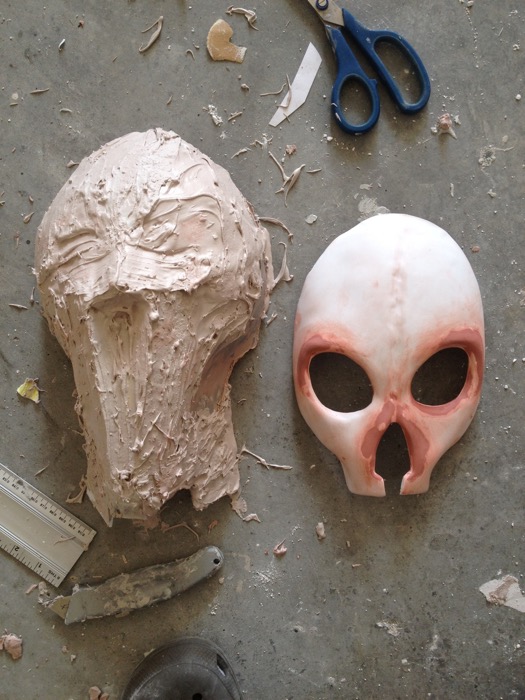
Since my BH mask turned out decently (at least I think so!)...
… I decided to reuse that mold, reshaping it slightly into the Sith Acolyte.
So, I added a ton of bondo to the original BH mold, turning it into a giant blob of hardened goo, using some ABS and HIPS plastic scraps for support on the inner side. The great thing about using plastic in the mold making process, is that BONDO does not stick to it very well; after the bondo cures, the plastic can simply be peeled off without damaging either component.
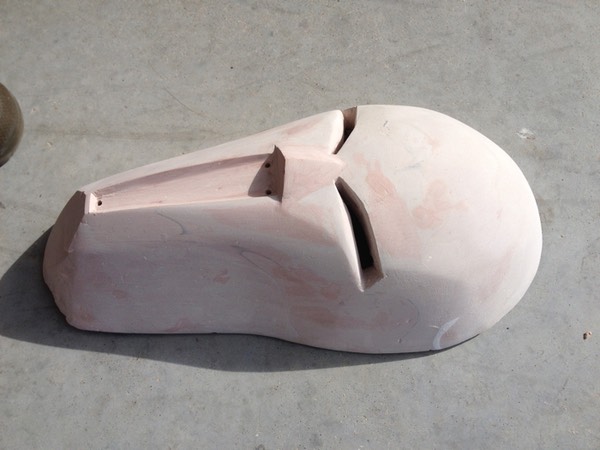
Hours upon hours of adding bondo, sanding, adding more bondo, having a beer, adding more bondo and more sanding, the Acolyte mold finally took shape.
But, after walking away from it for a while, looking at the reference material, and then coming back to it, something didn't feel quite right. I did not like the shape, I realized. So, once again, I went to applying bondo, sanding, rinse and repeat.
Finally, I arrived at a shape that I liked a lot more. I used an electric sander with 60 grit sanding discs to get there, and then changed to 120 grit to smooth it all out.
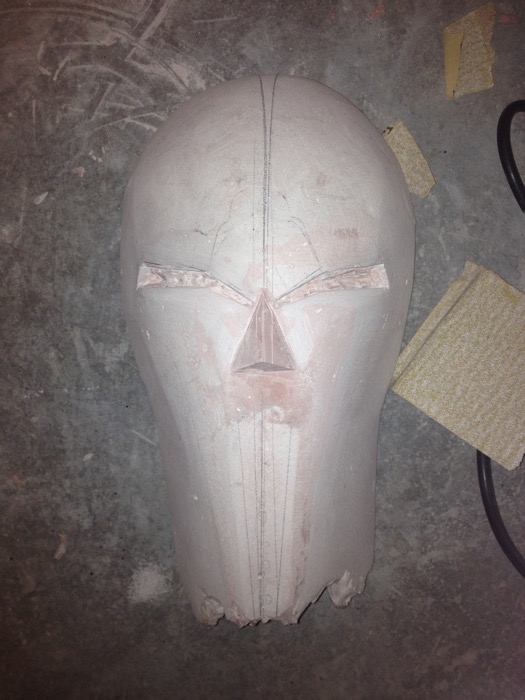
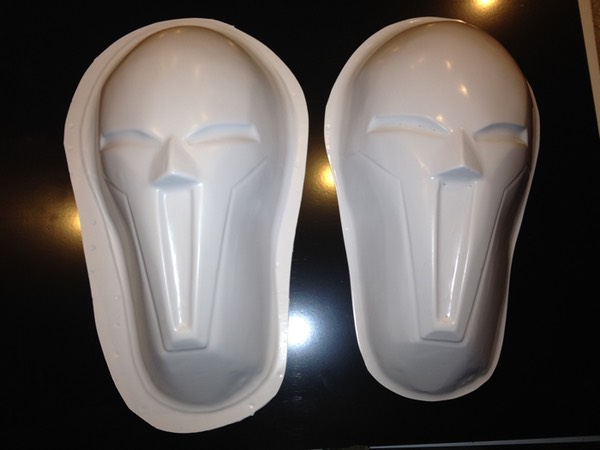
After some hand sanding using 150 grit paper, and building up the chin with some - you guessed it, BONDO! - the mold became this. It is hollow on the inside, and at any given point on the surface, is about 1/2 thick.
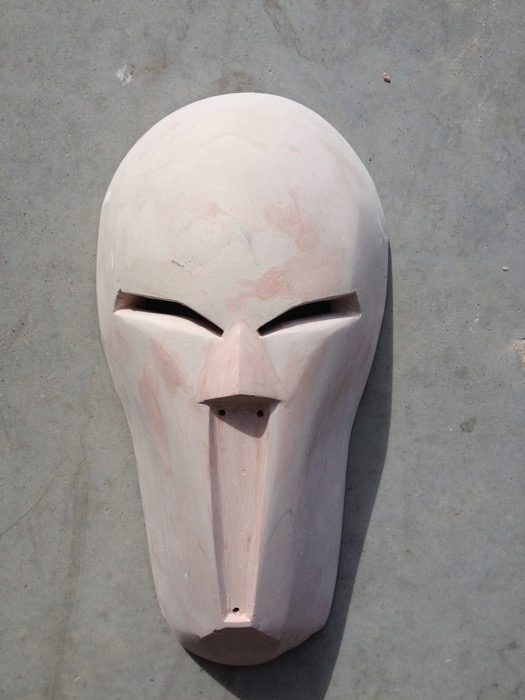
I carved the eyes all the way through to the inside, and drilled a few small holes inside the mouth at the sharpest feature points in order to help the plastic fold over the edges with minimal detail loss.
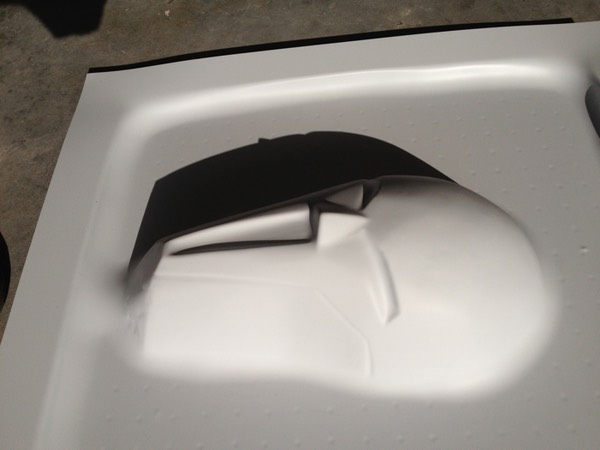
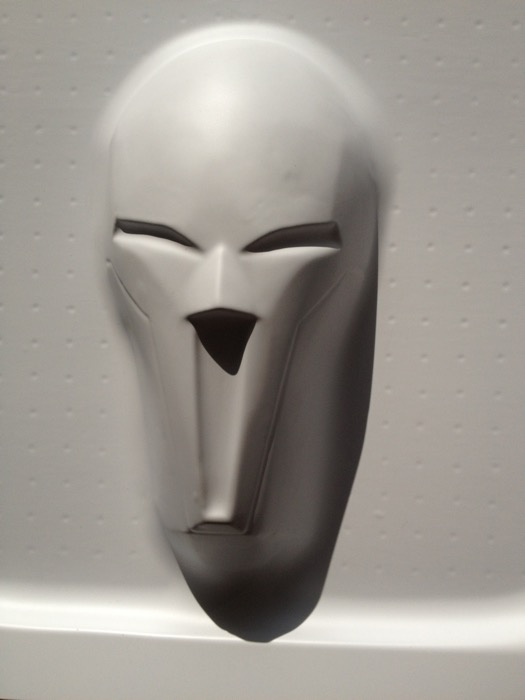
Next step: vacuum forming! Pulled a test mask from .08 HIPS, and viola!
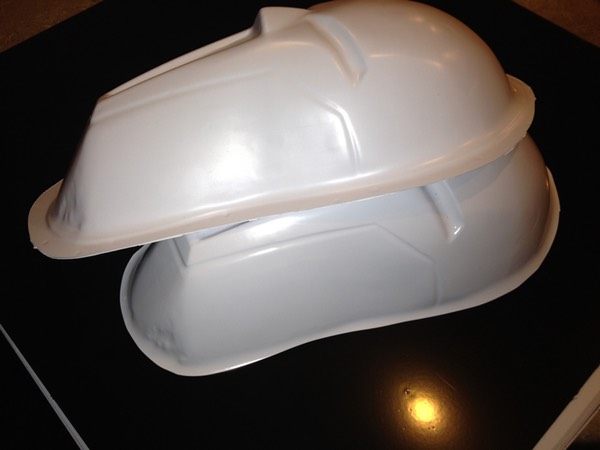
After a few slight modifications to the mold, I formed a new mask from a thinner sheet of .06 HIPS (to help preserve the sharpness of the mouth and nose detail), left this on the mold, and pulled another mask directly over this. Doing so created the base mask (right), and a slightly larger mask (left). The video of this step is found on this page.
This would allow the two masks to fit over one another like this:
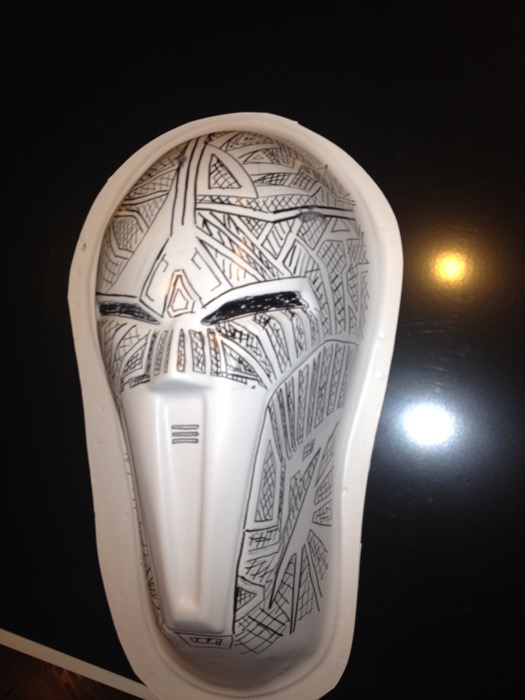
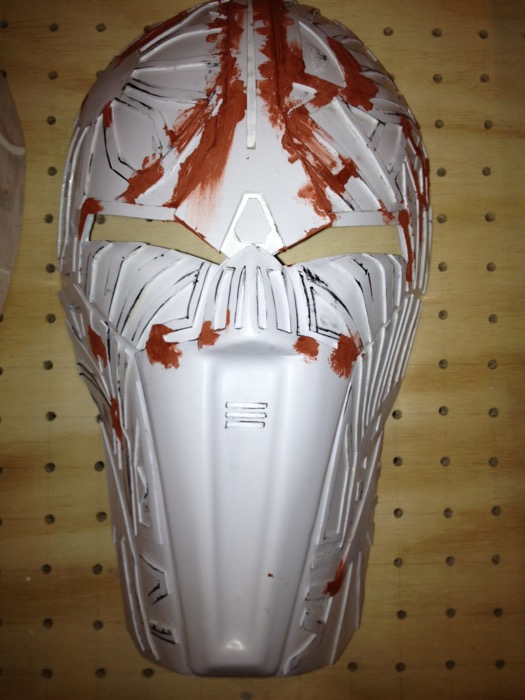
Next step was to draw the detail pattern on the larger mask with a sharpie. I copied whatever detail I think I saw in the trailer (see screenshot at the beginning of this article), and made up the rest (since no other closeup images of the character are available).
These details were then cut out using scissors and a utility knife, and glued to the base mask using superglue. I experimented with epoxy as well as ABS cement, but the curing time was way too long. The excess glue was also too tough to clean up after it dried. In the end, I ended up using superglue as it cures instantly, and any excess can be sanded off with ease. ABS cement would be a better choice for parts that have to hold together for strength, but in this case, contact strength isn't really necessary.

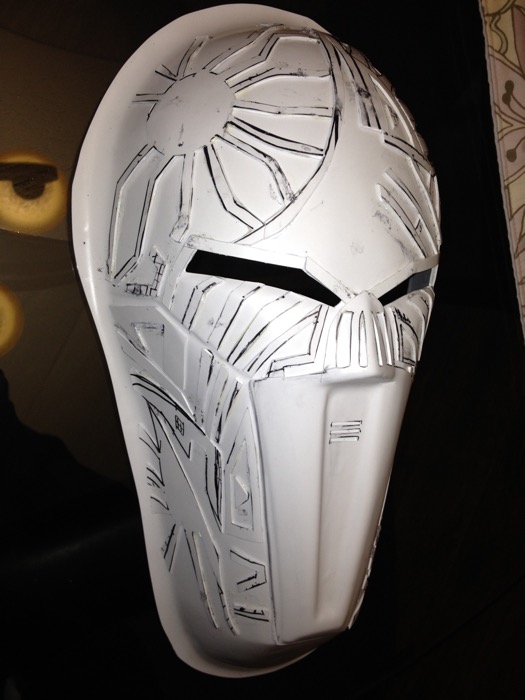
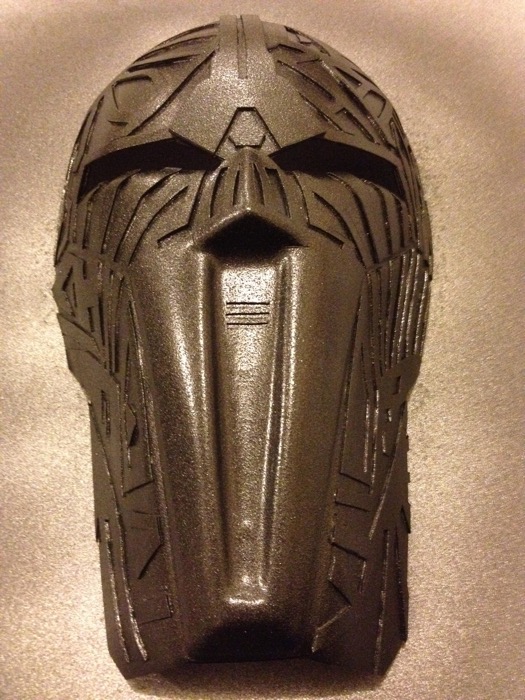
Next, I cut out the final shape of the mask, added the brow ridge and diamond pieces above the nose, and used some epoxy putty to smooth out the joints where the details meet; after the putty cured, I sanded it smooth.
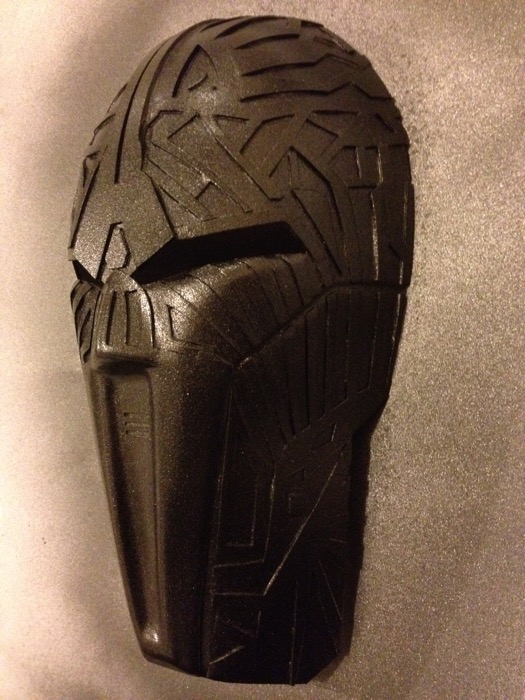
Base layer of Graphite Krylon plastic paint was applied next, and mask allowed to dry for several hours.
And lastly, the detailing was hand painted with silver Krylon Paint.
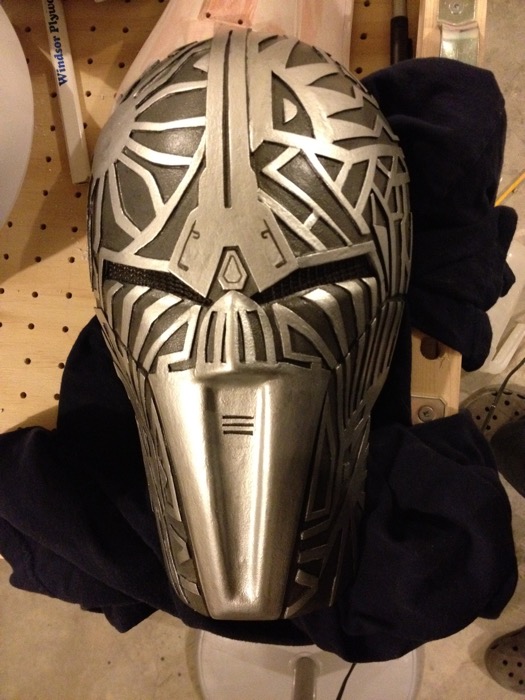
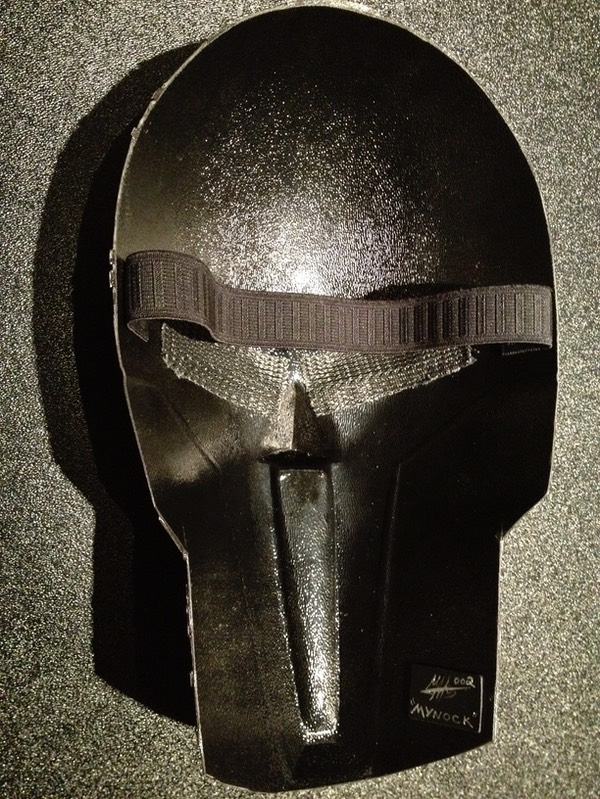
Lastly, I painted the inside of the mask the same dark grey I used for the base, added a black, see-through mesh behind the eyes, and an elastic strap with superglue, and viola! Mask! (I seem to have misplaced the photo of the inside of the original mask, so here's a photo of a different one that shows the strap and the blackout mesh).
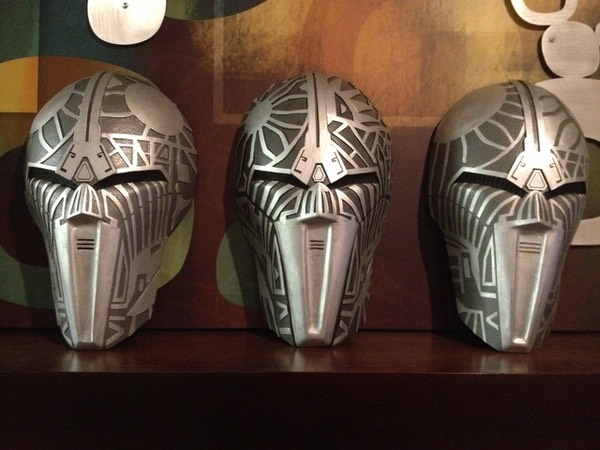
After the first mask was created, I was able to successfully repeat the process, with each subsequent mask looking sharper, and cleaner! Whatever details are visible in the game trailer I incorporated into each mask; the details that are hidden, I make up. Here are some examples of Version 1 Sith Acolyte Masks:
Thanks for looking!
* * * * * * *