My Sith Acolyte mask versions 1-3 were created by referencing this game trailer screenshot.

At the time, aside from this and a few frames of the Nemesis ("floral) Acolyte seen in “Deceived” ...

… there was virtually no information as to what the mask shape is, or what the detail patterns actually look like under the hood for both Acolytes.
Recently however, some great new reference material came into my possession that exposes the Bengal mask entirely, revealing the shape and all detail from every angle. Unfortunately, with this came the sad realization that the shape of the cranium, fangs, eyes and the detailing itself – all of it is substantially different from my existing take on the concept.
Considering how long it took me to create my original molds and get everything to the level of my version 3 mask, I knew to do a proper, screen accurate replica would mean starting from scratch, taking weeks and weeks of work….
So that’s exactly what I did!
To start, using my vacuum former and a sheet of .06 gauge ABS I did a pull over my original Bondo mold to create a plastic shell (general vacuum forming details here), which I would use as a support base for my sculpt. Next, I used Original Sculpey I got on sale at Hobby Lobby to begin sculpting the mask.
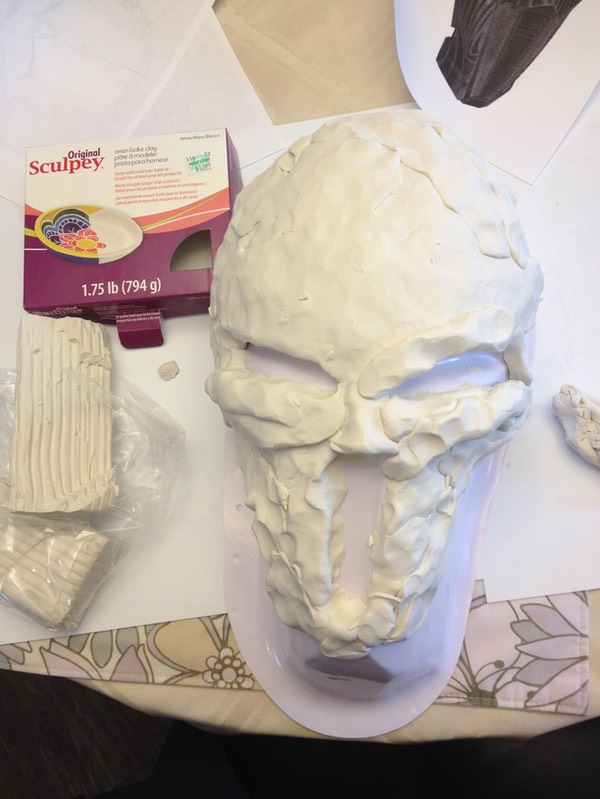
Sculpey is a non-toxic, non-air dry polymer clay that has the malleability of plasticine. It can be shaped and sculpted by hand or with any number of tools, and once you’re satisfied with the shape, it can be hardened by oven baking (275 degrees for 15 minutes or longer depending on thickness).
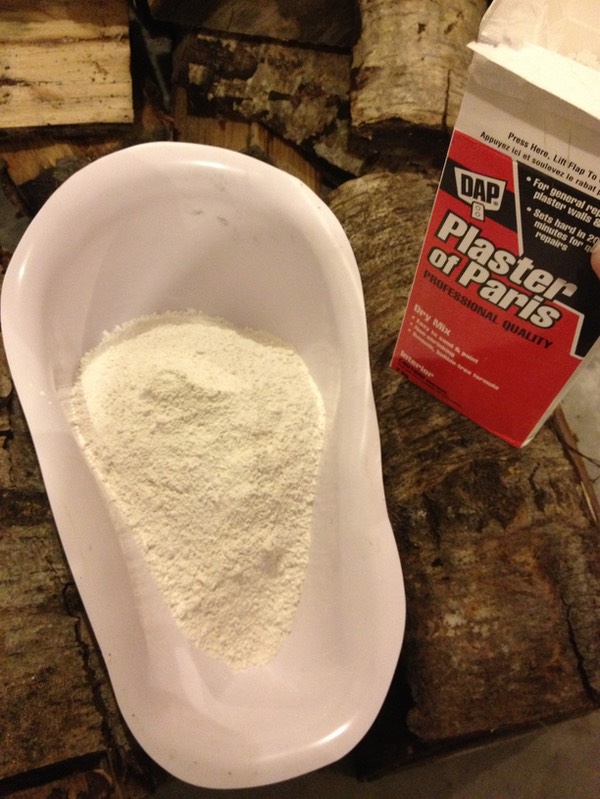
The heat from the oven would warp the plastic shell, causing the whole thing to sag and deform if I didn’t support it. I wasn’t keen on using my Bondo buck for this, baking it in the same oven I cook food in. So, I pulled another ABS shell, filled it with Plaster of Paris, let it harden for 15 minutes, and then threw it in the oven on low heat for several hours to speed up curing.
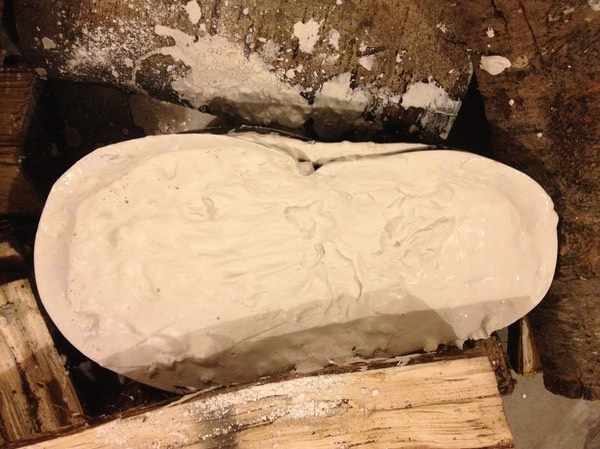

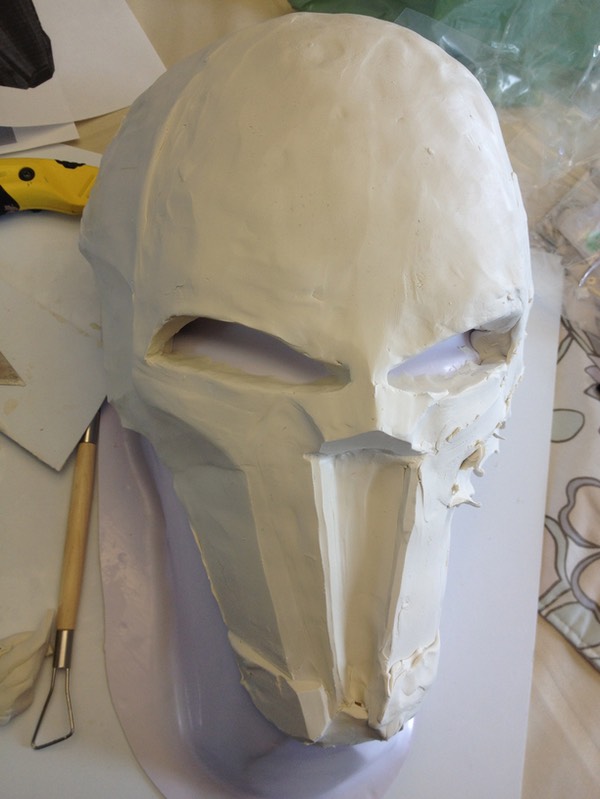
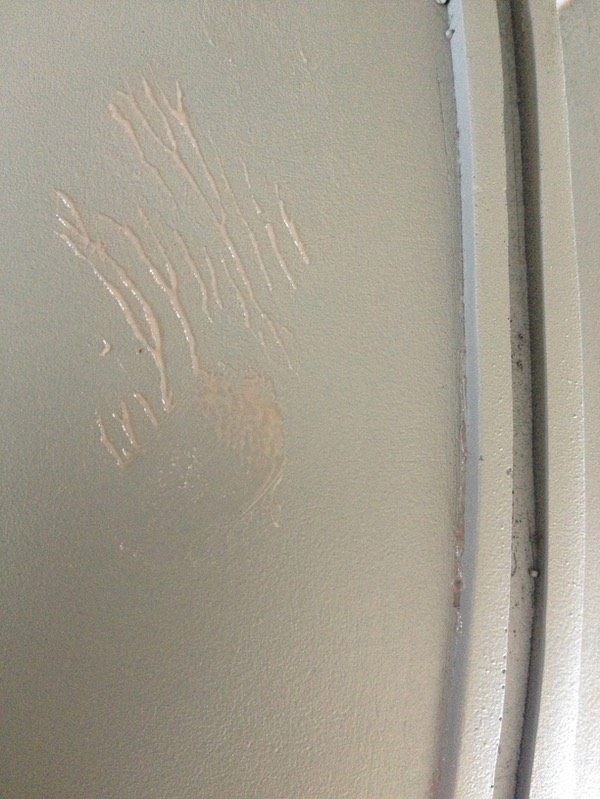
Once the plaster buck was made (don't worry about the spider-webbing in the forehead), I fit the shell with the newly sculpted mask over it, and put the whole thing in the oven for 45 minutes.
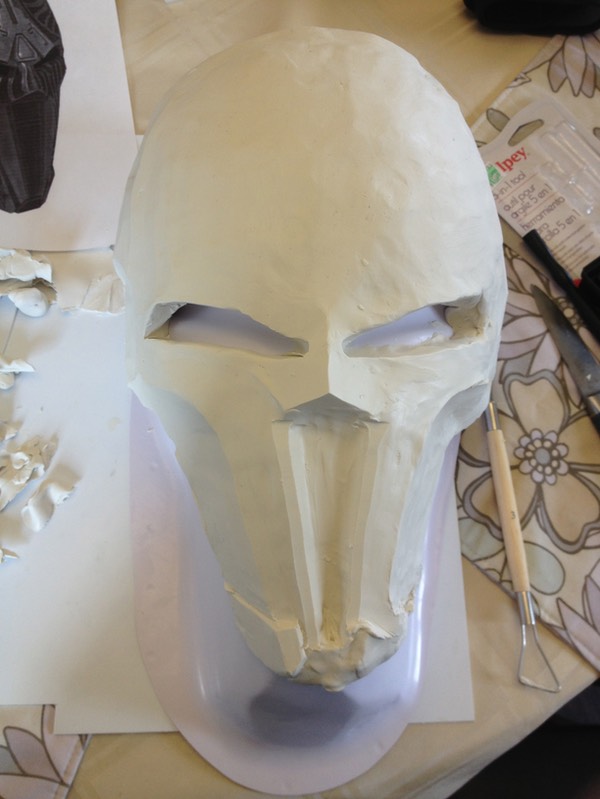
Once it hardened, I sanded it, used more Sculpey to fix some problem areas, added the middle ridge, and put the whole thing back in the oven for 20 minutes.
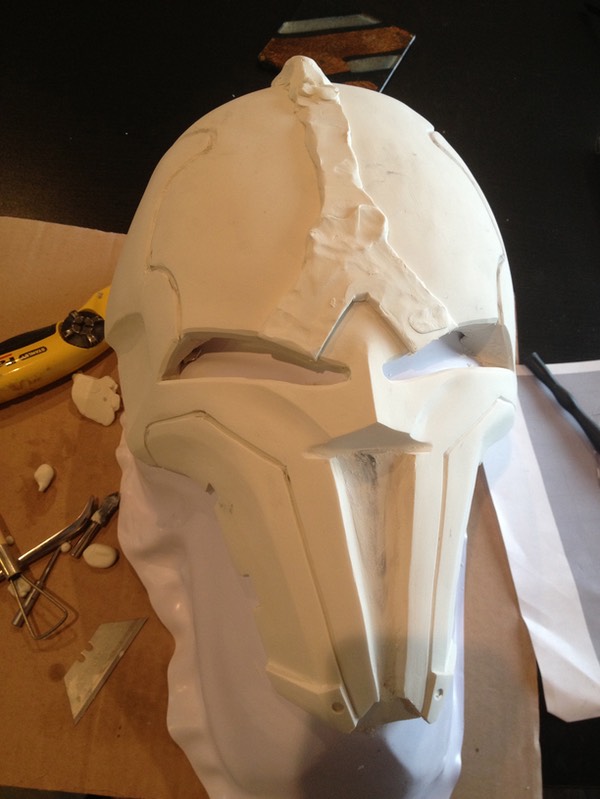
I repeated the sanding/more Sculpey process several more times, until I noticed major cracks beginning to form in the Sculpey. Yikes!
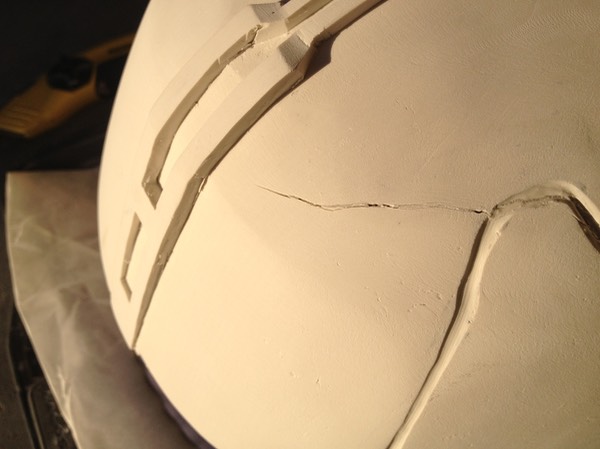
I figure this happened because the plaster support mold slowly shrunk as water was driven out during each baking, which caused the plastic shell to sag with the weight of the mask. This led to bending, and finally cracking of the Sculpey What I should have done at this point is use a heat gun to cure only the sections containing freshly added Sculpey without temperature stressing the entire thing, but live and learn.
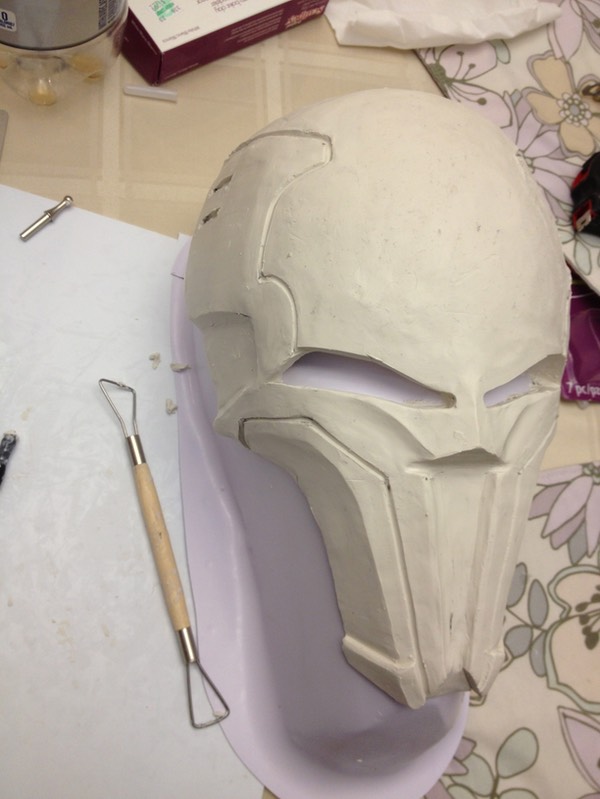
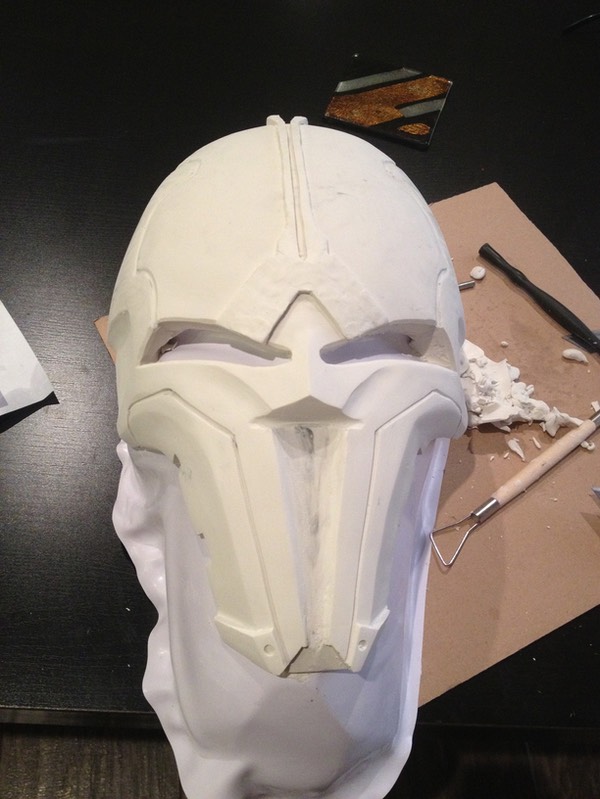
Next, I sanded the middle ridge smooth, and made the little diamond-shaped piece between the eyes out of two layers of ABS, supergluing it in place.
At this point I was satisfied with the results, and moved on to silicone casting.
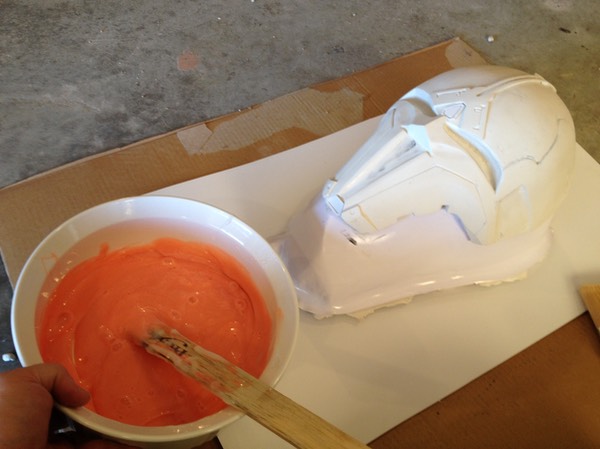
Once the mask was sculpted to my satisfaction, did a quick (and fairly thin) throw away mold using Rebound 25 to transfer the mask shape from Sculpey to a much more durable 65D resin which can be sanded, Bondoed, and even used as a buck for vacuum forming (as we will see below). Three coats of Rebound 25 were applied an hour apart, with the last layer thickened using THI-VEX and allowed to cure overnight.
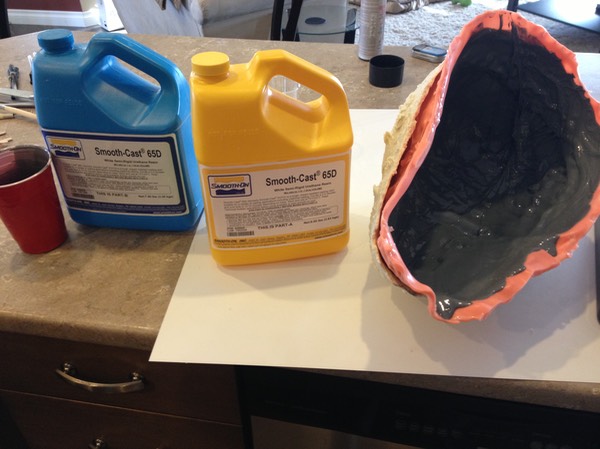
A few words about Rebound 25. It is a platinum silicone from Smooth-On that has a 1:1 volume mix ratio (no precision scale needed), does not require degassing, and has a cure time of 6 hours, which is much quicker than Mold Max 30 I used for my version 3 mask (covered in this section). It is a ridiculously strong material when cured! It is also very expensive, running for about $180/kit (double the price if you're buying from a Canadian supplier) that makes two gallons of the stuff.
I allowed Rebound 25 to cure overnight and used PlastiPaste II (a two-part, 1:1 product from Smooth-On) to create the support shell or mother mold, and allowed this to cure for 2 hours.

Once the mother mold was removed, and the silicone skin peeled off, the Sculpey sculpt was no more. Kind of sad to see it come out in pieces, considering how much work went into making it.
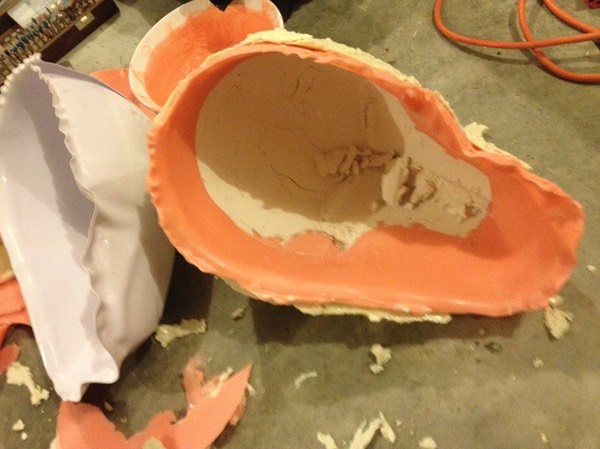
But, it’s all part of the greater process. Once the remnants of the clay were removed and the rubber mold washed out…

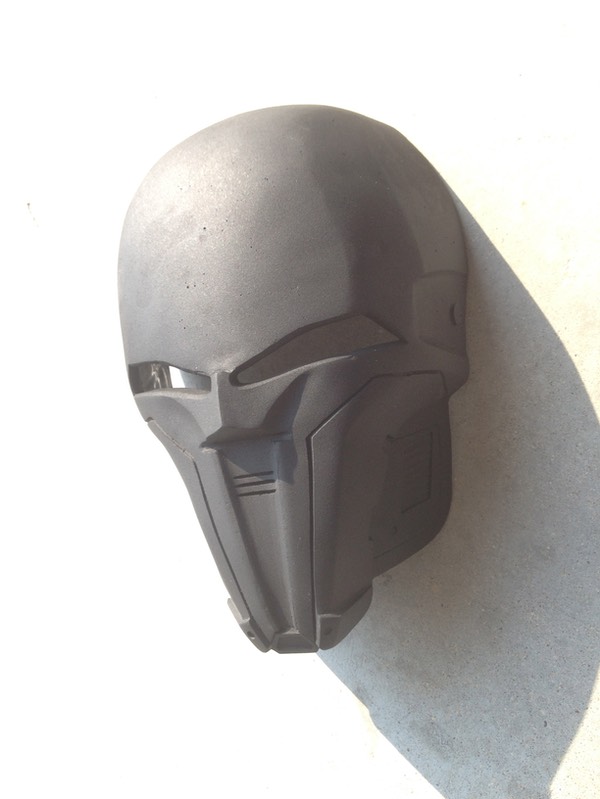
… I did a pull of the mask using 65D with some black So-Strong tint (which 65D isn't designed for, hence the grey coloration in next photo) to make the imperfections more visible.
Since slush casting was covered extensively in this section, I will not go into great detail here other than say a few words about my choice of 65D. For my version 3 masks I used Smooth Cast 325 as the main casting medium because it was designed to remain quite flexible upon curing (which made trimming possible with scissors). For my version 4 project I decided to use 65D for the precisely opposite reason that it hardens right away, having a much quicker recommended demold time. Once the plastic solidifies, it's rigid (though it can be bent and reshaped again by using a heat gun!). Another advantage over 325 is that 65D traps fewer bubbles, which was always a struggle with 325.
I touched up some more problem areas using Bondo (which sticks to the smooth on resin really well) and superglued the 10 millennium falcon shaped buttons I cut out from a sheet of ABS to the mask in correct places.
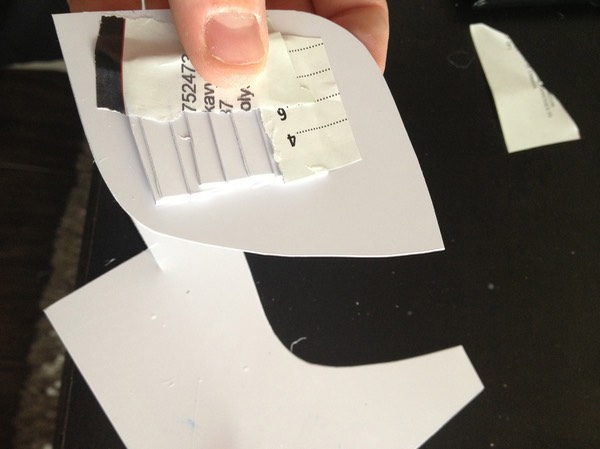
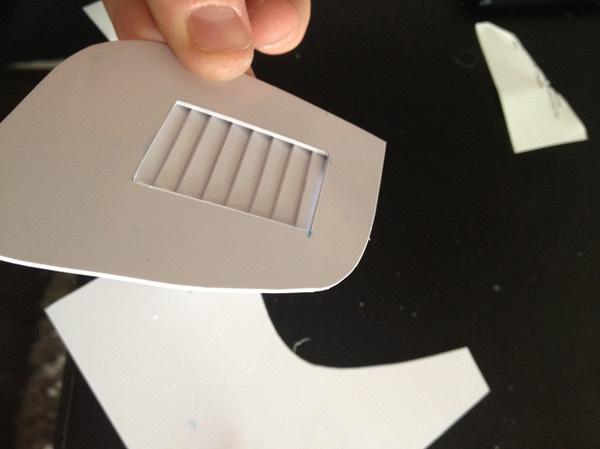
Next, I decided to tackle the cheeks, which was something I hadn’t done with my previous masks. I cut the cheeks out of a sheet of ABS, and then cut out a rectangular hole with a utility knife in each one. I then cut out smaller rectangles for the vents, making them slightly longer than the center hole, and superglued them together in a staggering pattern (resembling closed blinds). I aligned the assembly in the center of the main hole, and superglued it in place using scrap paper.
Next, I glued the cheeks to the mold...

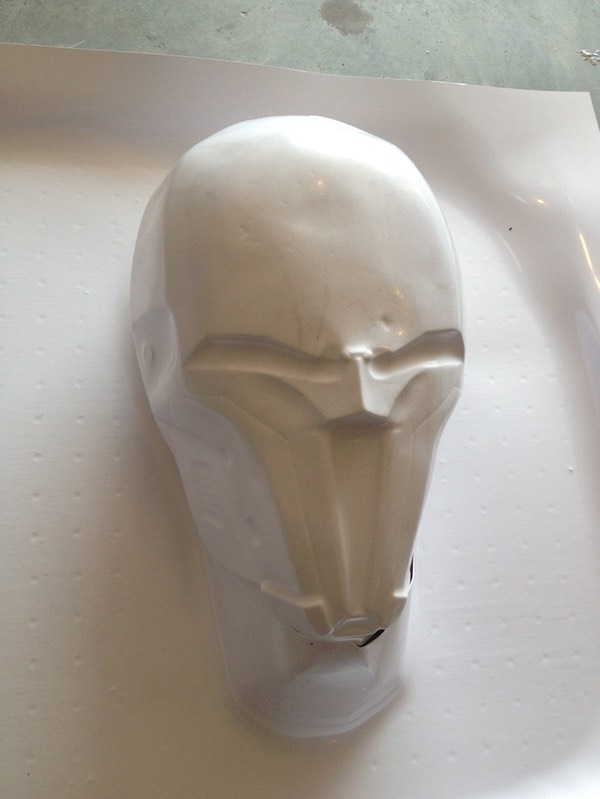
… and spray painted the whole thing with primer to get it ready for further silicone molding.
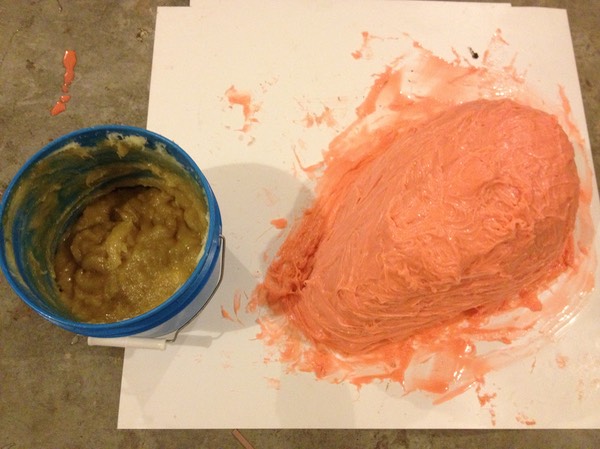
At this point I wanted to do a blank mask with no detailing to give me the flexibility of painting whatever details I wanted later. So, once again, I used Rebound 25 to make another mold, (this time applying 4 layers, and thickening the last two with THI-VEX), followed by PlastiPaste II (the yellow goo inside the bucket).
After demolding, I realized all too late that I made one fatal mistake: I used cheap primer, which even after 30 hours (some in direct sunlight, then under a fan in a warm garage) was not properly cured. As a result, Rebound 25 did not properly cure in places, leaving sticky spots all throughout the mold! Disaster!
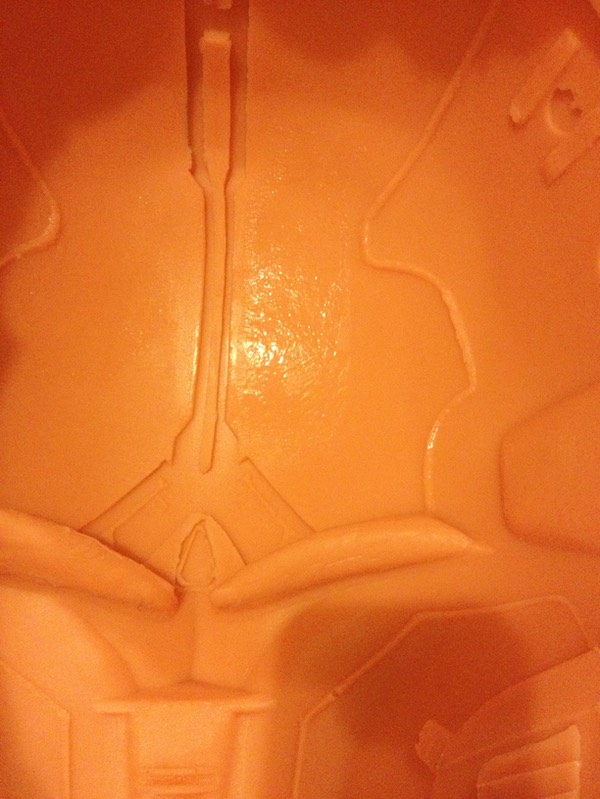
Here you can see some uncured silicone sticking to the master.
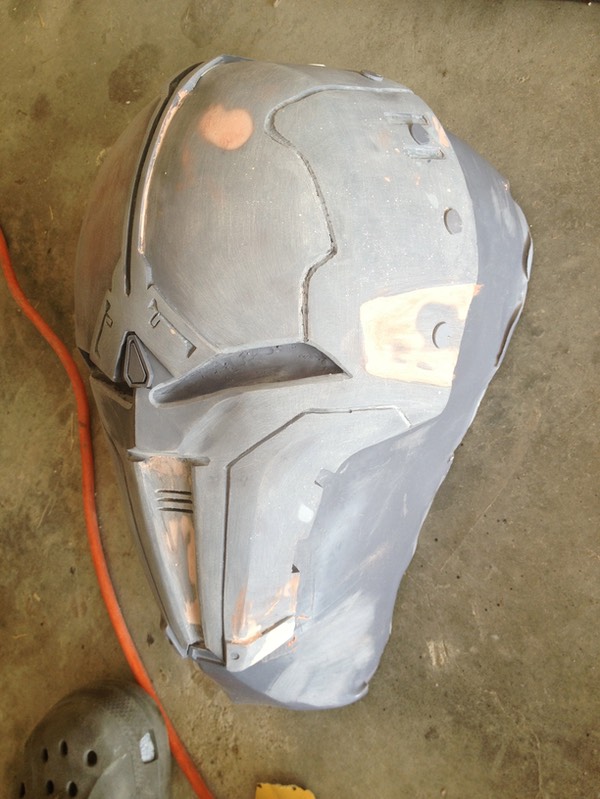
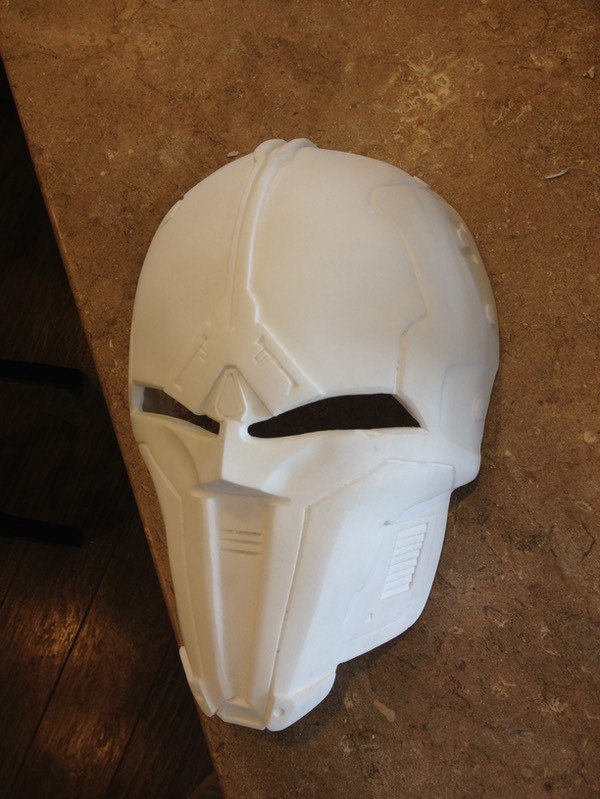
Anyway, not wanting to waste the entire mold (and money), I decided to do a pull again using tinted 65D resin, to see what would happen. I sprayed the inside of the mold with ease release... then sprayed it some more. The pull came out OK, though the sections that contacted the uncured silicone ended up looking pretty wrinkled. I sanded and sanded until i got the wrinkles out, though unfortunately it ended up altering the shape of the mask a bit. In the end though, it ended up looking pretty darn good considering the second silicone mold would also end up in the trash! I trimmed the mask, sanded it down some more, and ended up with this.
After I had this primed, I tried painting the detailing on by hand to see what would happen. Unfortunately, painting it on freehand proved to be a complete disappointment! Without the raised edges defining the paint boundaries, the detailing looked hideous. I did not even think to take any photos of this before using brake cleaner to blast the paint job right off.
I now saw that for this thing to look good, the detailing needed to be tackled separately, using the same method I used for my previous mask versions: vacuum forming a shell, followed by hours of agonizing drawing, measuring, and cutting plastic.
Now I came to another heart-breaking realization, that in order to use a vacuum formed shell over the mask, I would have to get rid of the middle ridge, and the buttons along the outer edge of the mask altogether. Considering what a pain it was to make that ridge and cut those buttons out of ABS, sanding each one to smooth perfection, it all had to be sanded off, and redone in the future.
So, I sanded it all smooth and primed the mask.
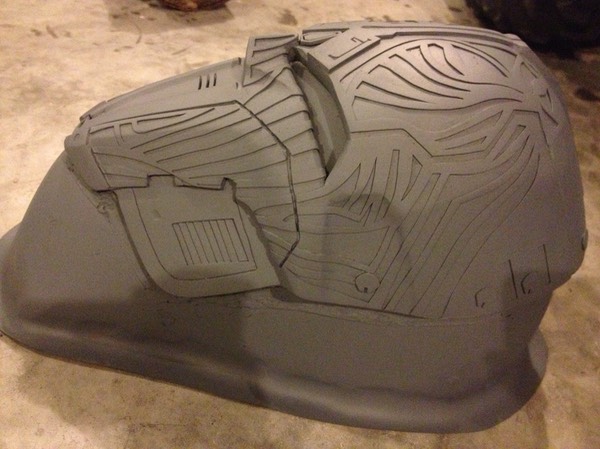
Now came another test. I did another pull using 65D, sanded down the ridge and buttons, and threw it on the vac table to do a pull using .04 gauge ABS sheet.
And it worked! Nothing was crushed, bent or warped by the pressure and heat from the vacuum former. Good to know that 65D can be used to make limited-use bucks for vacuum forming!
And the pull came out good enough for what I needed. (For more infomation on vacuum forming, check out my home-made vacuum former here).
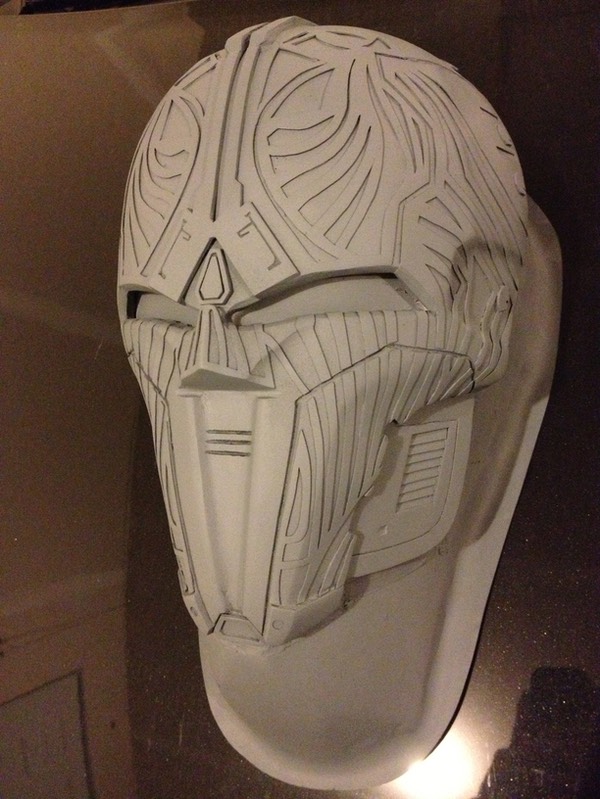
Next came the challenging part: drawing the symmetrical detailing onto the shell using a fine tip sharpie. After nearly three days of drawing, erasing with paint thinner, and drawing some more, I got the details down, and began the even more tedious process of cutting everything out.
I salvaged the diamond nose piece from the original mold and glued it between the eyes. I then began the process of smoothing out all joints (where the plastic was cut and joined to other pieces) with Bondo and superglue gel.
To tackle the middle ridge (again *sigh*), I drew one half of the design on a piece of paper, folded the paper in half, and cut out the shape with scissors. Once unfolded, viola! you have a complete middle ridge!
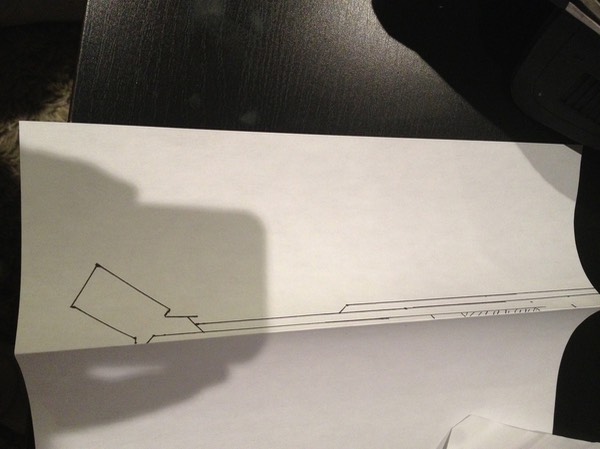
I glued this to a sheet of .08 ABS, traced the shape, and used a utility knife to cut it out. The squiggly details on the ridge were carefully carved with a utility knife as well.
I also cut the 10 buttons out of ABS again, sanded the edges, and superglued them to the mask.
The top of the middle ridge was then built up with Bondo, and after more Bondo smoothing, sanding, priming, Bondo, sanding, etc, the mold was finally done and ready for casting!
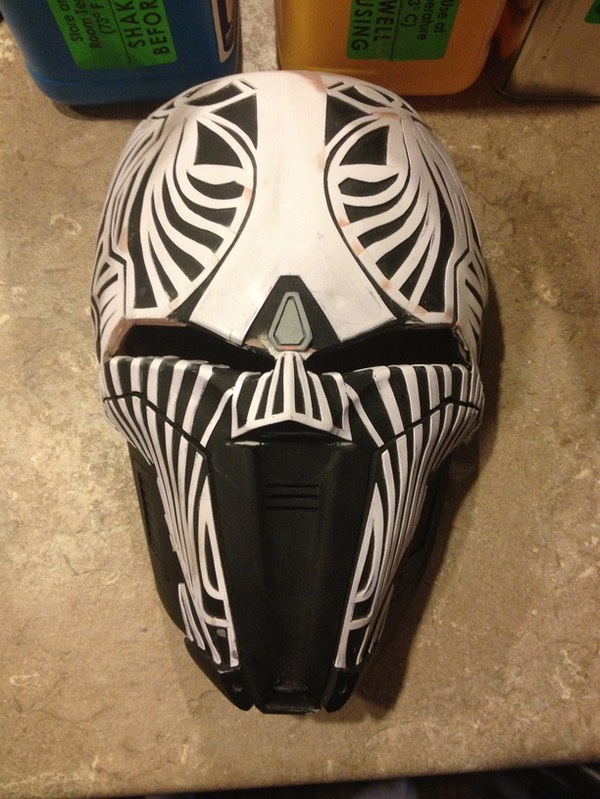
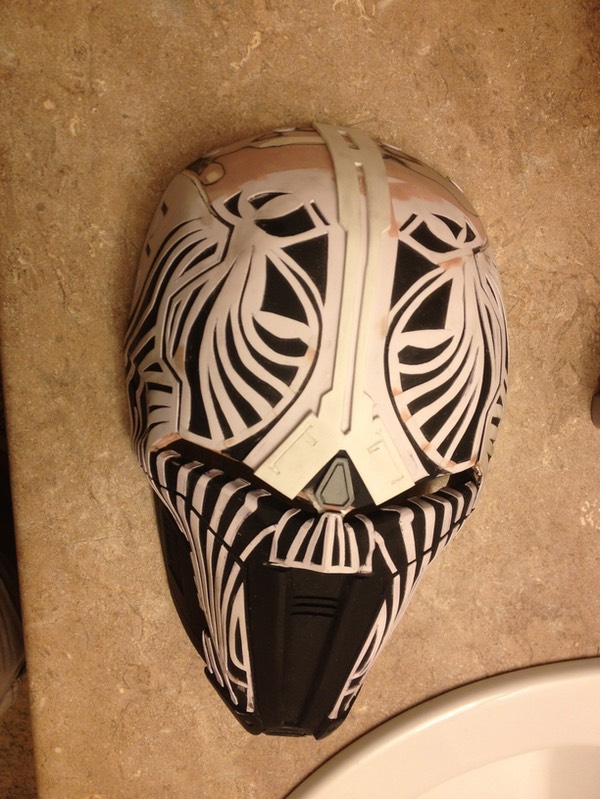
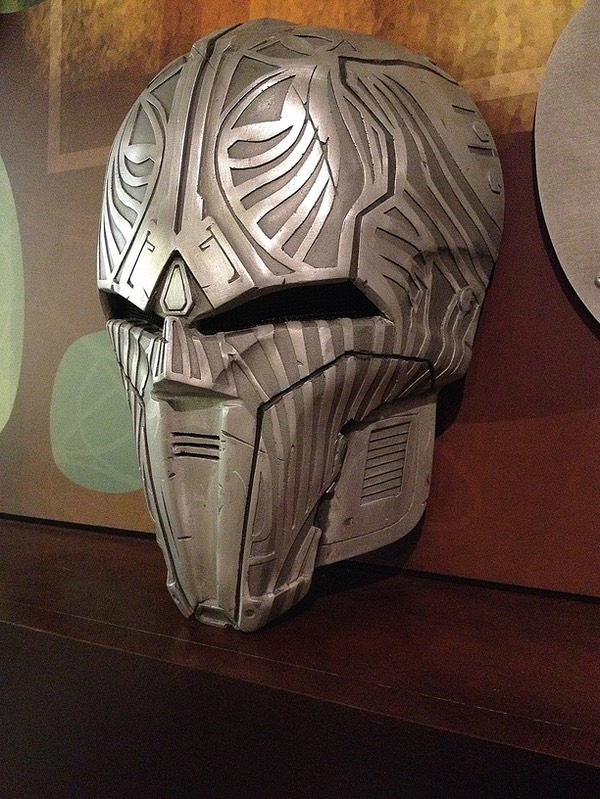
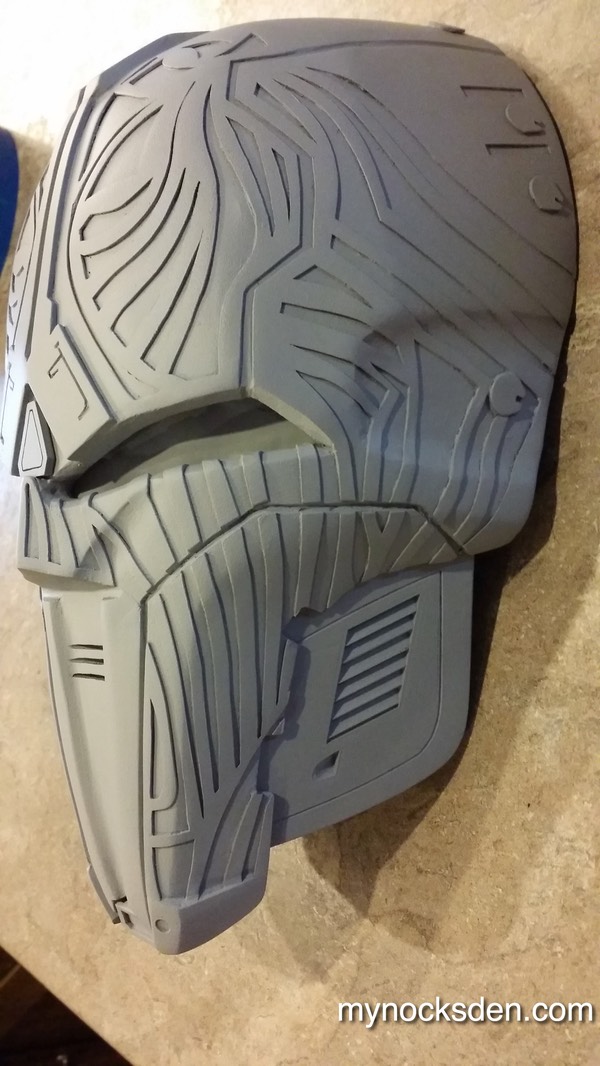
After applying the dark grey base coat (made by mixing Testors Flat Black with Testors Flat Steel), and doing the rest using methods discussed here, I glued in the blackout eye mesh (for which I use the same fabric used for push-mower catcher bags), which completed the mask!
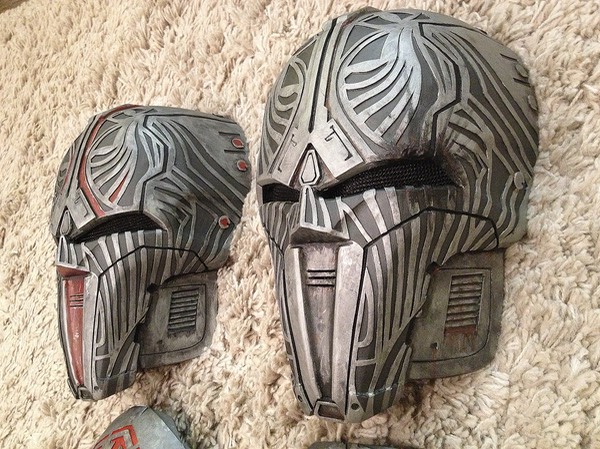
Since completing the first Sith Acolyte v4 mask, I've done a few others, experimenting with different colour schemes and finishing techniques. For example, the mask in the photo below is cold cast in aluminum (a process discussed in more detail here), whereas the masks in all other photos are painted.

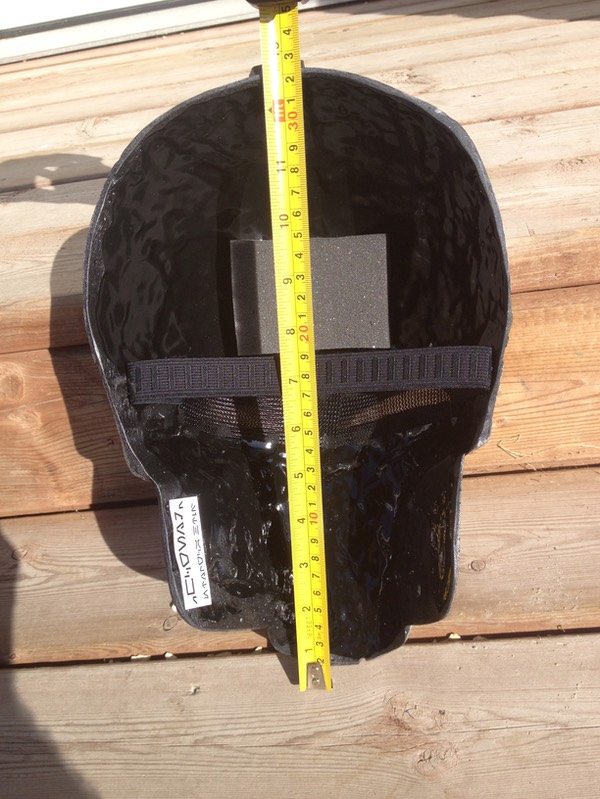
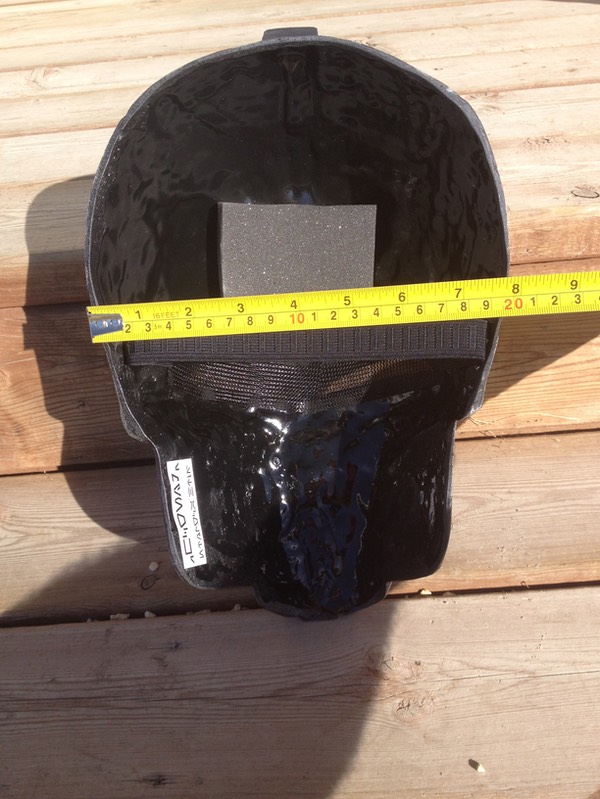
Here are some photos of the inside, showing the size, fit, and dimensions of the mask.

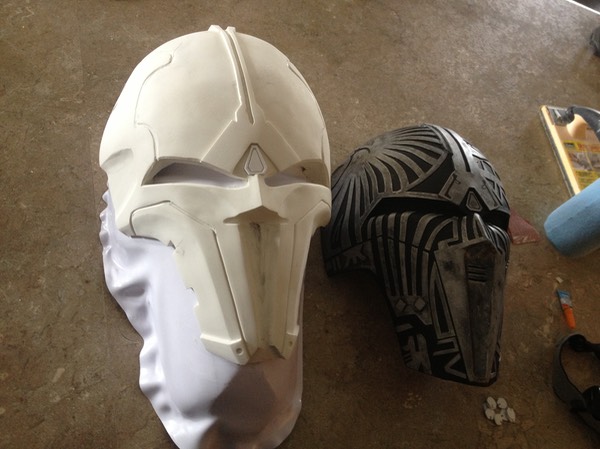
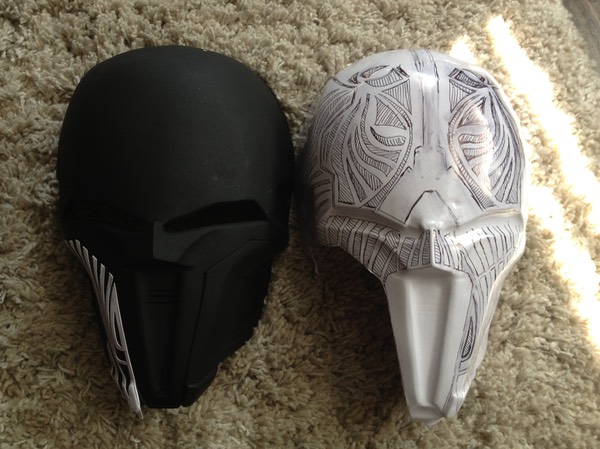
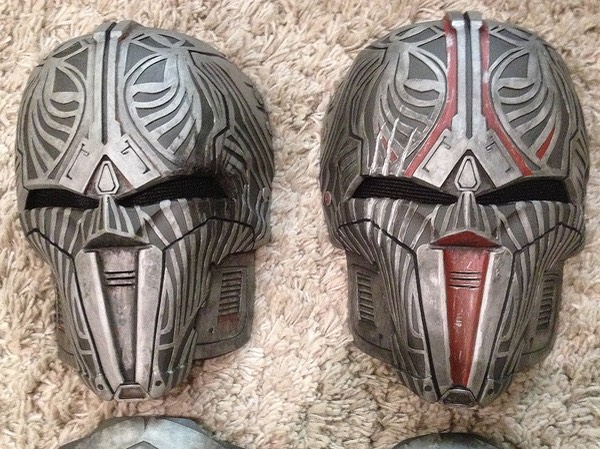
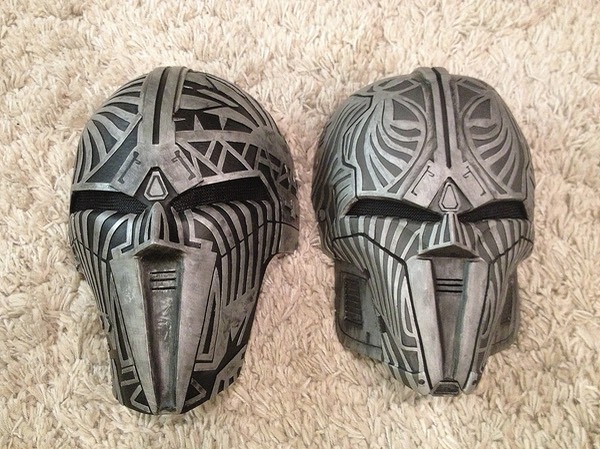
And lastly, a comparison shot showing V3 (left) and V4 (right)
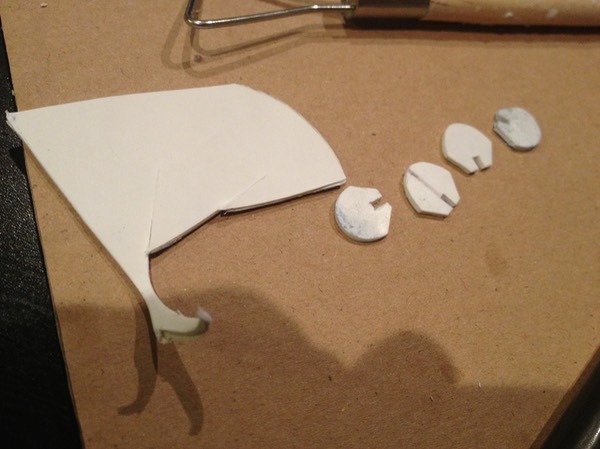
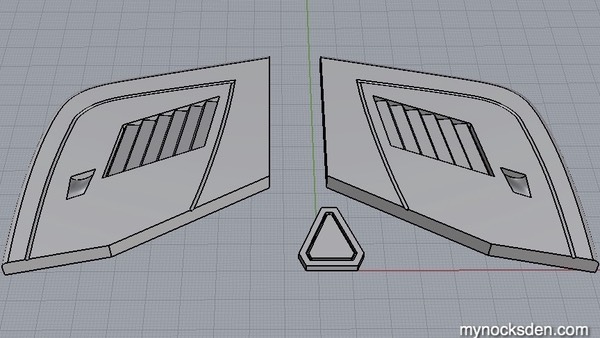
 A year after completing the project, I decided to revisit the original V4 master, and update some of the detailing using 3D printing. So I CAD modelled the cheeks and the center “diamond” as seen in the following photo, 3D printed them, and updated the master, which resulted in a cleaner V4.5 mask.
Afterwards, the mask was molded and cast using the same methods and techniques as before.
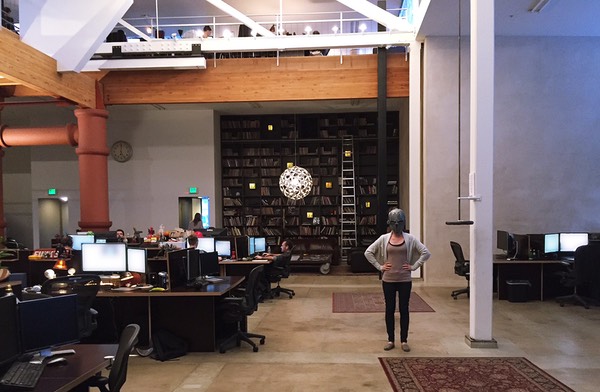
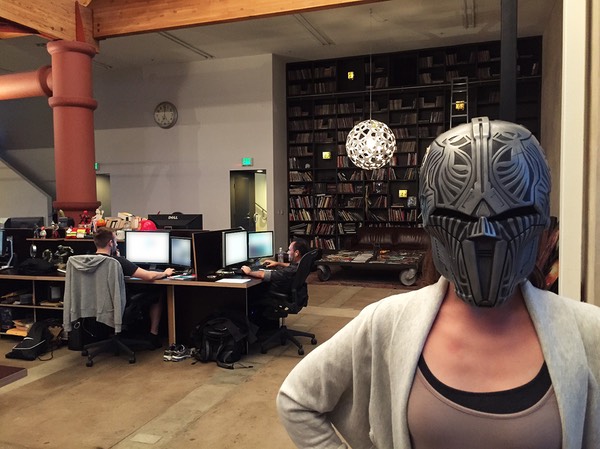
In the photos below, my V4.5 Sith Acolyte mask at Blur Studios, the birth place of the Sith Acolyte, where it will be put on display! How cool is that! (Photos courtesy of David Wilson, director of the SWTOR trailers at Blur).
Thanks for looking!
* * * * * * *