Version 1
For a reader’s digest version of the Helmet build, check out this 4 minute video. Otherwise, read on!
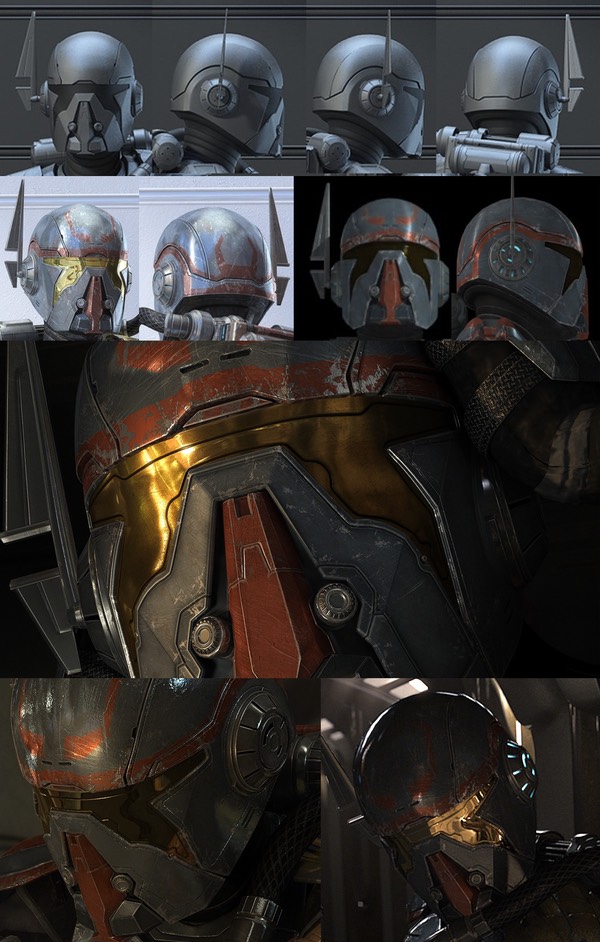
I began by gathering up some reference material...
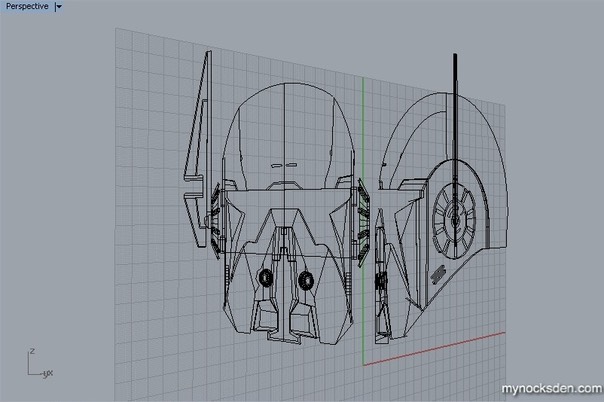
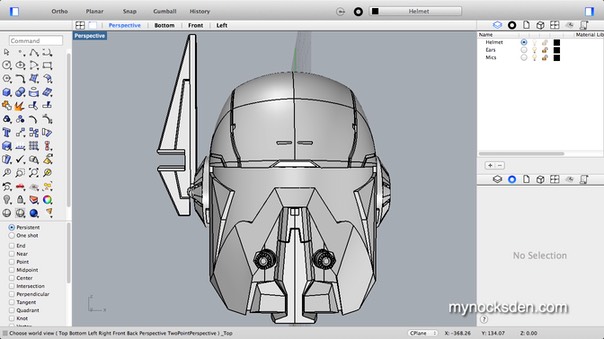
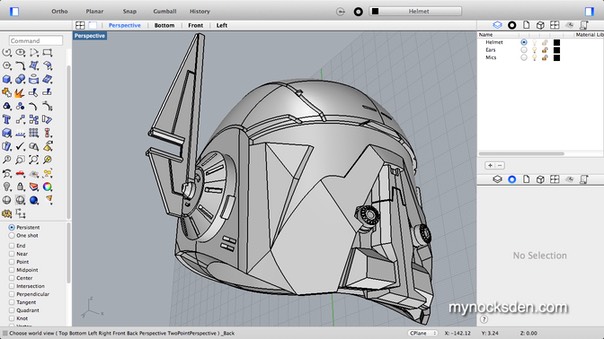
… and went to work on my CAD model.
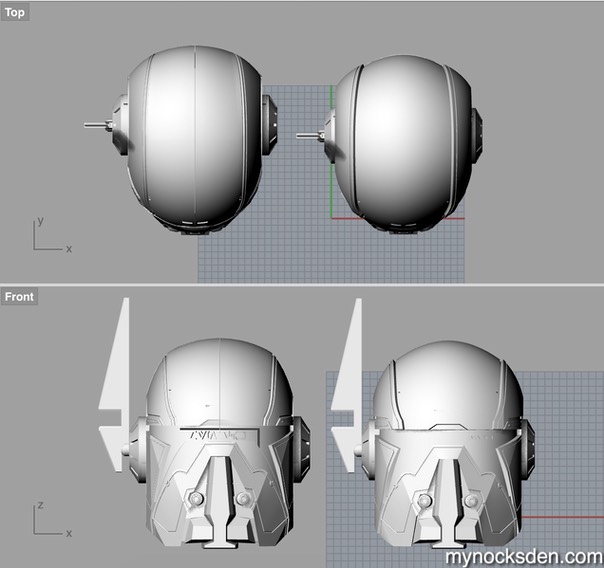
I began by importing two images into the CAD program (front and profile shots), and tracing an outline of the helmet as best I could.
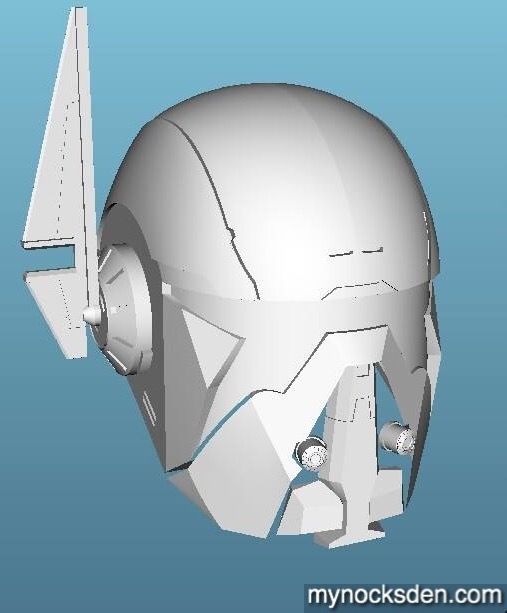
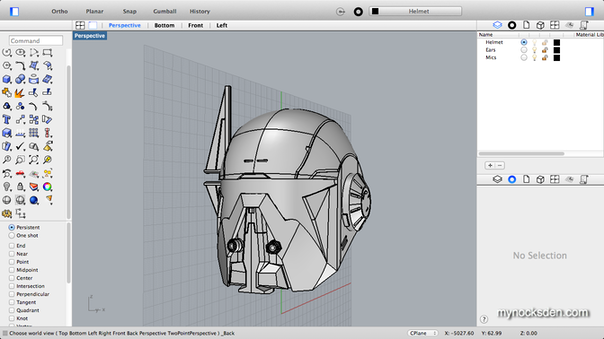
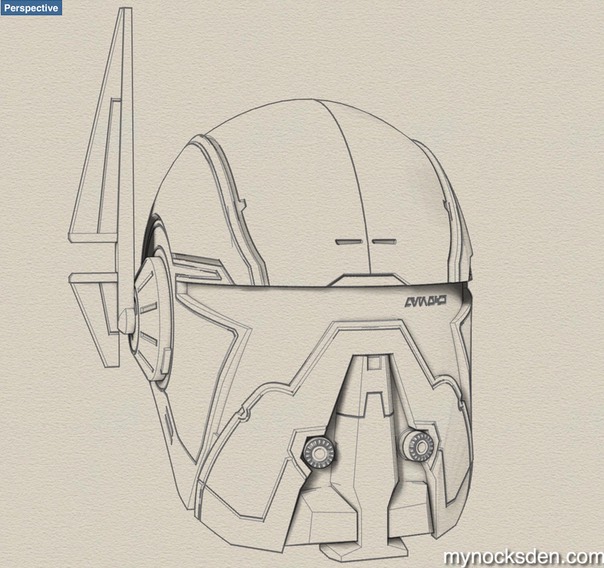
I then started pulling the curves out into 3D, and began the month-long process of building surfaces. After probably 50 hours of modelling (I am still fairly new at this, so the going is slow), I had a semblance of a helmet.
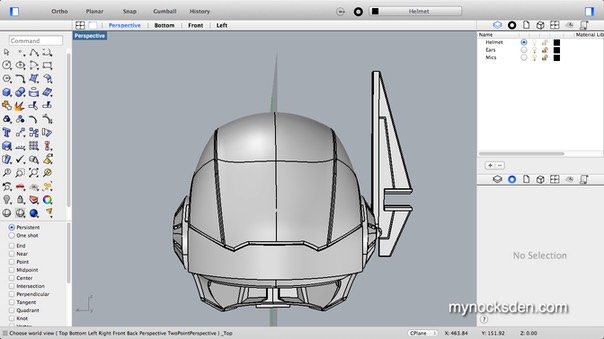
I made a ton of mistakes making the dome; I would model it, put the grooves in, then realize I messed something up, delete the dome, and repeat the process, which probably ate up a dozen hours. However, after a while, I realized that to model the helmet exactly as it appears in the trailer would result in a helmet that would be too big and too tall on a real human head, so I decided to scale the dome down just a bit.
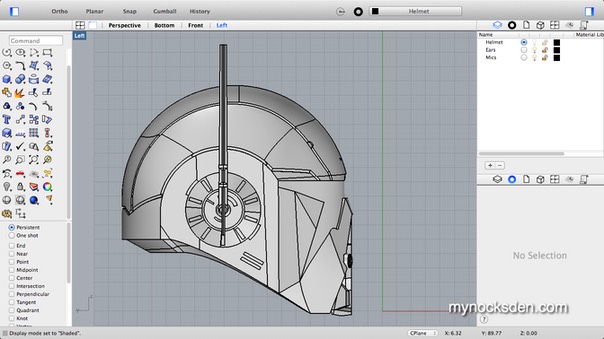
There are some subtle proportional differences between my model and that of Shae as seen in the reference material; and though some differences are undoubtedly due to the fact that I am not a professional 3D artist, and that I am merely eyeballing the helmet from 2D references, the slight proportional differences such as the height of the dome and the lack of taper at the base ARE indeed intentional, and here's why.
A lot of video game/movie CG armour looks great on screen, however in real life would either be impossible to fit onto a real, healthy human being (in the case of female character armour) or be too cumbersome to be practical (in the case of male character armour). If you look closely at Shae in the reference material for example, you will see that though she is armoured to the nines, she has none of the bulk that comes with armour plating, and retains all the sex appeal of an idealized female physique.
I am no professional artist, but to me it seems that armoured female characters are often modelled to fit into proportions of an idealized human body WITH armour on. In other words, if you were to take a silhouette of a heavily armoured female character and superimpose it with a silhouette of a naked woman of similar height and build, the two images would be the same size. So, if you were to strip Shae naked (down, boy!), she would either be, a) grotesquely thin with elongated neck, or; b) have a "normal" human body, but her armour would be paper thin.
So, getting back to my model: the trailer Vizla lid is rather tall, yet quite narrow from cheek to cheek, with a slight taper towards the base. If you were to try to draw a human head proportional to the rest of her body and superimpose it with her helmet, you would see that the helmet would need to be paper thin in order to have a skin tight fit; not to mention, the slight taper towards the bottom would actually cause her head to be locked in. Had I modelled the cranium to be as tall as it is in the reference material, the rest of the helmet would have to be scaled up in order to allow for a human head to fit inside. This would result in a comically oversized helmet, which would not do.
Alright, so now that we've got that out of the way, lets move on!
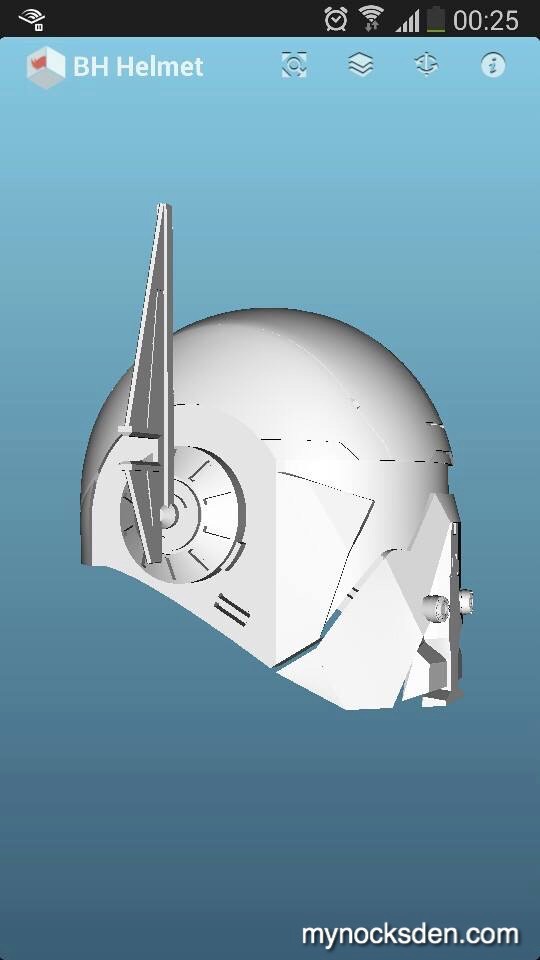
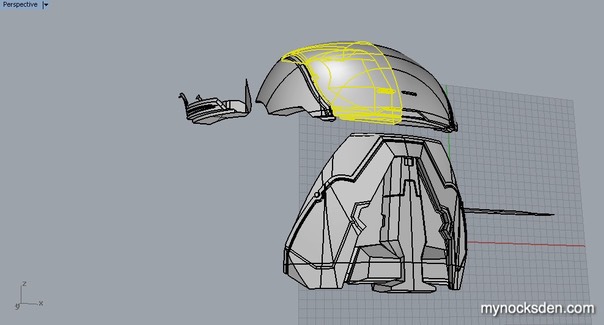
So, after being satisfied with the top, I moved along to the face and mouth areas; and after many more hours, I completed the helmet… or so I thought.
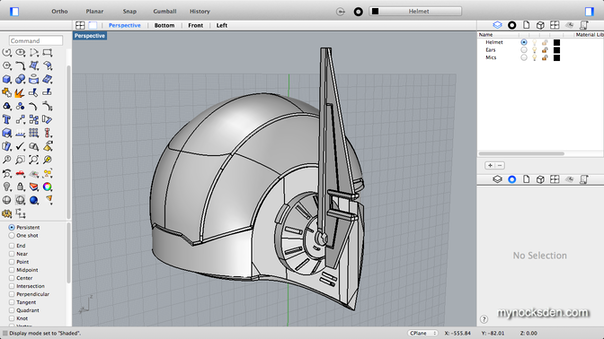
I reviewed the reference material again, and saw that though the main shape was good, I had left out some of the fine detail, like little seams and groves along the cheeks. So, I went back, and finished these up, which took many more hours.
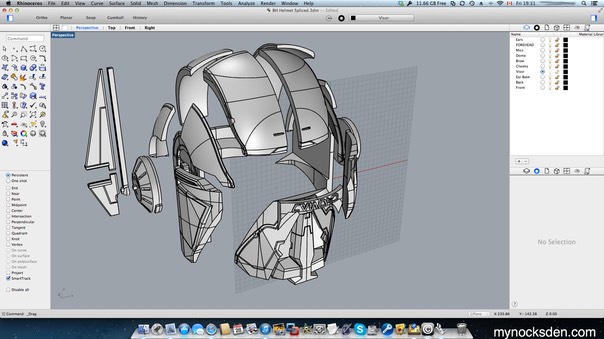
Once the additions were made, I sized the model to wearable dimensions and began cutting it into sections to be 3D printed. This was probably the most frustrating part of the whole build, as preparing the files for "rapid prototyping" requires the model mesh to be watertight. In other words, there can be no disjointed edges, holes, overlaps, or gaps in the model.
After about 10 hours of pure tedium, I had all model parts closed, and ready for 3D printing.
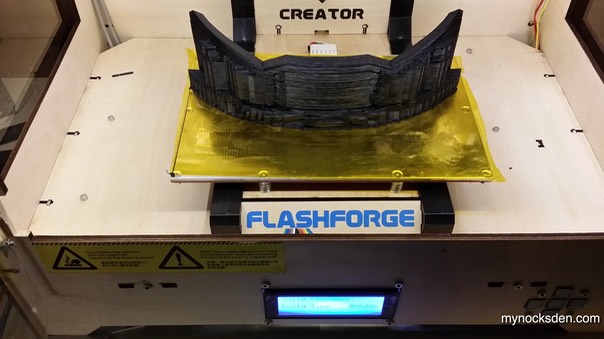
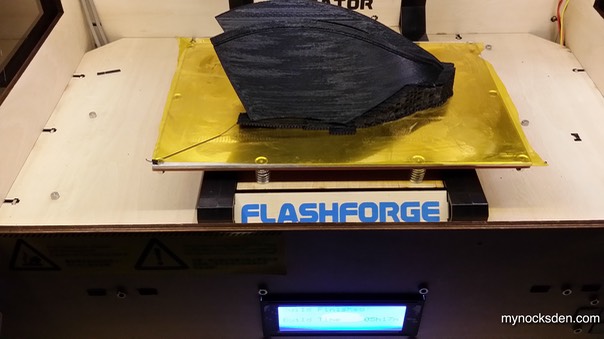
The next 60 hours proved to be a period of great anticipation and excitements that culminated in a giant flop of a FAIL when upon completing half of the print, I realized that I sized the helmet too wide! $#%$!!!!!!!
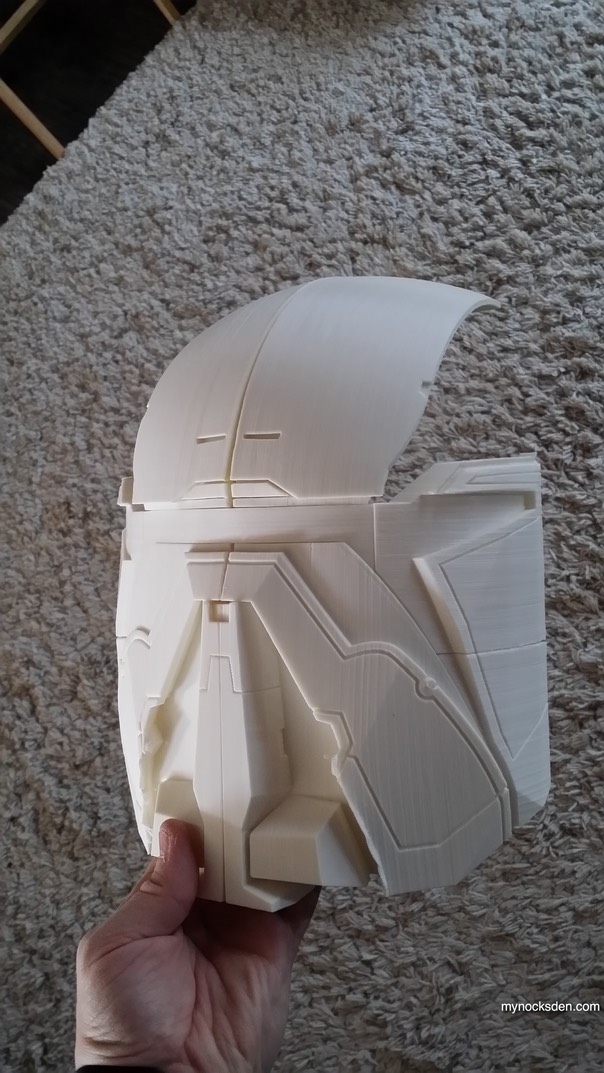
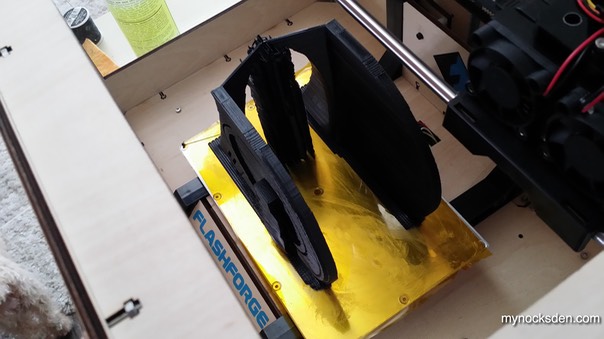
So, I went back, to the model, resized it all (compressed it from left to right), and began reprinting the pieces. (The ears and the antenna stalk would not need to be reprinted as they were not affected by the resizing).
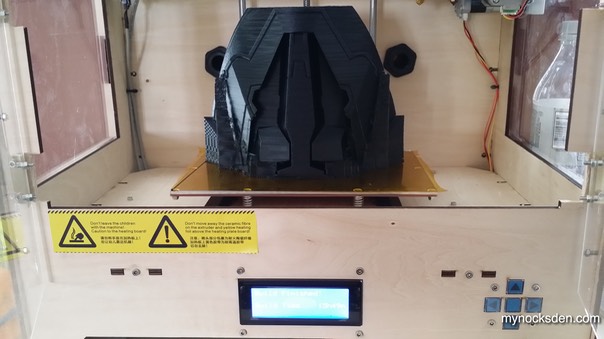
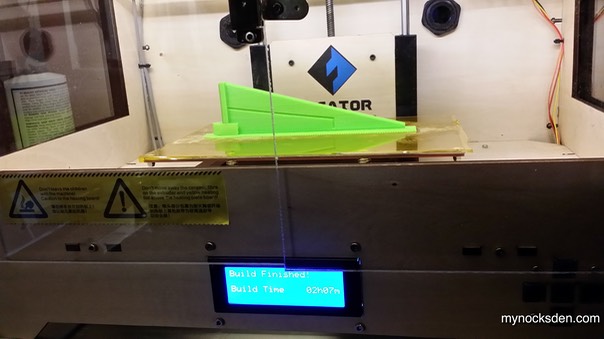
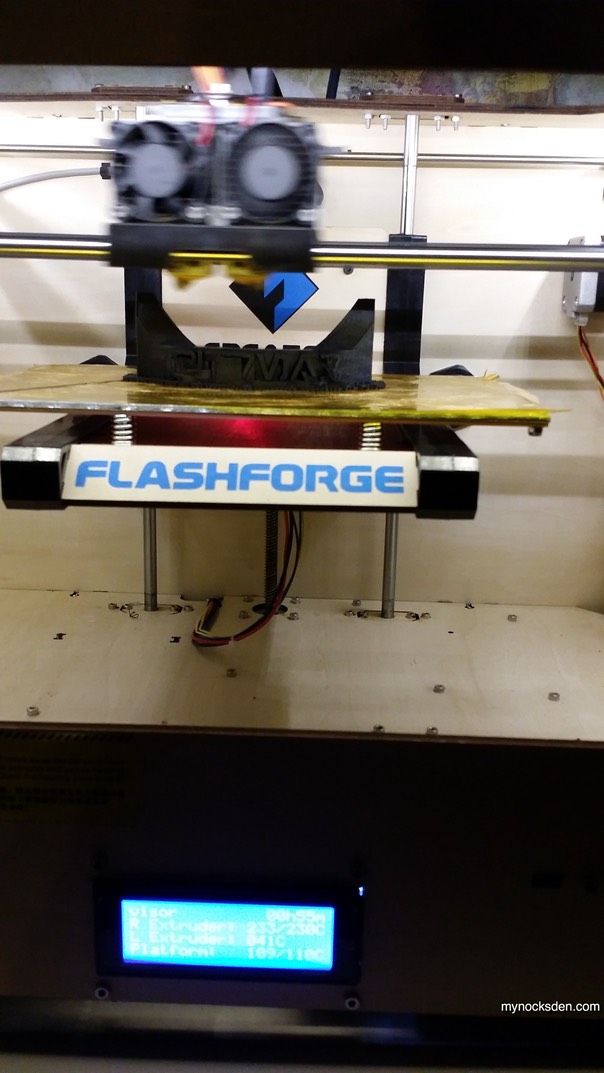
Print speed for all pieces: 40/70
Face print time: 15hrs 49min
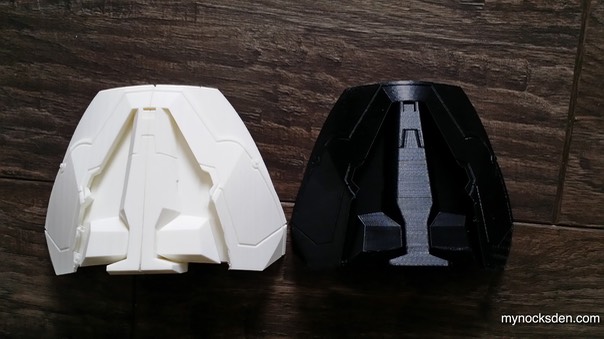
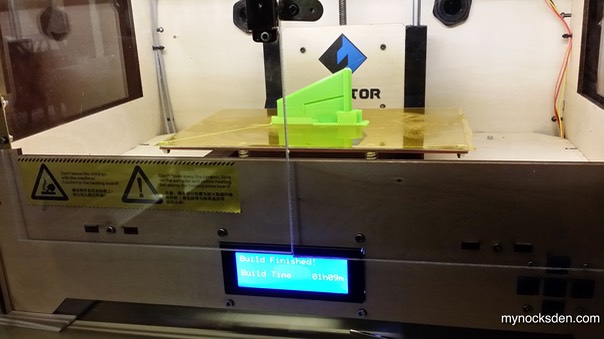
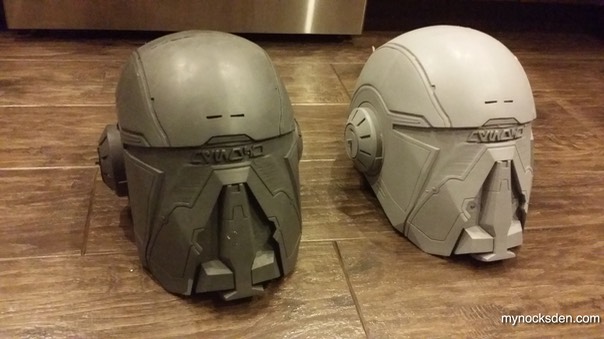
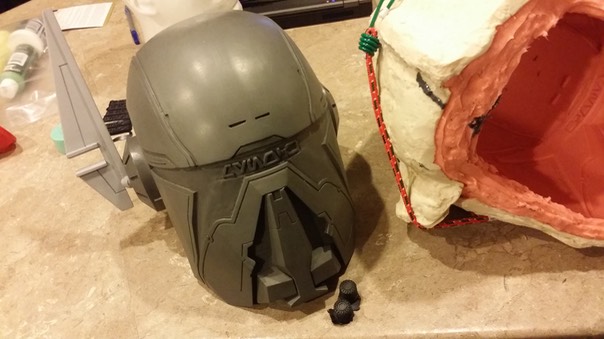
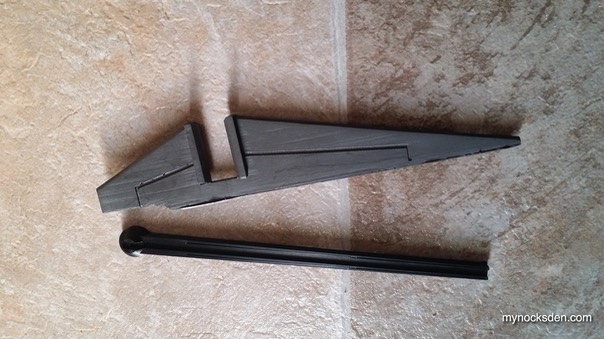
Here is a comparison shot between the wide initial face (white), and the new normal face (black).
Cheeks: 7 hrs 48 mins
Sides: 15 hrs 36 mins
Back: 7 hrs 38 mins
Ears (L + R): 8 hrs 36 mins
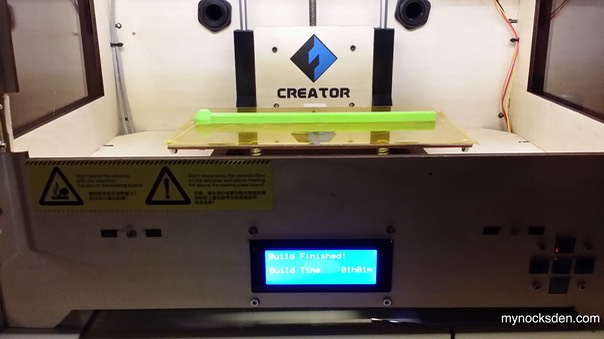
Stalk: 1 hr 1 min
Upper wing: 2 hrs 7 mins
Lower wing: 1 hr 9 mins
Mics: 29 mins
Temples front (L + R): 5 hrs 17 mins
Temples rear (L + R): 5 hrs 6 mins
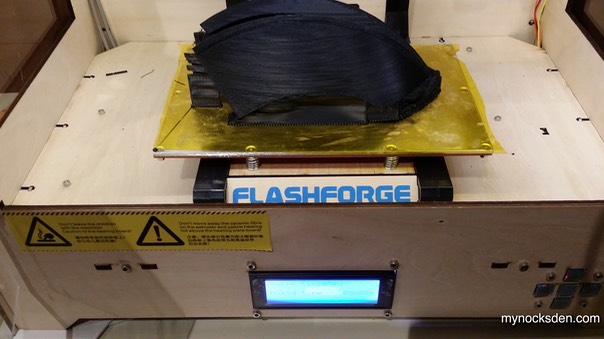
Front dome: 9 hrs 11 mins
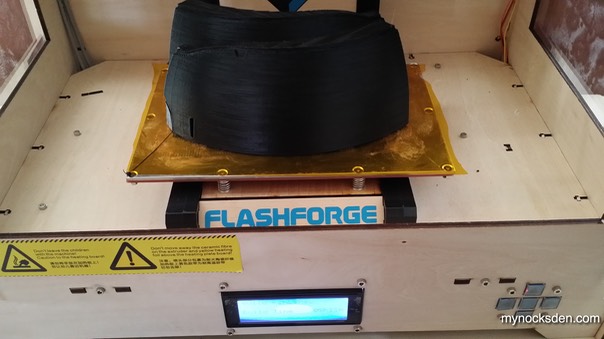
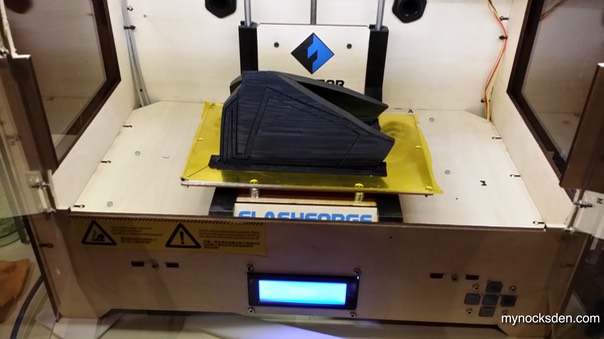
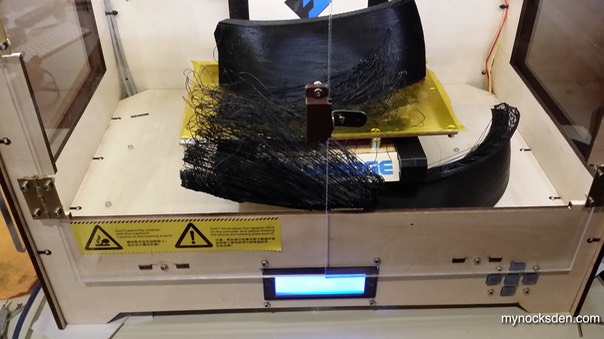
While printing the back dome halves raft-less overnight, one of the sides slid off the build plate and got caught underneath the build plate. This resulted in one of the two pieces getting ruined, and needing a re-print.
Rear dome (L + R): 6 hrs and 12 mins
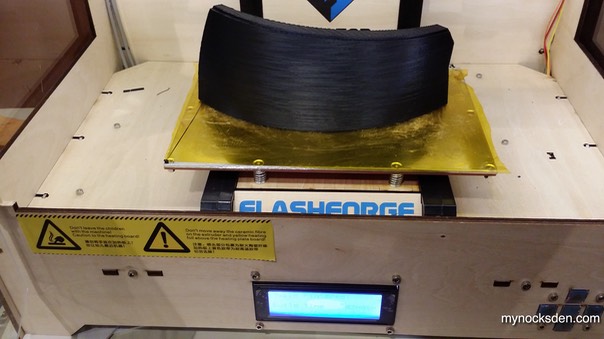
Visor: 55 mins
Grand total print time (not including the initial wide size and some minor trials and aborts), was just over 94 hours.
Once all the parts were printed and the rafts removed, I glued the pieces together using superglue. Note the large gaps between some of the joining pieces. This is due to warping that occurs along the edges when the plastic cools on the build plate. This can be minimized in a number of ways, but is for the most part unavoidable in 3D printing.
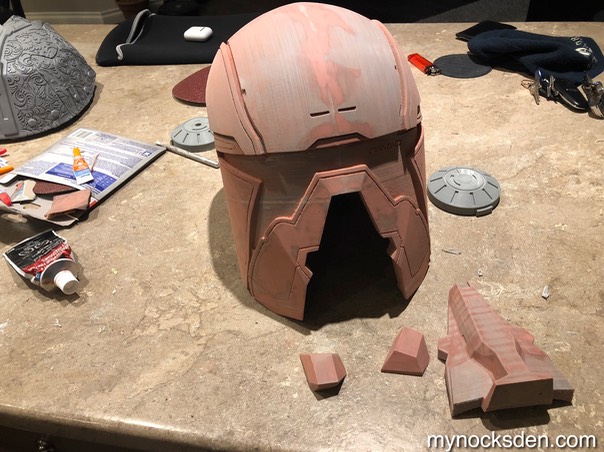
I then began to fill the gaps using Bondo.
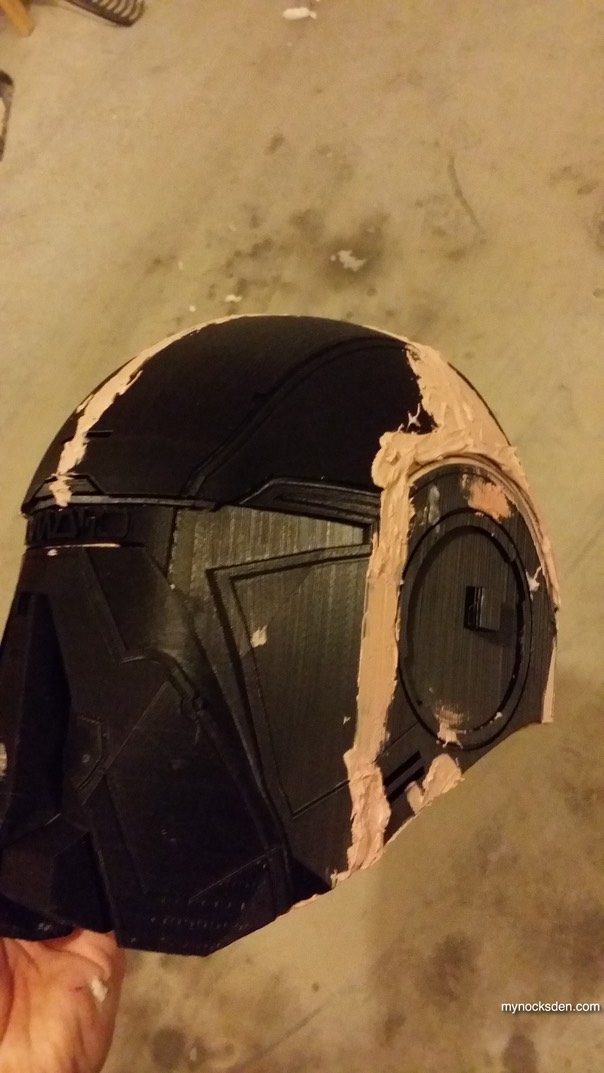
After sanding the Bondo down, I applied a coat of Bondo glazing putty and left it to dry for half an hour in front of a heater. (Normally, this putty takes several hours to dry depending on thickness, however curing is expedited significantly with the use of heat.)
Next I sanded the putty smooth, and applied more putty to fill in the trouble spots.
I repeated this process over the course of 3 days (tackling the ears and antenna stalk the same way), at the end of which I had a smooth helmet, ready for priming!
Using automotive primer, I coated the helmet, allowed it to dry, and filled in any remaining trouble spots with Bondo glazing putty. I then sanded these sections down some more, re-primed, used more putty, more sanding, more priming, etc, until the helmet master was finished and ready for molding.
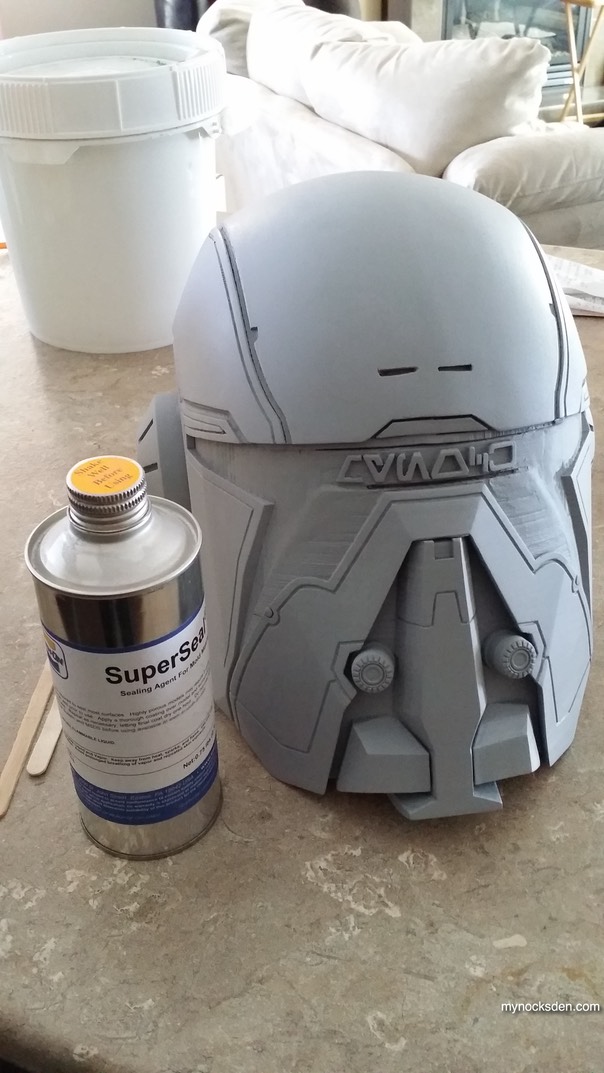
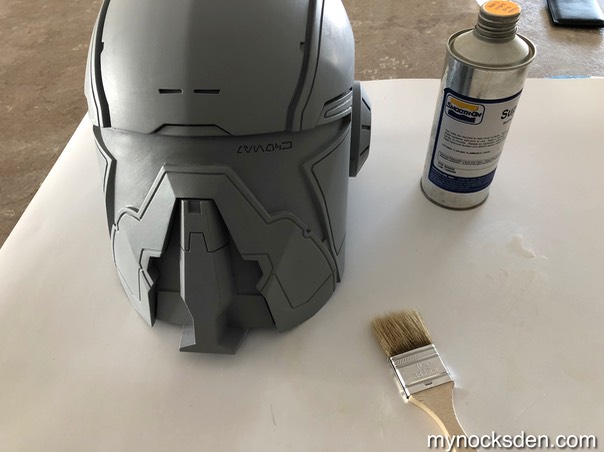
Next, I applied Smooth-On's Super Seal to the helmet with a brush, and allowed this to dry for several hours. The sealer would help fill in any small scratches and pores that may have been overlooked.
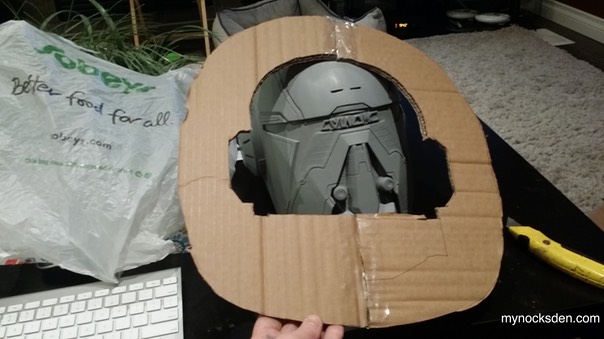
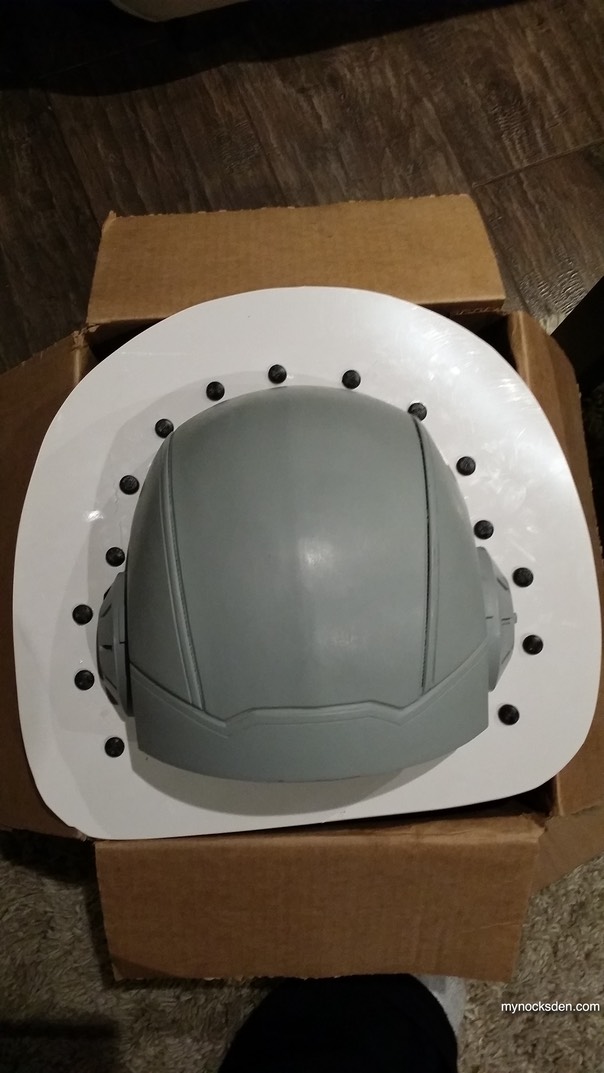
I knew I would be molding the helmet in two halves, so I needed to tackle the separator wall, which I have never (properly) done for a helmet before. I consulted a wonderful little tutorial by EVO3 on clonetroopers.net and began by carving out the general shape of the helmet from a piece of cardboard. This is a bit of a pain, but with some patience and a sharp utility knife can be done. Once I did one half, I simply traced it onto another piece of cardboard to get the mirror image, cut this out, and joined the two halves using clear tape.
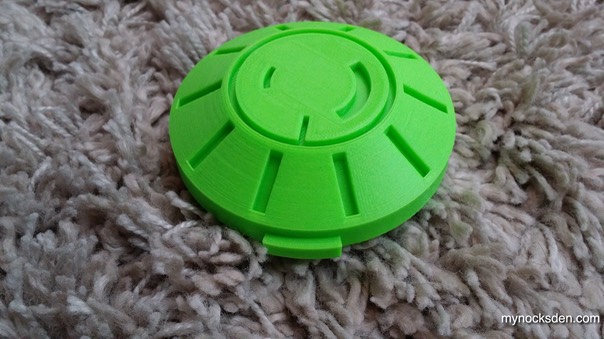
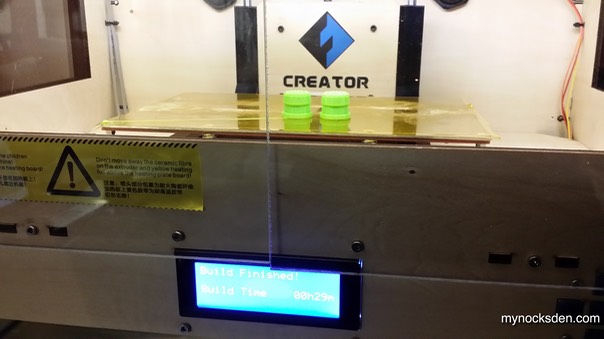
I then traced this onto a sheet of .08 gauge ABS plastic, which would be my smooth separator wall. As per recommendation from my friend and fellow prop-maker Charles over at ruthlessfx.com, instead of using marbles, round-top hex nuts, etc, I quickly CAD modelled and 3D printed some flat bottom-round top cylinders to glue to the separator wall to act as registration keys for the silicone mold.
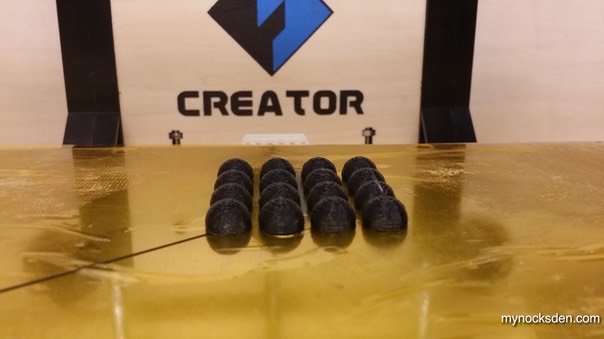
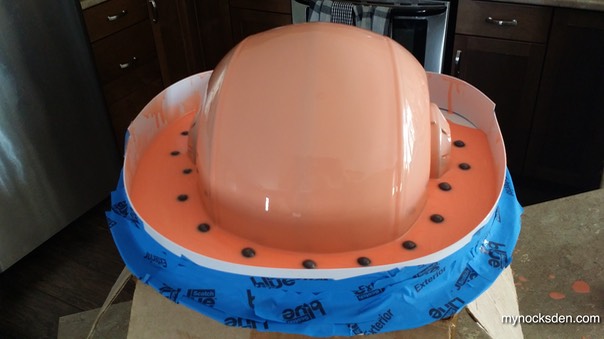
Using a thin strip of ABS plastic and some blue painter's tape, I made a little wall to keep the silicone from spilling out and over the separator wall.
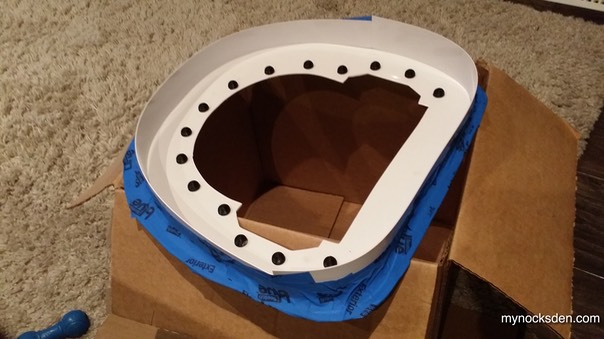
I fit the helmet through the plastic separator, and used some plasticine to fill in the gaps between the helmet and the wall.
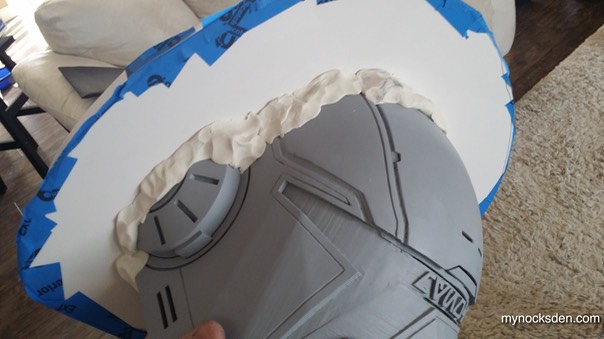
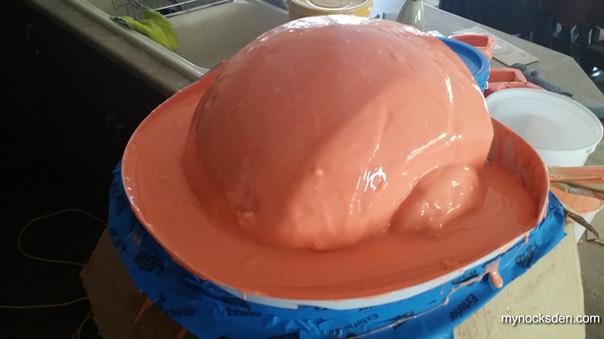
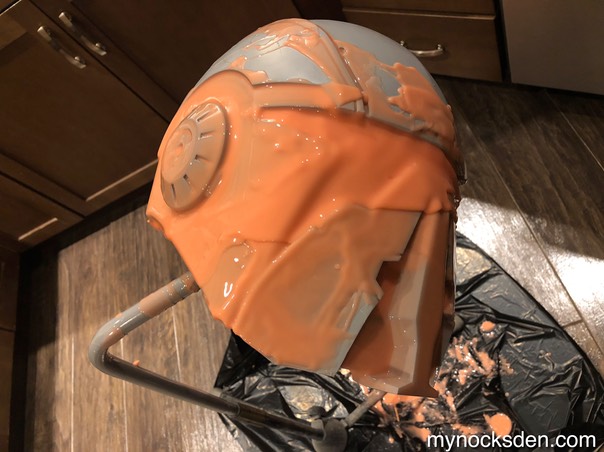
I sprayed the whole thing with Mann Ease Release 200 releasing agent, mixed up some Rebound 25 (process and product discussed in more detail here), and applied the first coat of the silicone.
I waited about 2 hours for this to become tacky, and applied another coat, this time with a few drops of Thi-Vex thickener to make the silicone less runny. After another two hours, I applied the third coat, once again thickened with only a few drops of Thi-Vex.
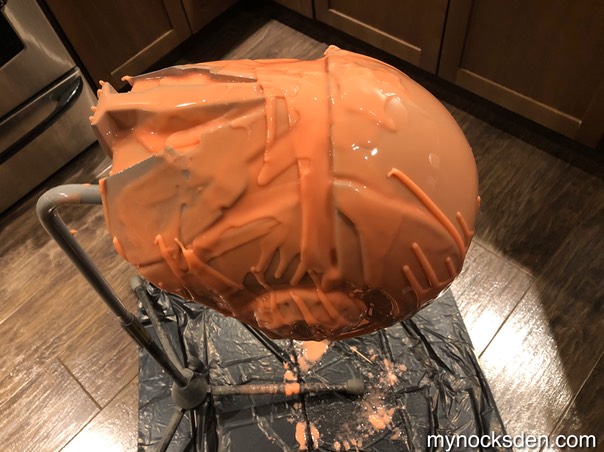
I did two more coats after this, using more thi-vex to thicken the silicone to the viscosity of paste, which I smoothed out using a stir stick.
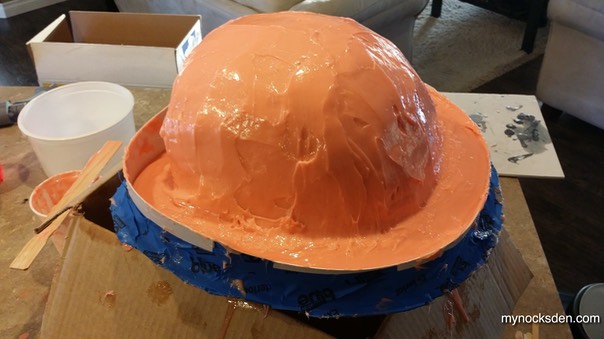
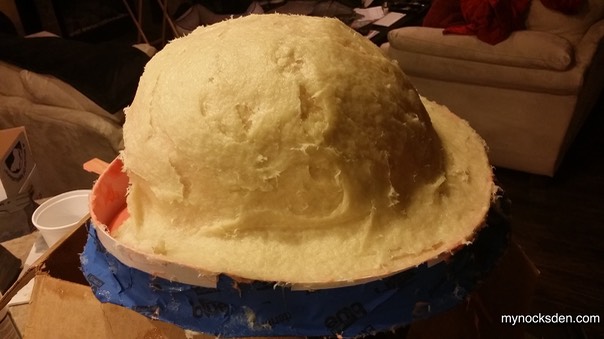
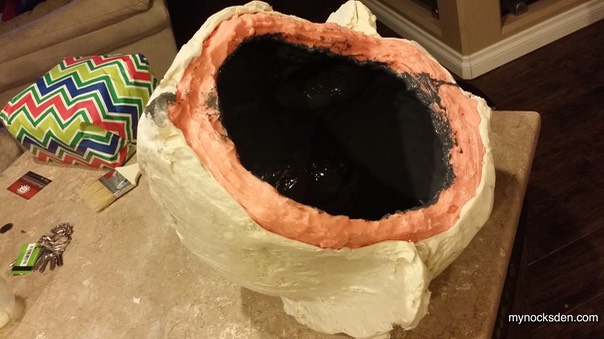
After the silicone cured, I sprayed the top with mold release, mixed up some Plasti-Paste 1, and applied it over the silicone to create a mother mold (which would hold the silicone in place during casting).
Once this cured, I flipped the mold over, removed the separator wall, and trimmed off any silicone along the edge of contact with the helmet to ensure as clean a seam as possible.
Using duct tape, I created a wall around the silicone to contain the new pour, and sprayed the helmet and exposed silicone with mold release. This is a very important step, as you must ensure that the second half of the silicone does not fuse with the first!
Repeating the steps above, I used more Rebound 25 and Plasti-Paste 1 to create the rubber and mother molds respectively.
Once everything cured (overnight), I needed a mechanism by which the two halves would join together. I have used rubber bands, elastic cords and clamps before, however, due to the size, shape and weight of the mold, I needed something more secure. According to my research, bolts are most commonly used for such molds; so, that's the option I went with.
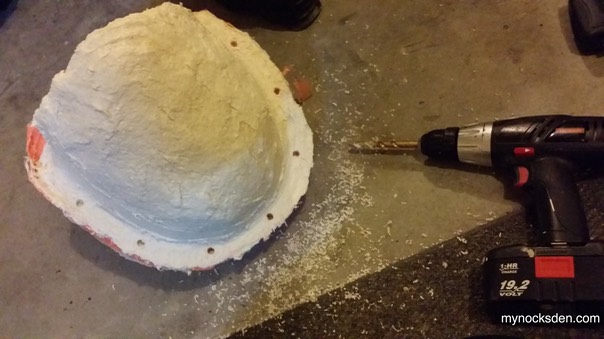
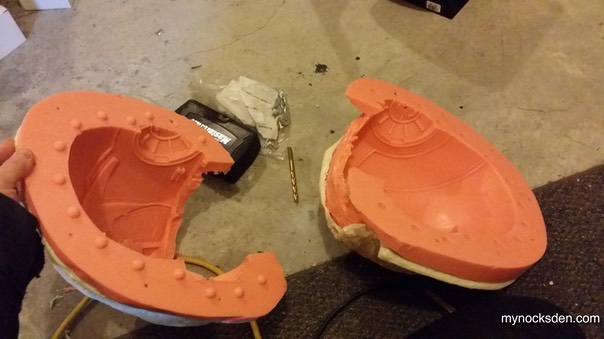
I drilled 8 holes into the outer shell to the point that the drill bit just touched the underlying silicone.
Next, I took a spare 6mm airsoft AEG inner barrel I had lying around, and sharpened it with a grinding rotary tool attachment.
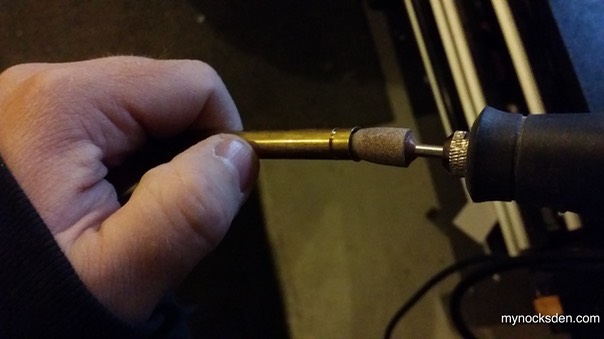
I inserted this into each hole I drilled in the previous step, and "punched" round holes through both halves of rubber until the barrel touched the Plasti-Paste shell on the other side. Now that the silicone was punched out, I was able to use a drill and make holes in the other half of the mother mold shell.
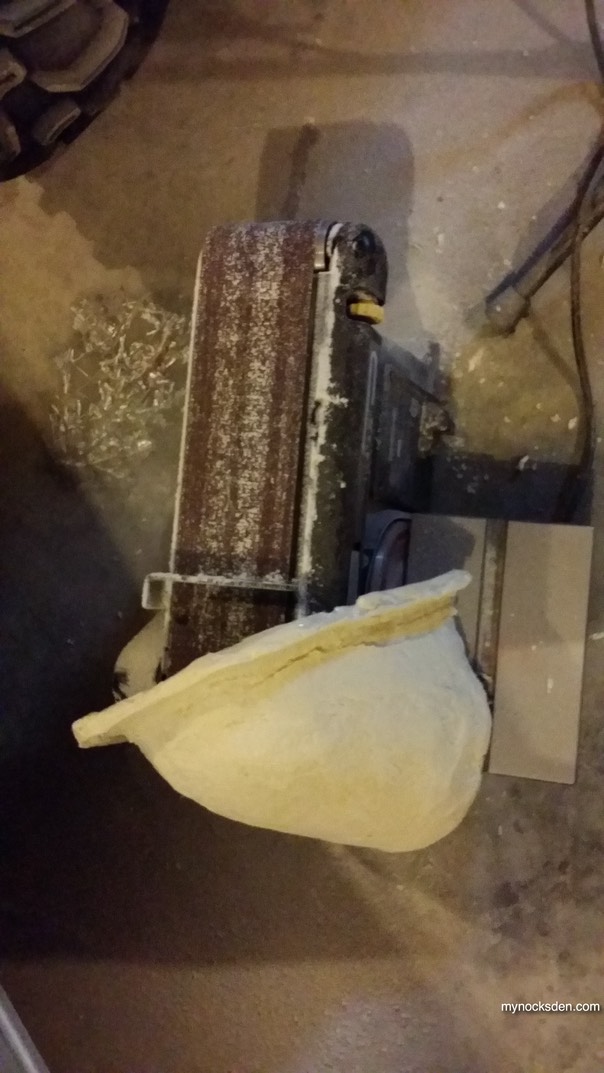
Cured Plasti-Paste can be quite uncomfortable to handle to do its sharp edges, so I used my belt sander to smooth out the outsides of both support shells. (It's important to not alter the support shell on the inside, as this needs to line up with the contours of the silicone underneath; otherwise, the silicone can shift, which will ultimately result in cast warping).
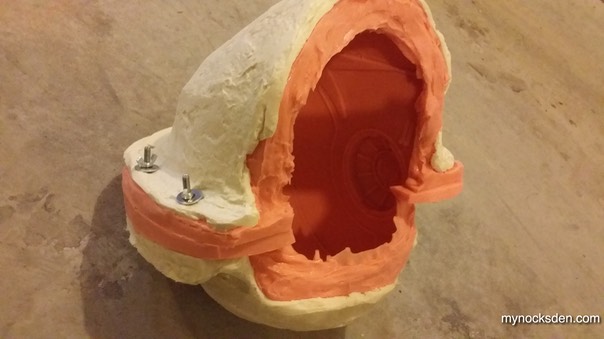
Using some long bolts, washers (to distribute the pressure more evenly along the surface of the support shell), and wing nuts, I joined the two halves together and got ready to make my very first cast of the Shae Vizla helmet!
Using aluminum powder and Smooth-On's ONYX fast resin, I cold cast the outer layer of the helmet, and used Smooth Cast 300 pigmented grey with So-Strong black tint to slush cast subsequent layers.
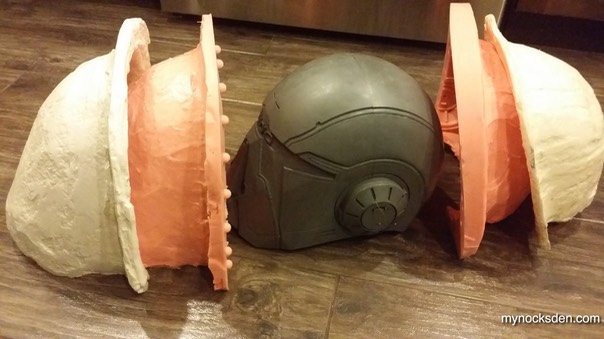
And, behold! The master on the right, and the clone on the left! The casting came out quite nice, though it could have been nicer.
As soon as the casting came out of the mold, I realized I made a mistake in halving the silicone mold from left to right.
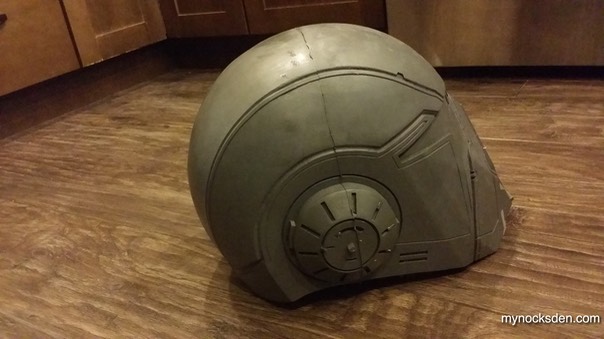
The seam runs through both ears, which makes it more difficult to clean up, especially if the mold halves are not perfectly aligned (which they weren't for this cast).
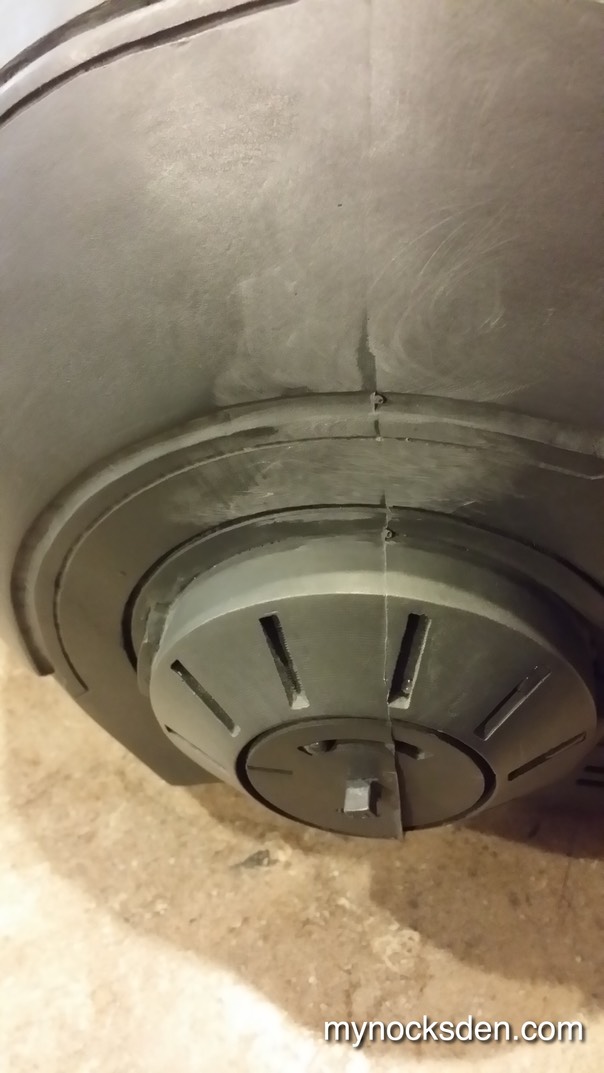
What I should have done is halve the helmet along the middle from front to back, which would cause the seam to pass through the least amount of detailing, and mostly along flat surfaces. That, or make a one piece mold. Also, the ears have some deep cuts in them, which were not captured 100% by the brush-on silicone. Due to the angle the ears were at during application, some air got trapped inside, which resulted in loss of depth and sharpness in these cuts. Had I split the helmet front to back, the ears would have been facing up, which would have allowed trapped air to rise to the surface and escape. Once again, obvious errors revealed in retrospect.
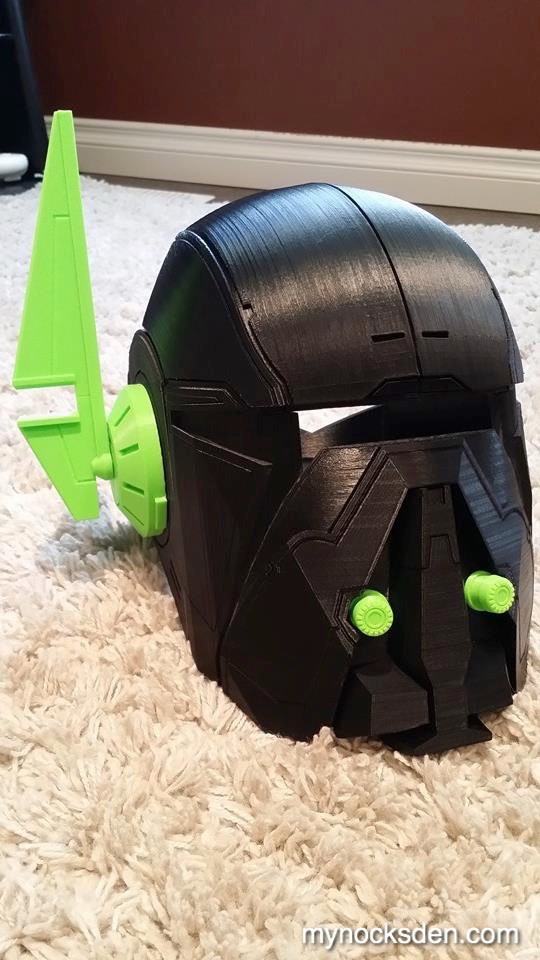
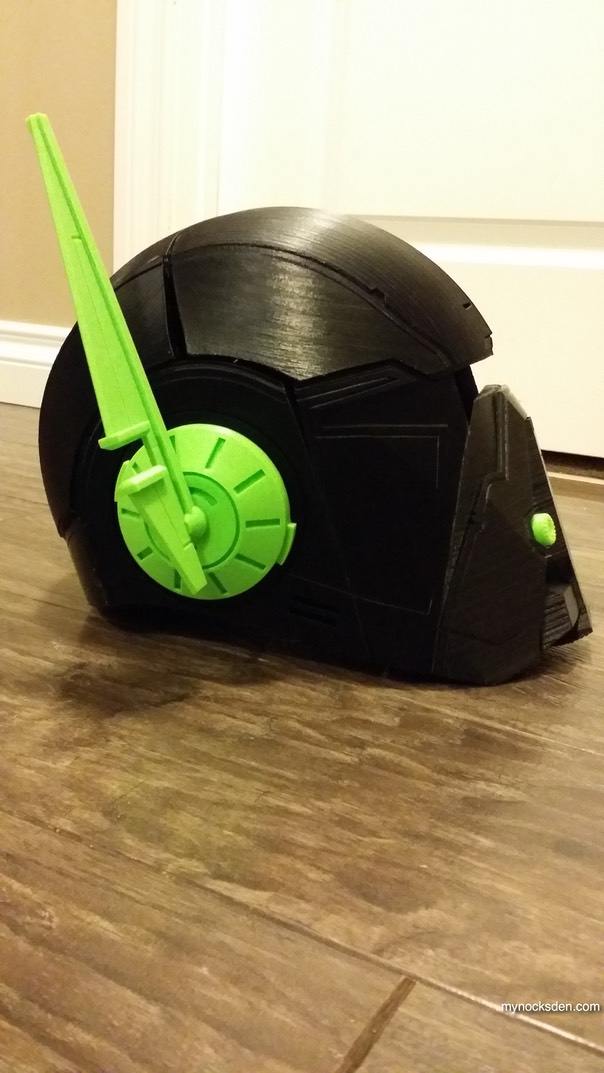
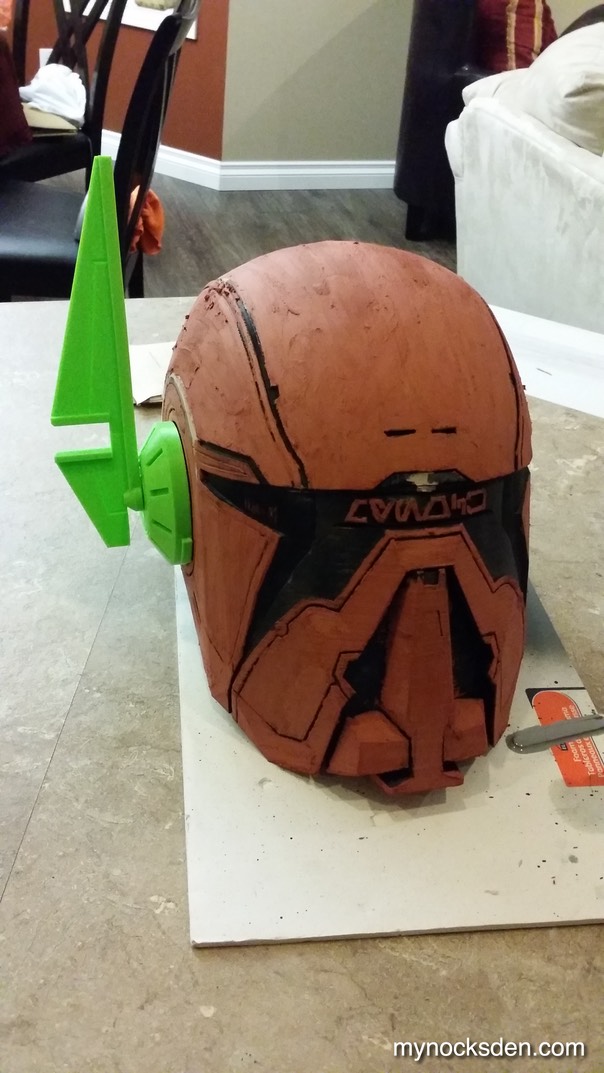
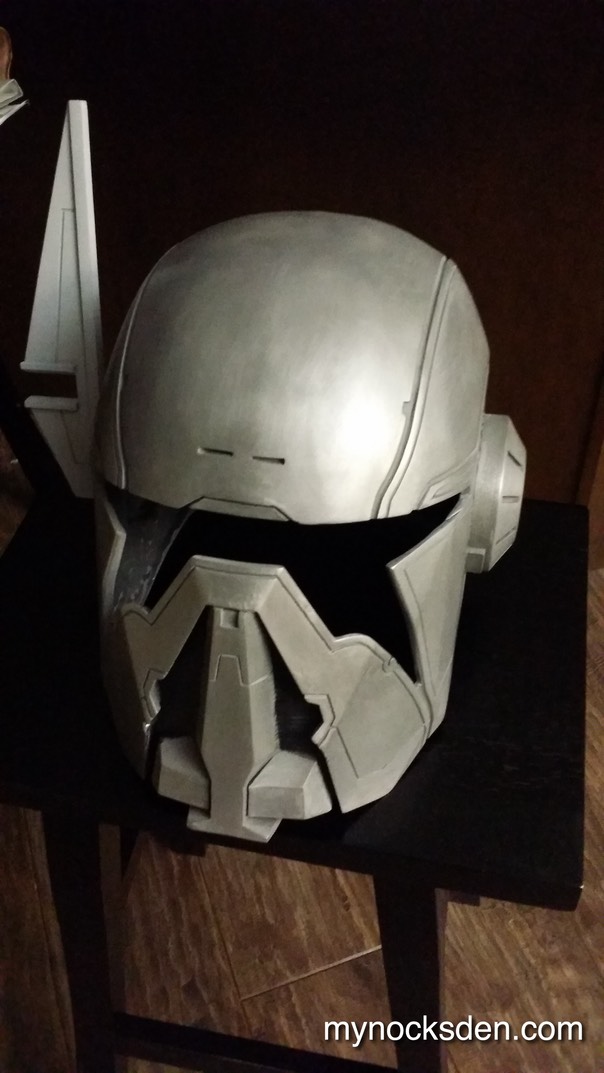
As I was quite anxious to see what the final helmet would look like, I roughly trimmed out the visor, the flashing on the bottom, quickly buffed the helmet with steel wool, and threw in a roughly cut green face shield (same as what I use for my Revan masks). I still have to make the rubber molds for the antenna and the mics, so I used the original masters to take these next few shots.
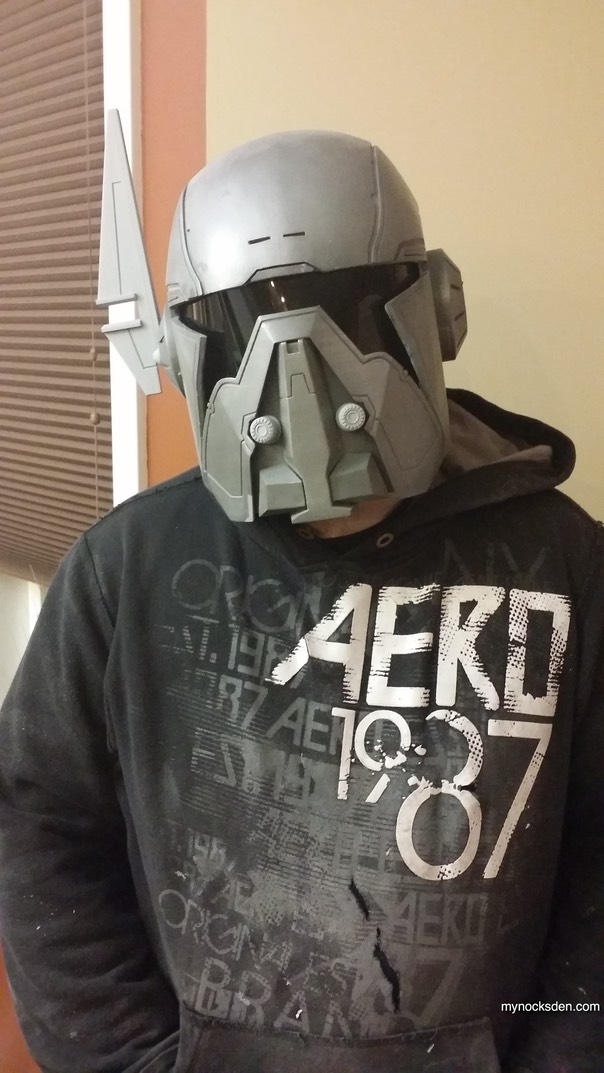
Aside from the holes in my trusty old Aero hoodie (which I wear when working on props as a matter of ritual now), the overall look of the rough rendition of the helmet bespeaks the potential for awesomeness when all is said and done!
After living with the mold for a bit, I realized that I was never going to be happy with the left to right seam. So, crying slightly inside, I set out to redo the silicone mold, this time making it into a one part, seamless mold.
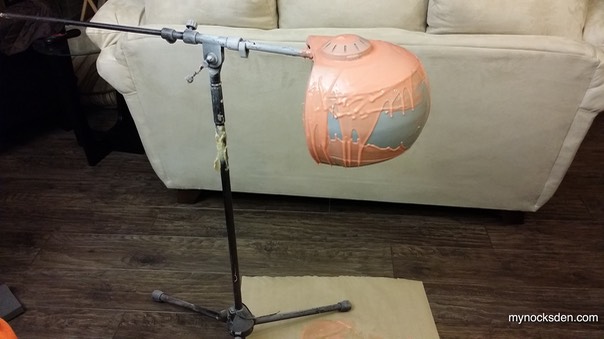
I went back to the master helmet, and did some more touchup work using Bondo glazing putty. Priming this, and then sealing it with Super Seal, I put the helmet onto a styrofoam mannequin head, and skewered this onto a microphone stand. I rotated the helmet so that the ear faced up, and applied the first silicone layer. Having the ears facing up would allow for the silicone to penetrate to the bottom of the cuts, eliminating any air bubbles. Once this side cured, I rotated the stand, and did the same thing to the other ear.
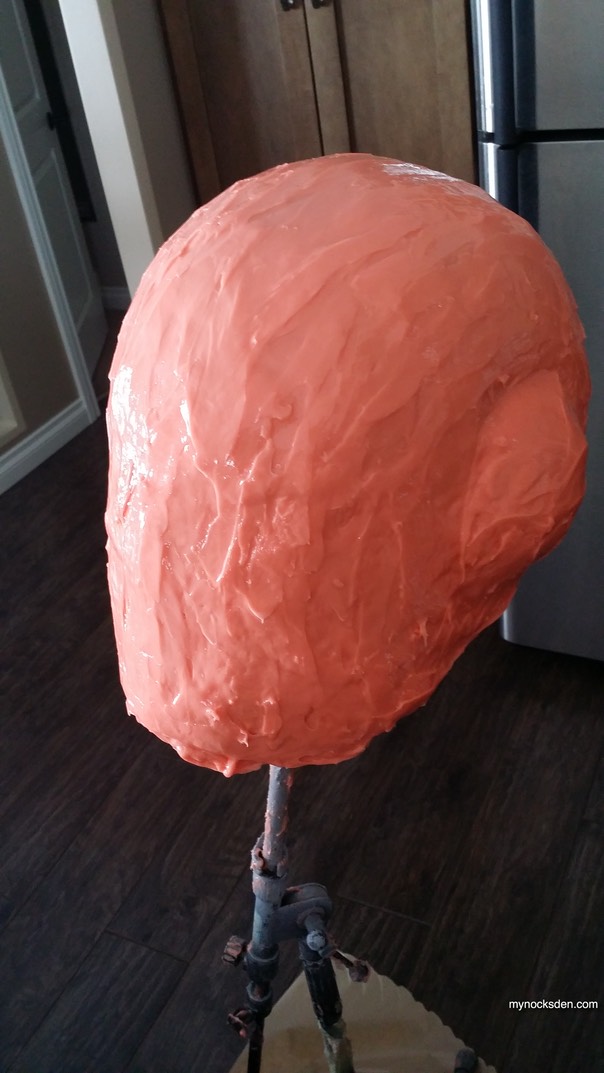
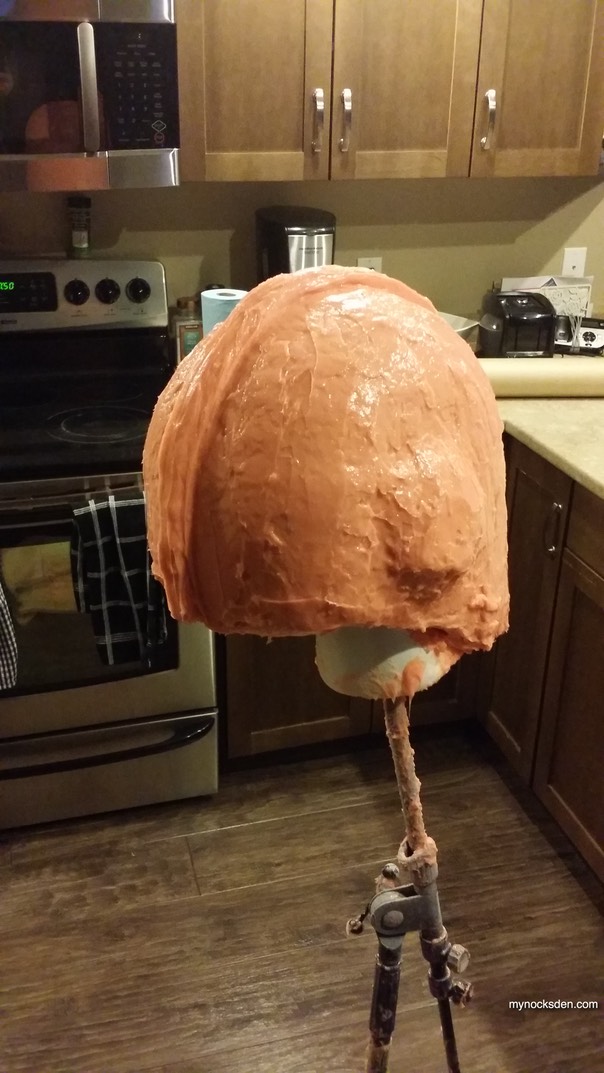
Next, I rotated the stand to have the face face up, and applied more silicone. Over the course of the next few days, I continued this process of rotation and applying silicone layers (increasing the amount of Thi-Vex with each layer) until the mold was approximately half an inch thick on all sides.
I then added a Mohawk, which would act as a registration key for the mothermold I would make out of Plasti-Paste in the next step.
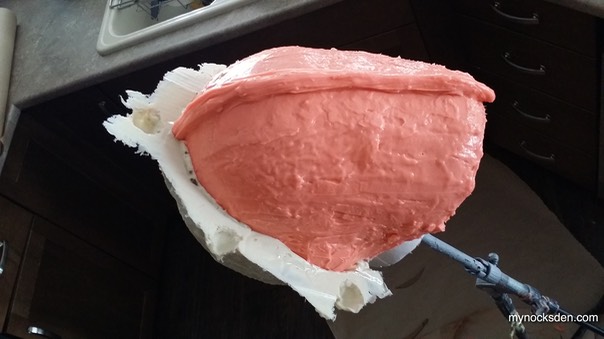
To create a separator for the mothermold shells, I used a piece of cardboard that I sprayed with mold release. I then added some globs of plasticine to act as registration keys for the two halves of the Plasti-Paste support shell.

I applied plasti-paste waited for it to cure, peeled off the cardboard separator, sprayed the plasti-paste contact surface with mold release, and created the second half of the shell.
After all this cured, I separated the halves, tested the fit again, secured the mold inside the shells using a bungie cord, and prepared to make my new casting! I cold cast the first few layers in aluminum using ONYX resin, and did the subsequent 3 layers using Smooth Cast 65D.
The cast came out perfect! No seams, and almost no cleanup to do! This was by far my best and sexiest mold ever!
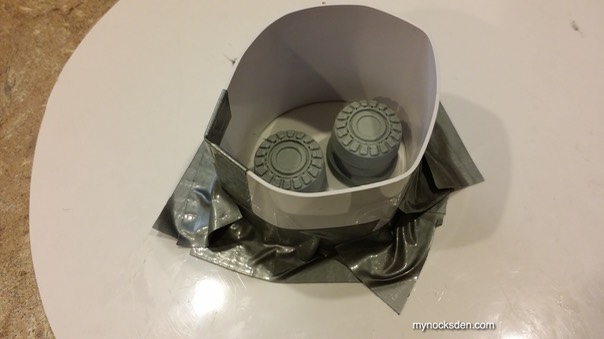
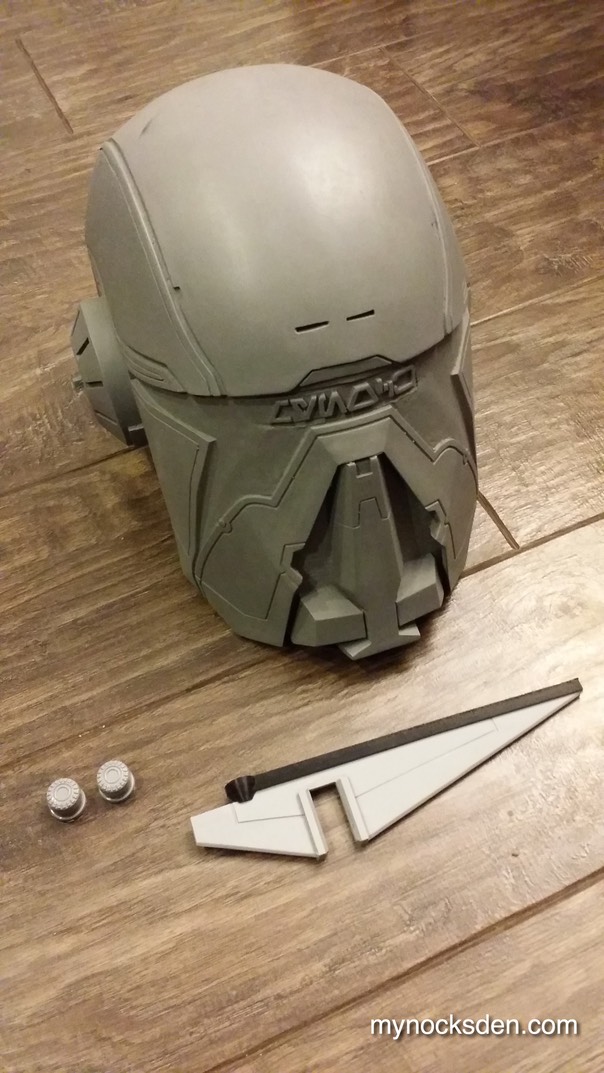
Next, I decided to tackle the antenna and the microphones. I set the 3D printed parts onto a piece of ABS, built up a wall along the perimeter (using hot glue to hold it in place), and filled these with Mold Star 15 silicone.


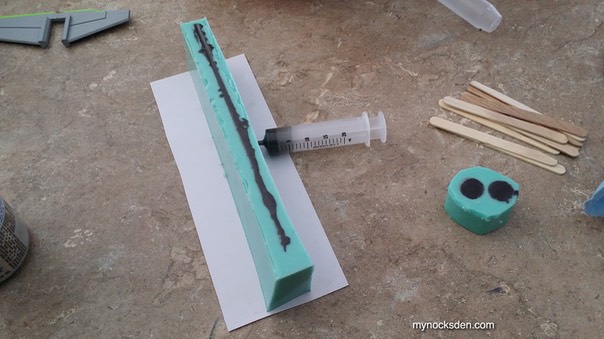
Once the rubber cured, I created my first castings of the antenna and mics using a syringe (I buy these for $1 per unit at the local vet store). I left the stalk as a 3D printed part.
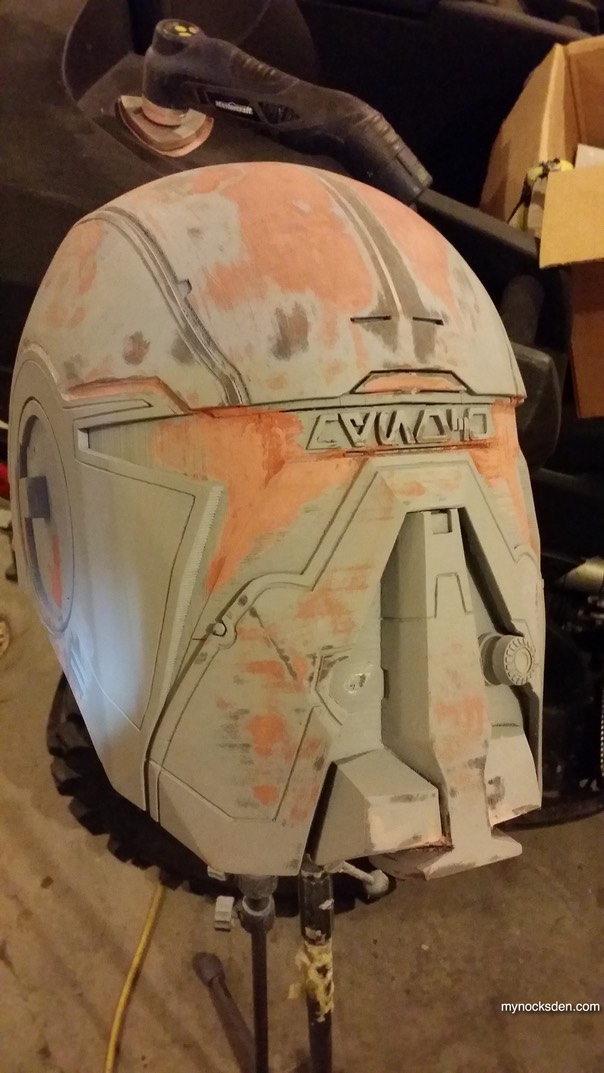
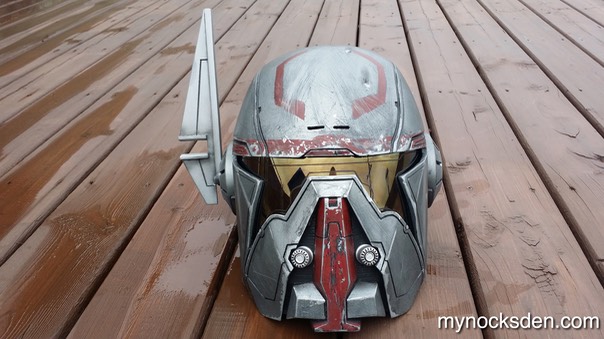
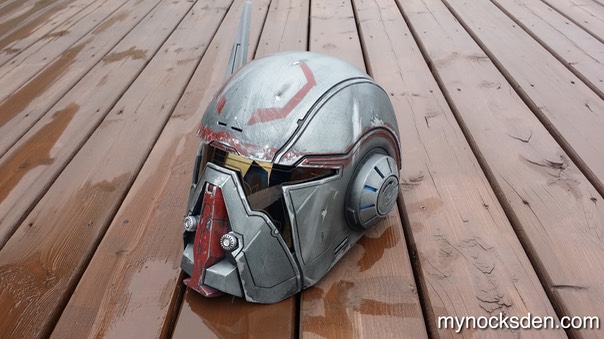
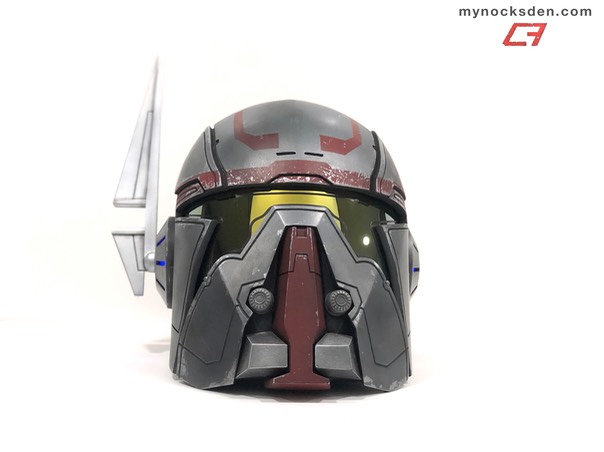
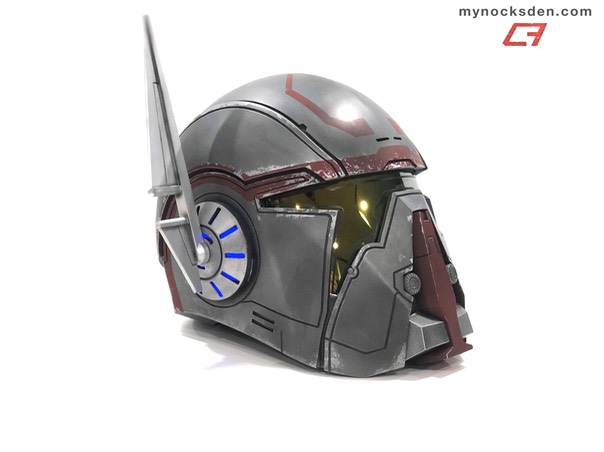
Next, as before, I cut out the visor, trimmed the flashing, sanded the helmet with 400 then 800 grit sandpaper, and buffed to metallic goodness with 0000# steel wool.
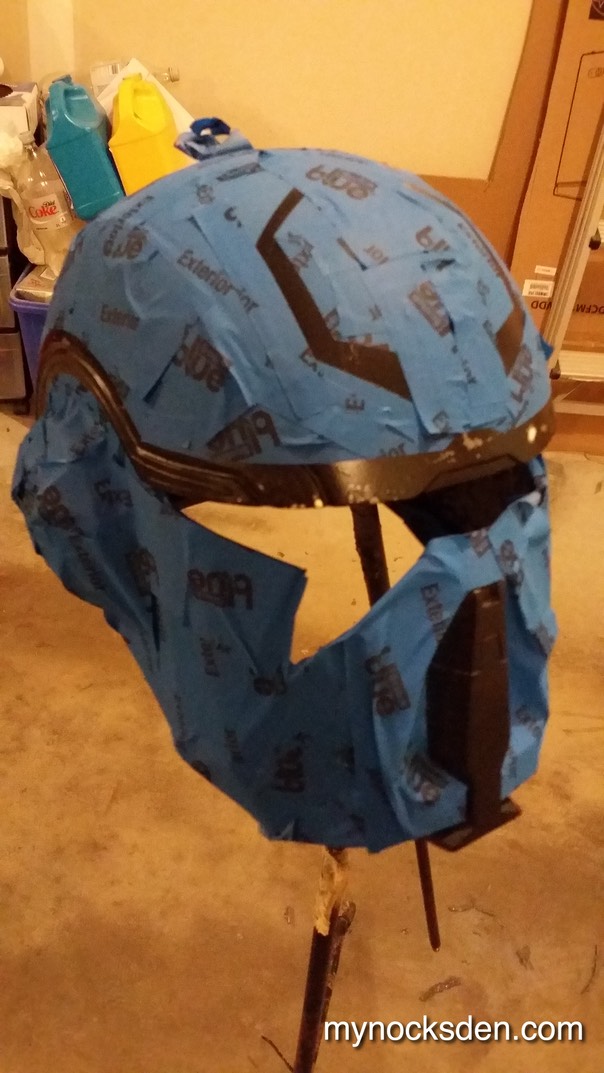
The helmet was now ready for painting! I wanted to give it a real distressed look, so I started by adding globs of latex masking fluid, which would simulate flaked paint.
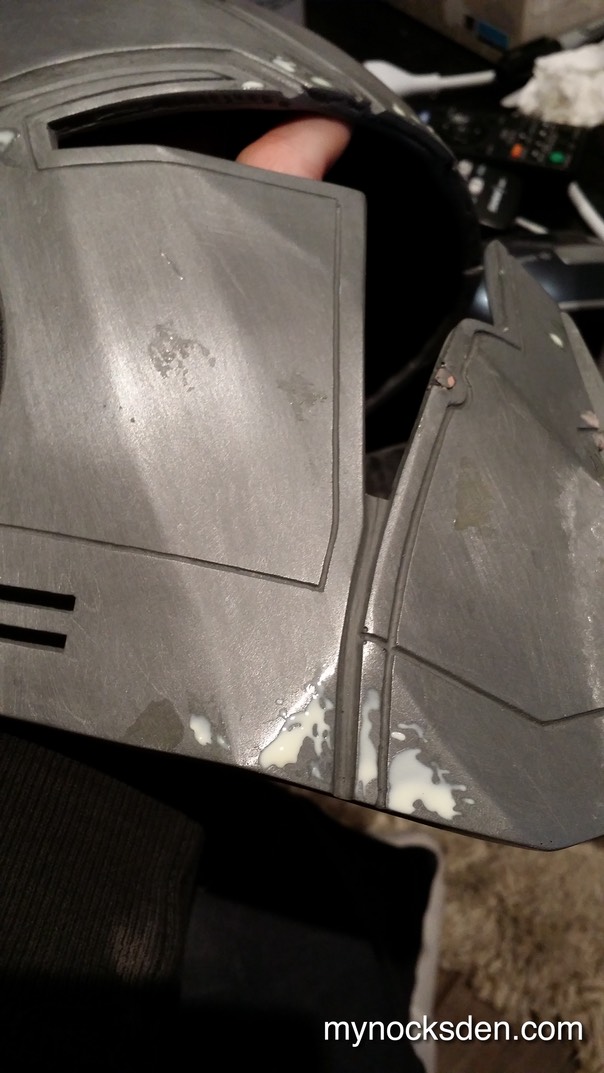
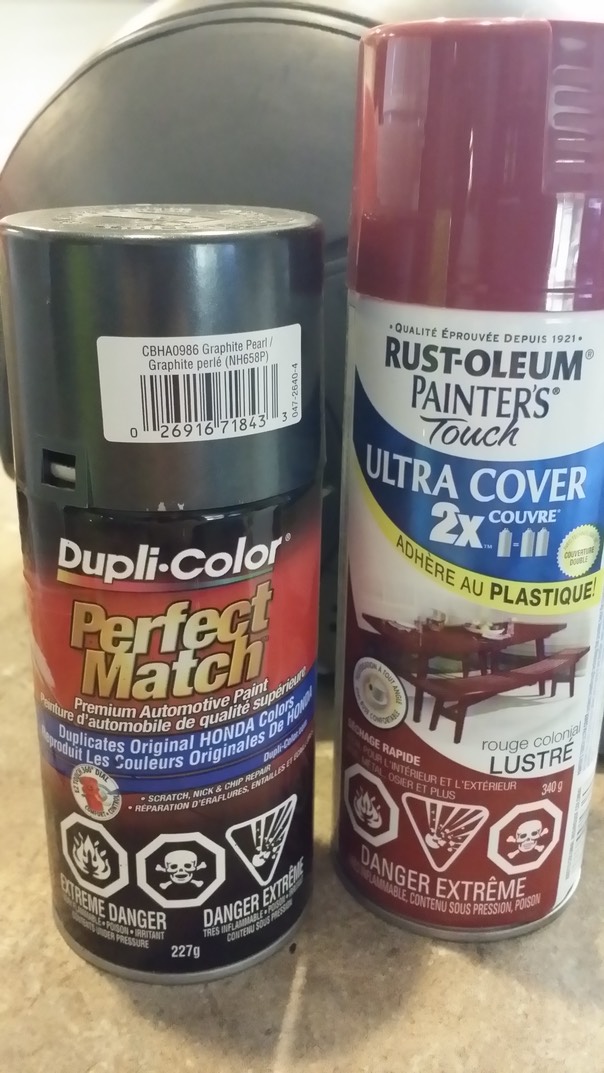
I then sprayed the helmet using Dupli-Color Graphite Pearl colour, put this in front of a heater, and waited 20 minutes for the stuff to dry (it dies FAST!)
Next, using blue painter’s tape, I masked off the areas that would need to be painted red, and used Rust-oleum Gloss Colonial Red to do the highlights.
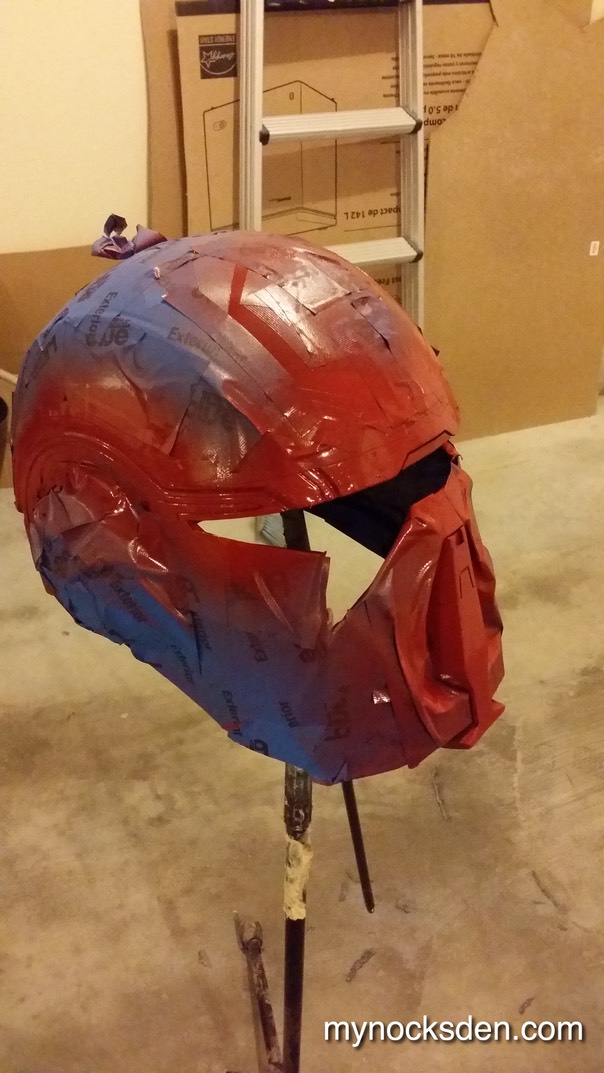
Not including Testor’s Flat Black that I use for shading and another colour for the antenna (see below), these are the only paints I used in painting the helmet.
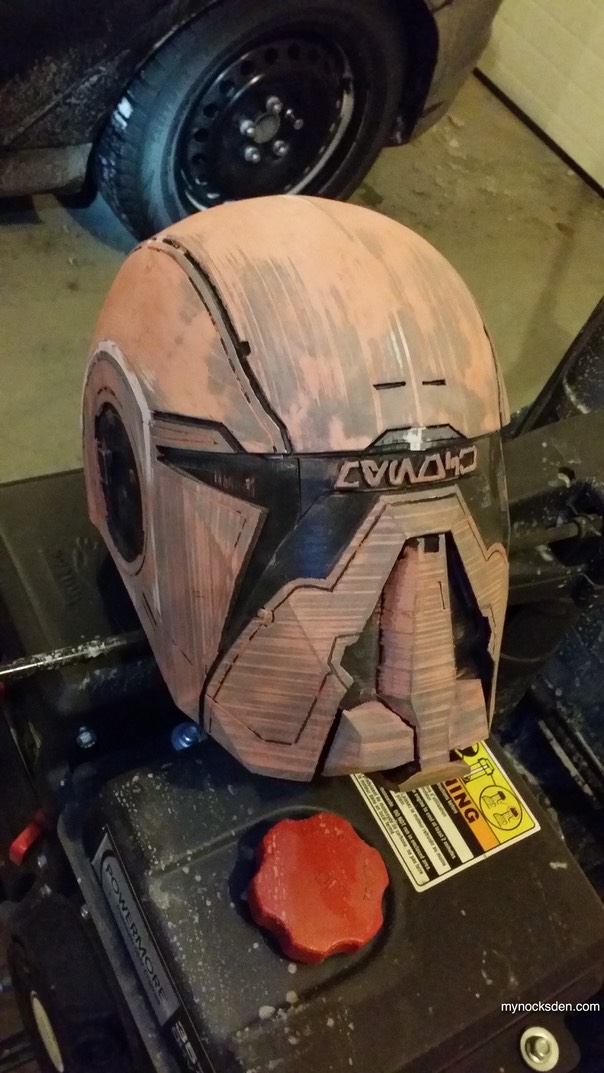
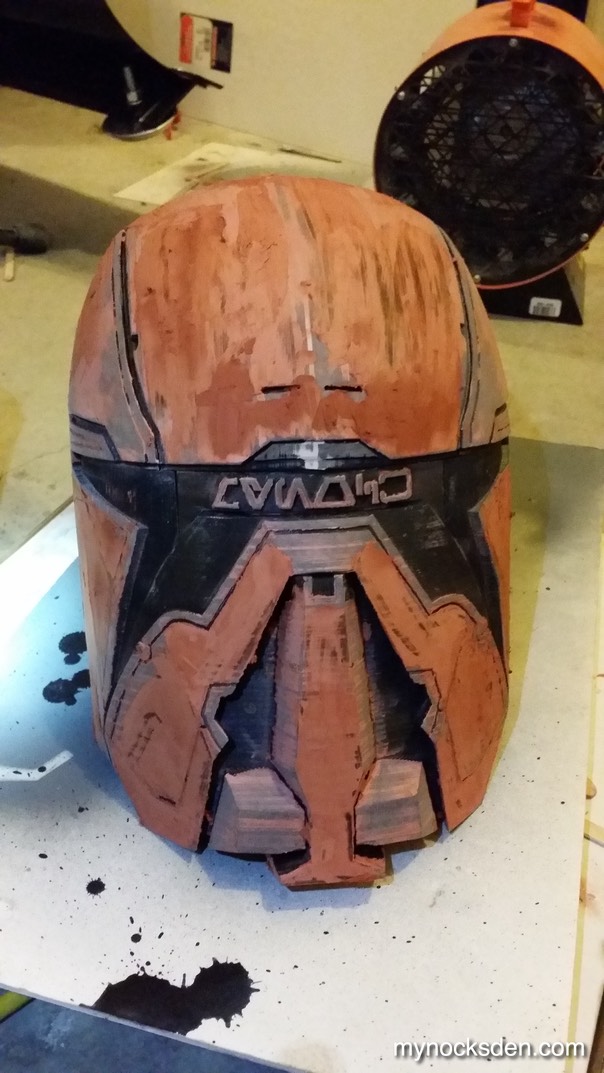
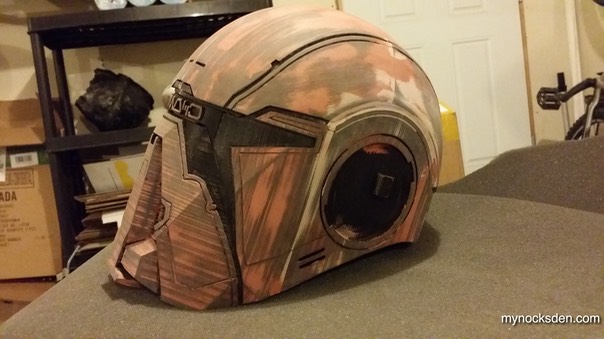
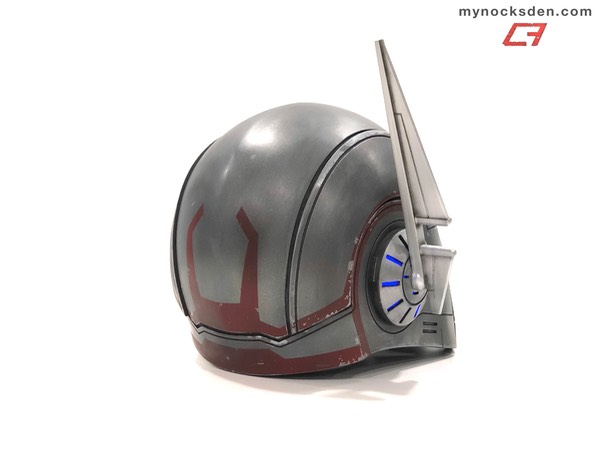
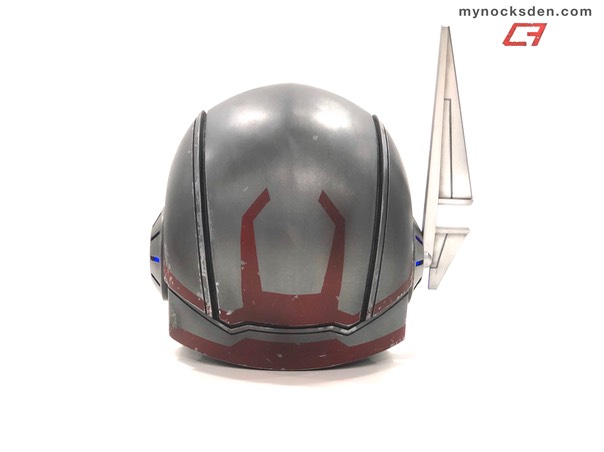
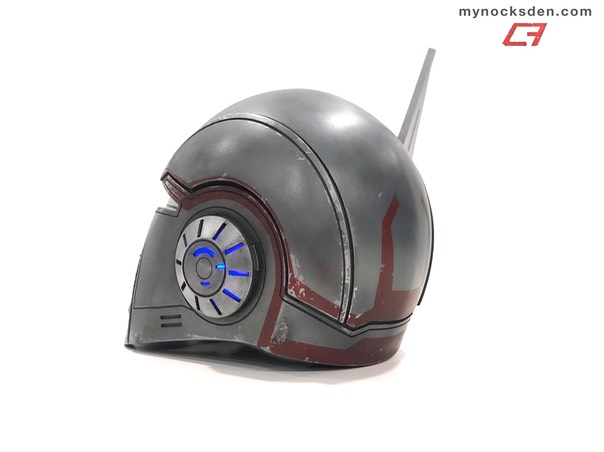
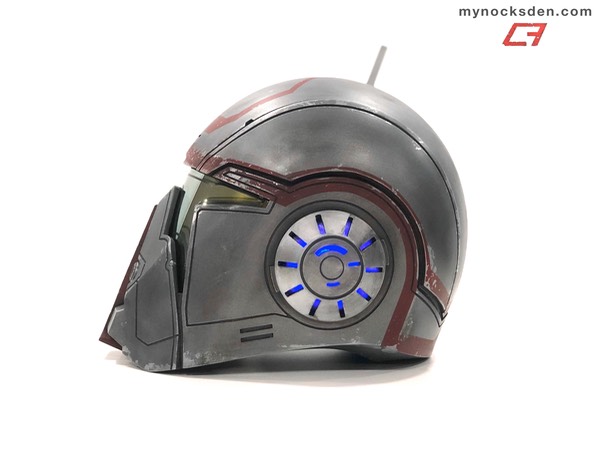
Once the paint dried, I peeled off the blue tape, and rubbed off the masking fluid to reveal shiny metallic surface underneath. I used a combination of Flat Black, and various abrasion methods (which included dragging the helmet on concrete floor), to add various scrapes and bruises to the surface.
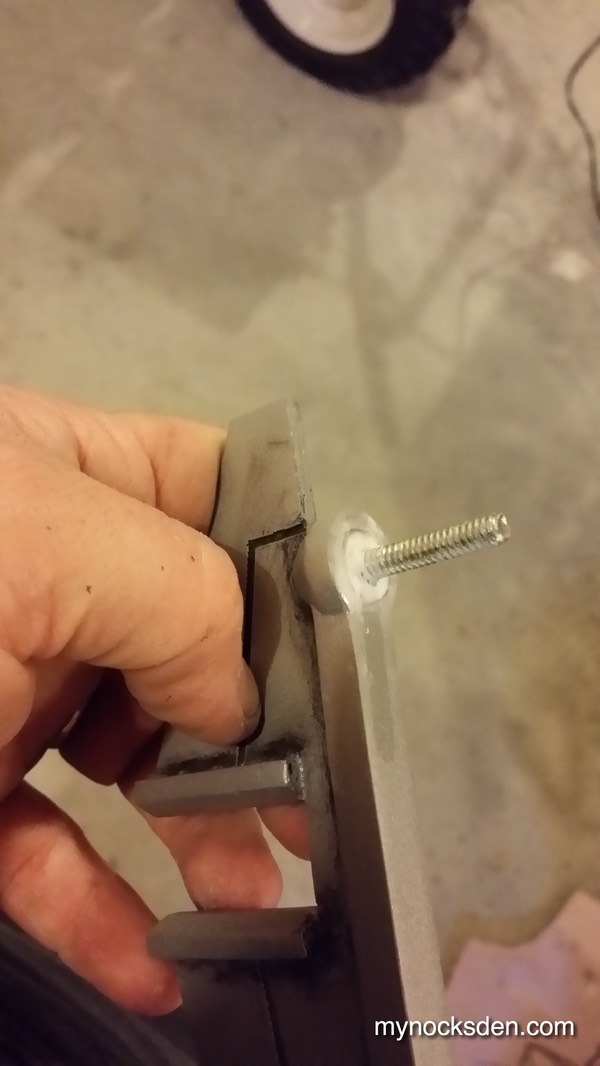
To paint the antenna, I used Dupli Color Silver Metallic, and Testor’s flat black to add some dirt and “grit”. I also dremelled a larger hole into the stalk, put in a bolt and used some epoxy to secure it in place. This be fitted through a hole drilled in the ear, and secured from the inside with a washer and nut.
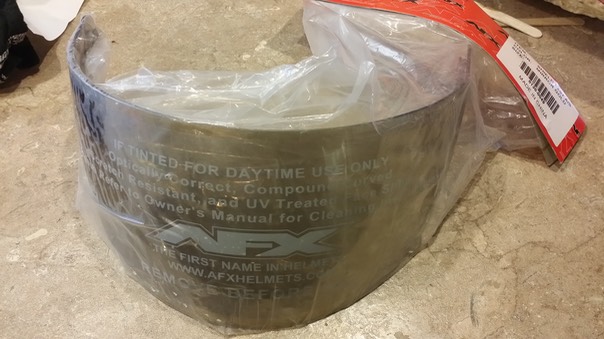
I purchased two gold visors on eBay for $24 each...
… which I then carefully trimmed using a rotary tool with cutting wheel.
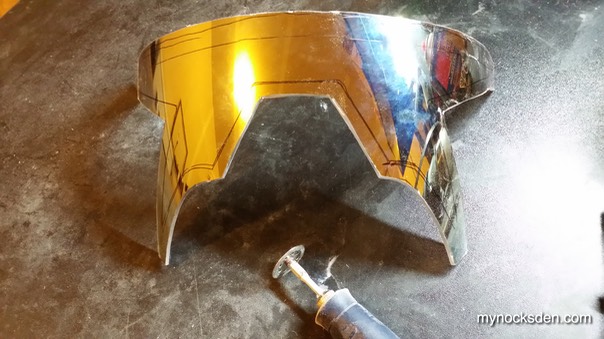
I then used a diamond studded attachment etching attachment to etch the detailing onto the outer visor. Sadly, I did not take a photo of this step.
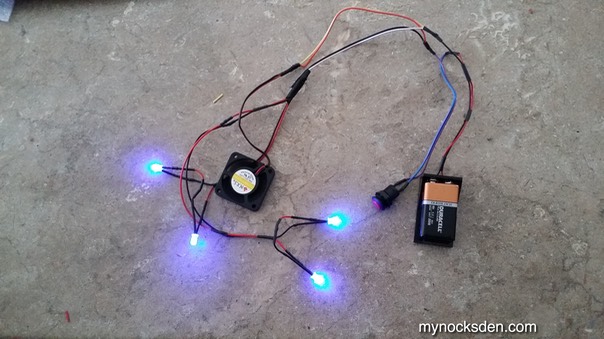
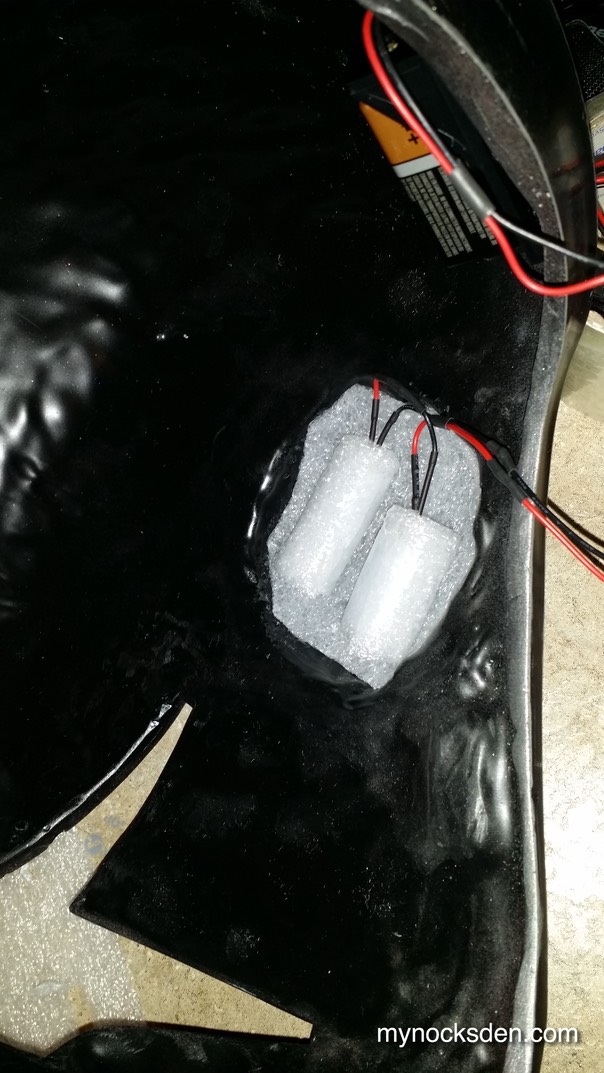
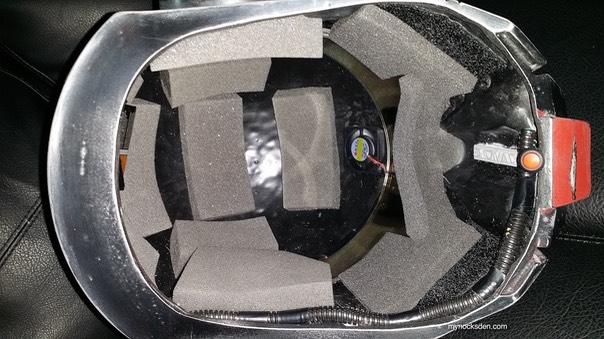
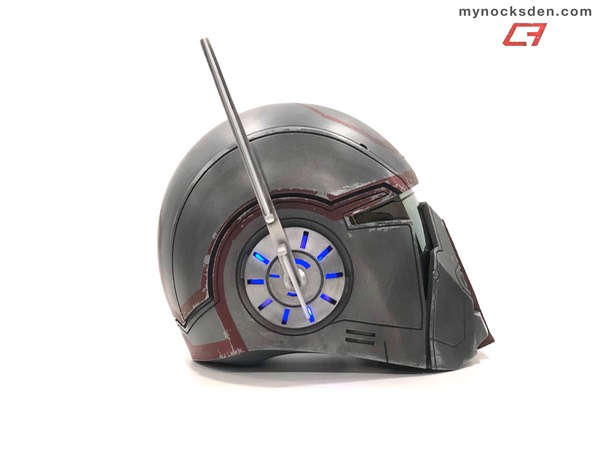
Next, using two LED lights for each ear, I wired the two sets in serial, and a small computer fan in parallel and hooked it all up to a switch and a 9V battery.
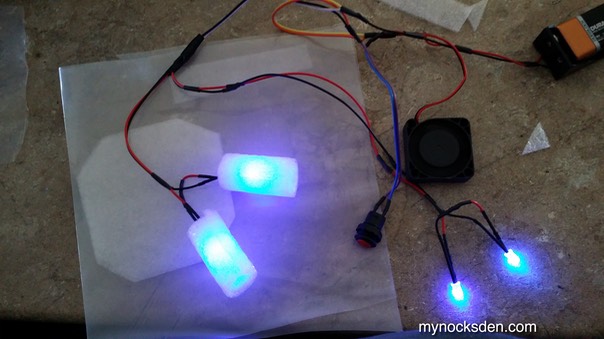
Next, I used some thin foam padding from Home Depot (the kind of stuff you put under laminate flooring) to diffuse the light. (This method is used in LED string blade lightsabers to create a uniform blade glow.)
I then dremelled the ear slits on the helmet, covered the ear with the same diffusing foam from the inside...
…and installed the lighting kit.
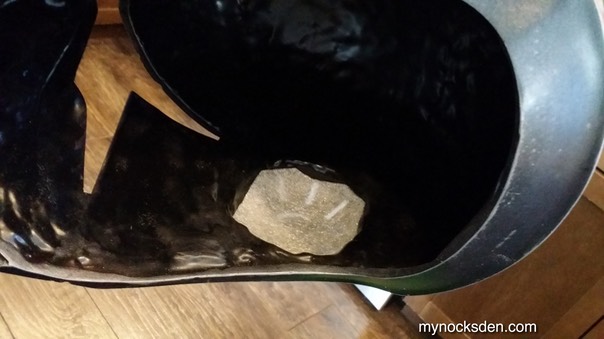
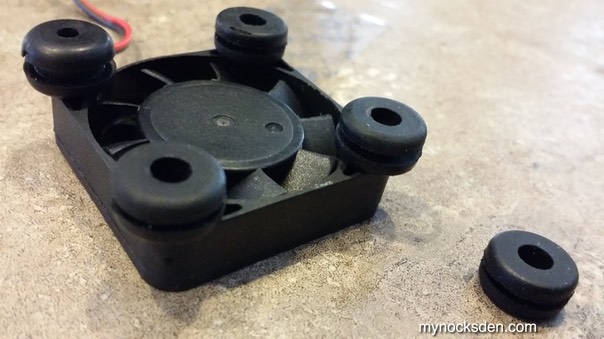
I then glued some rubber washers from Home Depot onto the base of the fan, dremelled out the two forehead slits on the helmet for aeration, and glued the fan over the slits on the inside.
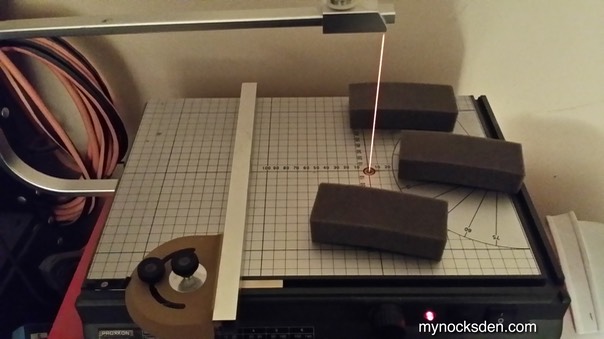
Next, using my handy little foam wire cutter machine I got from Amazon, I cut some foam strips to be used as padding for the helmet.
Finally, I glued the padding in, and put some black ribbed loom over the exposed wiring in the helmet to make everything look clean. I fit the visor back in, secured it in place with velcro like I do with my Revan masks, which completed the helmet!
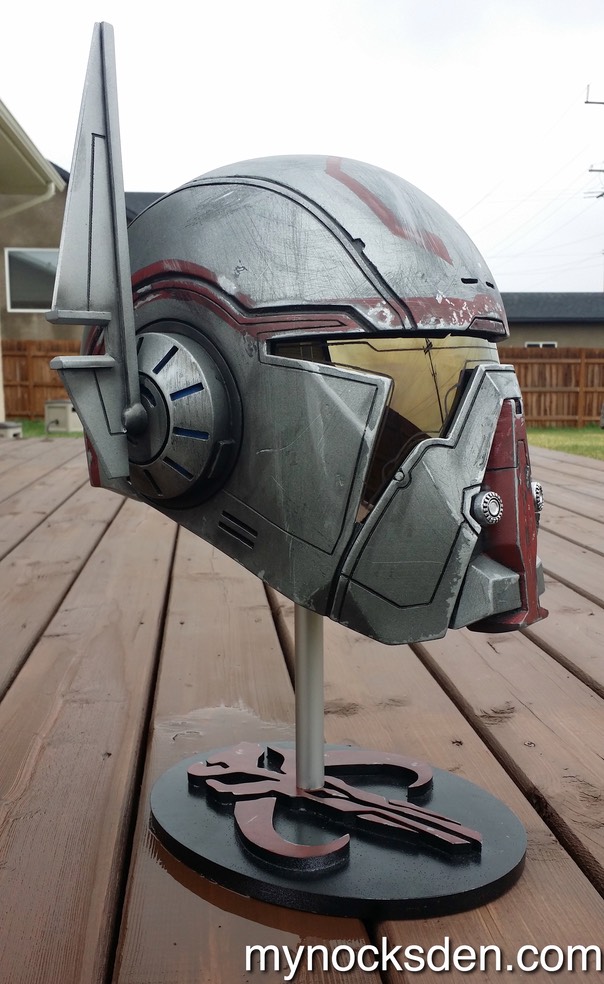
The display stand you see the helmet on was also made by me, and you can see the production notes for that by clicking here (opens in new window).
* * * * * * *
Version 2
Several years later I decided to redesign the helmet to make it slightly smaller, and more accurate in both shape and detail. I rebuilt the 3D models almost entirely from scratch, and followed the same process to create the master and the molds as outlined above, so I won’t go into too much detail in the written narrative from here on.
Below you can see a comparison between the old model (on the left) and the new.
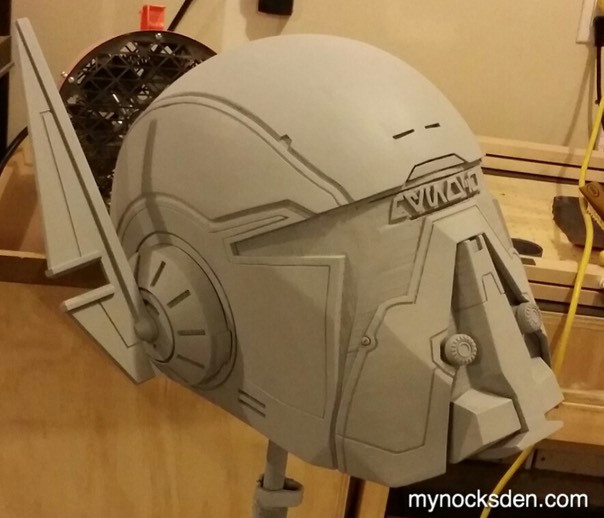
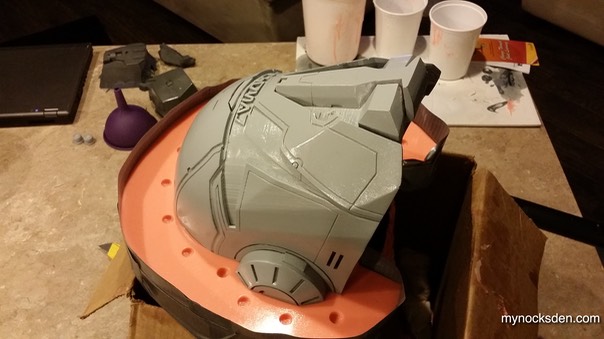
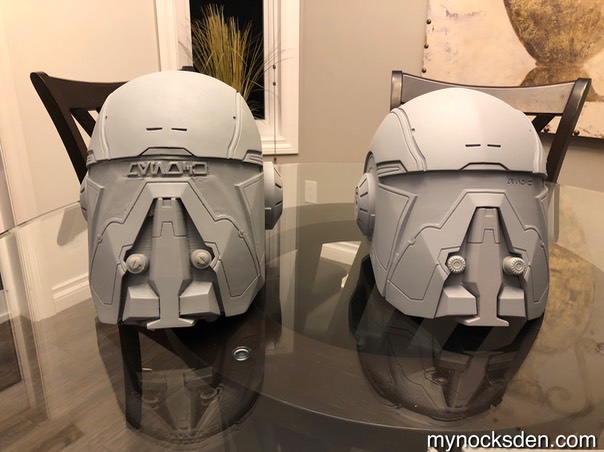
Here is the new master in the process of being assembled and smoothed out.
The completed, much cleaner Version 2 master on the right next to the old version 1 below.
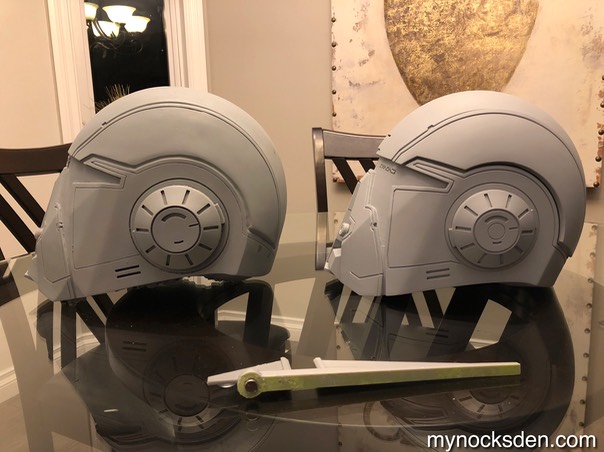
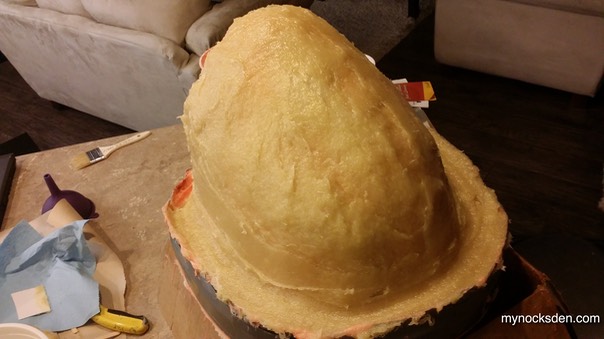
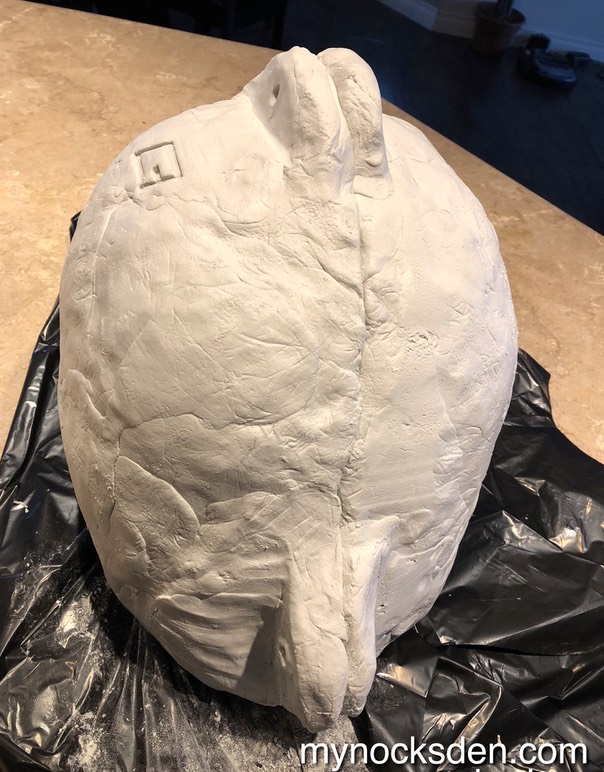
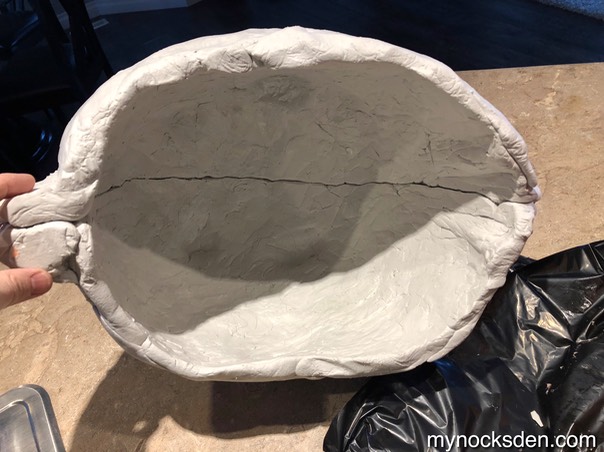
Below, a series of photos showing the various staging of helmet molding using Rebound 25 silicone.
This time I made the support shell from Free Form Air sculpting epoxy, which is much lighter than the previously-used Plasti-Paste 1.

The two halves of the mother mold would be secured together with bolts.
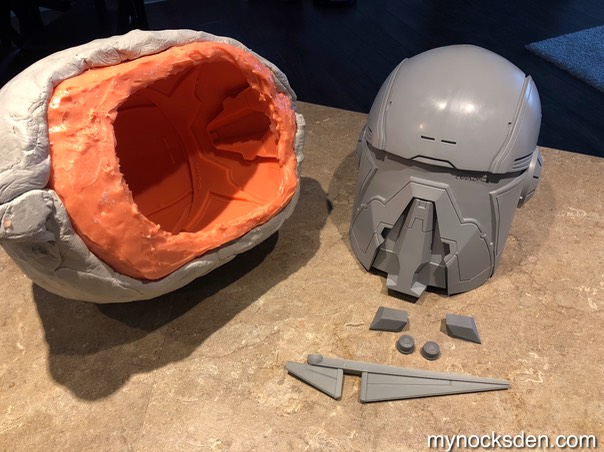
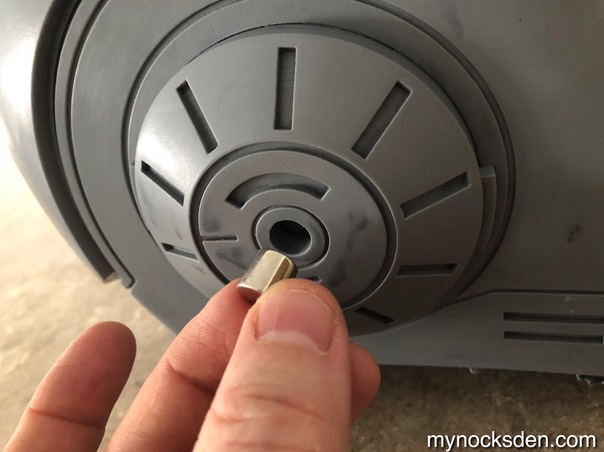
Demolding revealed a successful mold with an almost perfect print coat layer. Yay! The antenna wing this time would be 3D printed instead of being cast from resin, and would attach to the helmet using magnets. Separate molds would be made for the chin blocks and microphones, which would be cast from resin.

Thanks for looking!
* * * * * * *