Two years after I completed the Bengal Sith Acolyte mask (click on the next image to go to that page, otherwise scroll on!)…
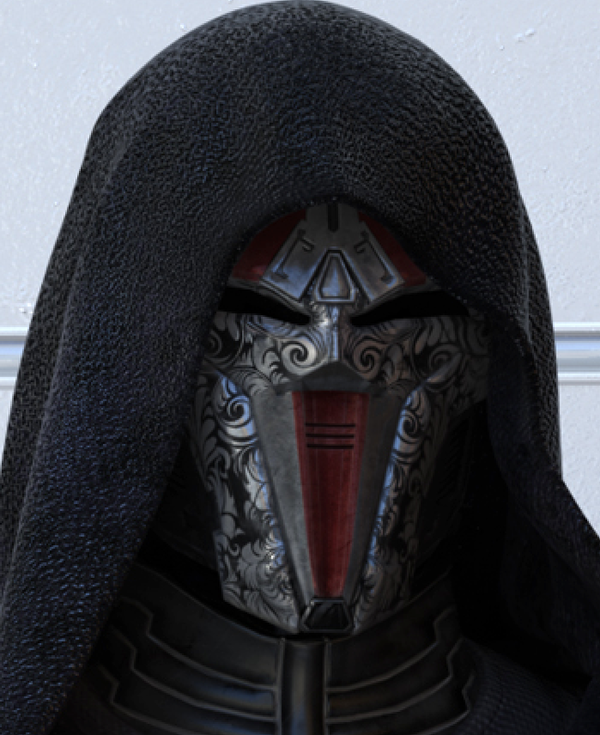
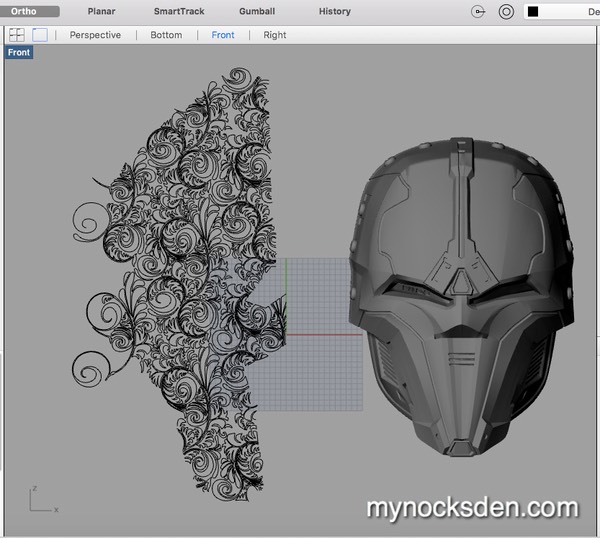
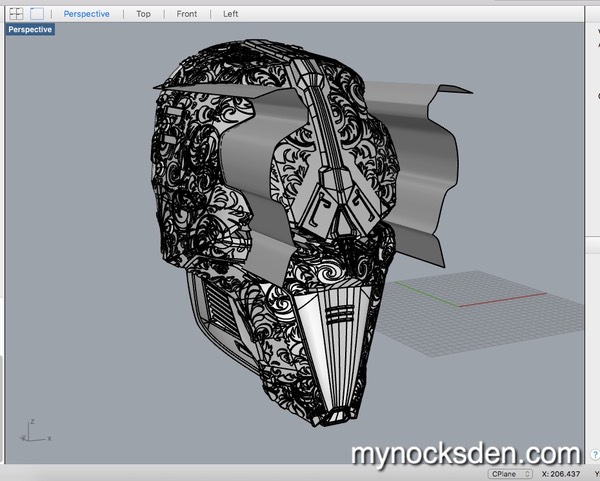
...I decided it was time to tackle the “Eradicator”, or as some people refer to it “The Lord Adraas” Mask. I used a copy of a blank Acolyte mask model file I saved from the Bengal project...
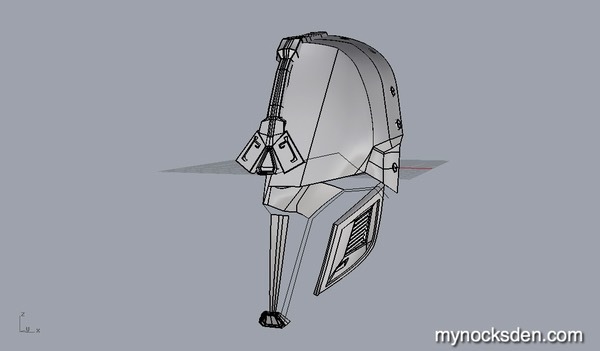
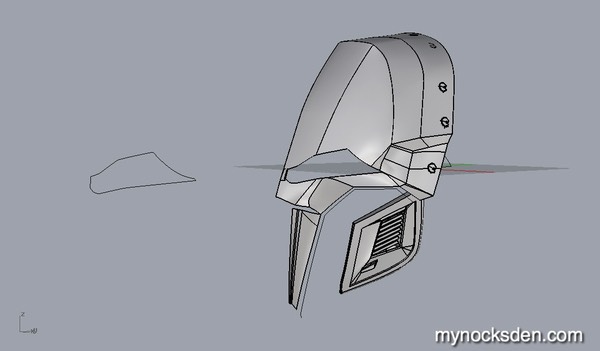
… then began to trace the mask detail pattern using curves on a flat plane.
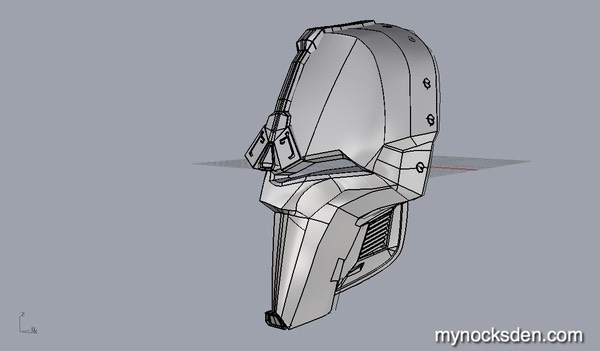
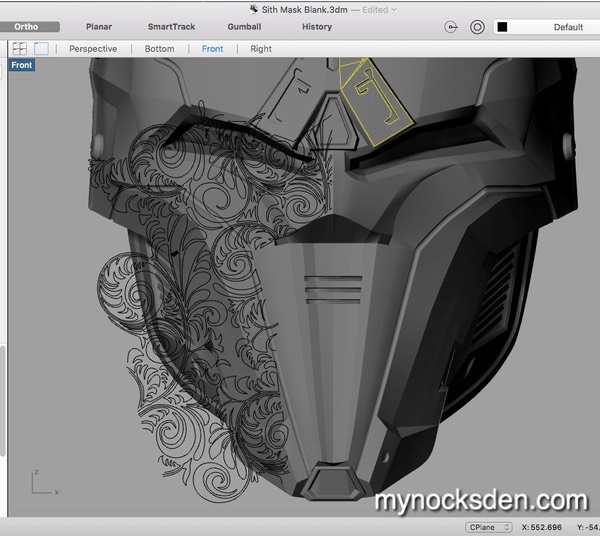
I then began to project these curves onto the mask from various angles, until the pattern completely covered the surface.
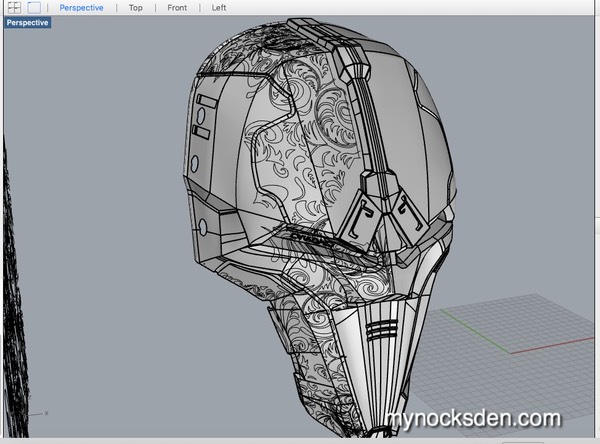
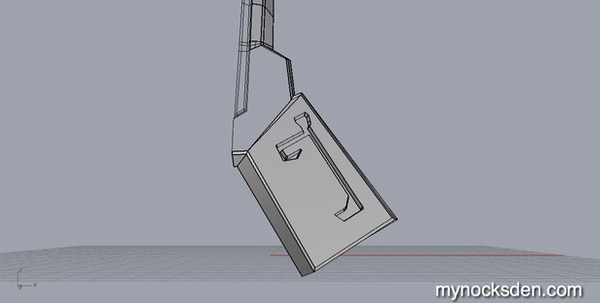
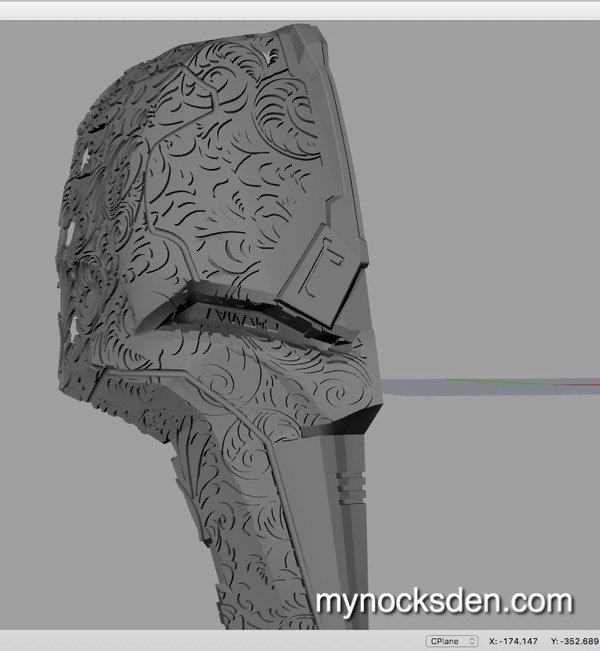
Next, I split the surfaces using the projected curves, and offset them into 3D by 1.3mm.
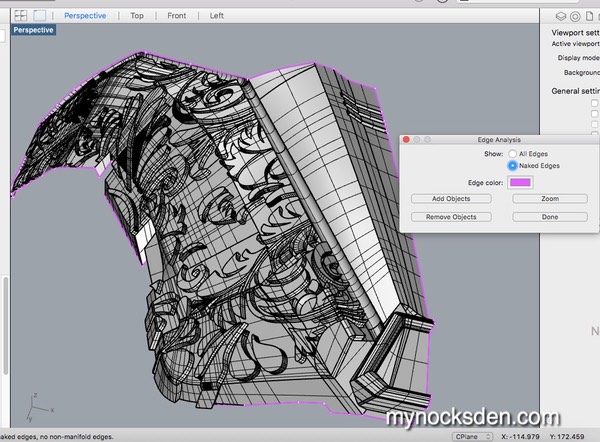
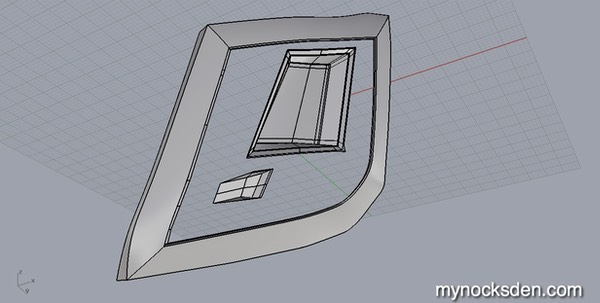
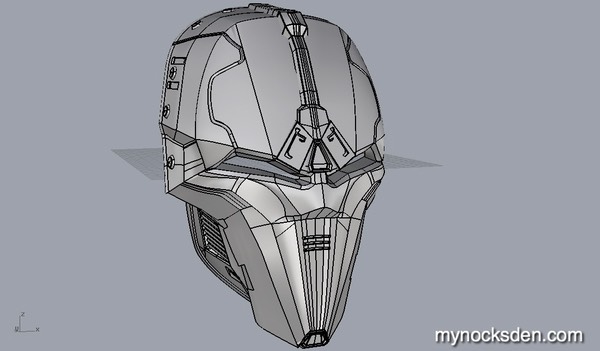
I then began to paingstainkinly close up any open edges to ensure the model mesh was watertight - an essential step for 3D printing.

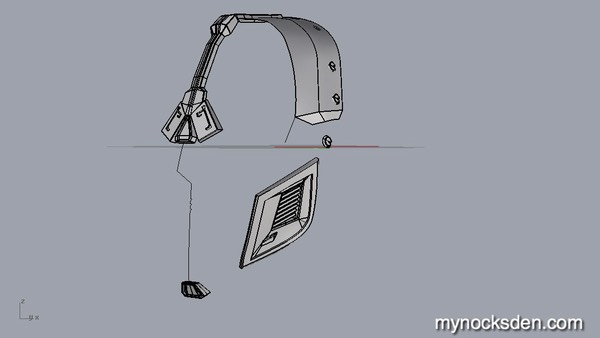
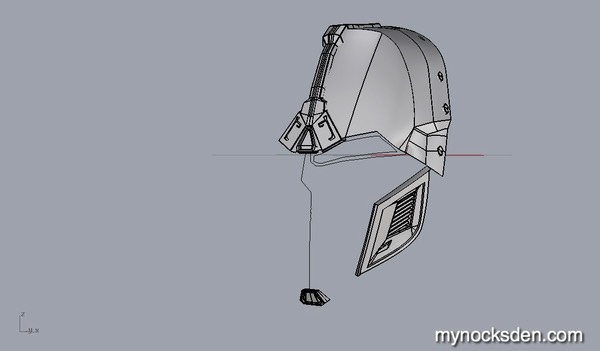
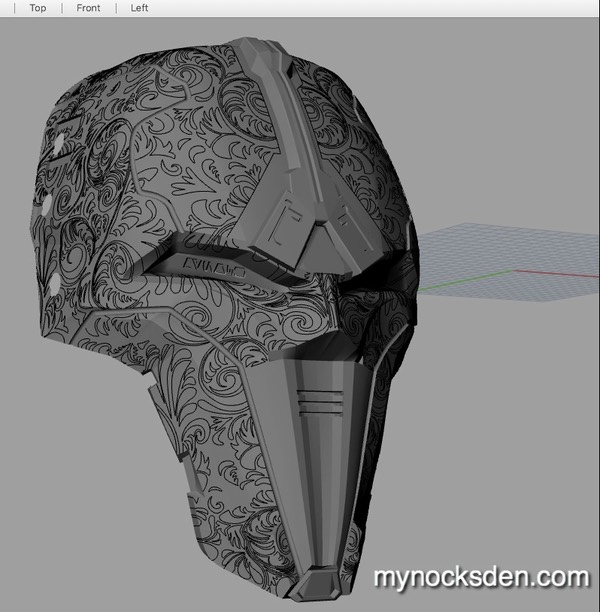
Once the final model was completed...
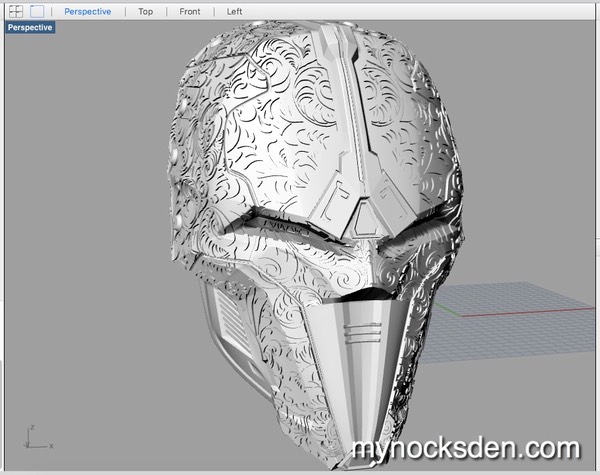
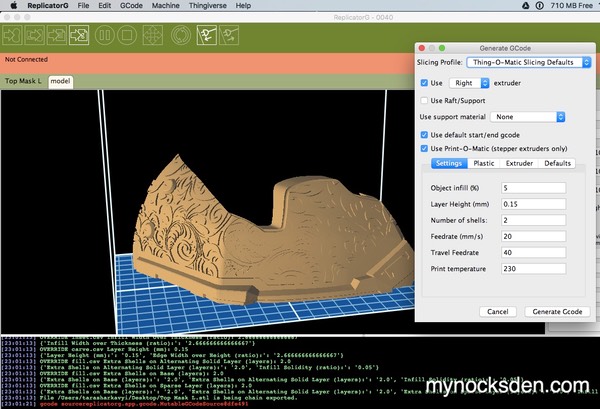
… I split the mask into sections along the naturally-occurring seams for 3D printing.
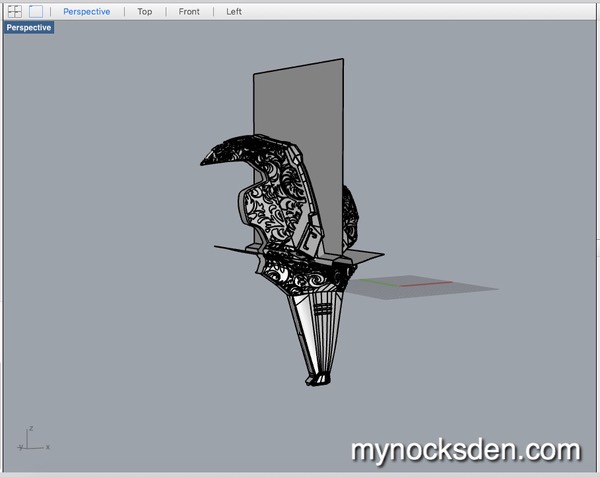
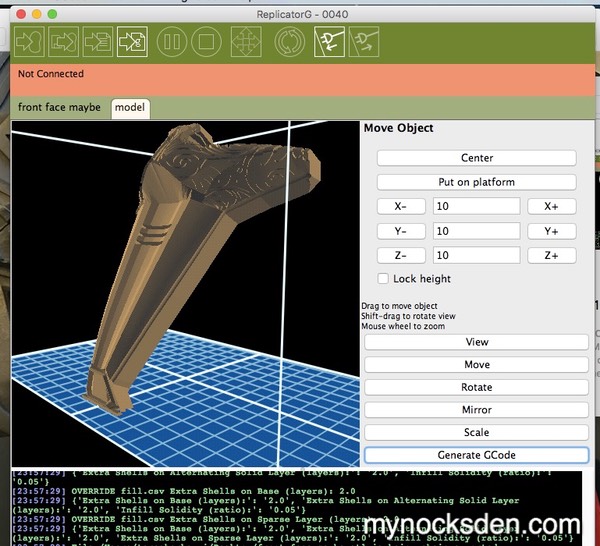
Once the model was split up, I imported the generated STL files into ReplicatorG, and generated the G-code for 3D printing.
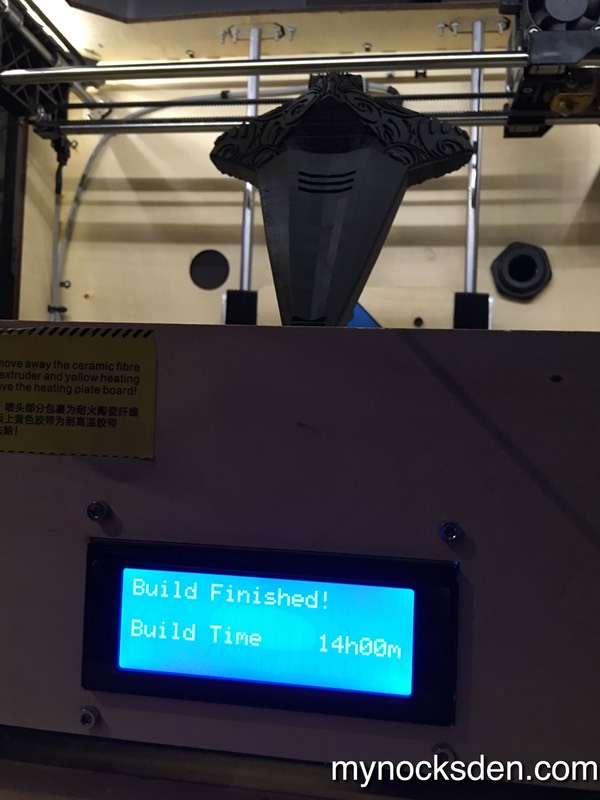
Next came printing, which took a total of 4 days on 3 separate machines. I tend to print at very slow speeds to get the best possible detail, so each section of the mask took anywhere from 17-27 hours to print.
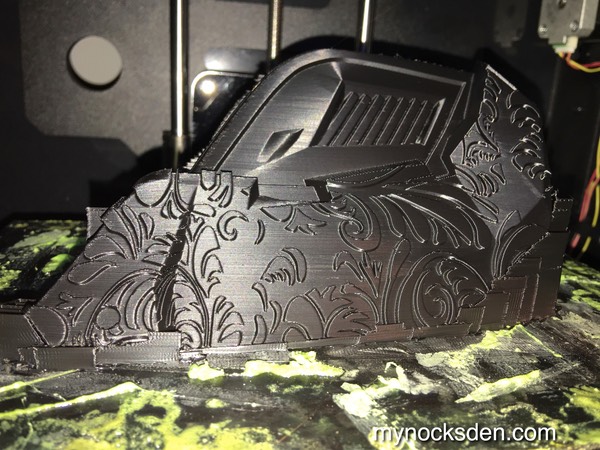

Printing did not go without issues, however, and I ended up having to print a few things twice. For example, I generated the G-code for the mouth piece late at night, and so did not catch the various error messages that were produced. I loaded the file into one of my printers, and received this outcome:
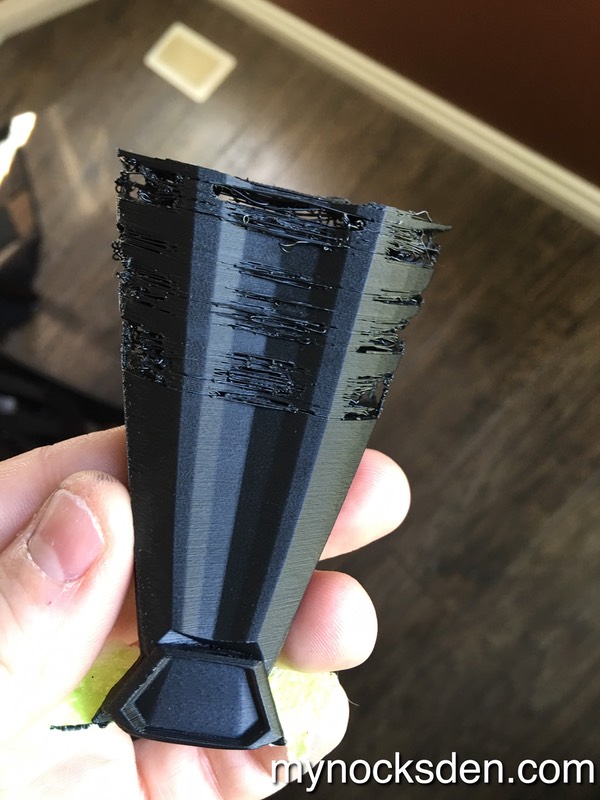
Apparently, two of the sides on this model weren’t watertight, and as a result, the printer did not know what to do. So, I touched up the model, generated a new STL file, and this time it printed correctly.
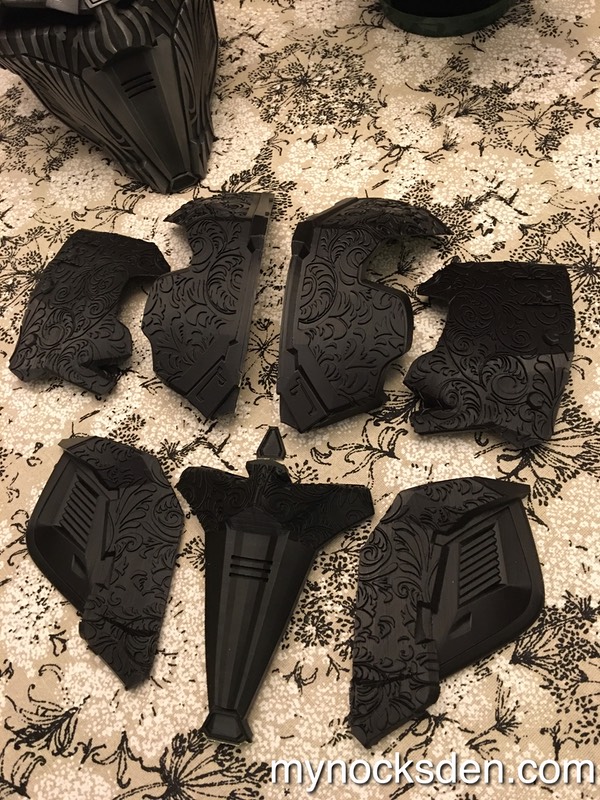
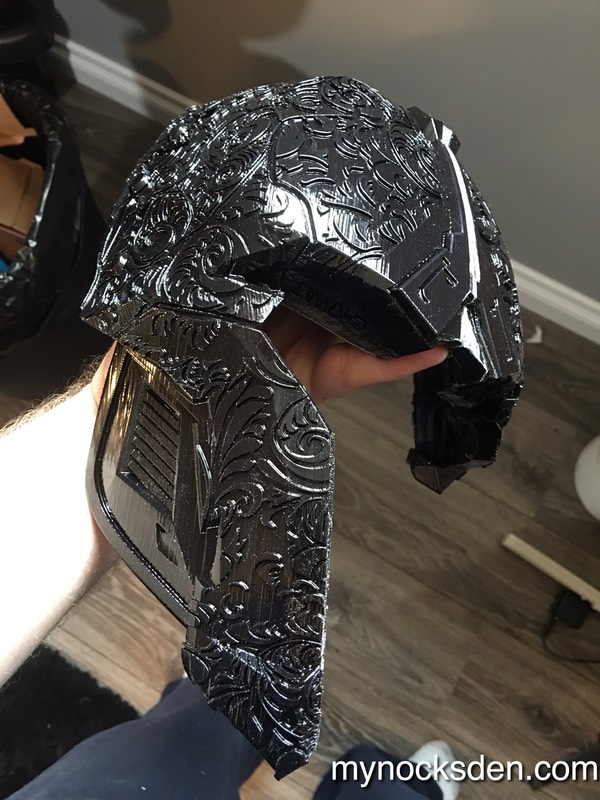
The other parts printed without major issues, and soon I had all the pieces of the mask completed.
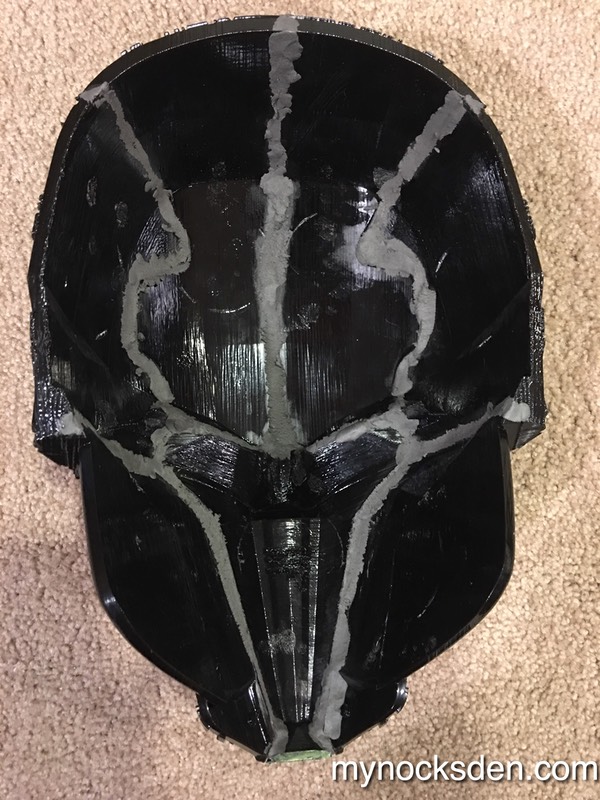
Next, I acetone vapour-smoothed the parts on the stove, a process I explain a bit in this video:
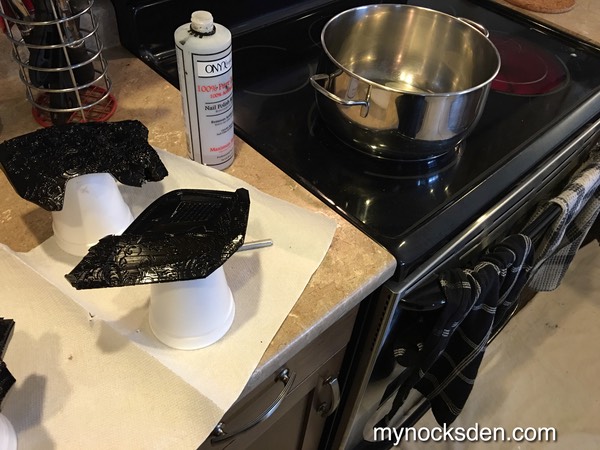
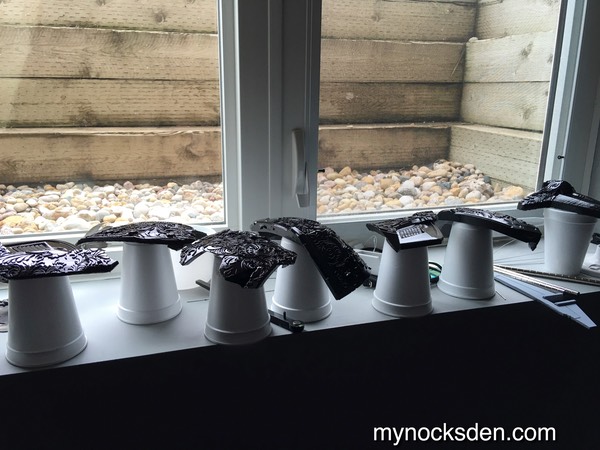
Though it does not remove it completely as you can see in the next photo, acetone vapour smoothing helps soften 3D printing striation, which is a crucial step when working on object with so much recessed detail.
I then glued all the pieces together with superglue...
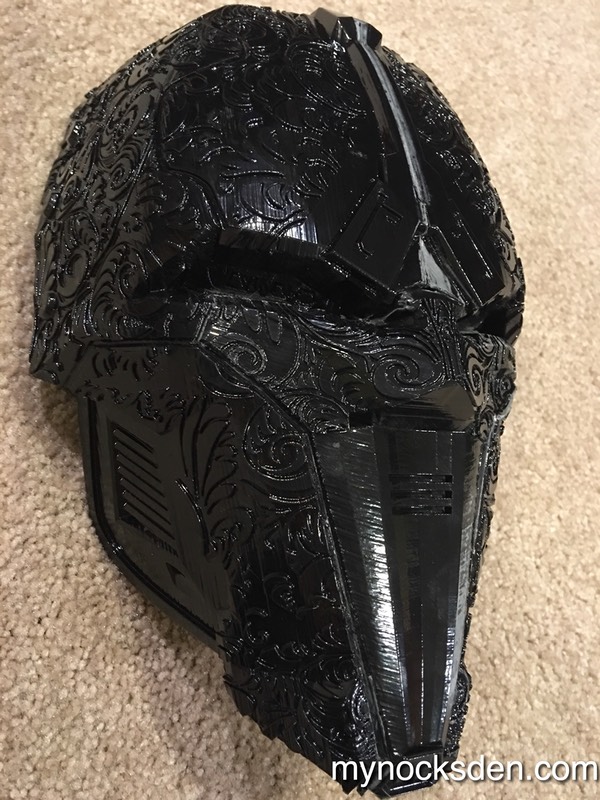
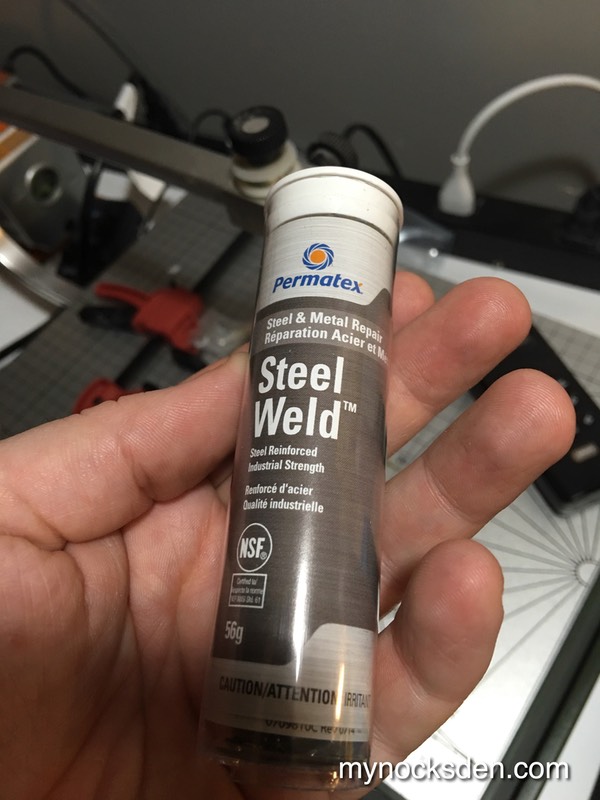
…and reinforced the joins from the inside with steel-infused epoxy putty.
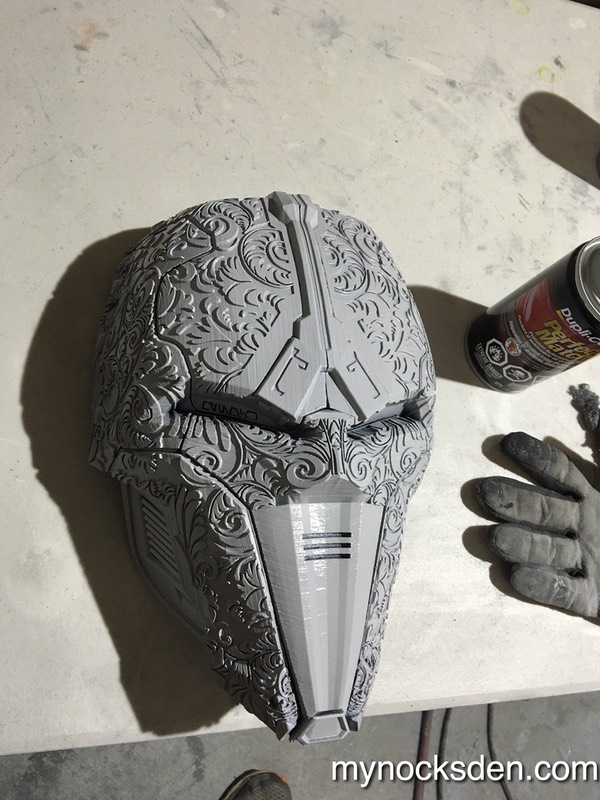
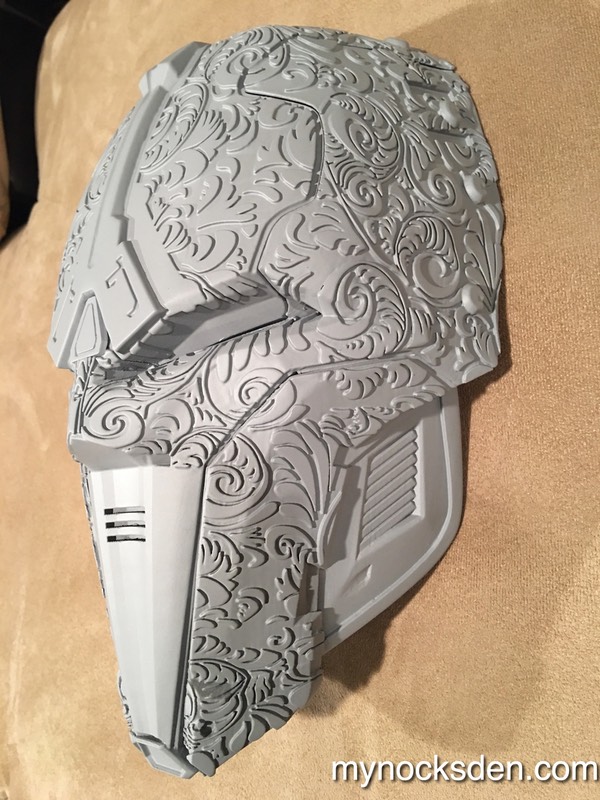
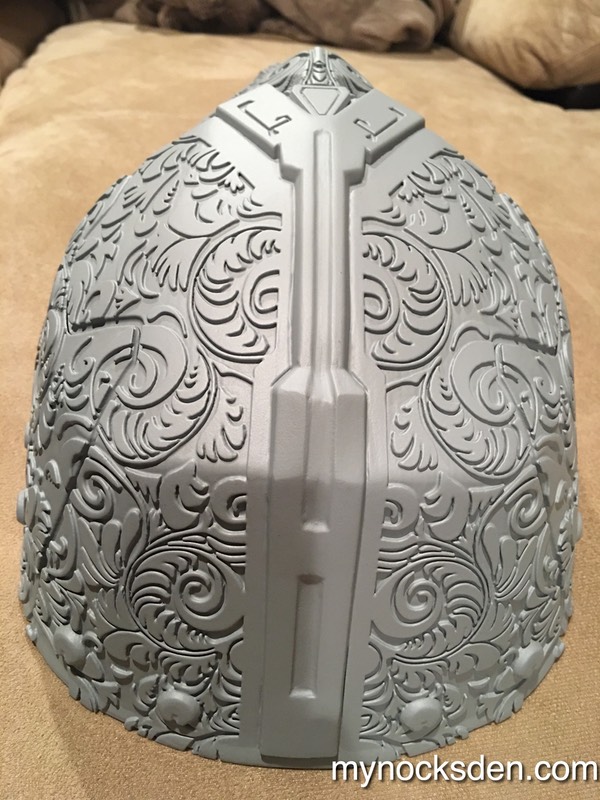
Next, I primed the mask using automotive primer to unify the colour and reveal any unevenness on the surface…
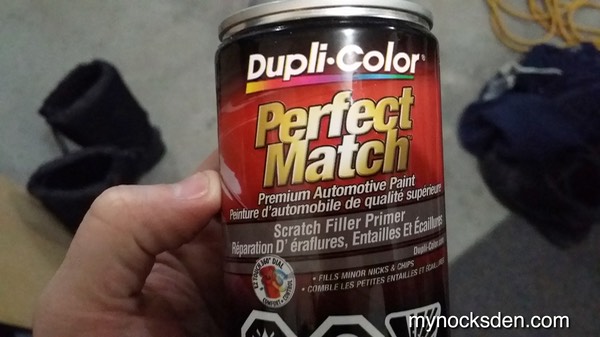
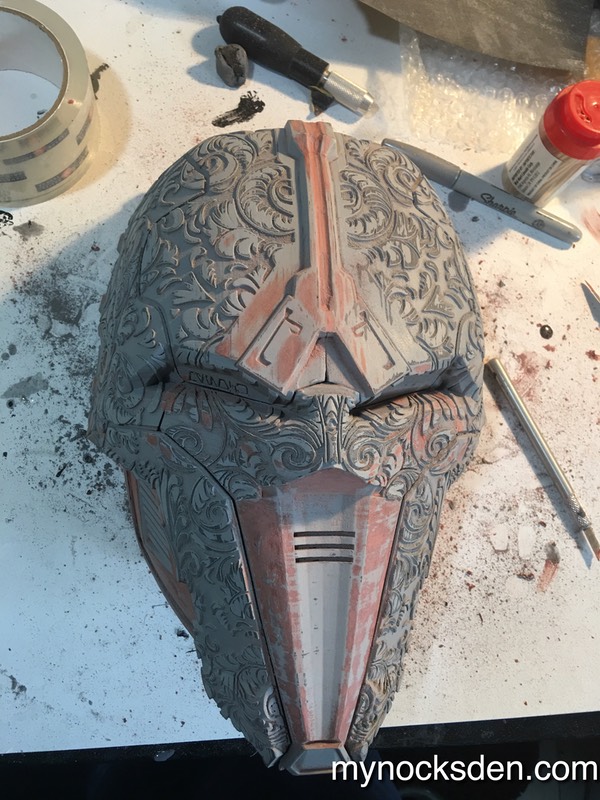
… and began to apply Bondo Spot Putty to fill any striation and seams that needed work. I would sand the putty down, prime again, apply more putty, prime some more, etc, repeating these steps until I got a perfectly smooth mask.

The master was was now almost ready to be molded in silicone, but a few things needed to be done first. The mask had to be raised off the ground, and put on some kind of a base. I used my version 4 master for this, and built up the chin area with some plasticine. At this time, I also decided to remould my Bengal mask since my original mold of this was starting to get damaged.
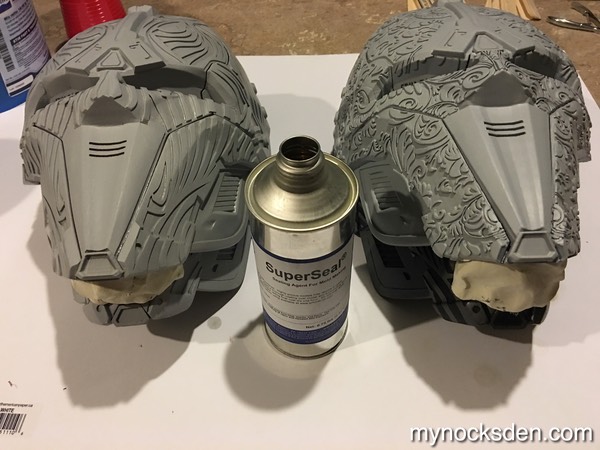
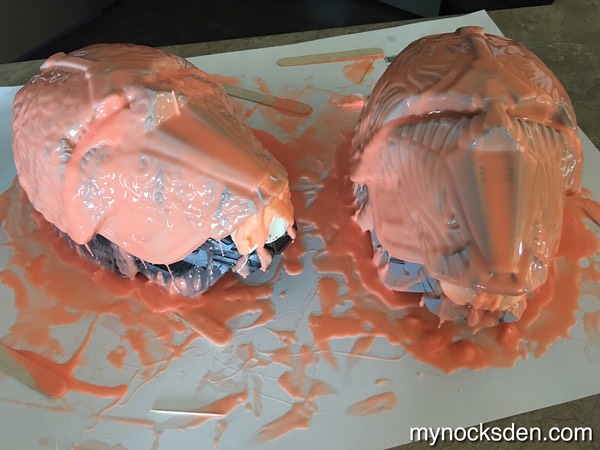
Both masks then had to be coated with SuperSeal, which fills in any pores and scratches in the surface, creating a more smooth and even print coat. I applied a coat with a brush, and let this sit for an hour.
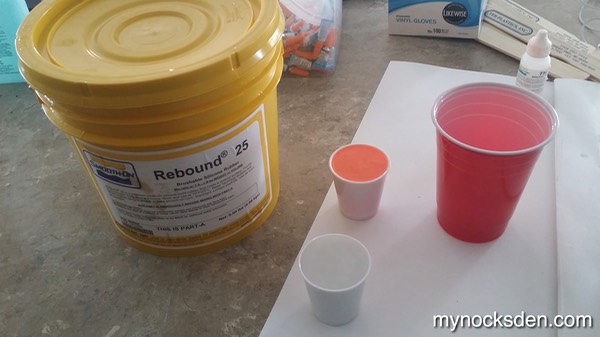
After this, I mixed up 400 grams of Rebound 25 (part A to part B in a 1:1 ratio by volume/weight) to which I added 20 grams of silicone thinner; there is a lot of detail to be captured, so the thinner the silicone, the better the print coat will be. Smooth-On recommends to use the thinner in a quantity not exceeding 10% of the weight of the total A+B silicone mixture; I wanted to play it safe, and so kept this ratio at 5%, adding only 20 grams.
I then used my vacuum chamber ($200 value on Amazon.com) to degas the silicone. Degassing is very important as it gets rid of air bubbles inside the liquid, which have the potential to get trapped on the surface of the master object, creating little annoying resin beads that need to be cleaned off the final casting. Air bubbles can also get trapped in areas with sharp detail (such as overhangs), creating air pockets inside the print coat of the silicone mold. These pockets then fill up with resin during casting, and result in large globs that need to be cleaned off. Very annoying stuff.
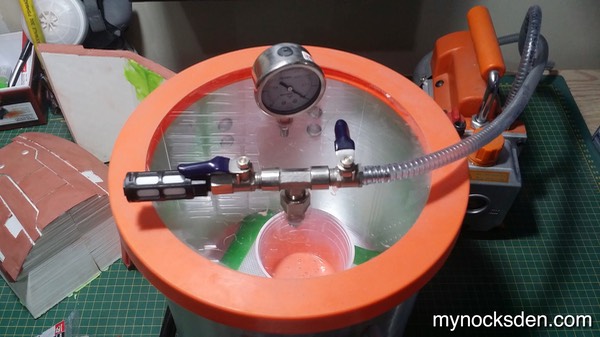
Degassing brush-on silicone may seem like an unnecessary step to some people, since a lot of air is reintroduced into the silicone during application. However, in my experience, better results are obtained when the silicone is degassed than when it isn’t, so I do it every time I mold.
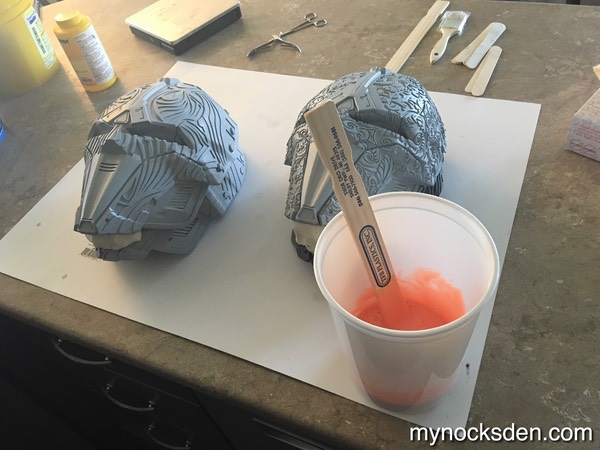
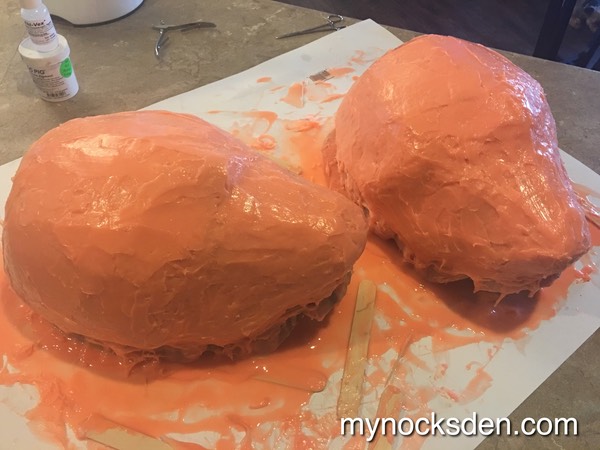
After the silicone was degassed, I coated the masks, and let it sit for about an hour and a half until the silicone became tacky.

I then whipped up another batch of Rebound 25 + Silicone thinner in the same quantity as before, degassed this as well, and applied another coat to the masks, filling in any spots that may have been missed during the first pass.
Layers 3 was done without any thinner added, but layers 4 and 5 were thickened with a product called Thi-Vex, which coagulates the silicone and makes it perfect for application to vertical surfaces.
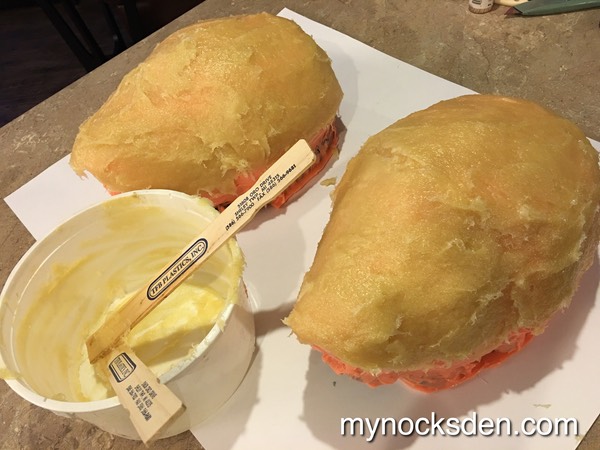
Once the silicone cured, I used Plasti-Paste (mixed in a 100A: 41B ratio by weight) to make a mother mold or support shell.
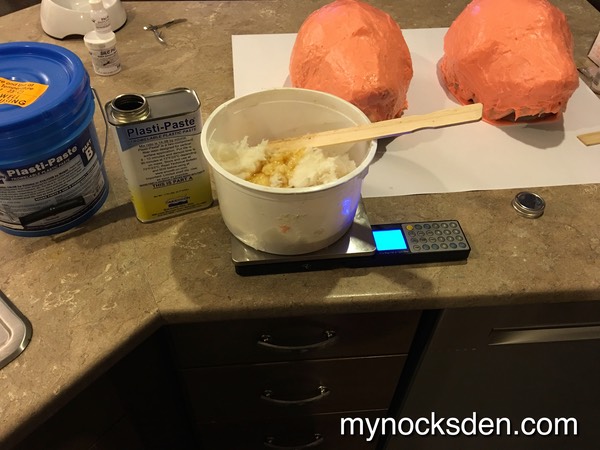
I mixed the required amounts in a disposable bowl, slopped this onto the silicone mold, and used a paint stir stick to smooth it out. This is an important step in the molding process as it ensures that the cast maintains its shape as it cures.
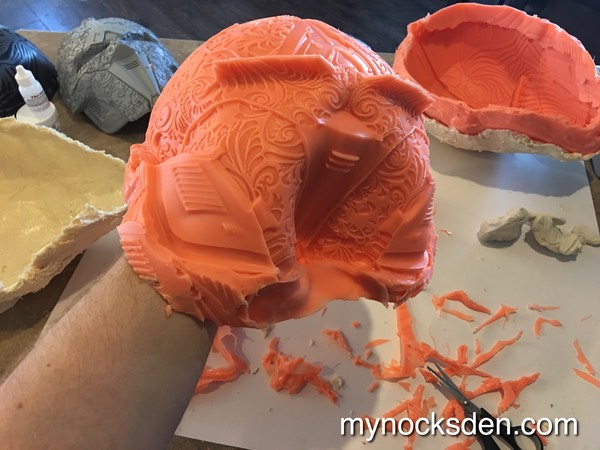
After the plasti-paste cured, I separated all the parts - the support shell, silicone mold, and the master masks, and examined the print coats. The bengal mask came out quite well, though the Adraas looked like it had a lot of tiny bubbles that even after thinning with silicone oil managed to get trapped between some of the more intricate detail. In hindsight, I should have probably used the maximum dose of the silicone thinner - lesson learned.
I cleaned up the silicone flashing, then proceeded to the casting phase of the project. I sprayed the inside of the rubber mold with Mann Ease Release 200 mold release (to make demolding of casts easier), and let this sit while I prepared my casting resin.
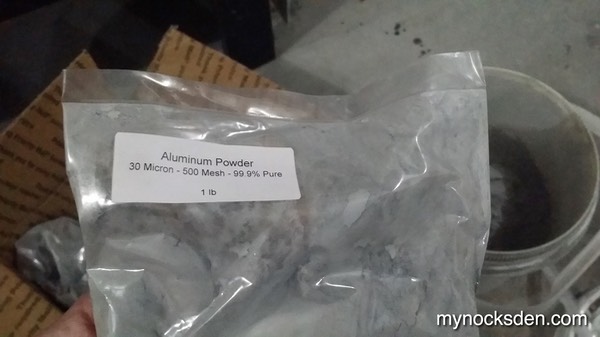
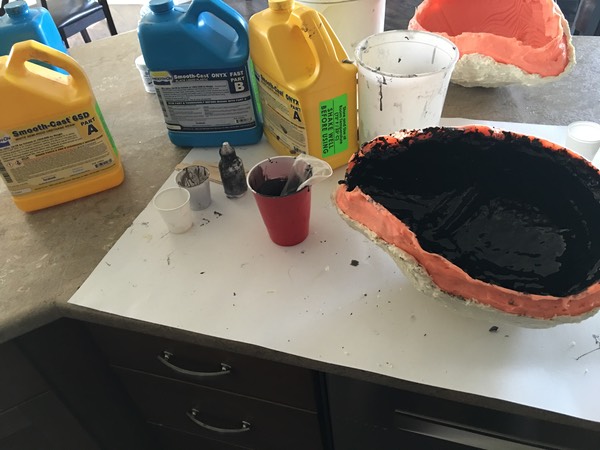
I set out to cold cast the mask in aluminum. Cold casting is a process by which a fine metal powder is mixed in with resin, which upon curing, can be buffed and polished to a real metal look. If done right, it looks EXACTLY like metal. So, I got out my tub of 500 mesh aluminum powder (you can get 10 lbs for $80 on Amazon)…
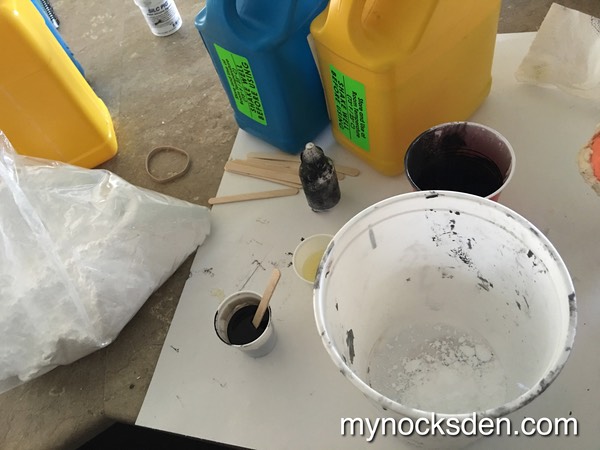
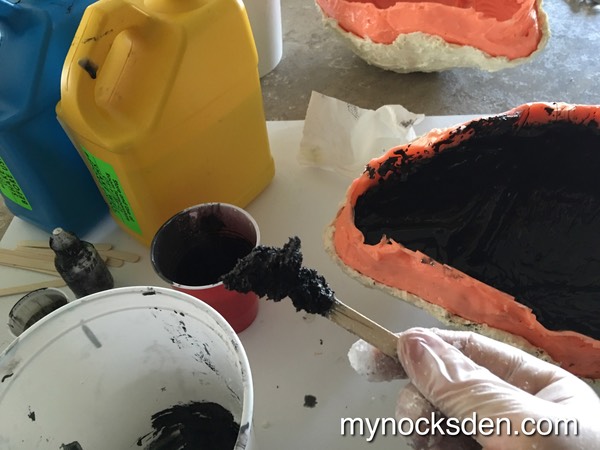
...and set to work! Using Smooth Cast ONYX as the main medium for its hardness, I measured out equal parts of part A and part B, and using part B for visual reference, measured out about 1.25 parts of aluminum powder by volume. I then mixed this with part B in another cup. NOTE: a respirator is a must when working with aluminum powder. It’s extremely fine dust that can be kicked up by the subtlest of air movements, and you do NOT want this stuff in your lungs.
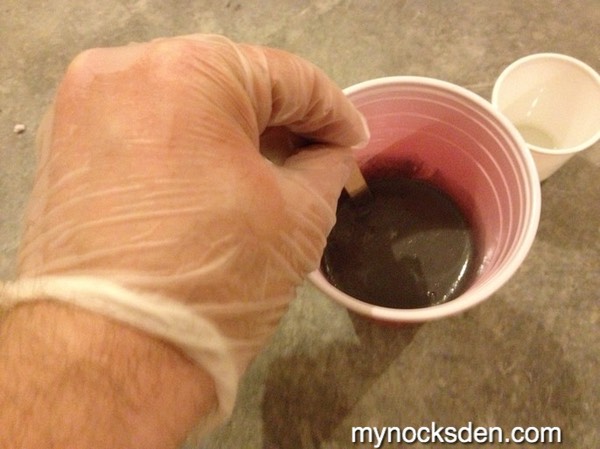
I brought part A and part B (now containing aluminum powder) together, mixed this up for 20 seconds, and dumped it into the silicone mold. I mushed it around with my finger to drive out any bubbles, and slush cast the first layer.
Since the mask only needs to look metal on the outside, the next two layers were done using a resin called Smooth Cast 65D with several drops of SoStrong black pigment added to turn the otherwise white resin grey. ONYX is quite brittle when used by itself, so adding a softer resin as backing gives the mask a little bit of flex which could help prevent damage in the long run.
I added some resin filler called Urefill 11 to the second 65D layer to help build up the edges without adding too much weight to the mask…
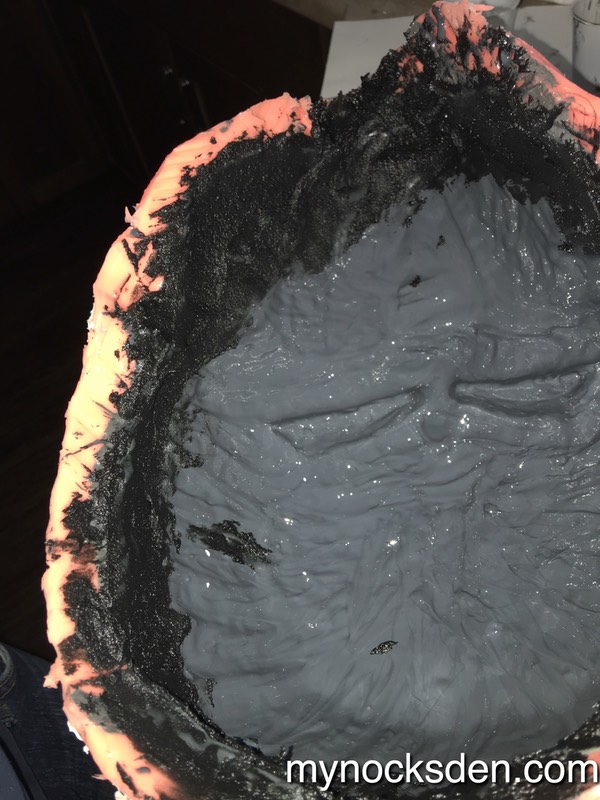
… and finished this up with another shin layer of ONYX to give the inside a nice black finish.
The final result: an OK casting, with lots and lots of tiny resin beads to pick out.
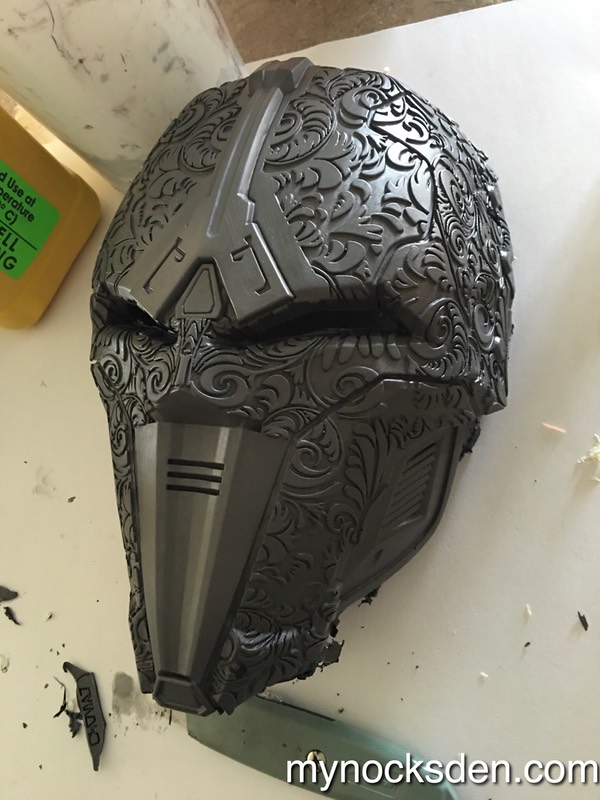
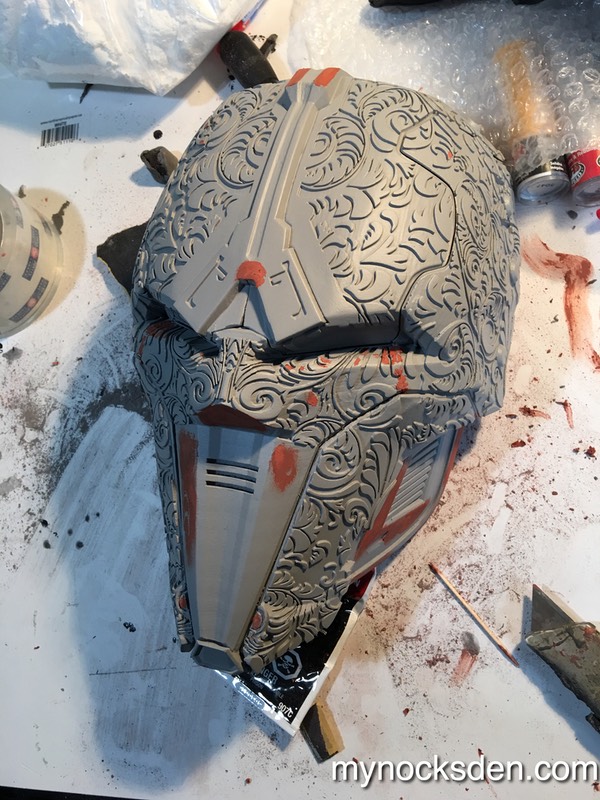
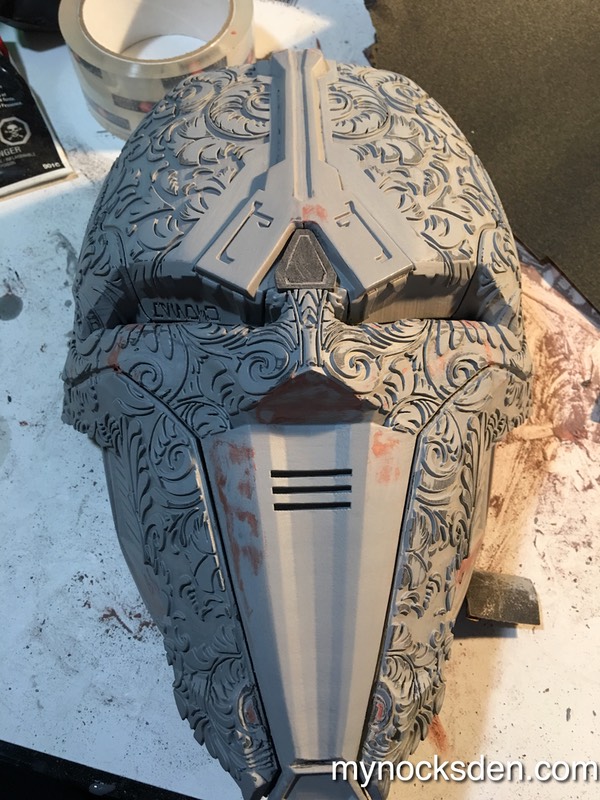
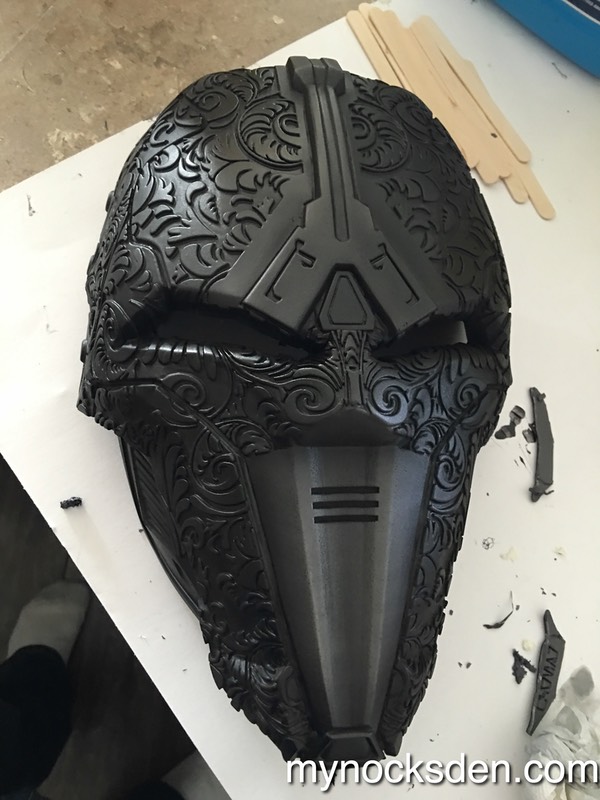
After picking at the cast for 20 minutes, I got it decently cleaned up, and then set out to trim out the eyes and the flashing around the edges. Next, I airbrushed the mask black to give the recessed areas nice, even coverage.
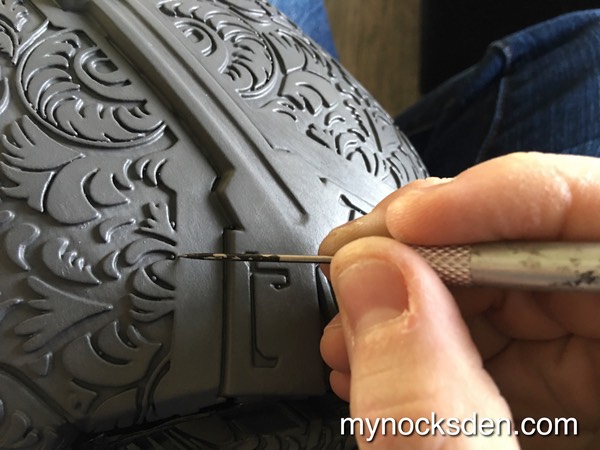
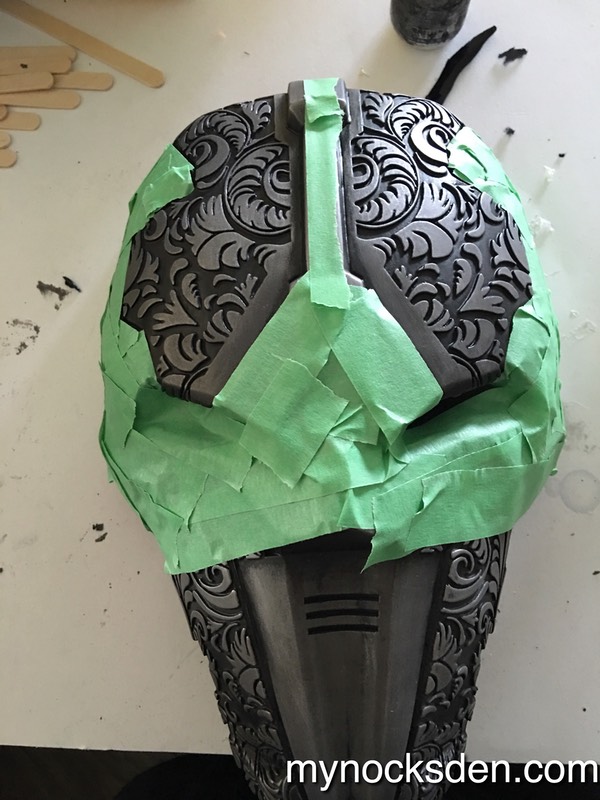
Using a towel soaked in acetone, I wiped the paint off the raised detailing, went over these areas with steel wool to bring out the aluminum, and masked off a few areas for more painting. The forehead section was painted with a custom black/grey paint mix...
…which was followed by adding the red areas by hand using a custom Testor’s paint colour I mixed up several months ago for my Revan masks.

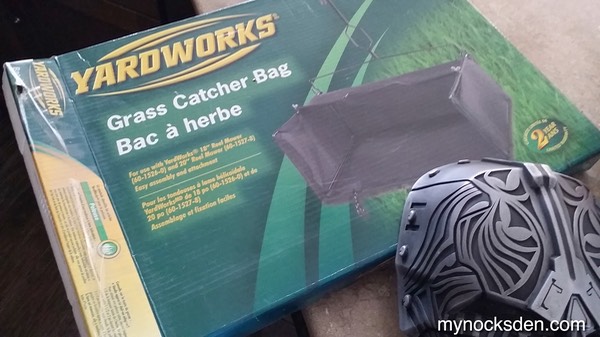
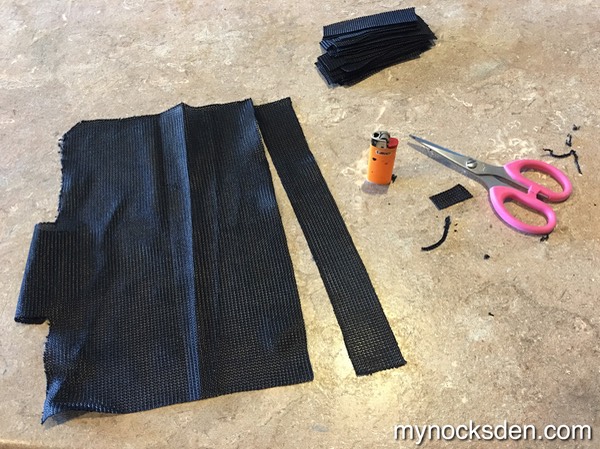
To make the eyes, by far the best and most accurate method I’ve found is to use a blackout eye mesh, and the best fabric for this is the kind used in grass catcher bags for lawnmowers (I buy mine at a local Canadian Tire).
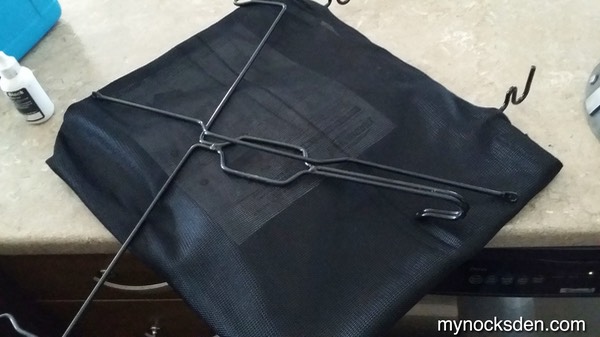
I cut two strips of this, and superglued them inside the mask.
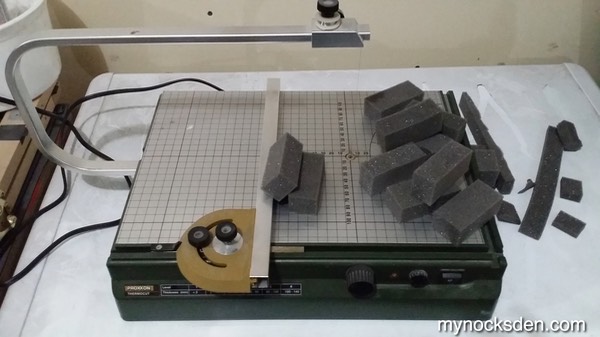
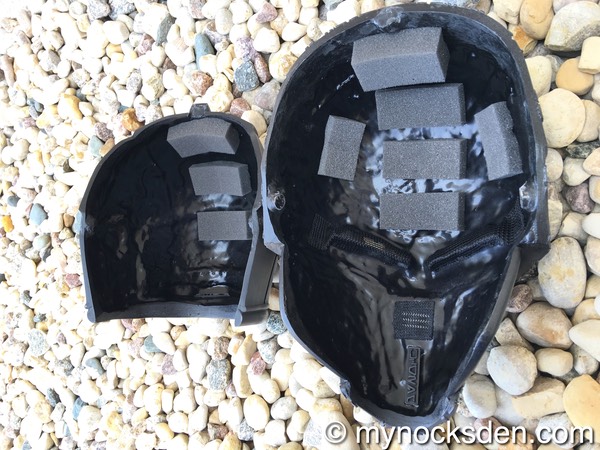
Next, using a foam wire cutter I bought on Amazon ($90), I cut up some rectangles of 1” thick open cell foam, and superglued these inside the mask.
To join the two halves together, I used N50 strength rare earth neodymium magnets which I affix to the resin with the same epoxy putty I use during 3D printed parts assembly. These things are so strong, that quite a lot of force is necessary to pull the two halves apart.
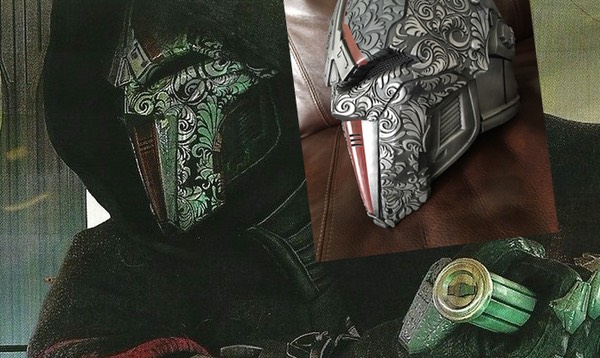
Once the mask was completed, it was combined with the back plate from my Bengal helmet for a little demonstration of how it fits!
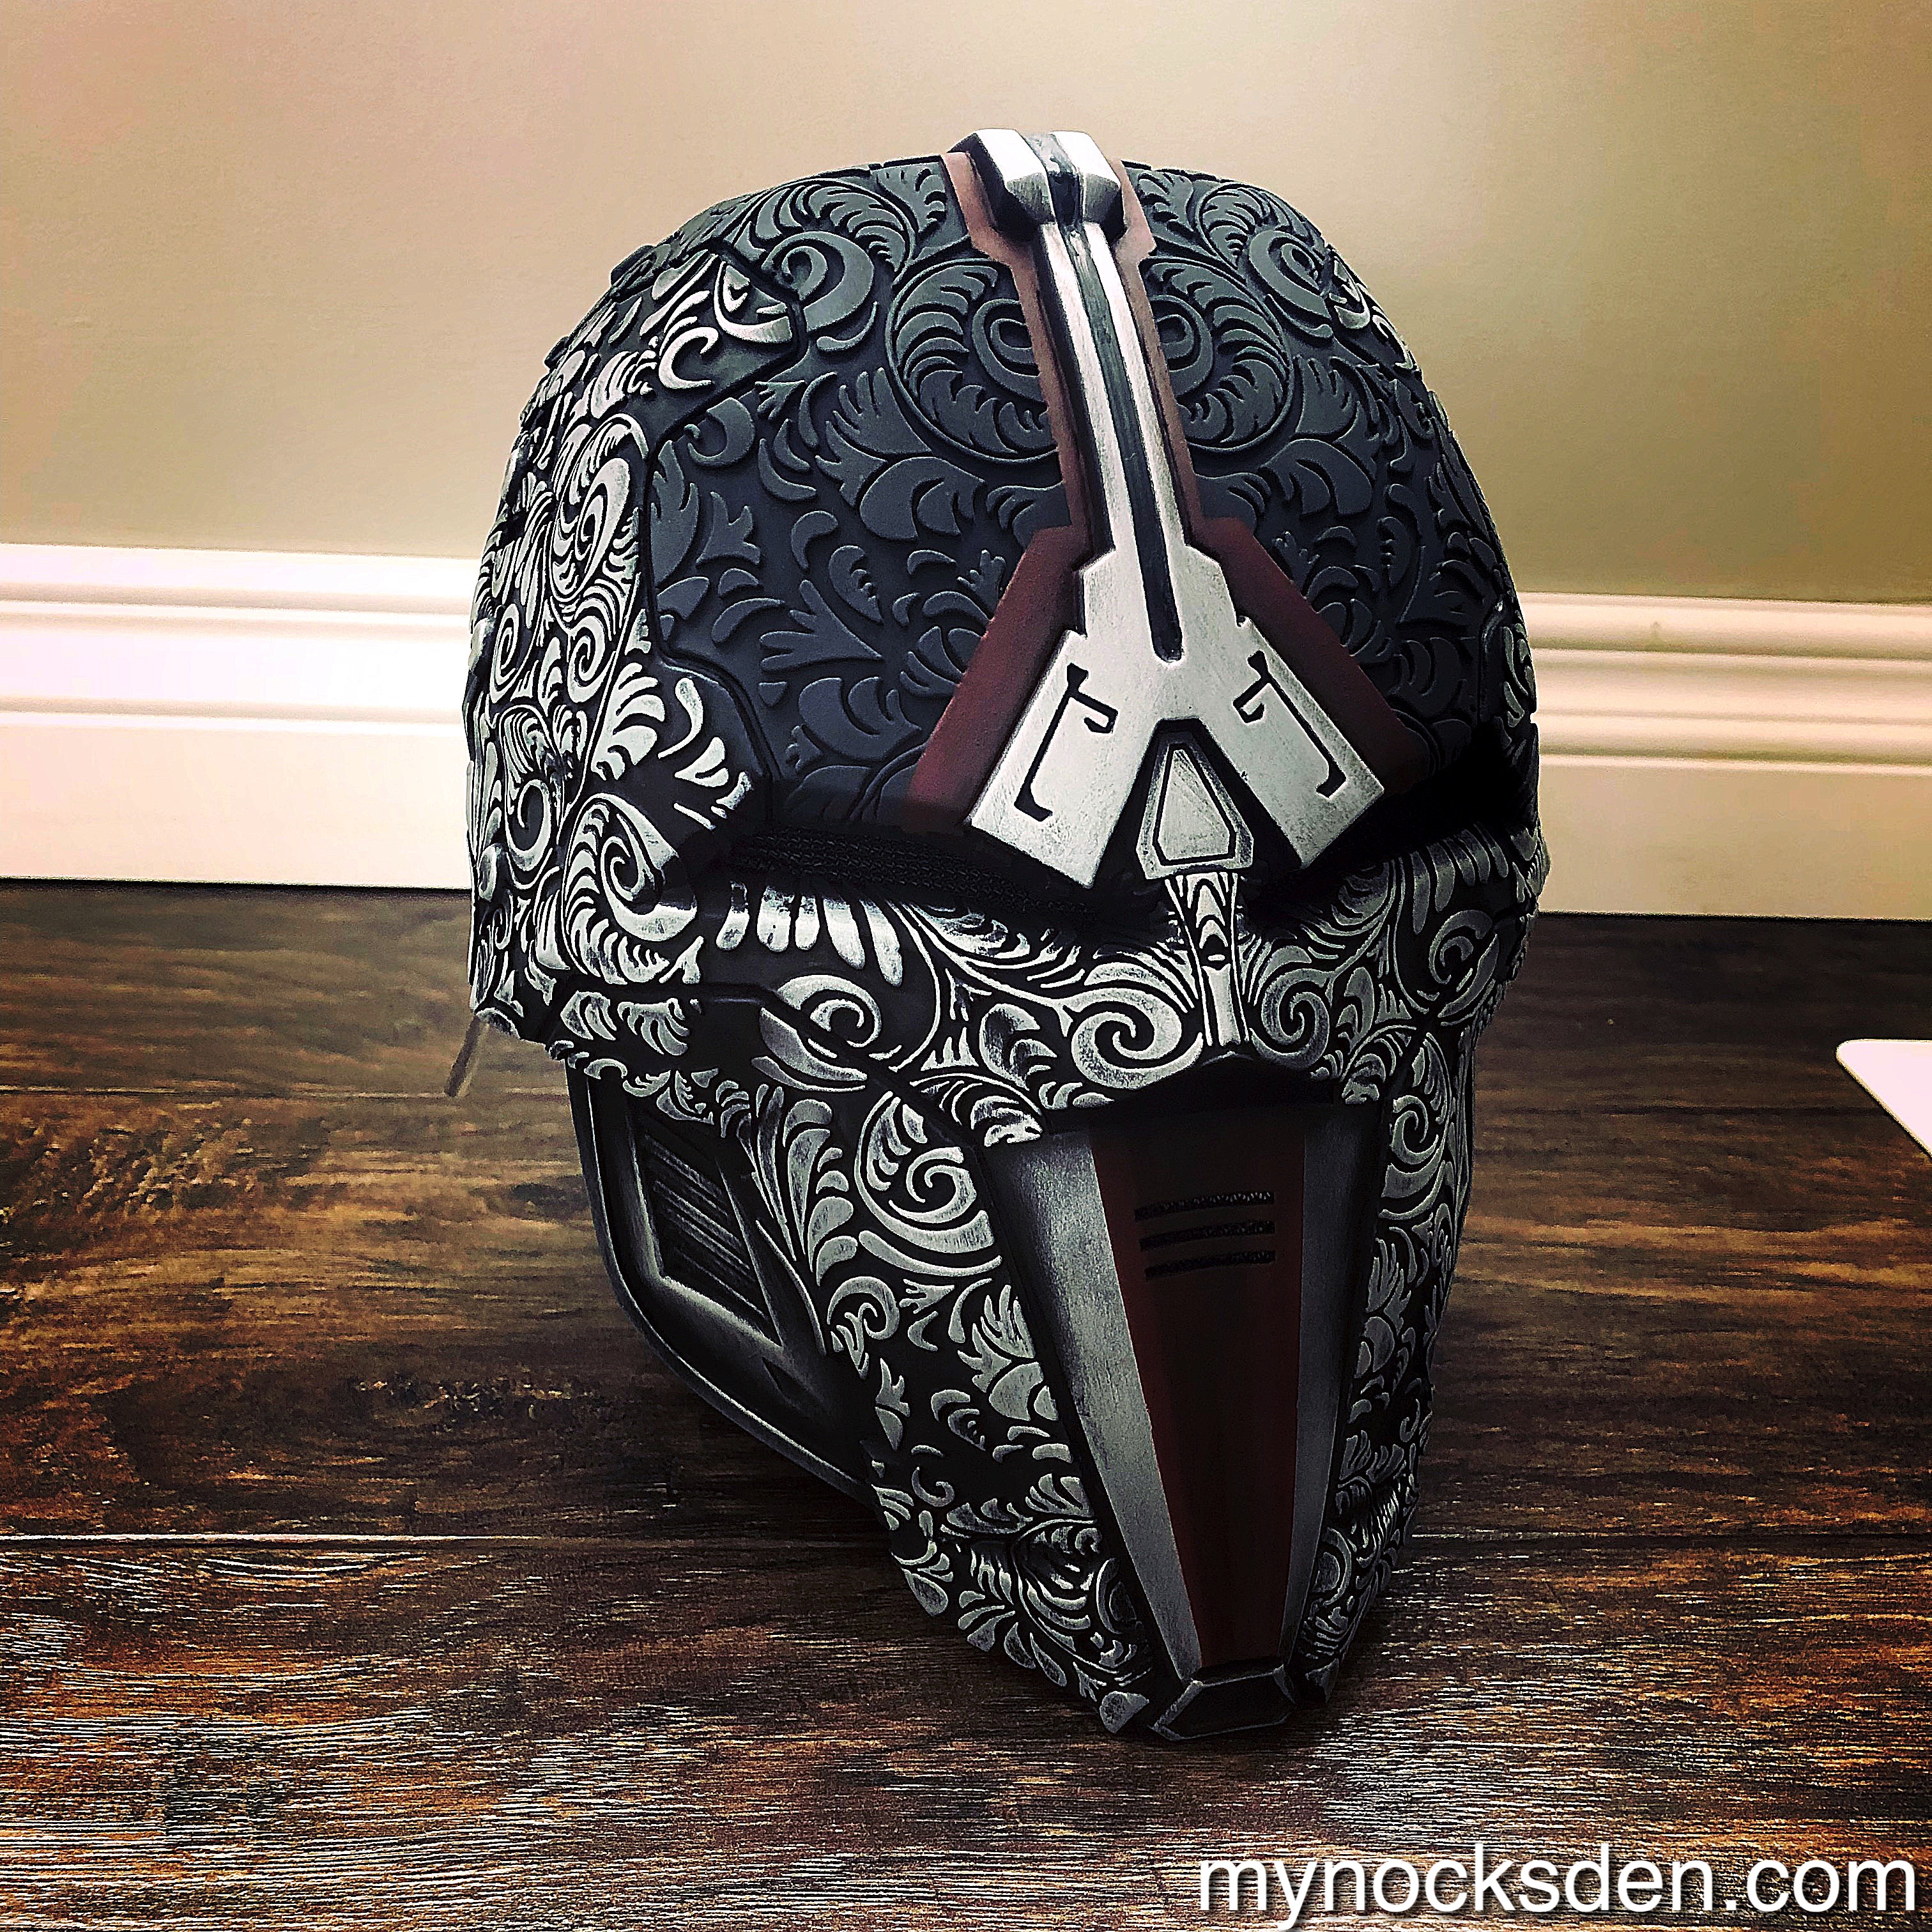
And now, some photography!
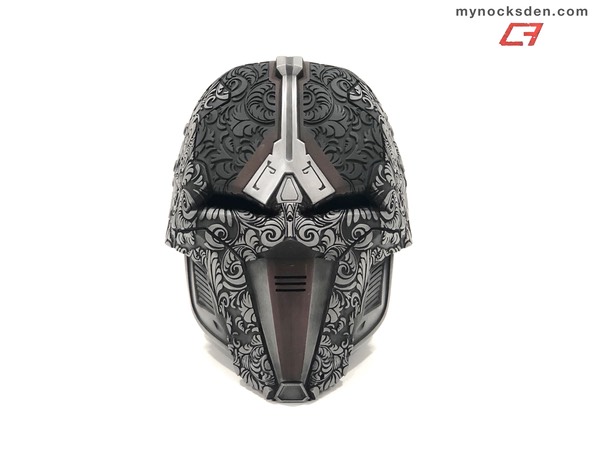


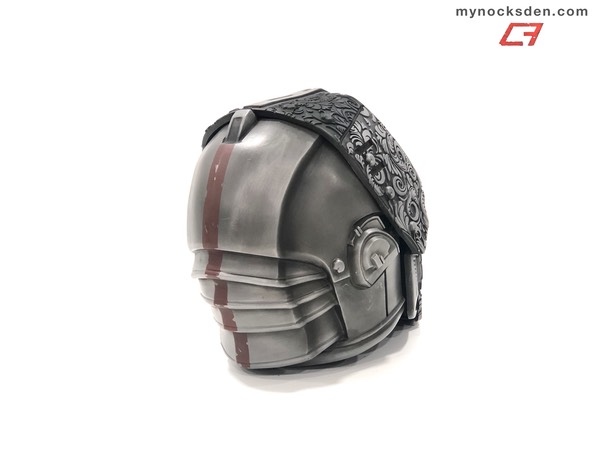
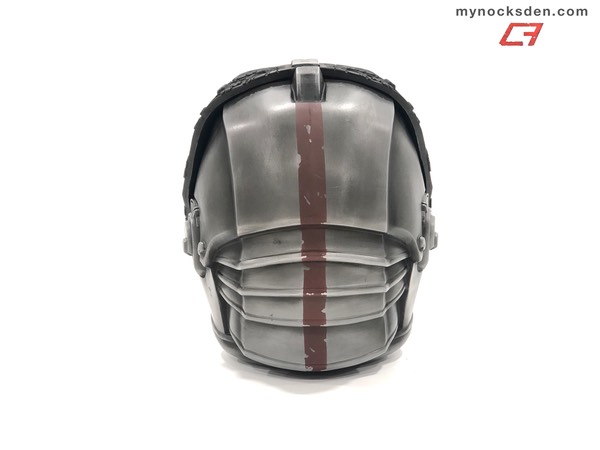
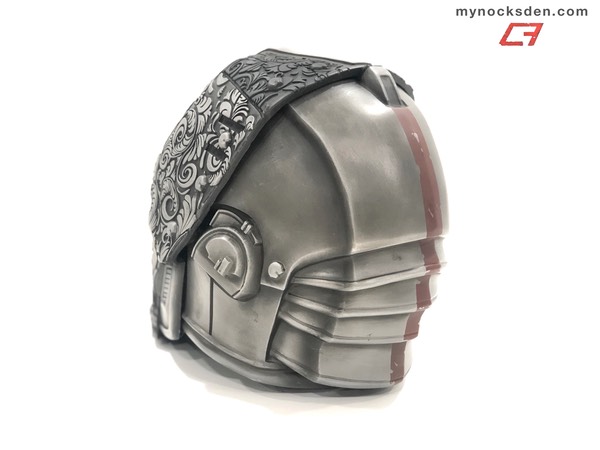
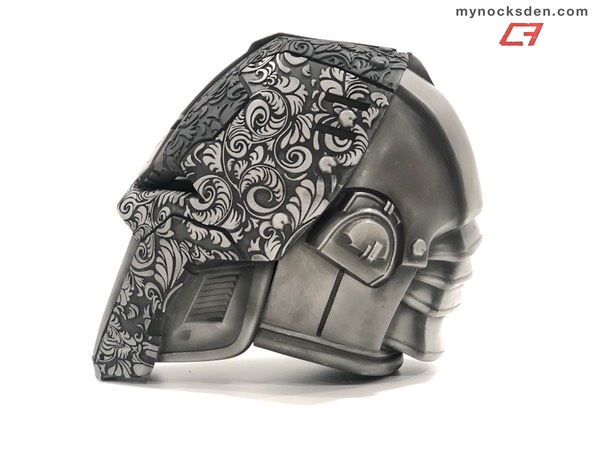
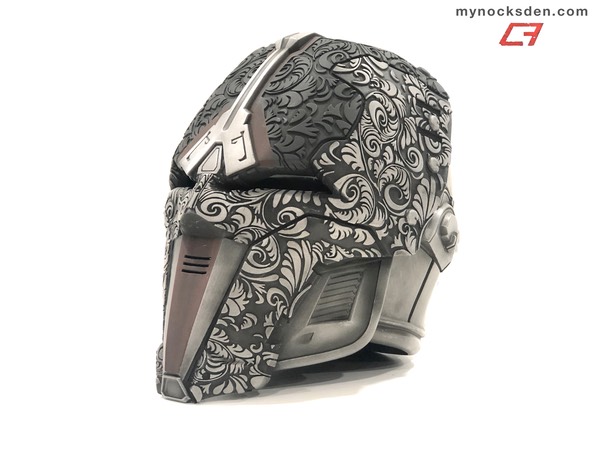
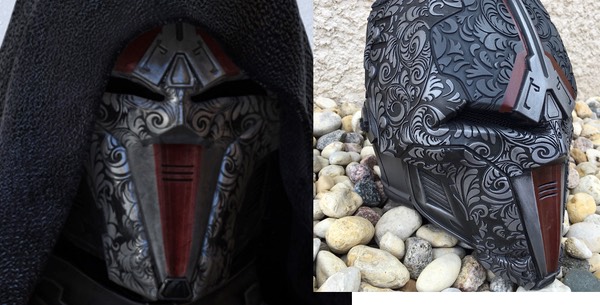
Thanks for looking!
* * * * * * *